3D scanning and printing
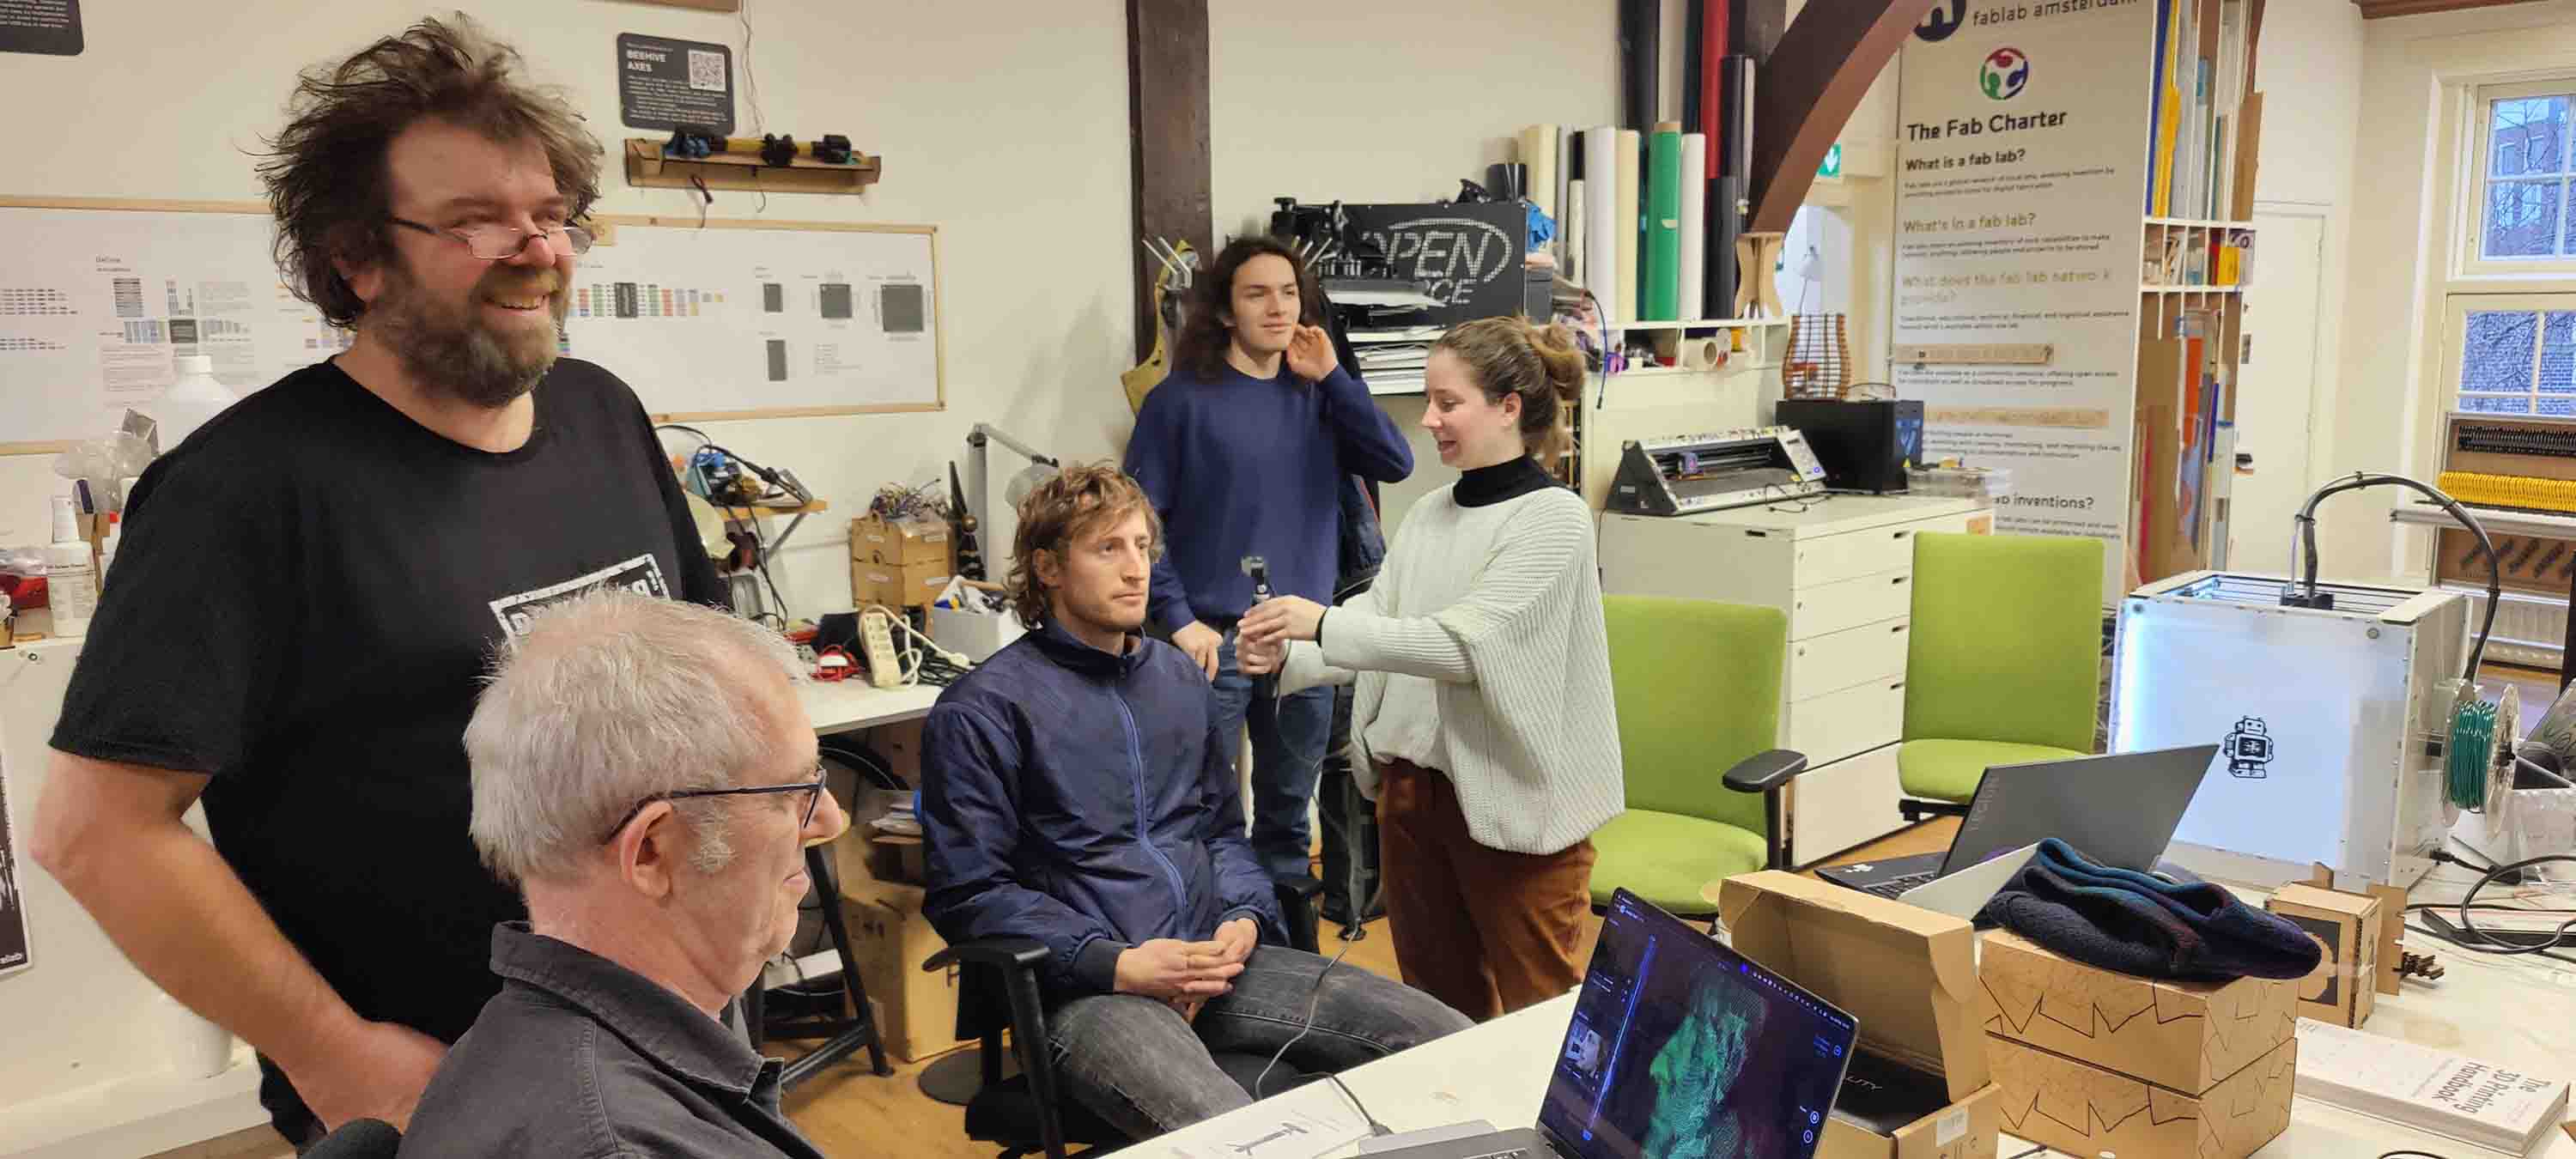
This week we are getting familiar with and testing the 3D printers and 3D scanner here at Waag. I want to make a casing for the humidifier I worked on last week and to print something with allPHA from ColorFabb so I can try to compost it.
Printer 1: Prusa MK3
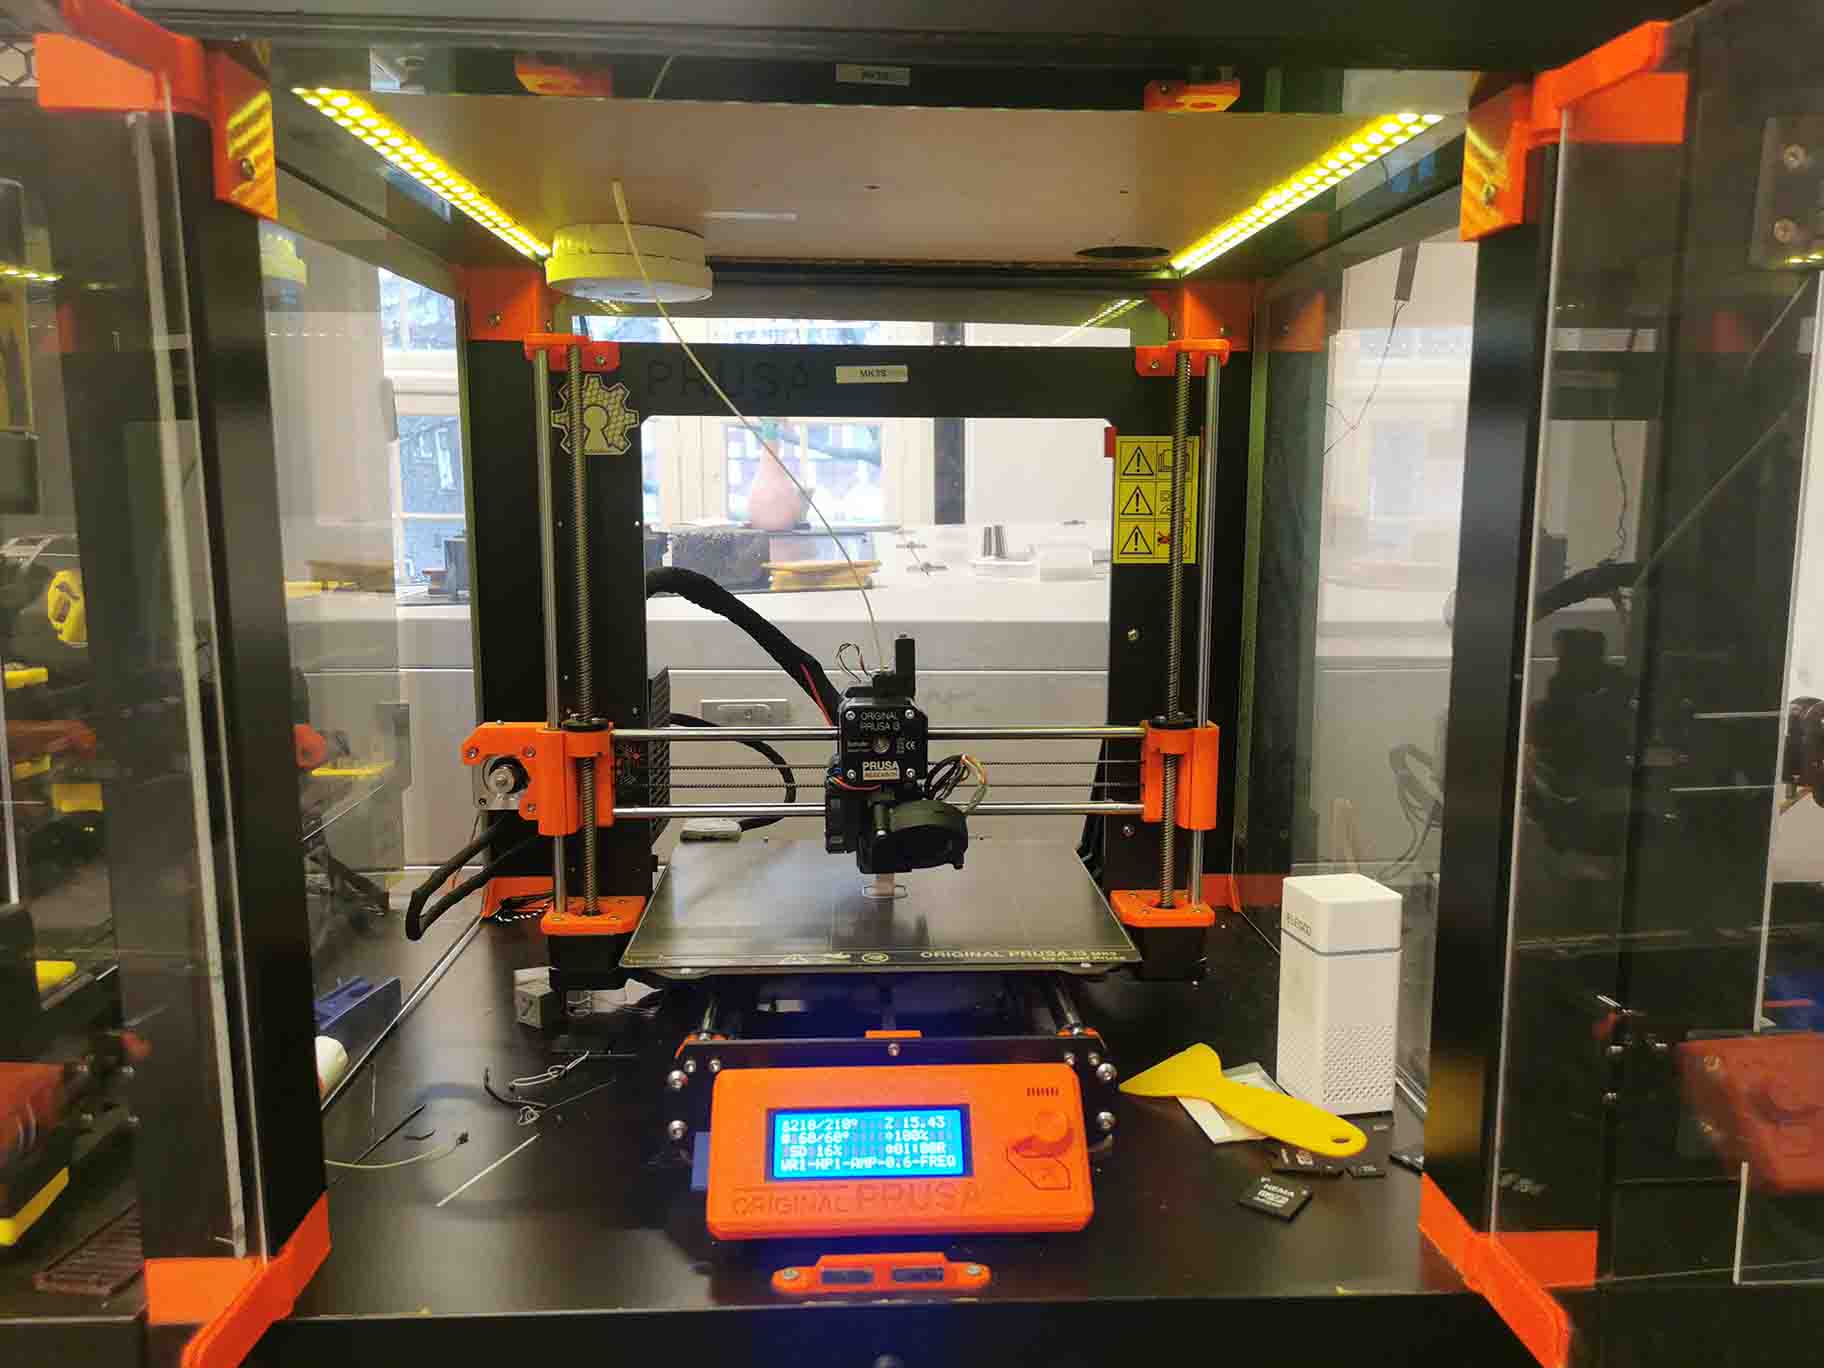
Brand: Prusa MK3
Slicer: Prusa slicer
Manual: Here
The Prusa MK3 is an open source printer. We calibrated the XYZ-calibration and the First layer calibration.
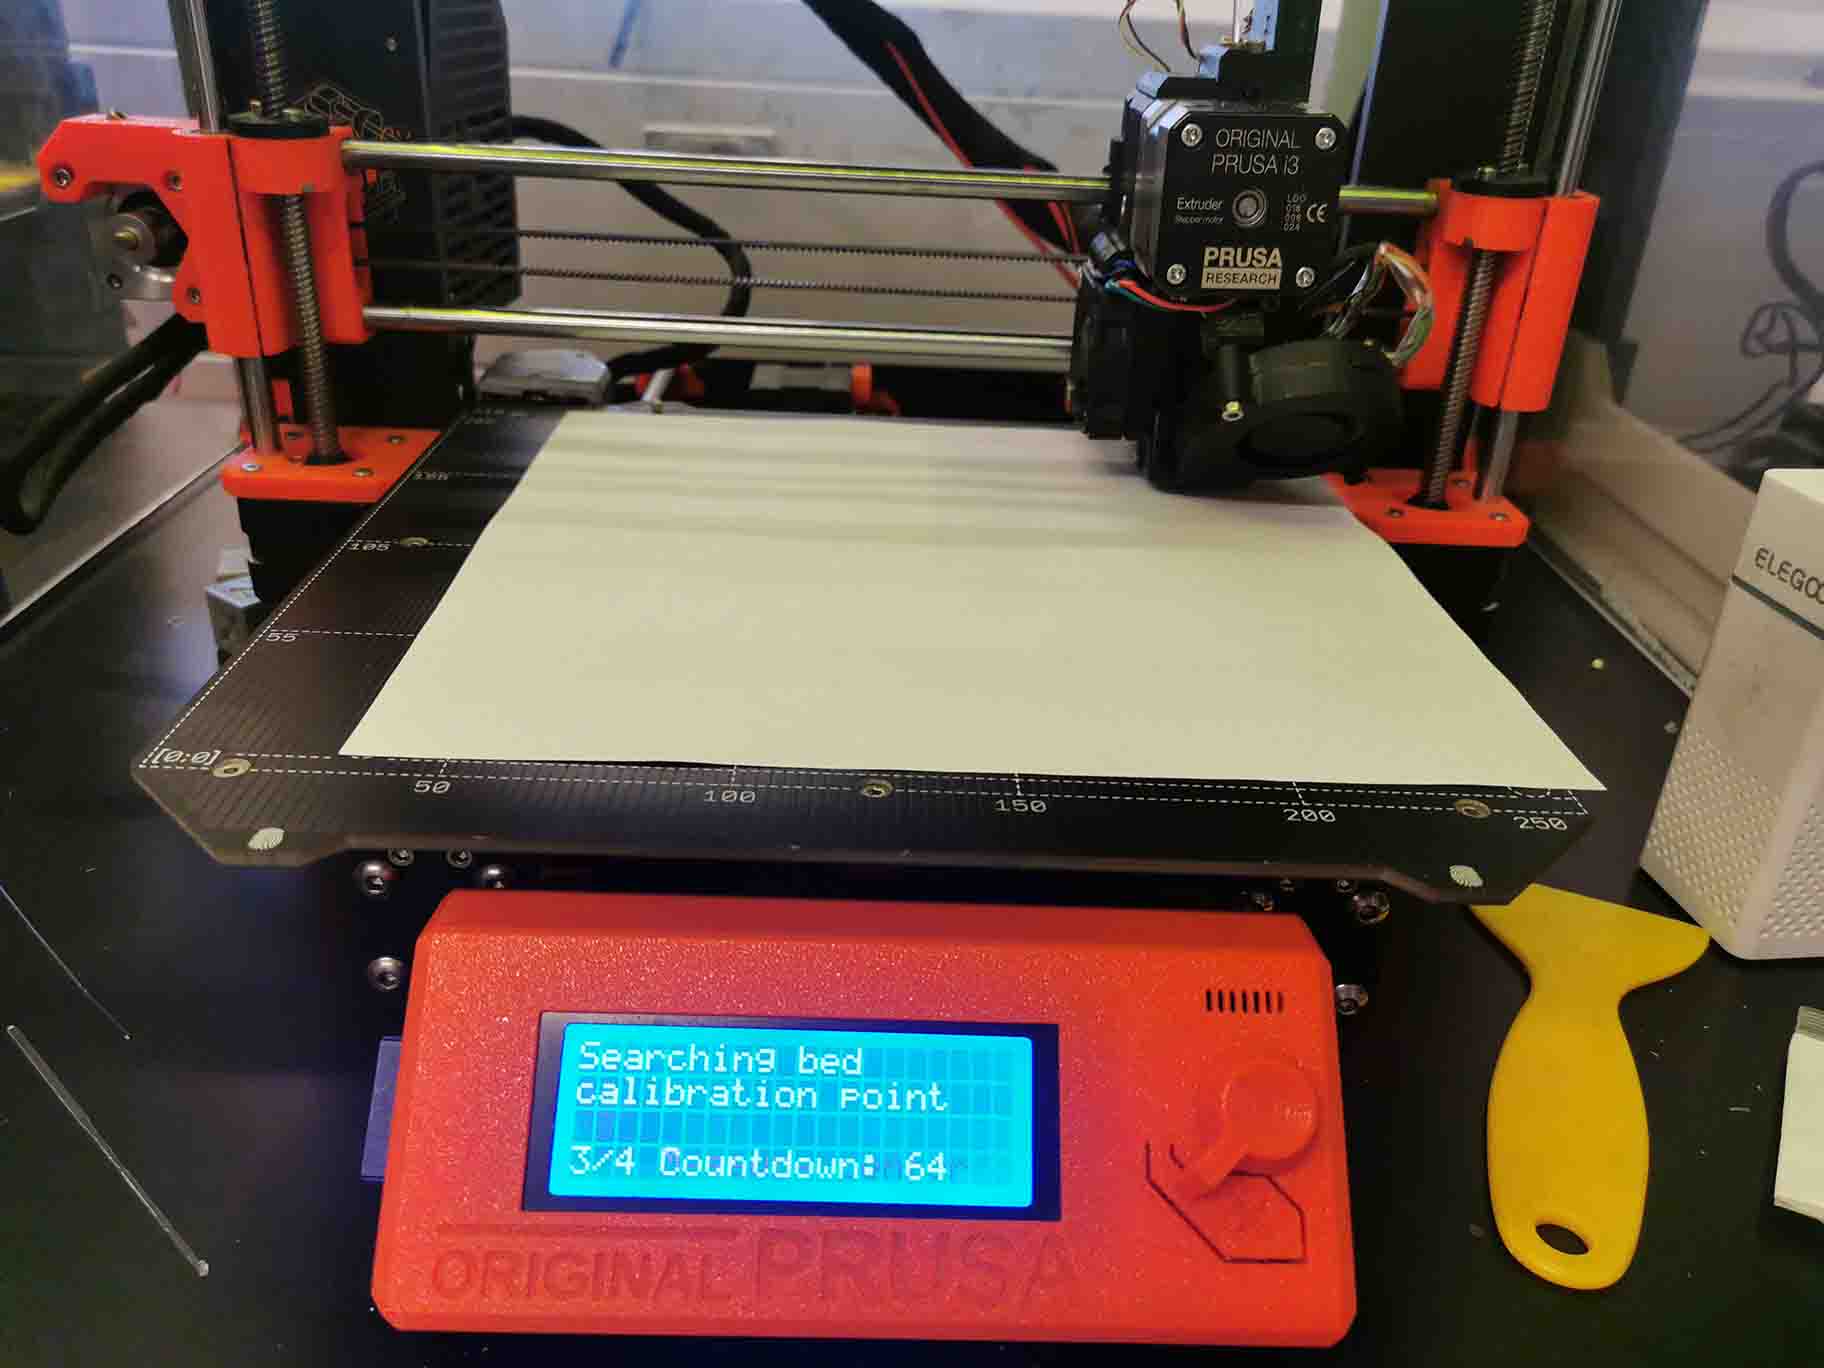
XYZ-calibration is preformed when a printer is first set up and for maintainence.
On the prusa this calibration is started by navigating to calibrate and XYZ on the panel using the twisty knob. The printer will first calibrate the Z axis, then ask you to remove the heatbed.
Place a piece of paper under the nozzle and keep an eye on the printer as it calibrates all 4 corners of the plate.
NB! It is important to really pay attention and make sure the nozzle does not hit the bed. This can damage the printbed. If the nozzle goes to low: cancel the calibration.
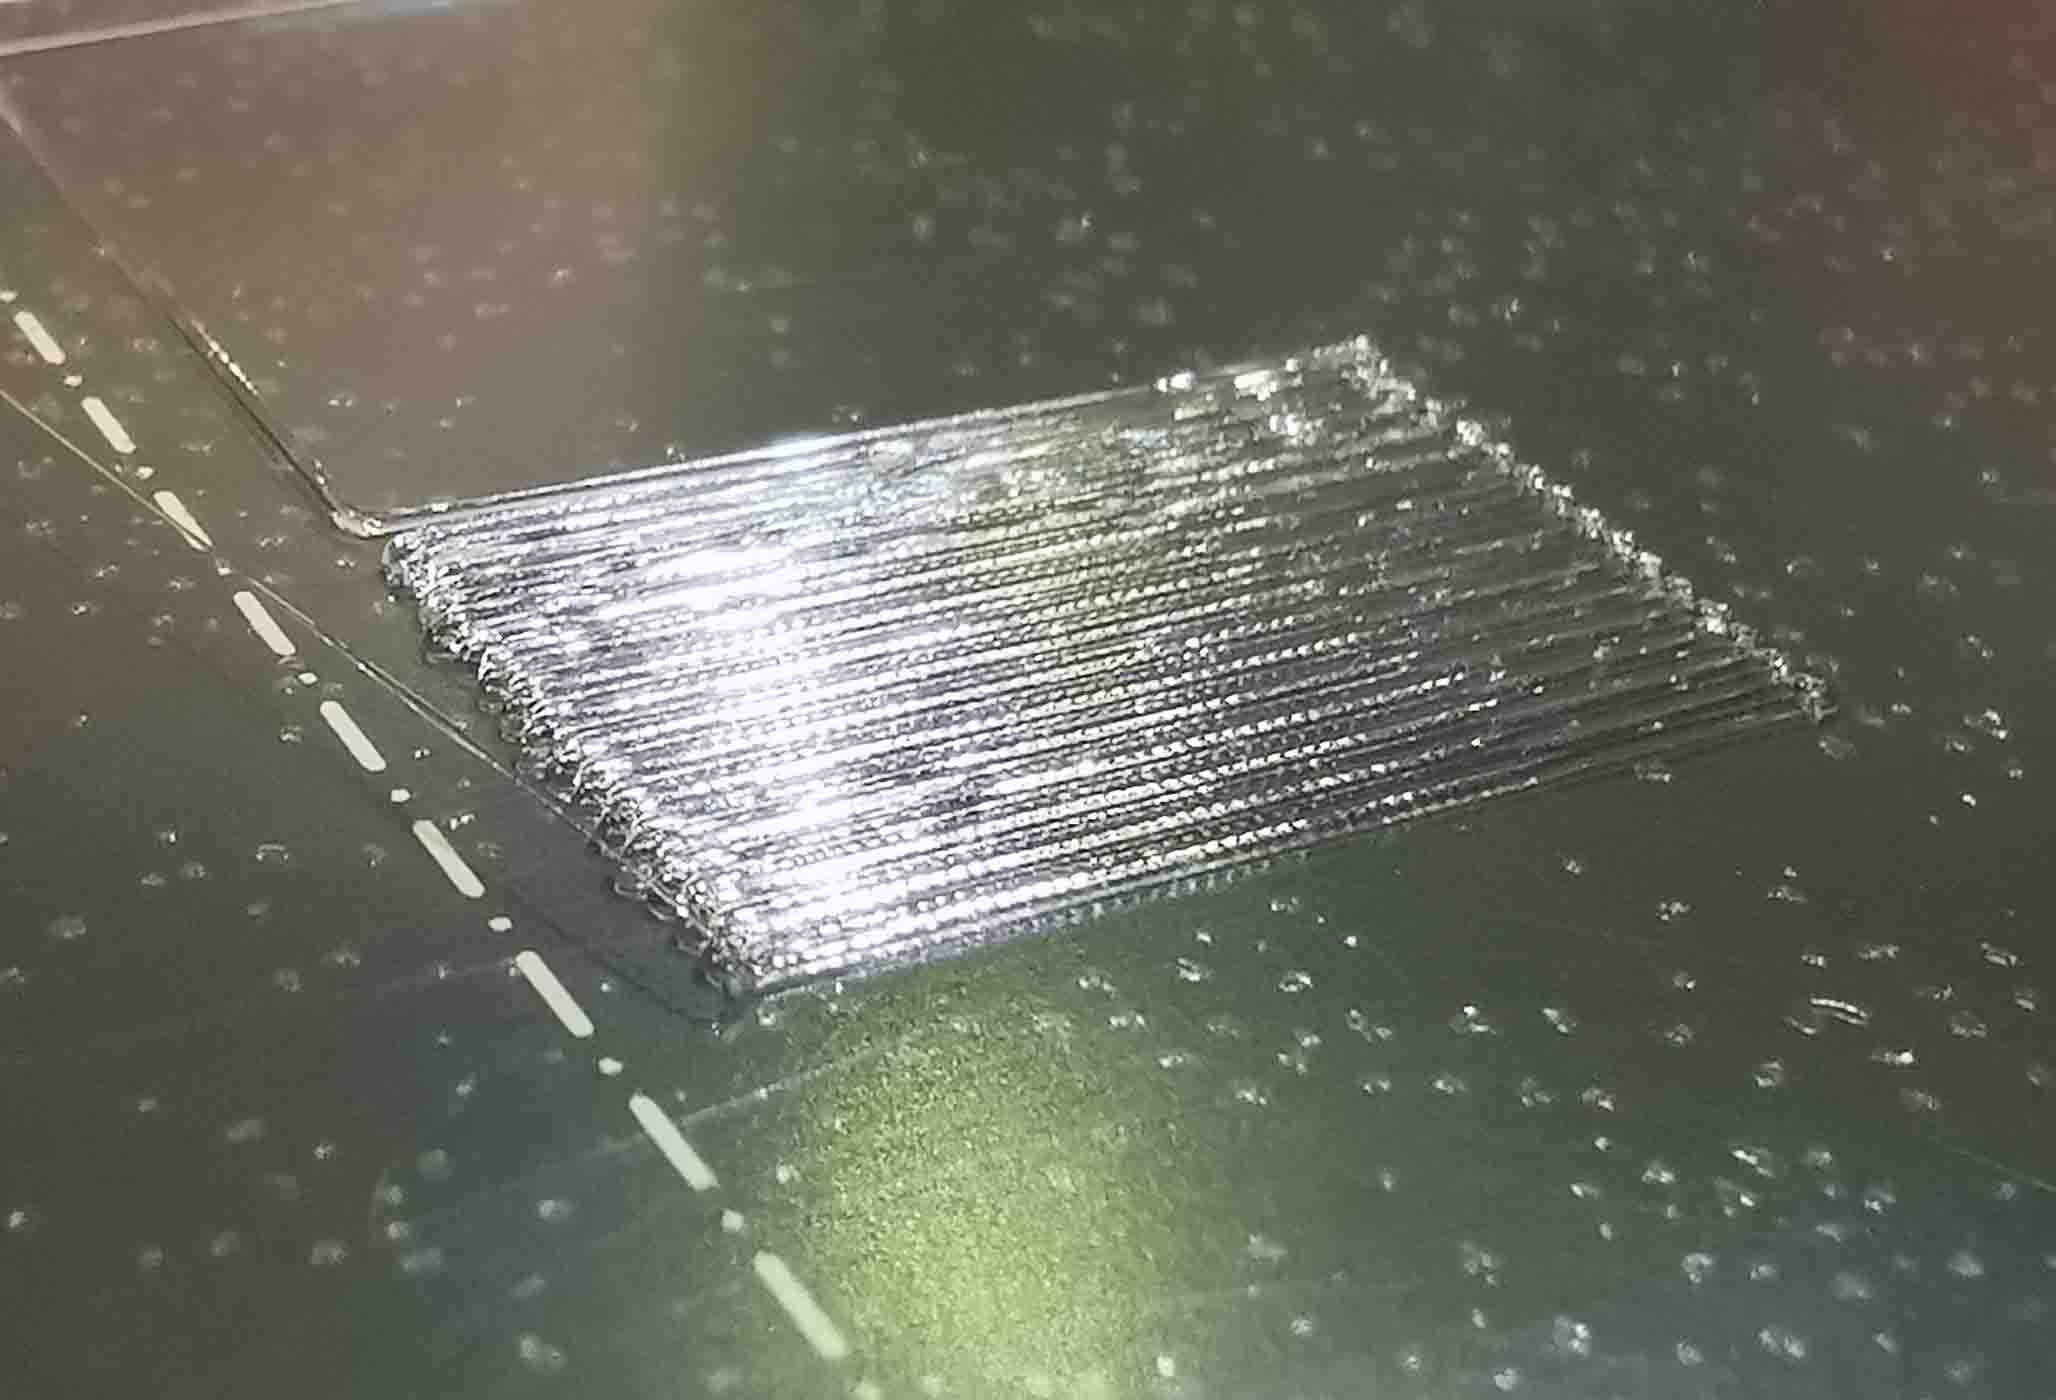
The first layer calibration is used to make sure the nozzle is at the right hight compared to to the bed.
If it is too far away the print will not stick properly to the plate and if it is too close the filament is smooched and the lines may be translucent. We are using transparent PLA for this test.
In the image above the print starts out too far away, and towards the end it is the right height. When calibrating the first layer it is possible to adjust the height of the nozzle.
We did 3 different test prints for the Prusa. First we did a test with transparent PLA:
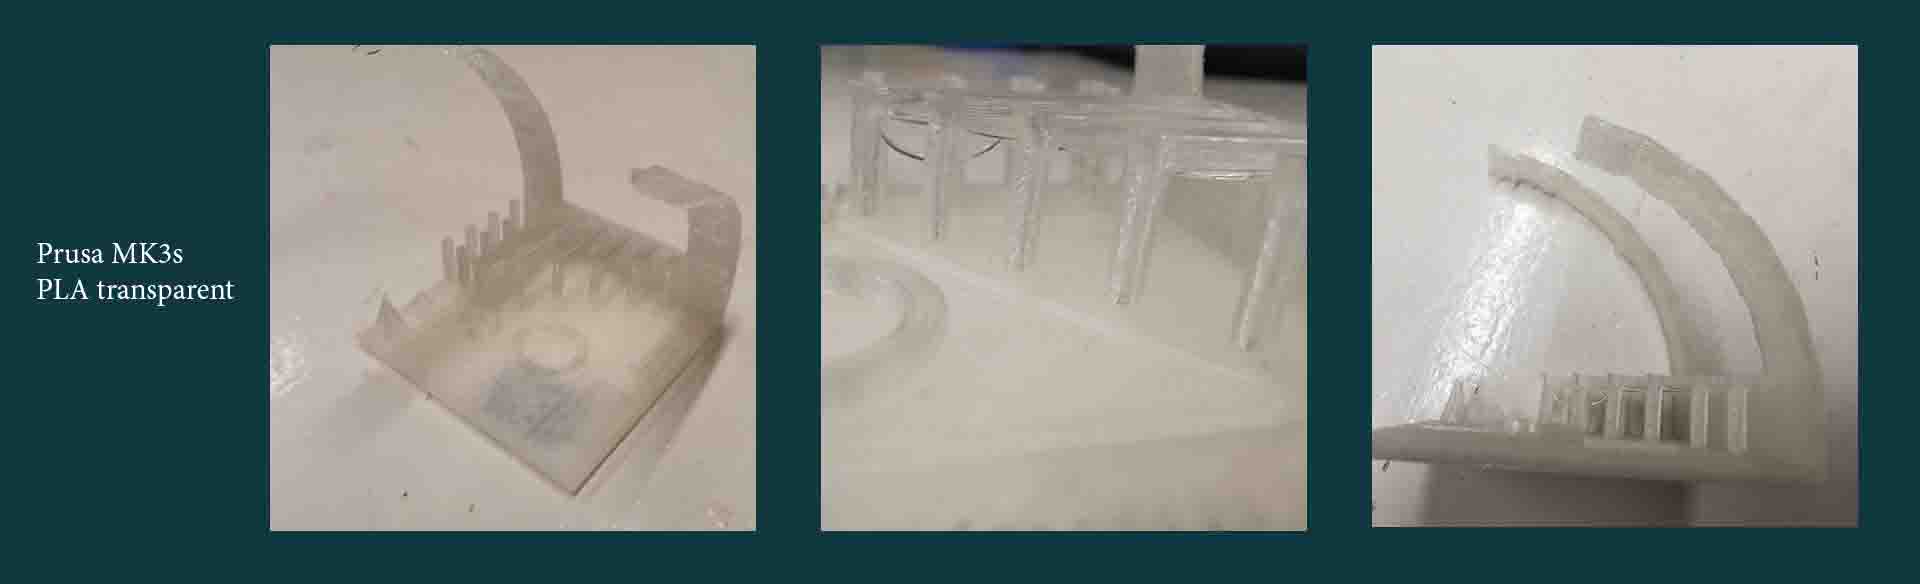
This filament easily gets stringy when doing overhangs and can do up to 30 degree angles pretty well, before it gets very messy.
Then with regular PLA:
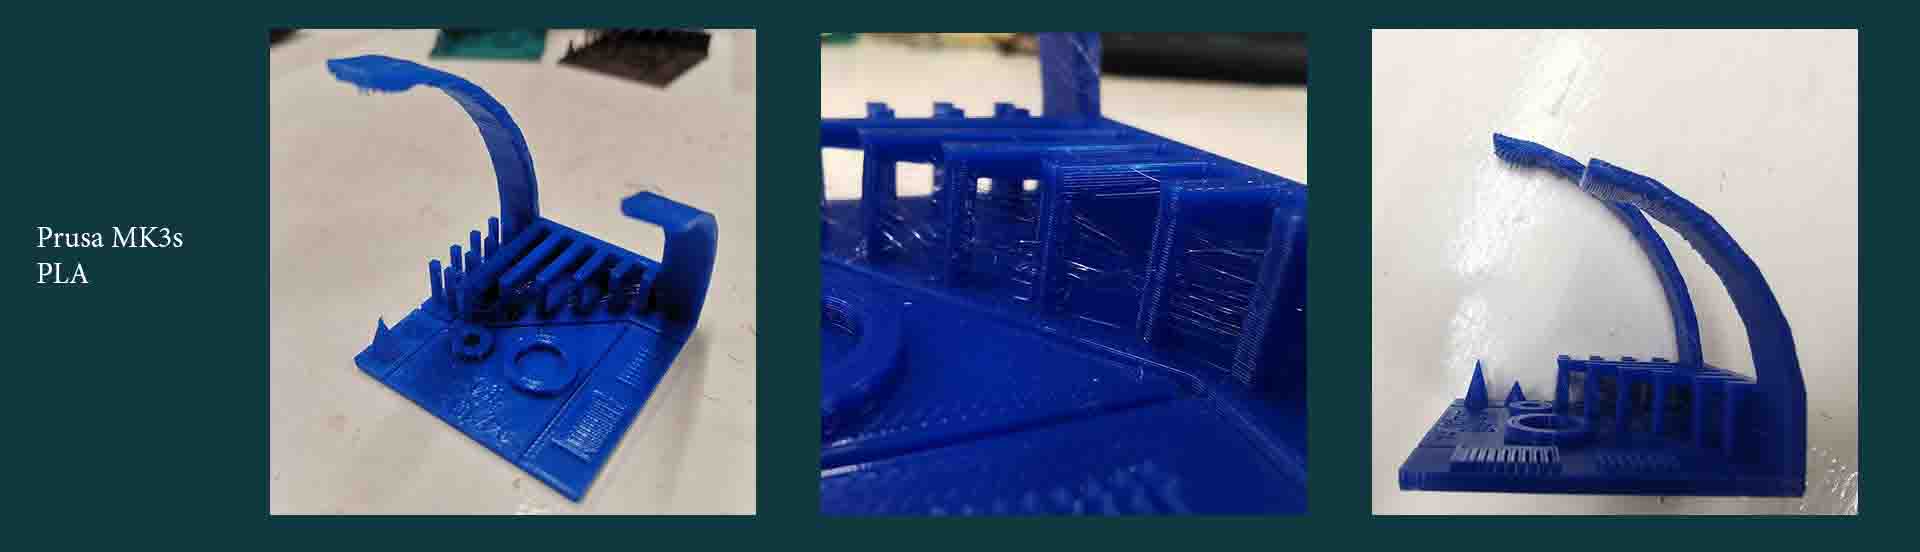
The PLA we used for this print was stored in a box, but without a plastic bag. I suspect that might be why it turned out stringy. It handles overhangs good and the angles are fine until around 40 degrees, after that the layers get a bit weird.
Extra test
I did an extra test print using allPHA from colorFabb. This is said to be a fully compostable filament since it is essentially fats. The downside is that it can be quite tricky to print with. It needs a cold bed and a nozzle temperature between 190 -200 degrees celcius.
I also know from experience that the filament is sticky and can attach to the base plate way too good. I therefore taped down the plate:
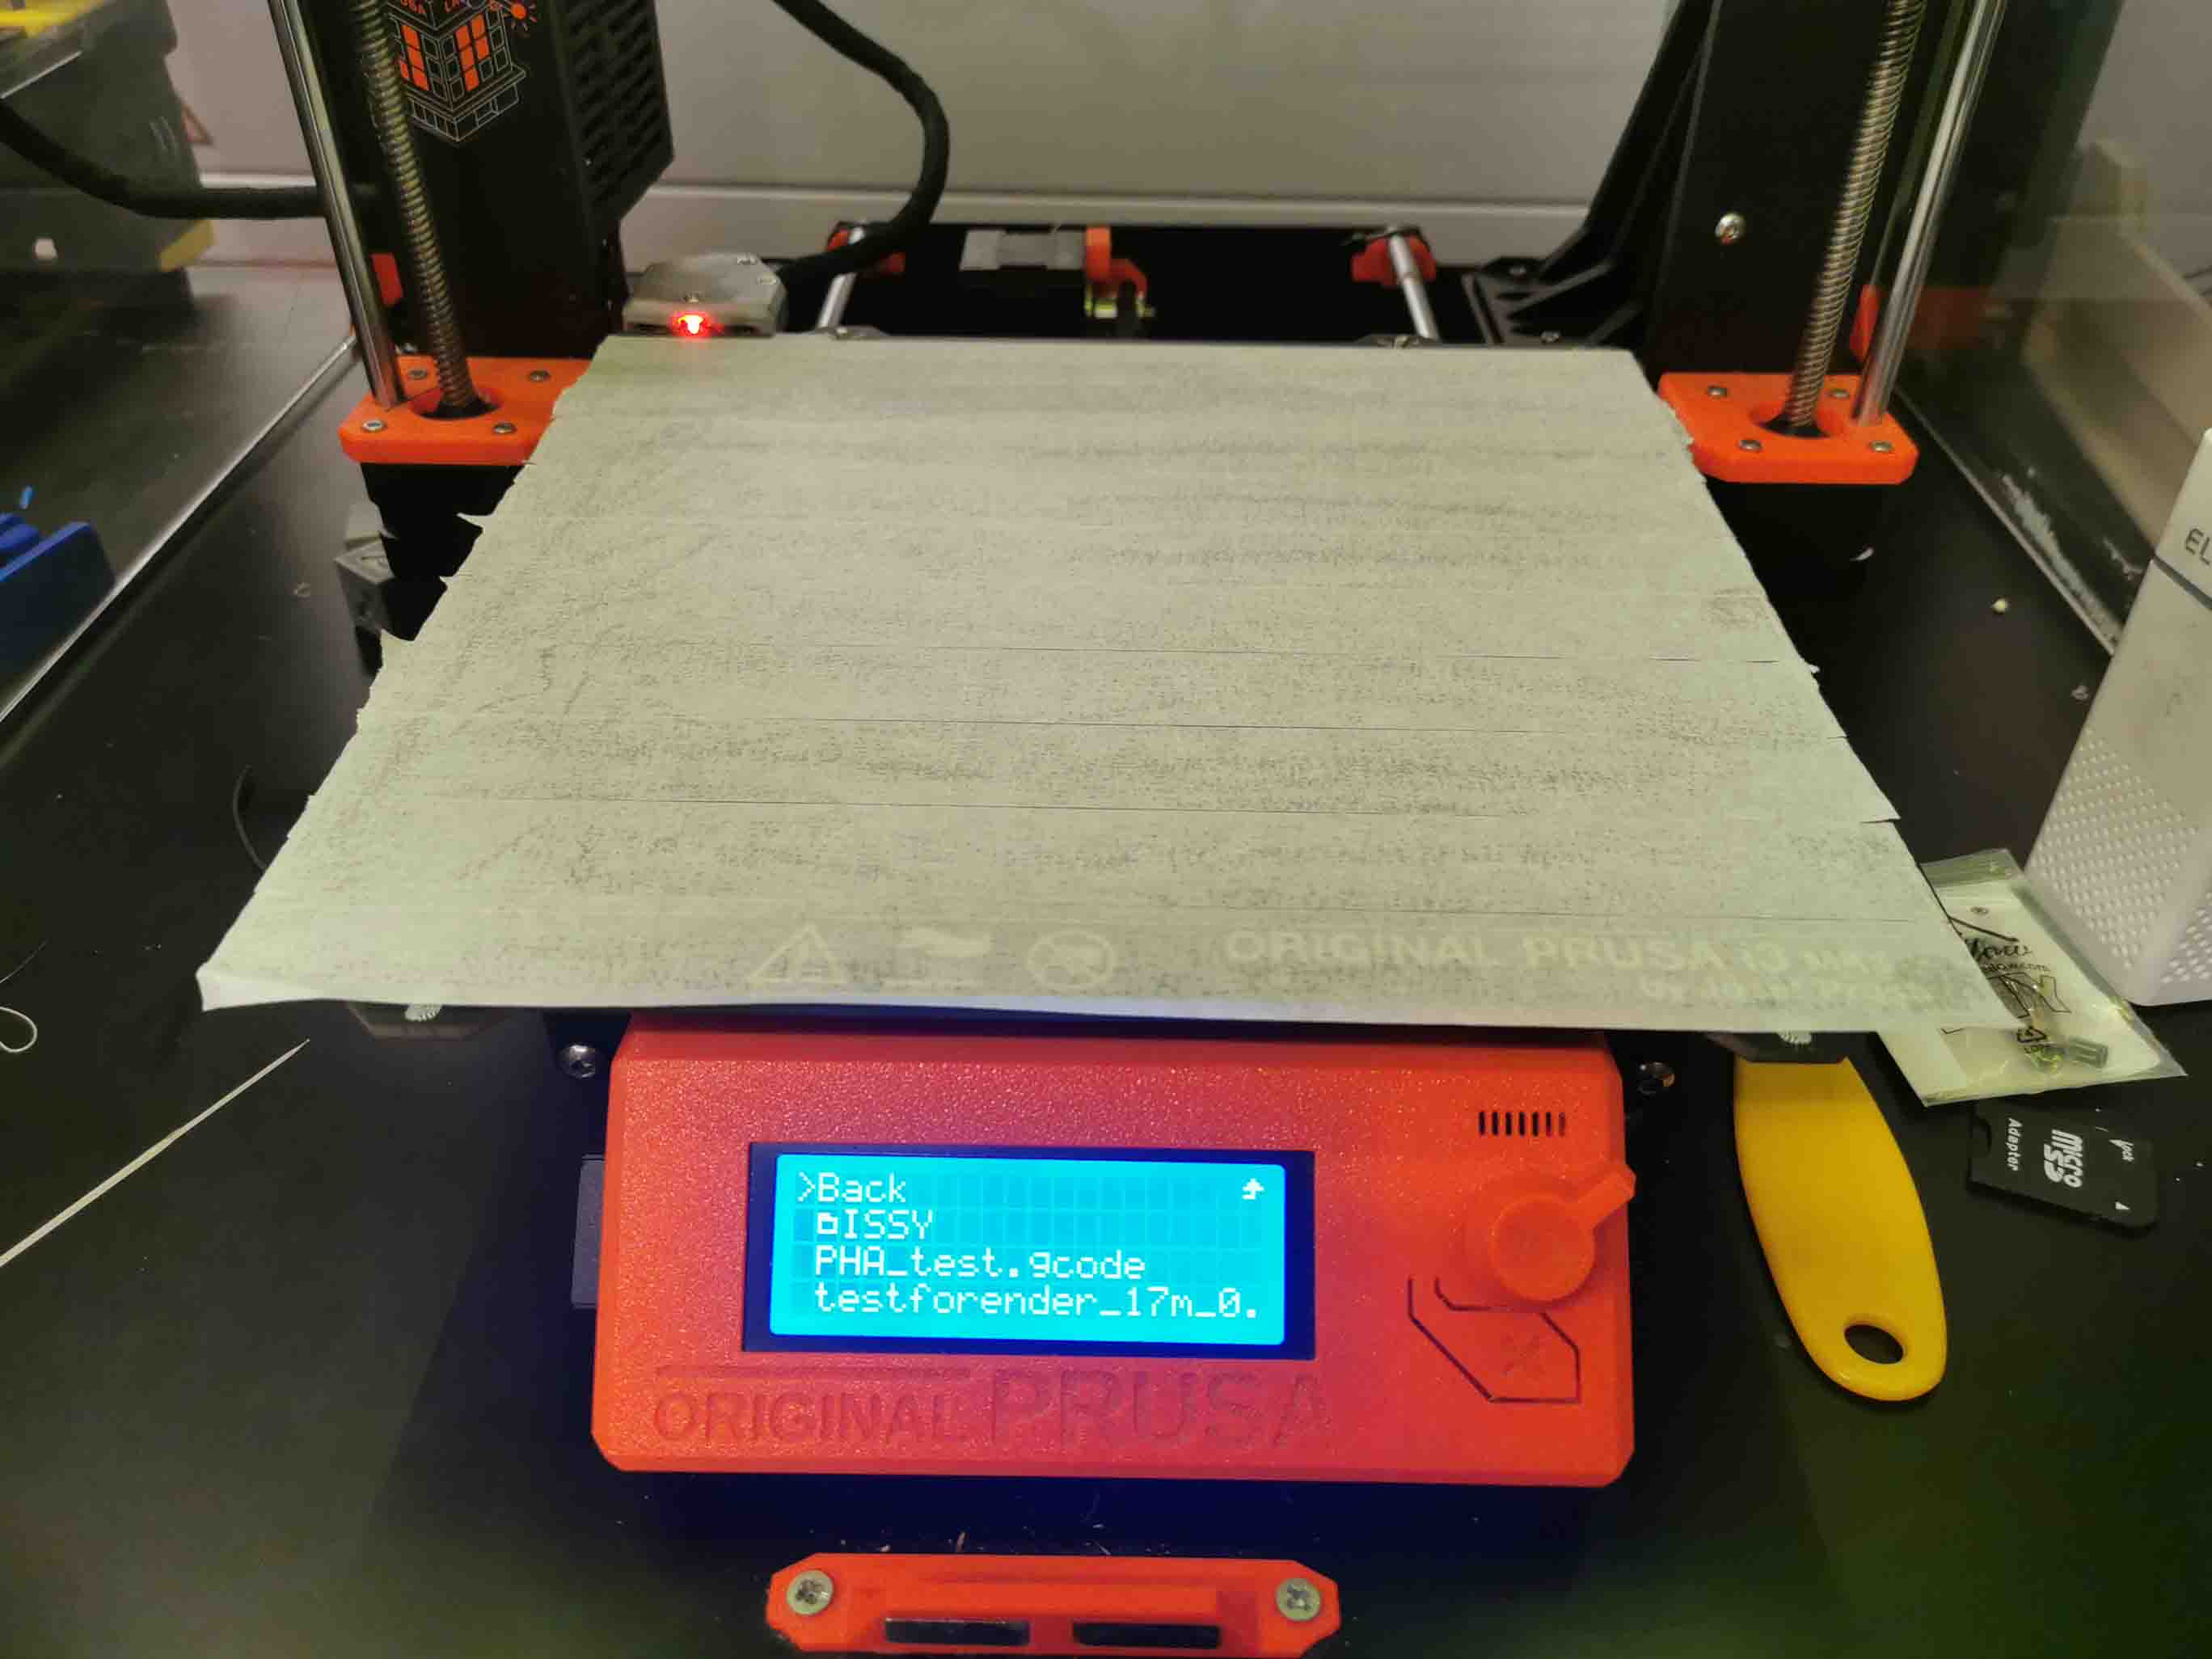
And adjusted the settings for the filament in Prusa slicer.

The glue underneath the tape still got warm from the nozzlehead leading to warping from quite early on. A little ironic since printing without the tape leads to too strong adhesion.
All-in-all the print when better then I had expected. It finished the whole model:
After removing it from the plate the glue from right underneath the plate was stuck, but this was easy to remove using etanol.
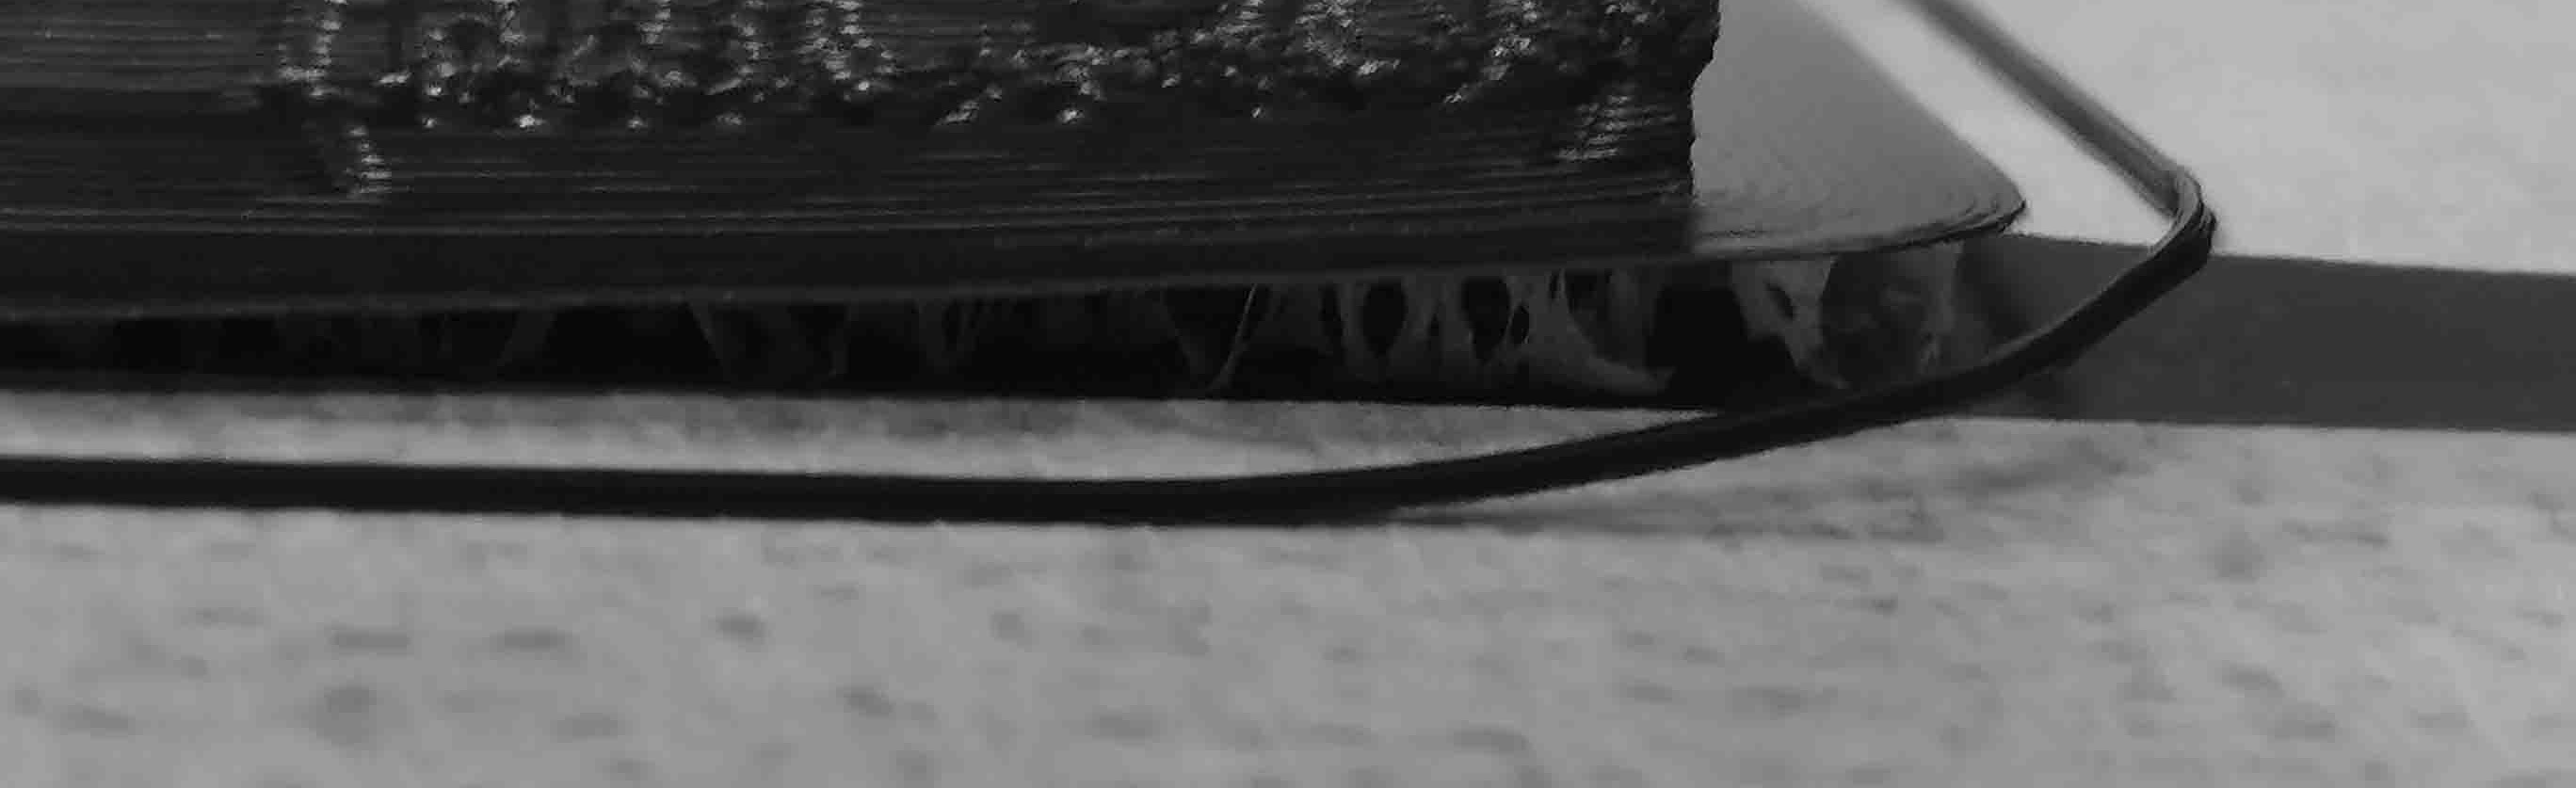
Lets take a closer look:
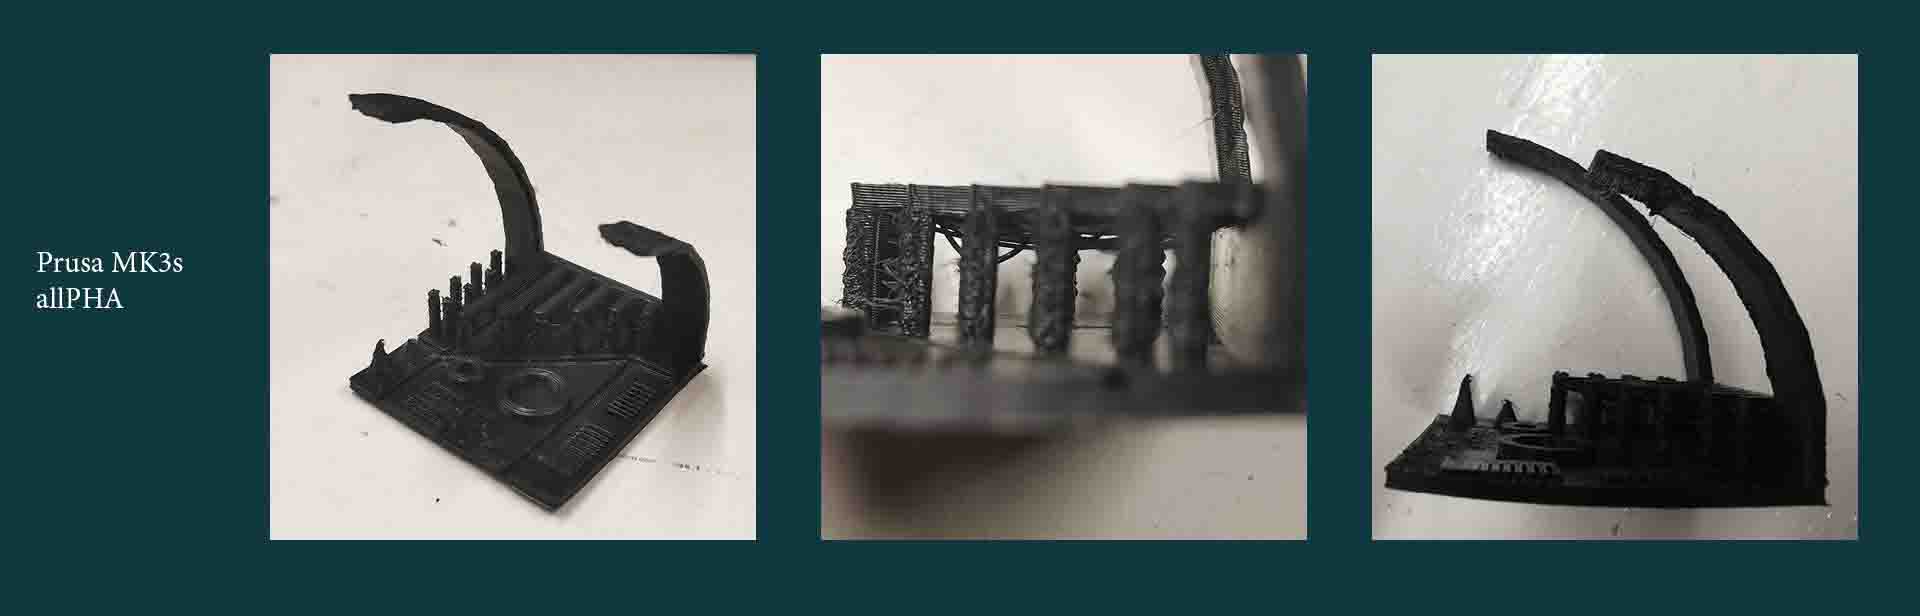
The base of the print warped severly because due to the tape letting go of the plate, despite being printed with a brim. It also printed very stringy and messy. In terms of angles the first 40 degrees were fine. It is also a very flexible print. I am going to be printing more with this filament I need to do some more test, Mabye the roll needs to be put in the dryer?
Printer 2: Ender 3
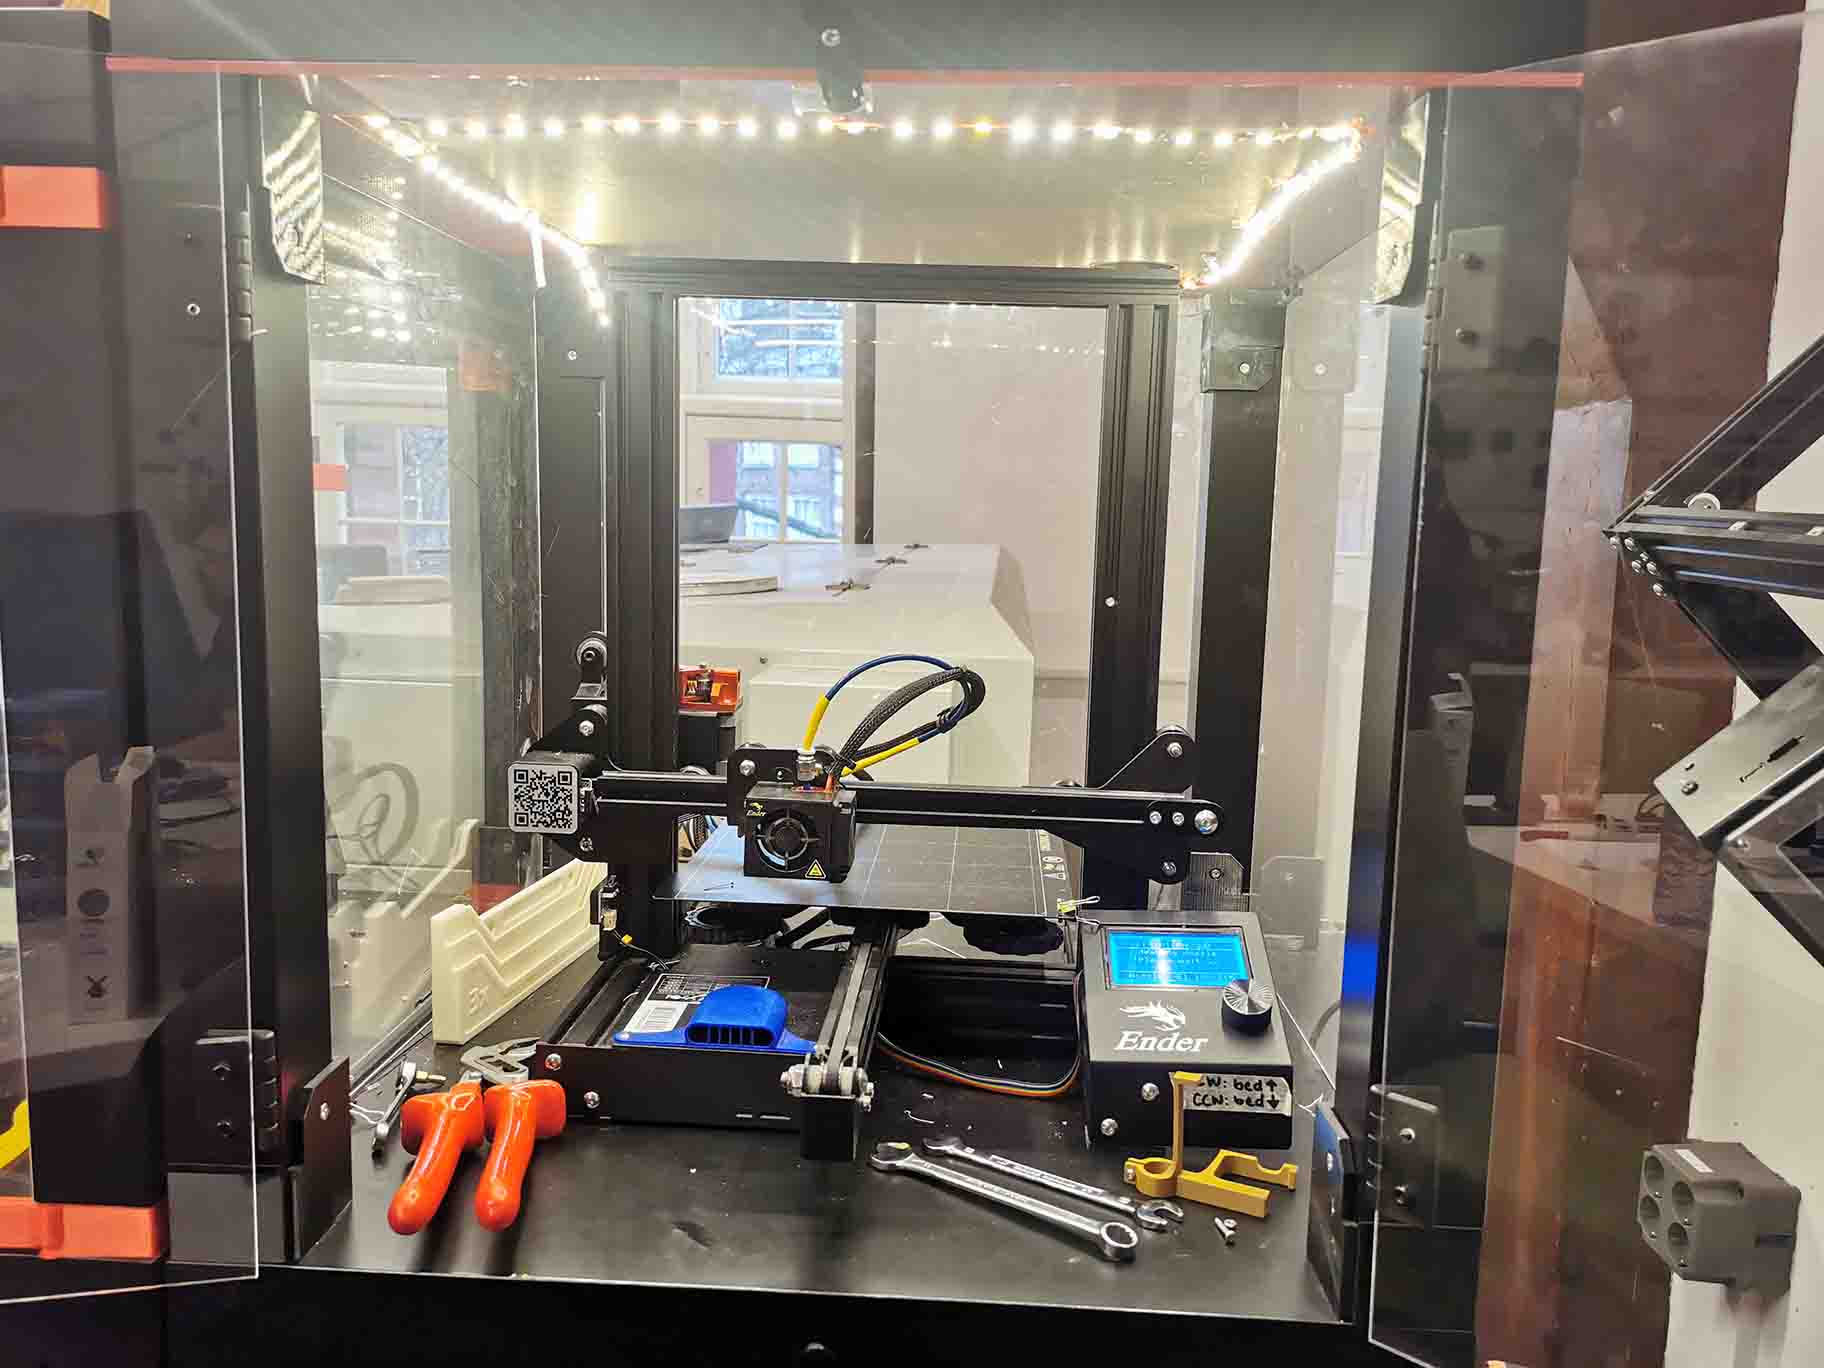
Brand: Ender 3 by Creality
Slicer: Prusa slicer
Manual: Here
The calibration of the ender is manual.
To calibrate this machine place a piece of paper on the heatbed. Make sure the nozzle is clean. Use the display on the right side of the machine to motion and Auto home.
The printer will then move the nozzle to the front left side.
Underneath the bed there are wheels that are used to heighten or lower the plate. Adjust the plate until you feel the nozzle "catching" the paper, but make sure you can still move it around. Do this in all 4 corners and finally in the centre of the bed.
I didn't use the Ender. Sam was busy with it most of the time and the nozzle got clogged whilst preforming the test print. In the end the filament was stuck in the tube and we could not use it any more.
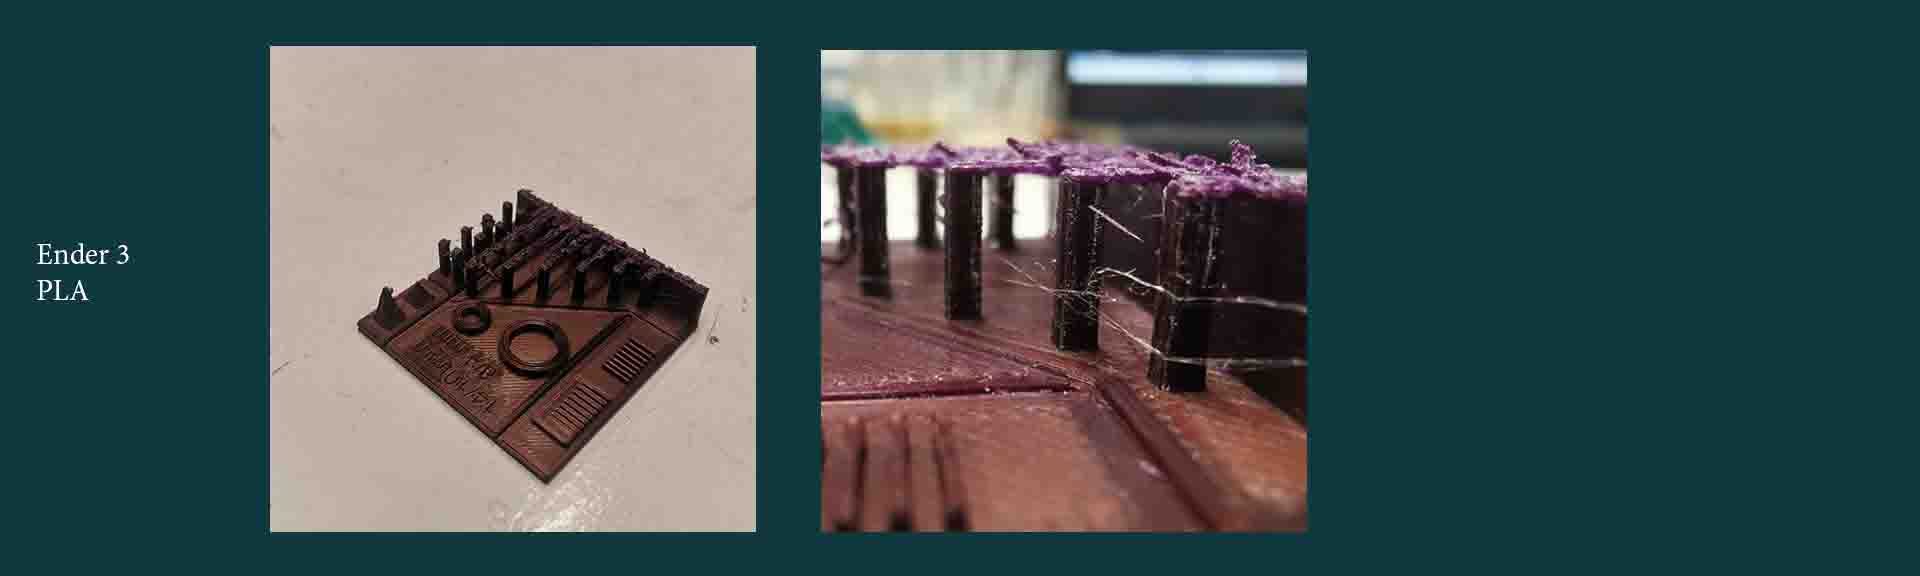
THe print had some strining, but seemed to be doing fine. I can't really tell how it went since it got clogged and could not finish the print.
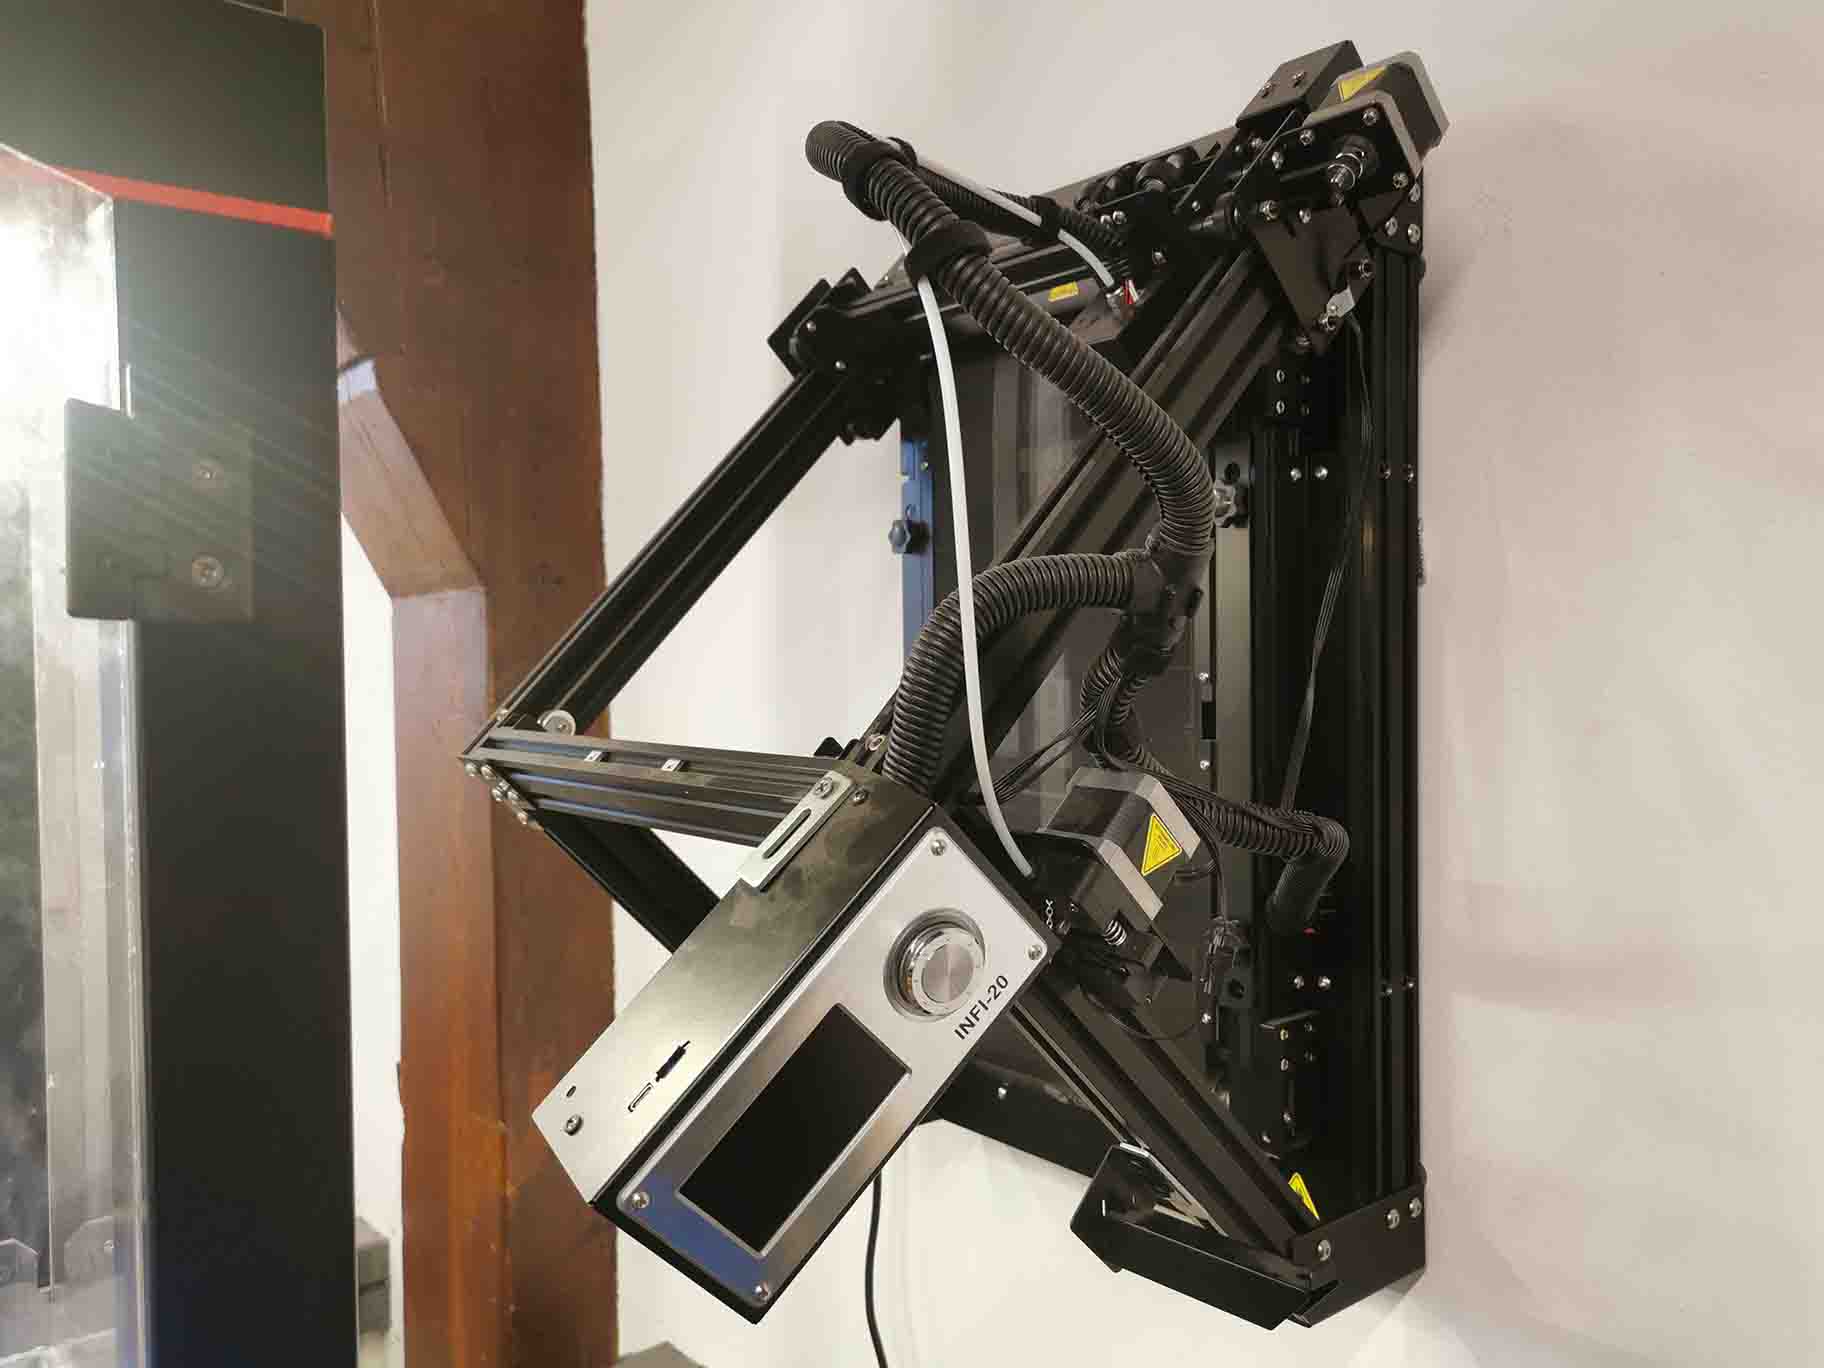
Printer 3: INFI-20
Brand: INFI-20 by SainSmart
Slicer: SainSmart slicer
Manual: Here
This printer is quite unique as it works with a belt allowing for very long prints or a lot of individual prints to be made. Space is not an issue since the prints will simply get moved out of the way when done. Here at Waag that printer is mounted on the wall.
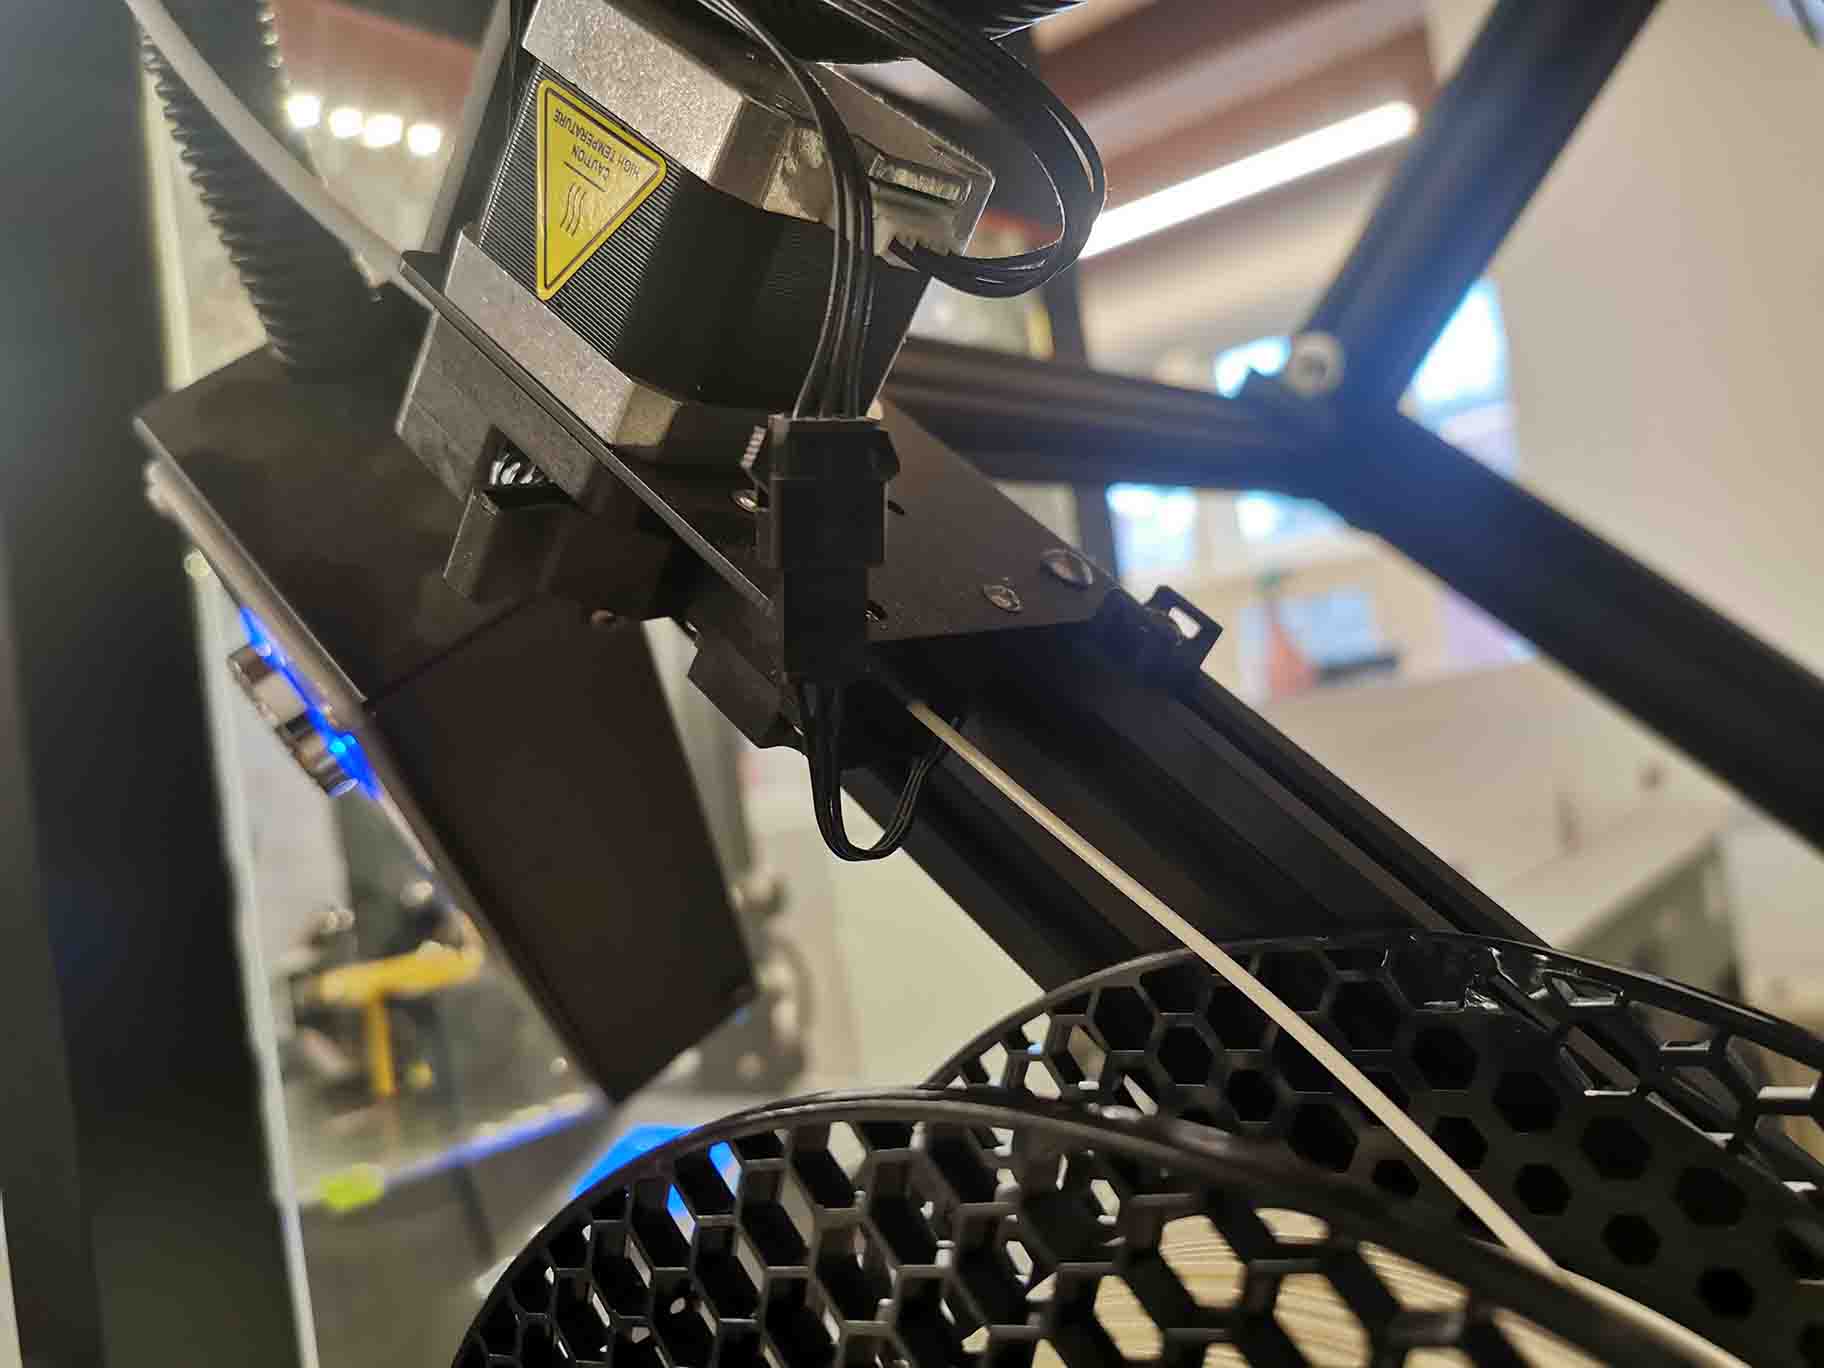
In order to load filament we used the screen to set the temperatures of the nozzle and bed. Then we put the filament roll on the handle and fed it in on the side of the machine:
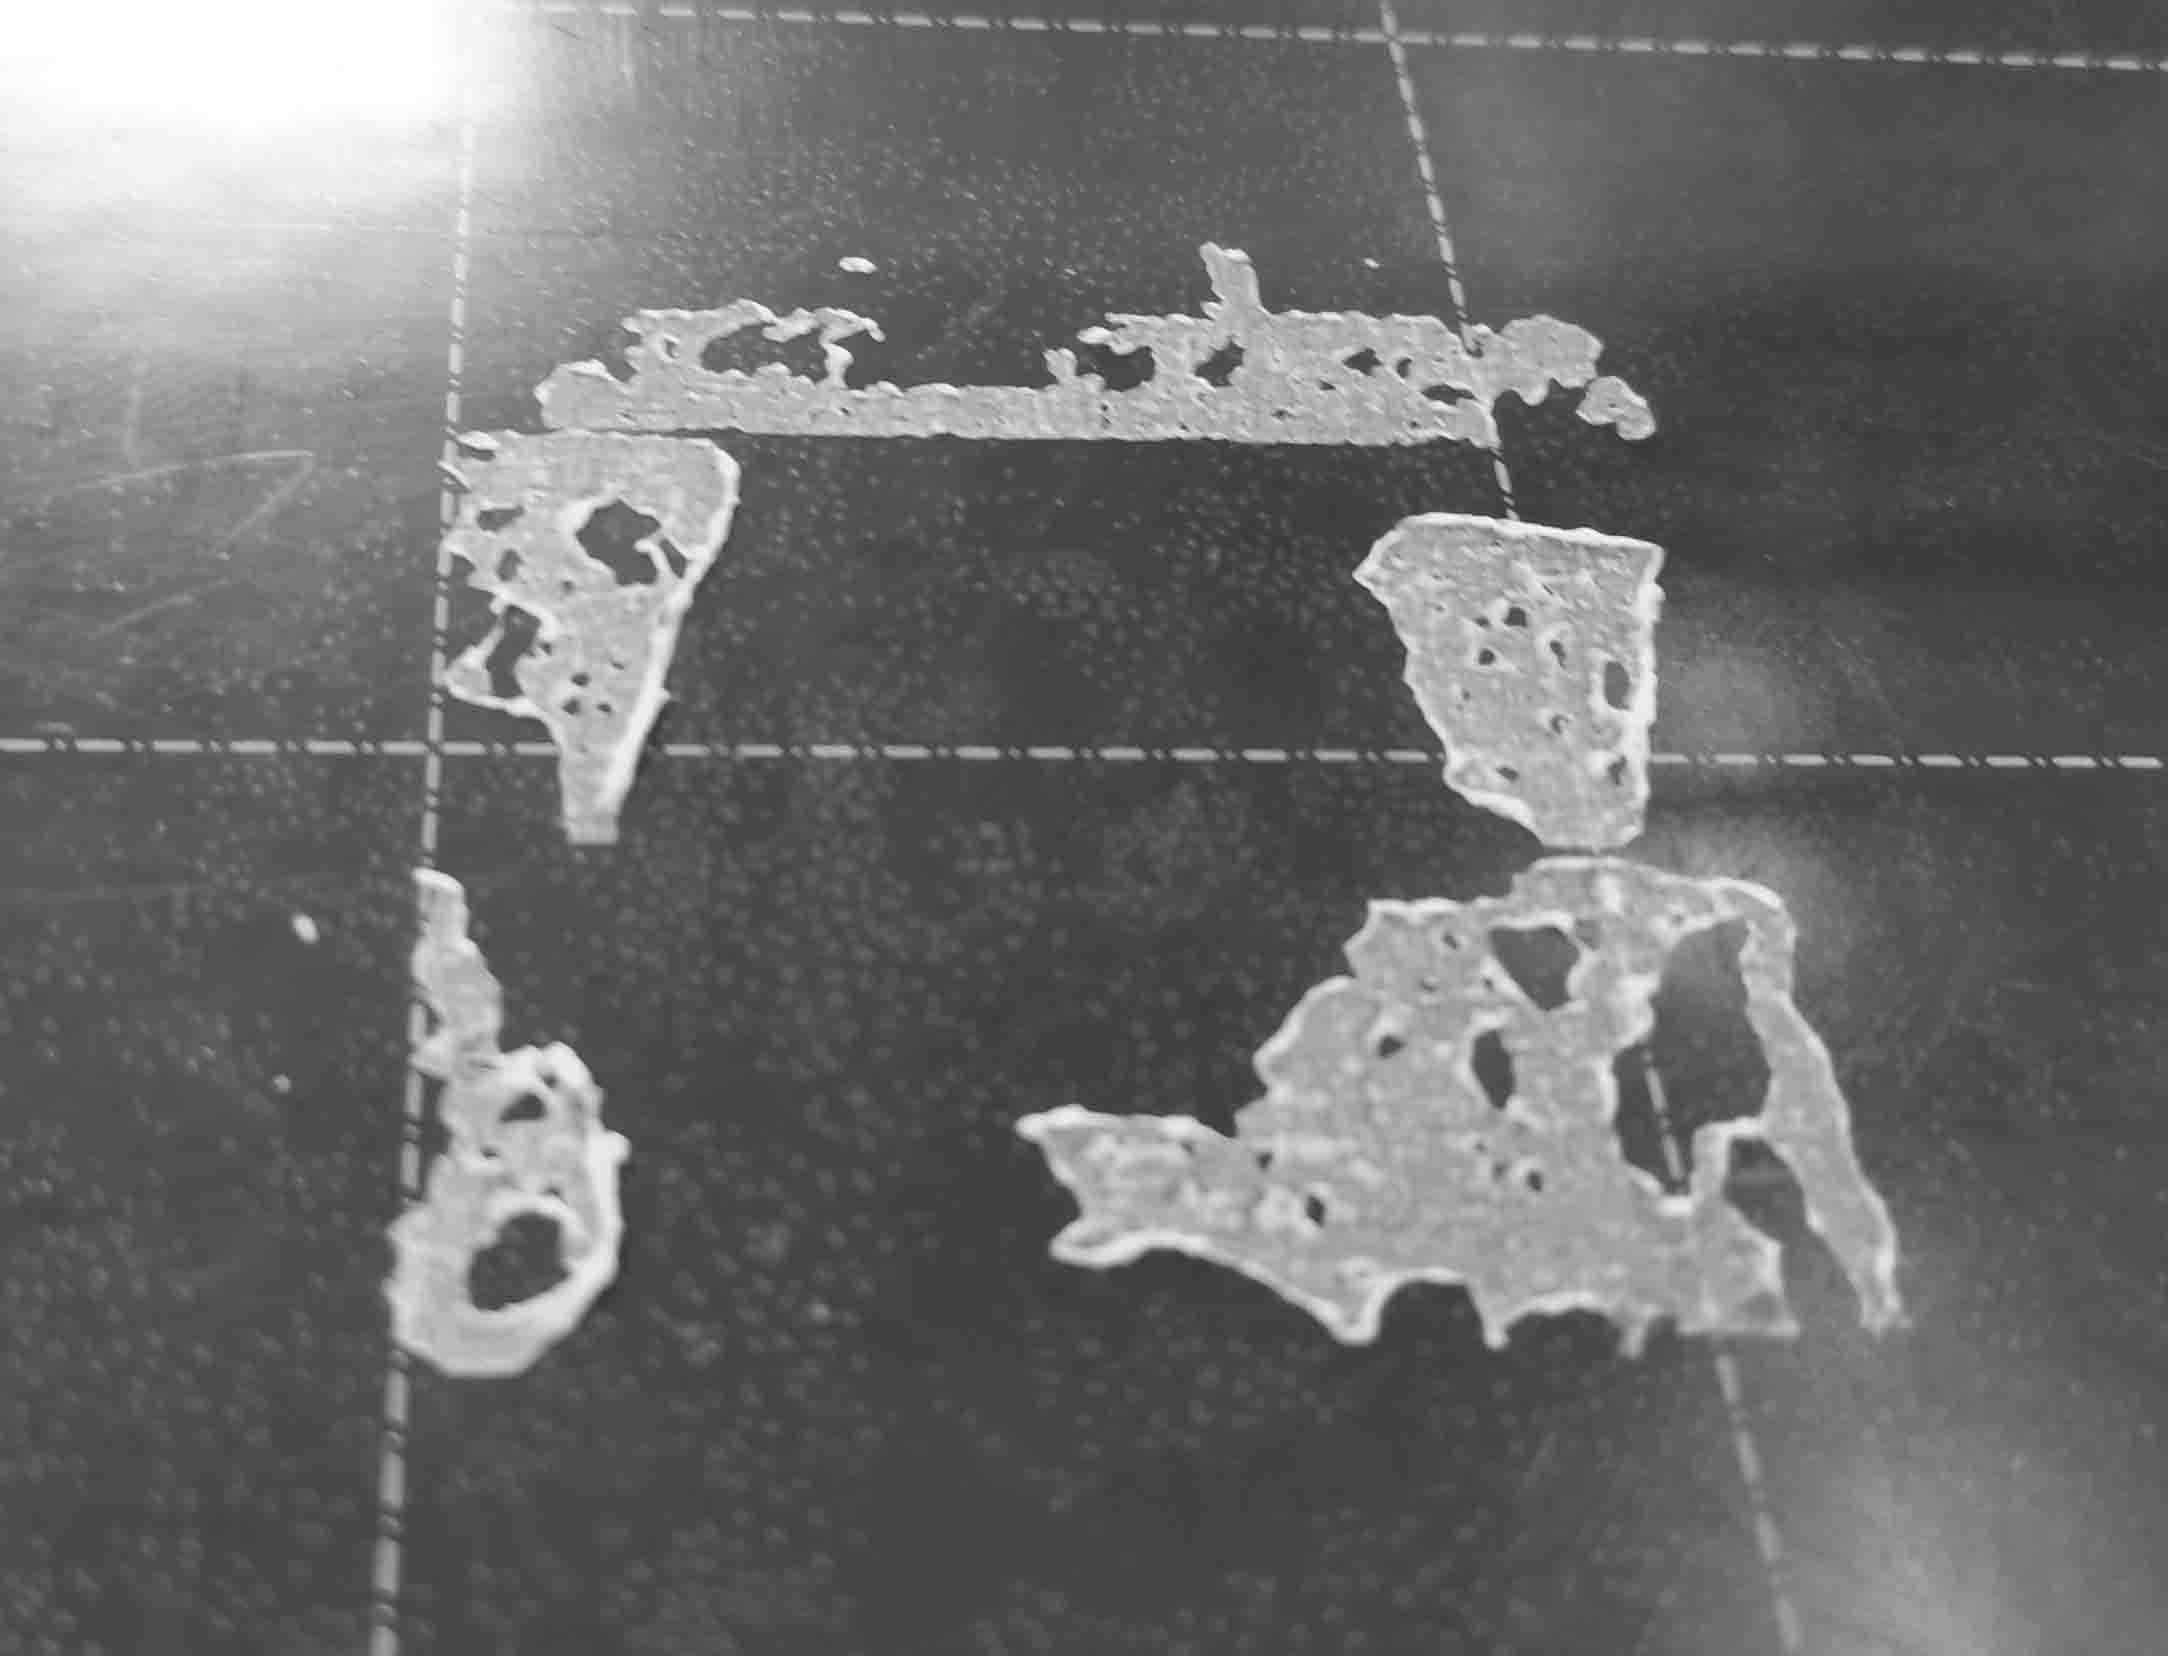
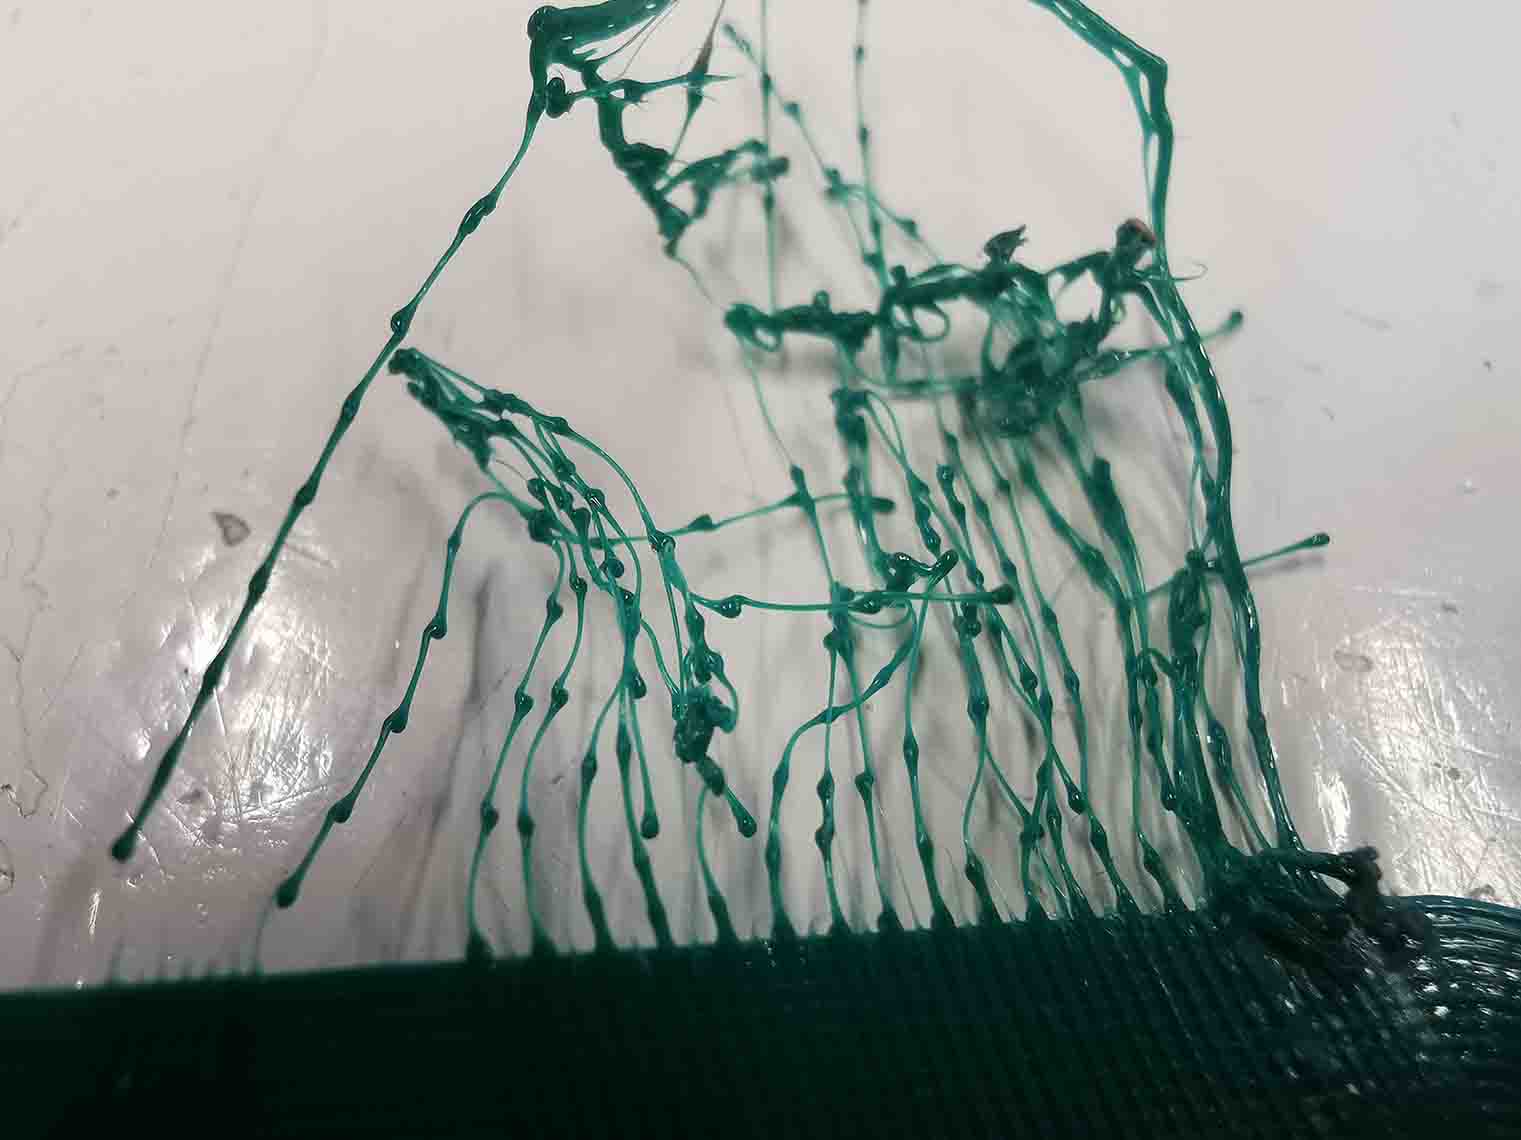
To test the first printing layer we navigated to the test print and watched to see if the line would stay on the wall.
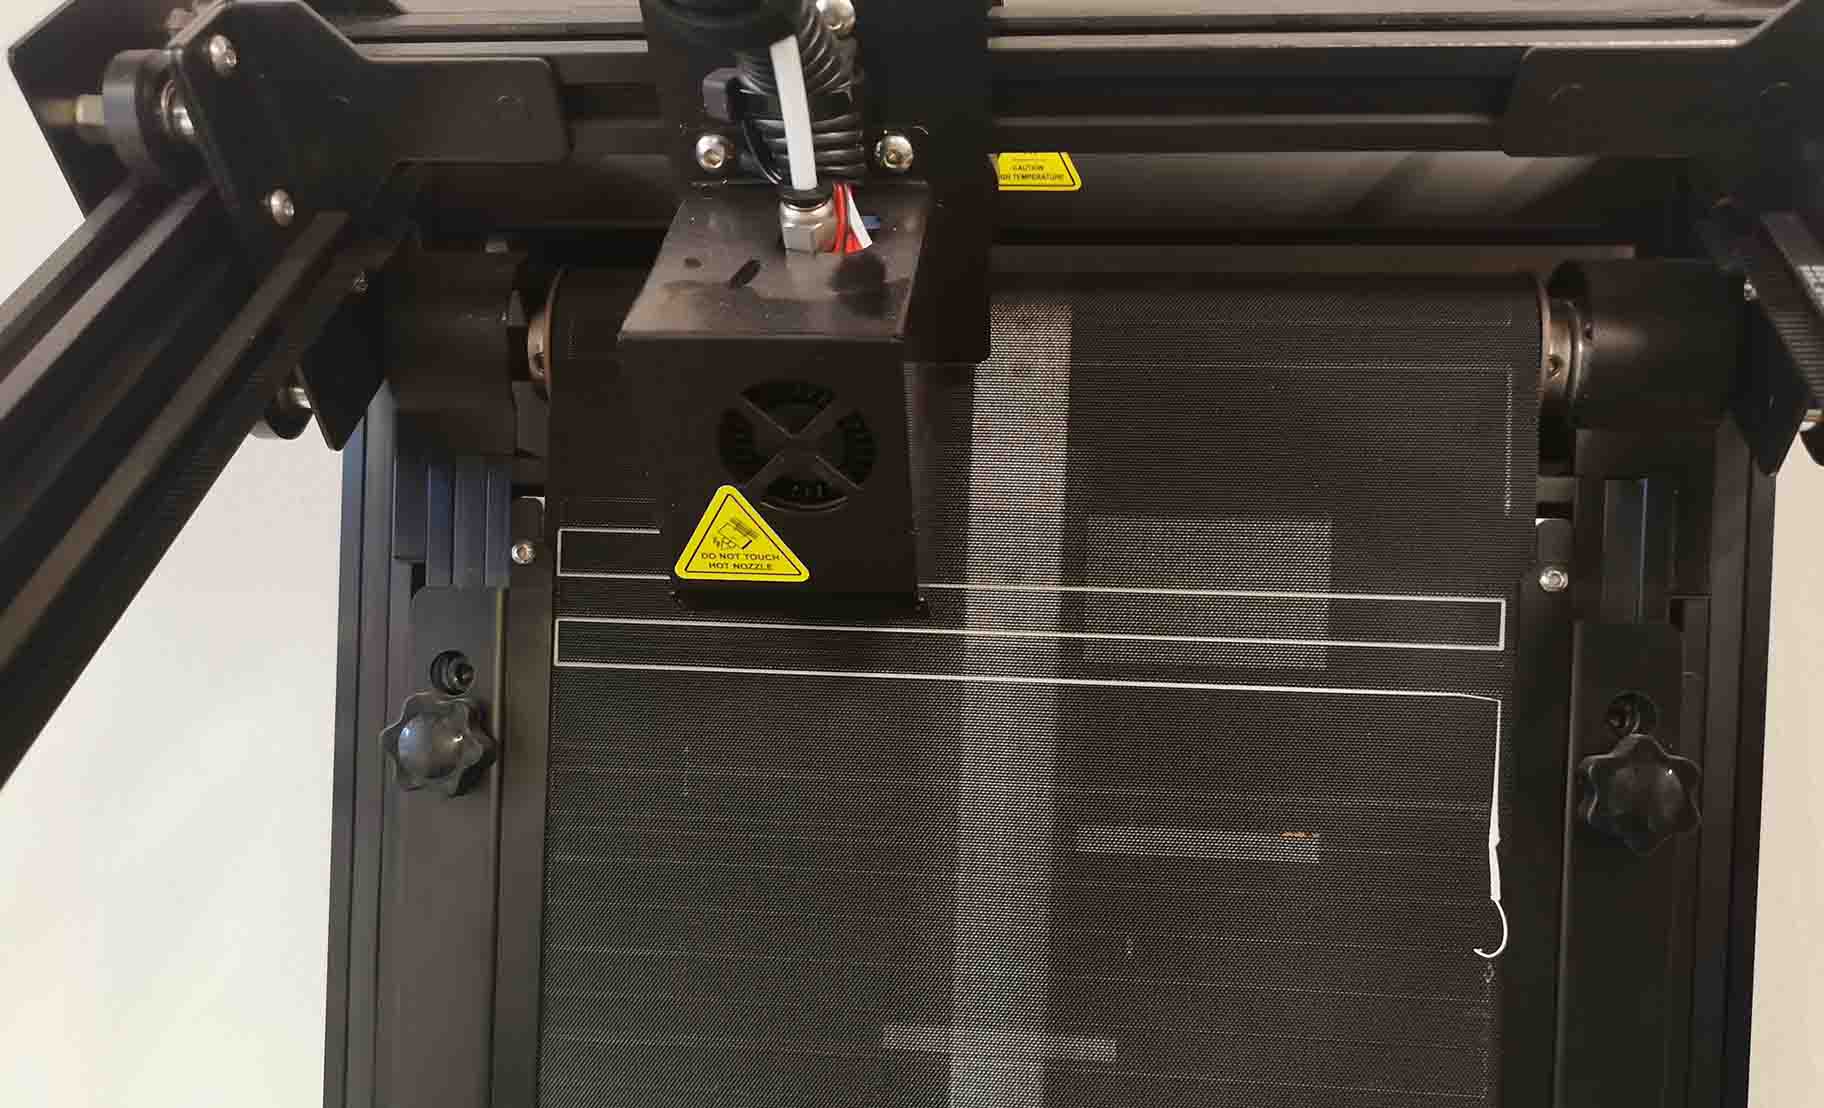
Despite the first layer test being a success any other print fell off:
In the end we have not been able to print with this printer yet.
Printer 4: Ultimaker 2+

Brand: Ultimaker 2+
Slicer: Cura slicer
Manual: Here
The ultimaket guides you through how to level it. Navigate to the right setting on the display on the front of the printer. Once started move the build plate up until it is a millimeter from the nozzle. After this the nozzle moves to all four corners and they can be adjusted in the same way as the Ender 3, by thigtening or loosening the screws underneath. Use a piece of paper on this machine aswell.
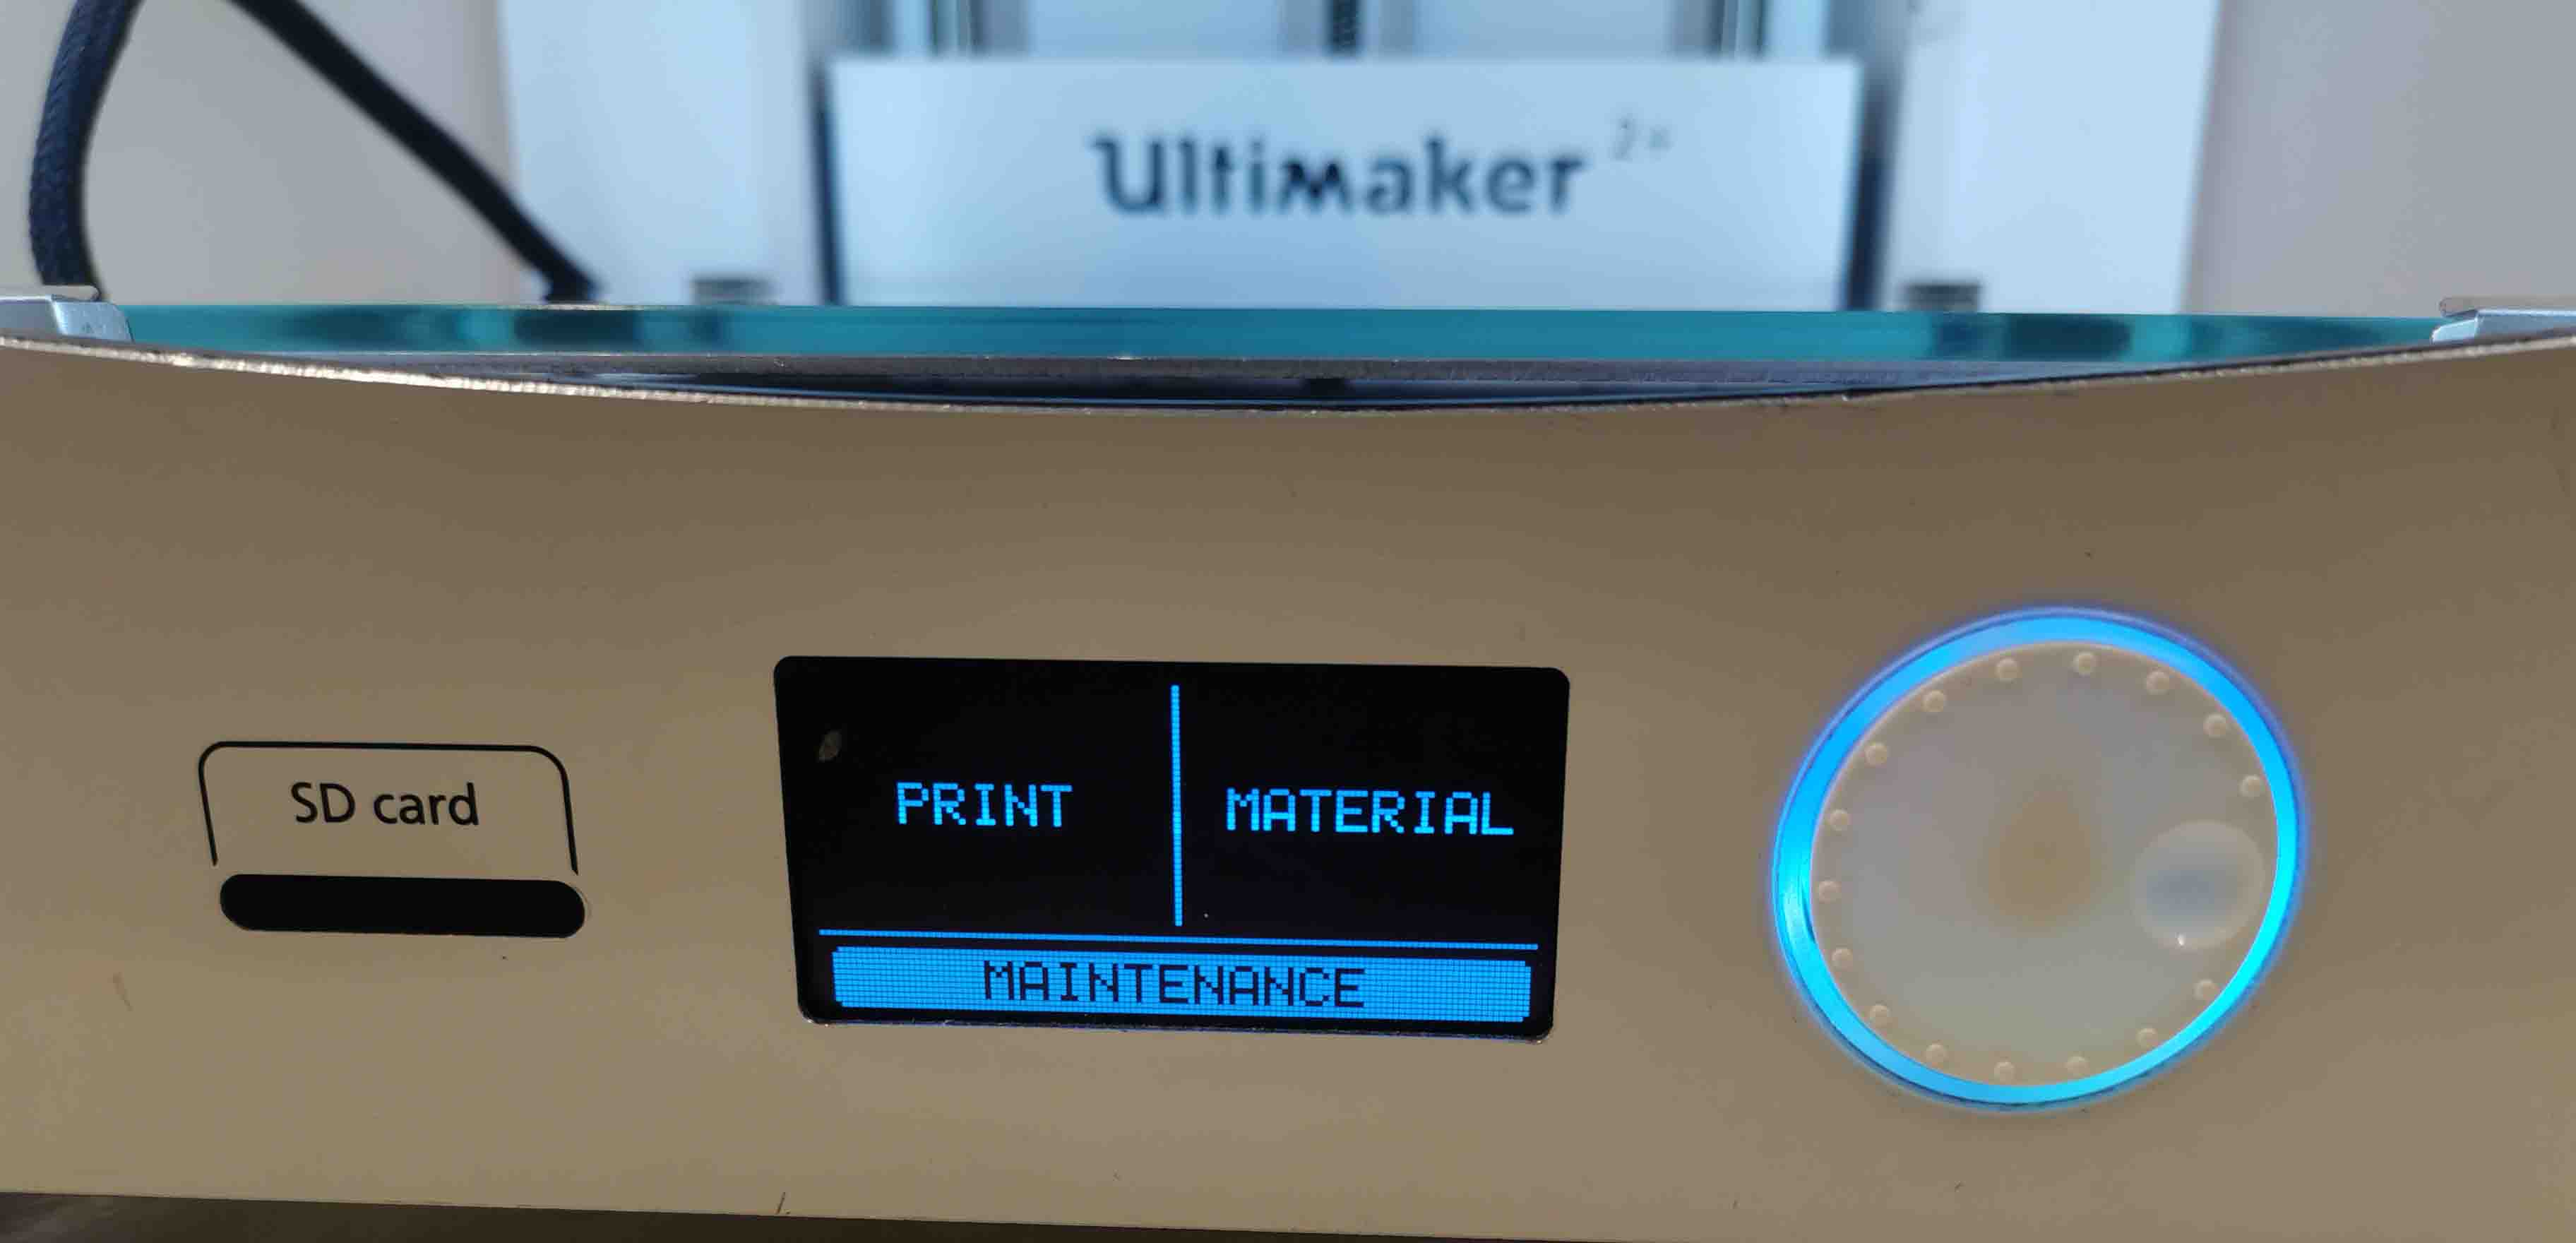
The display on the Ultimaker 2+ is easy to use. The button is a wheel that can be spun to go up or down and clicked to select the hightlighted part of the screen.
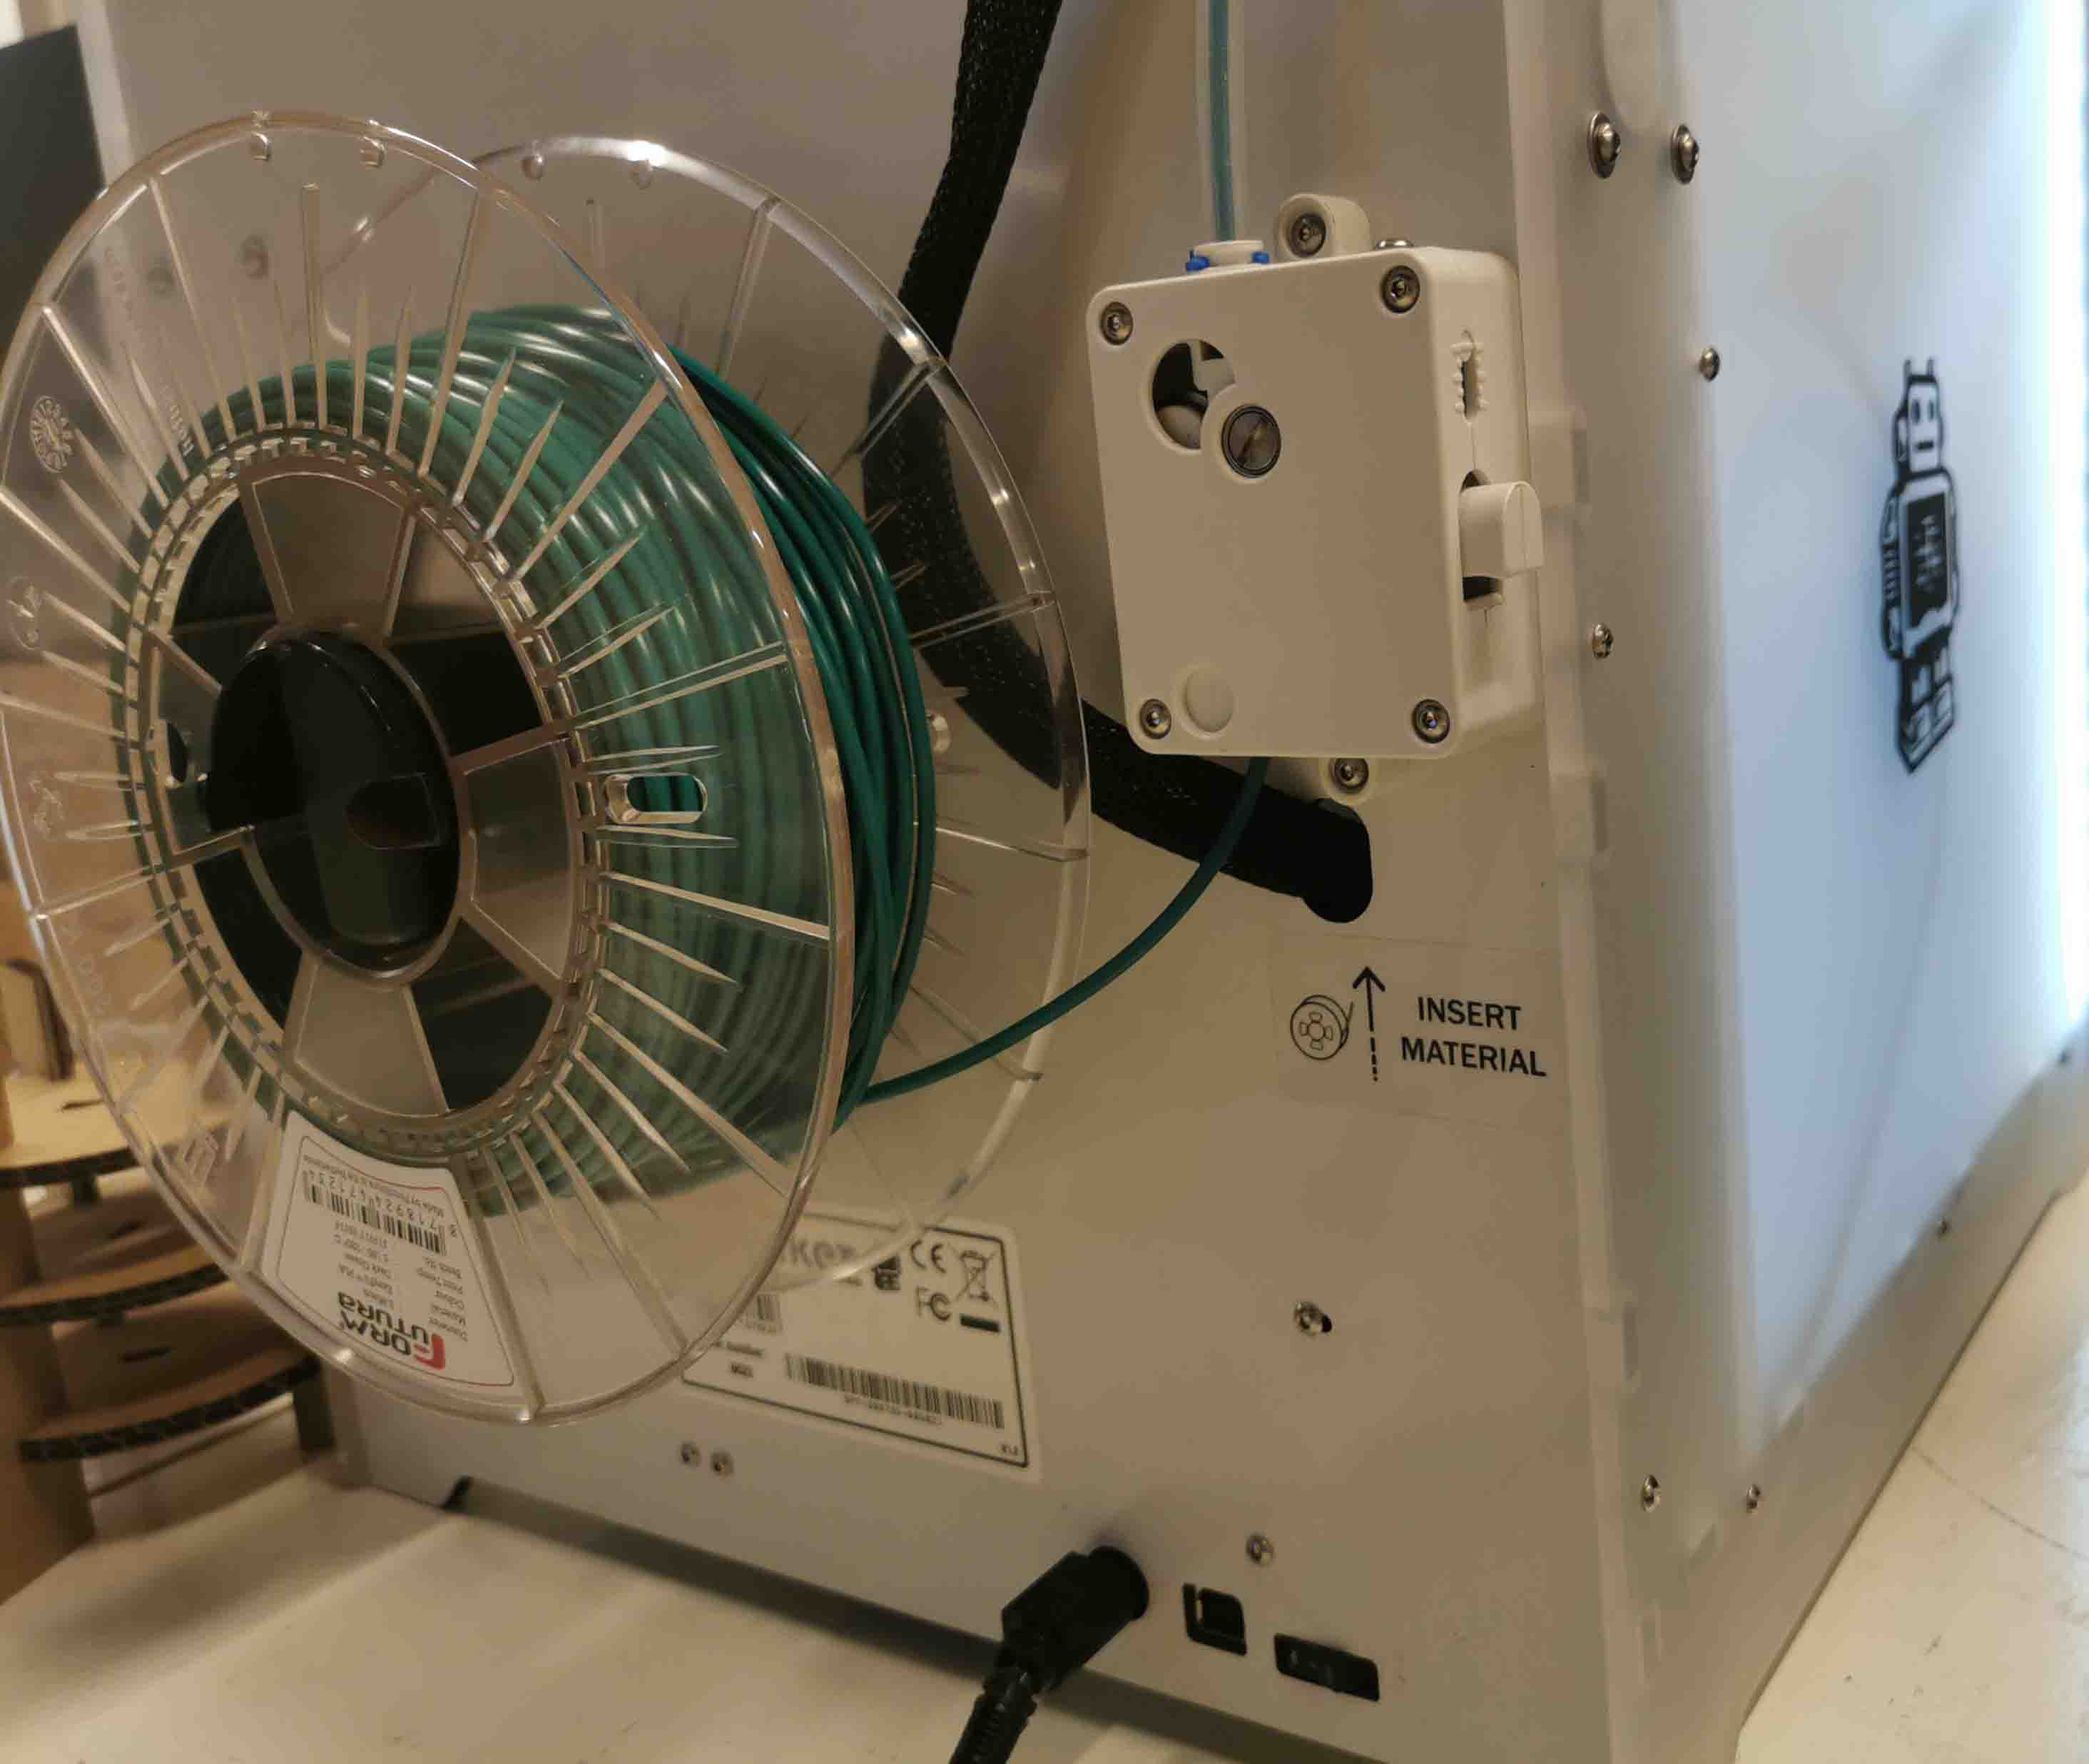
On the back of the Ultimaker is the on-switch filament holder and where we feed in the filament when loading. It is important to note that the filament needs to be 2.85 thick. In the workspace these filaments are stored on the back-side of the #D printers towards the lasercutter.
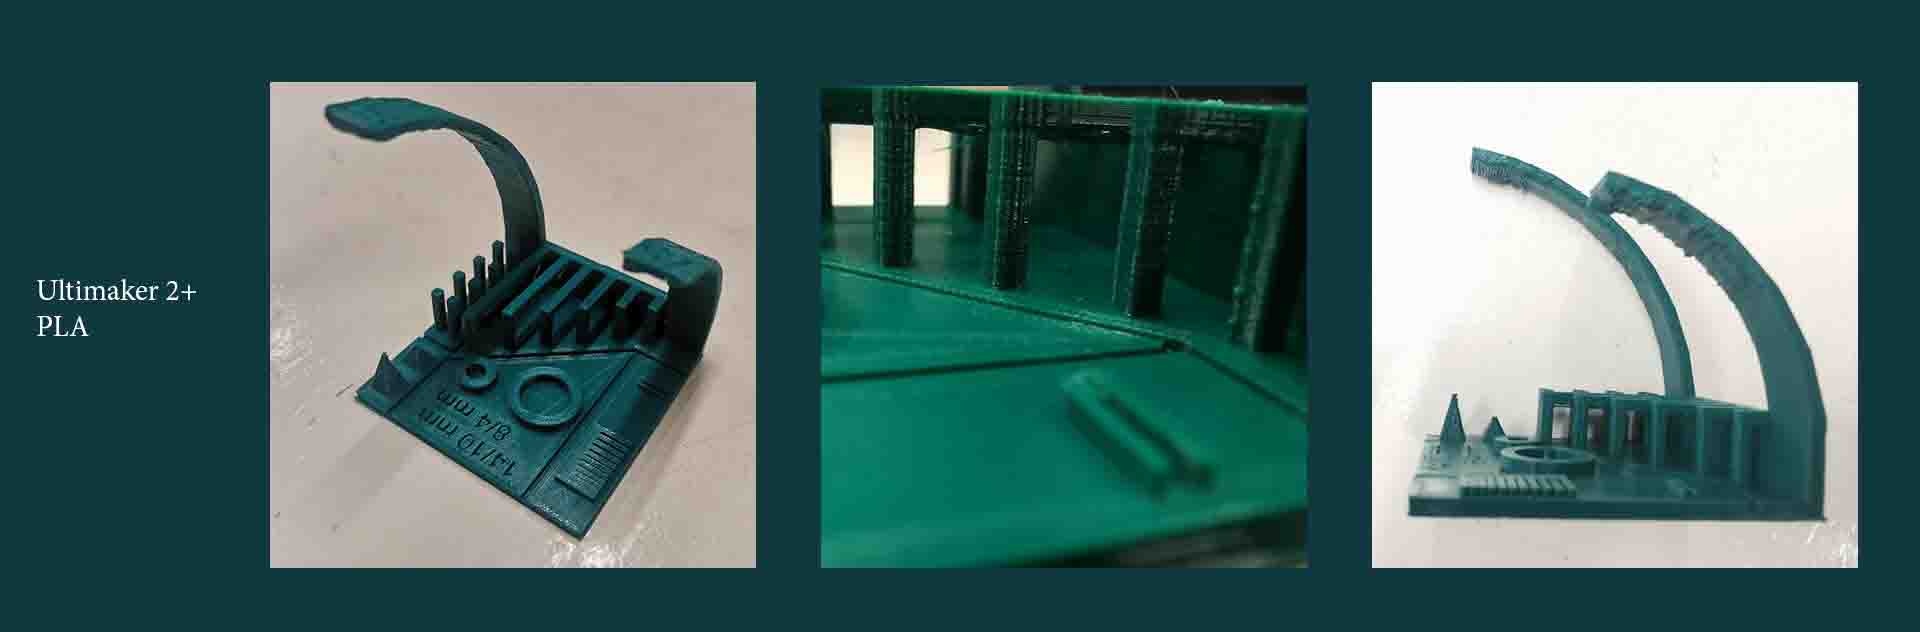
The Ultimaker prints very nicely! It prints angles good until after 60 degrees. Only the last overhang has some small stringing.
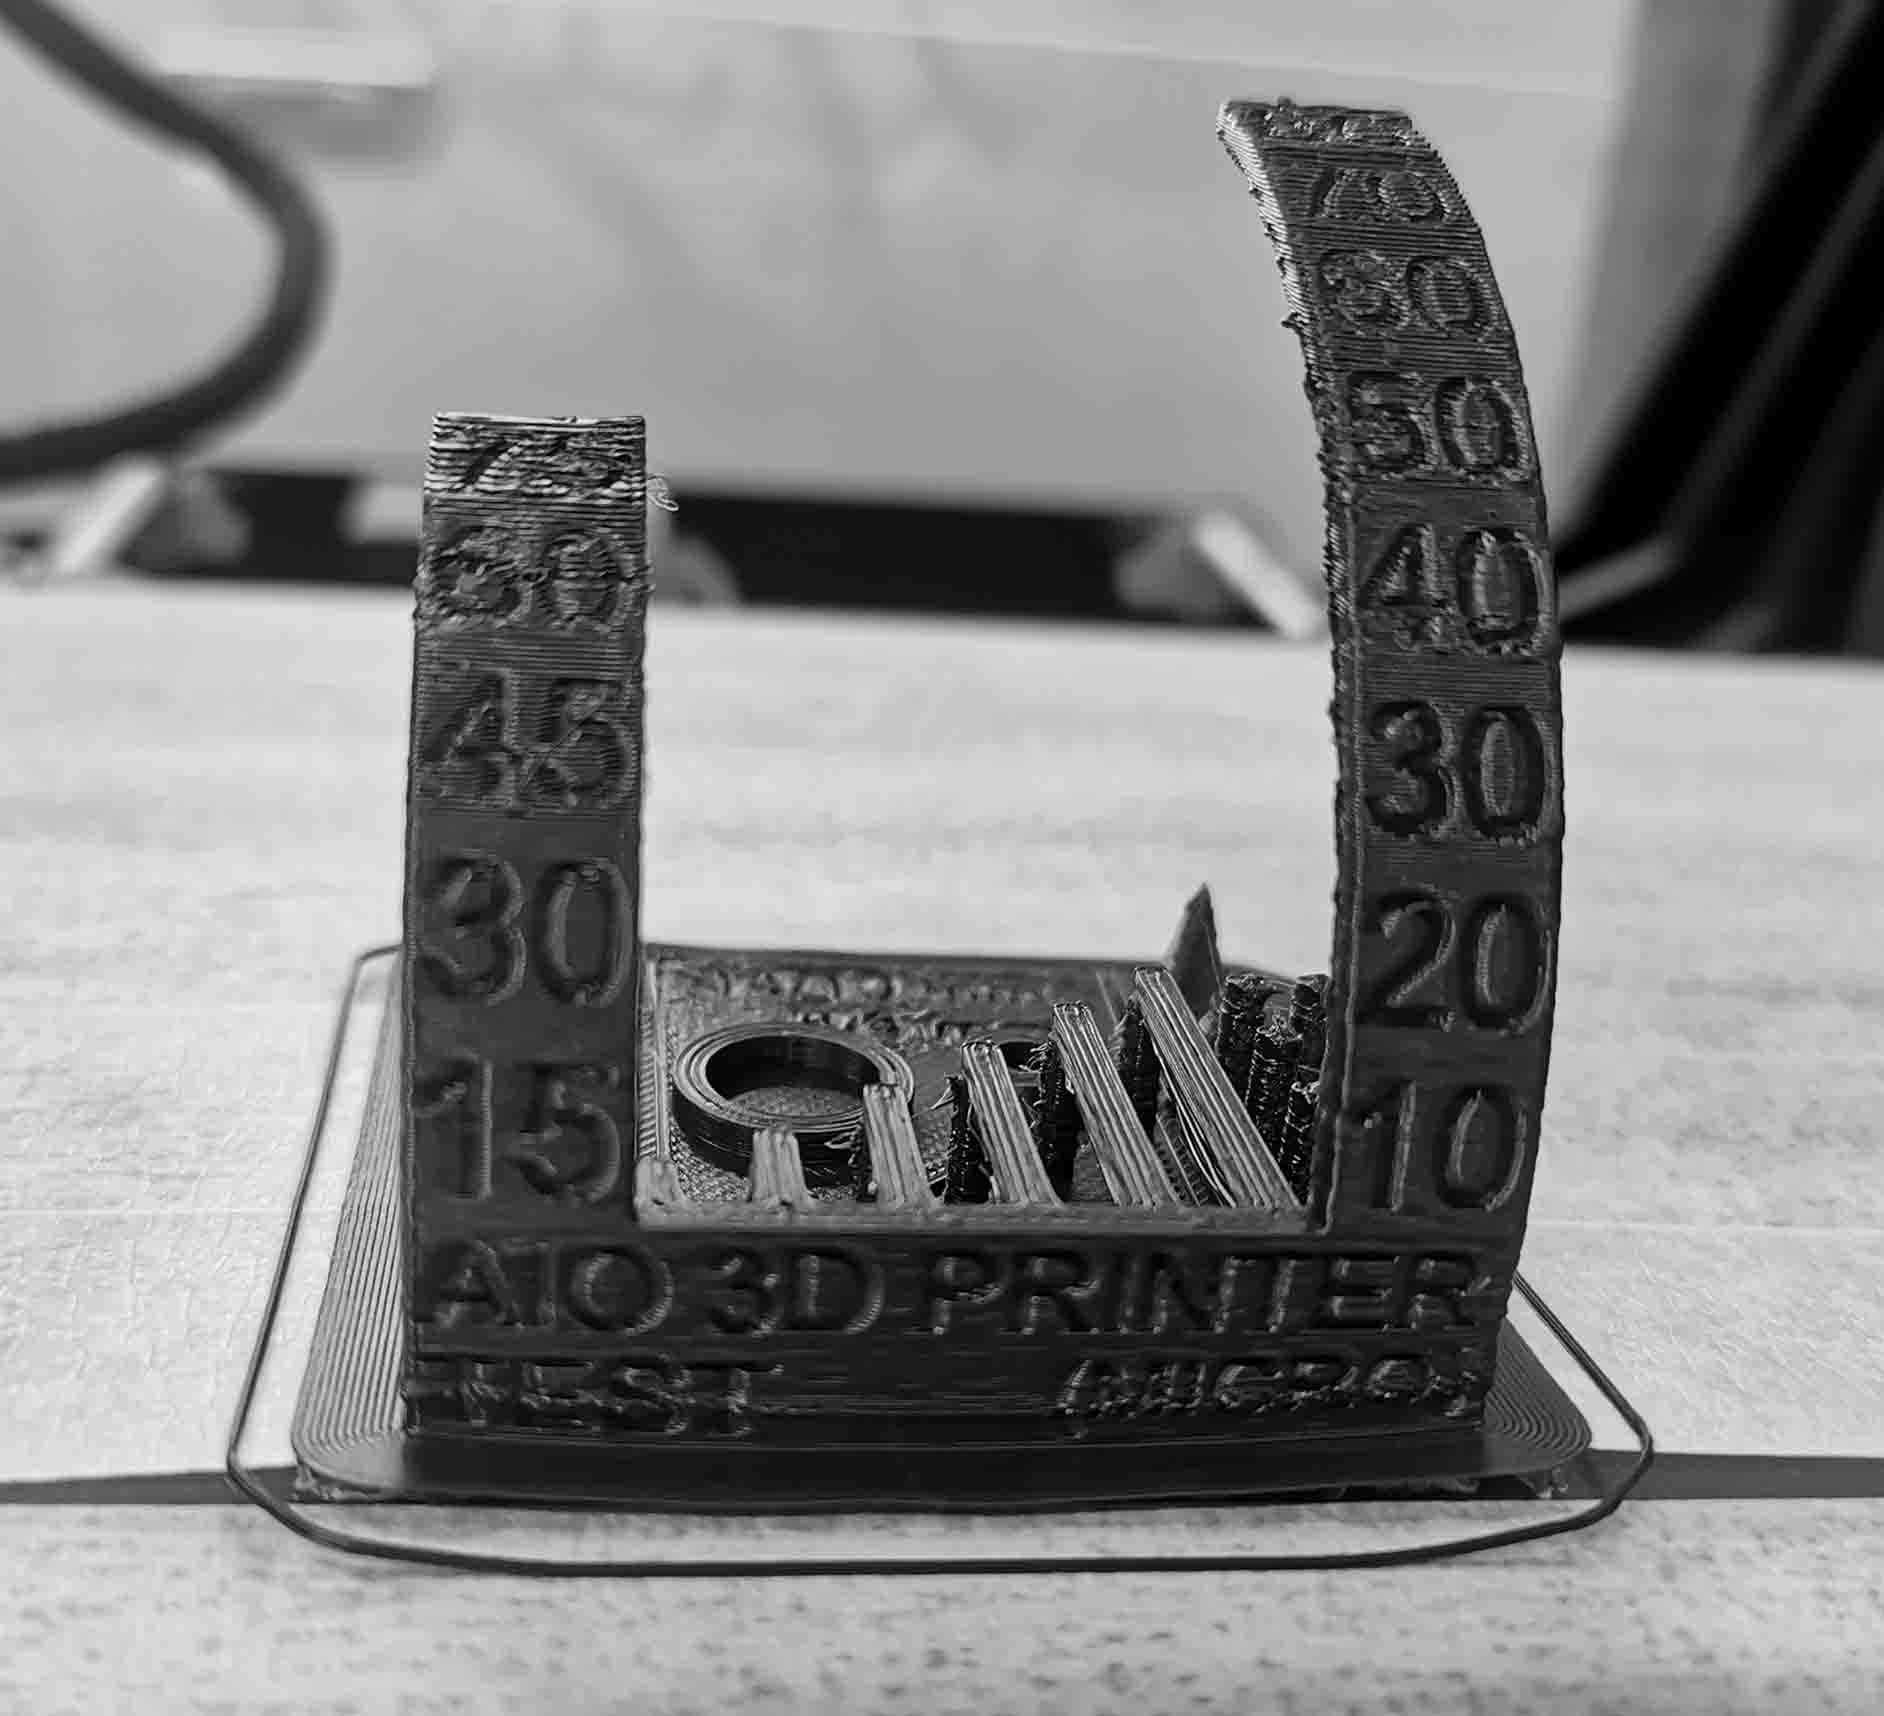
Design rules of our printers
To compare the printers and to get a look at their capabilities in terms of overhang, bridging, stringing, sharp-corners, tolerance, and scale/diameter using this model.

The two best results were the PLA printed on the Prusa MK3s and PLA printed on the Ultimaker 2s. The Prusa print was better at the angles, but there was quite some strining, whilst the Ultimaker print has a very clean print in general and falters slightly at the angles in comparison.
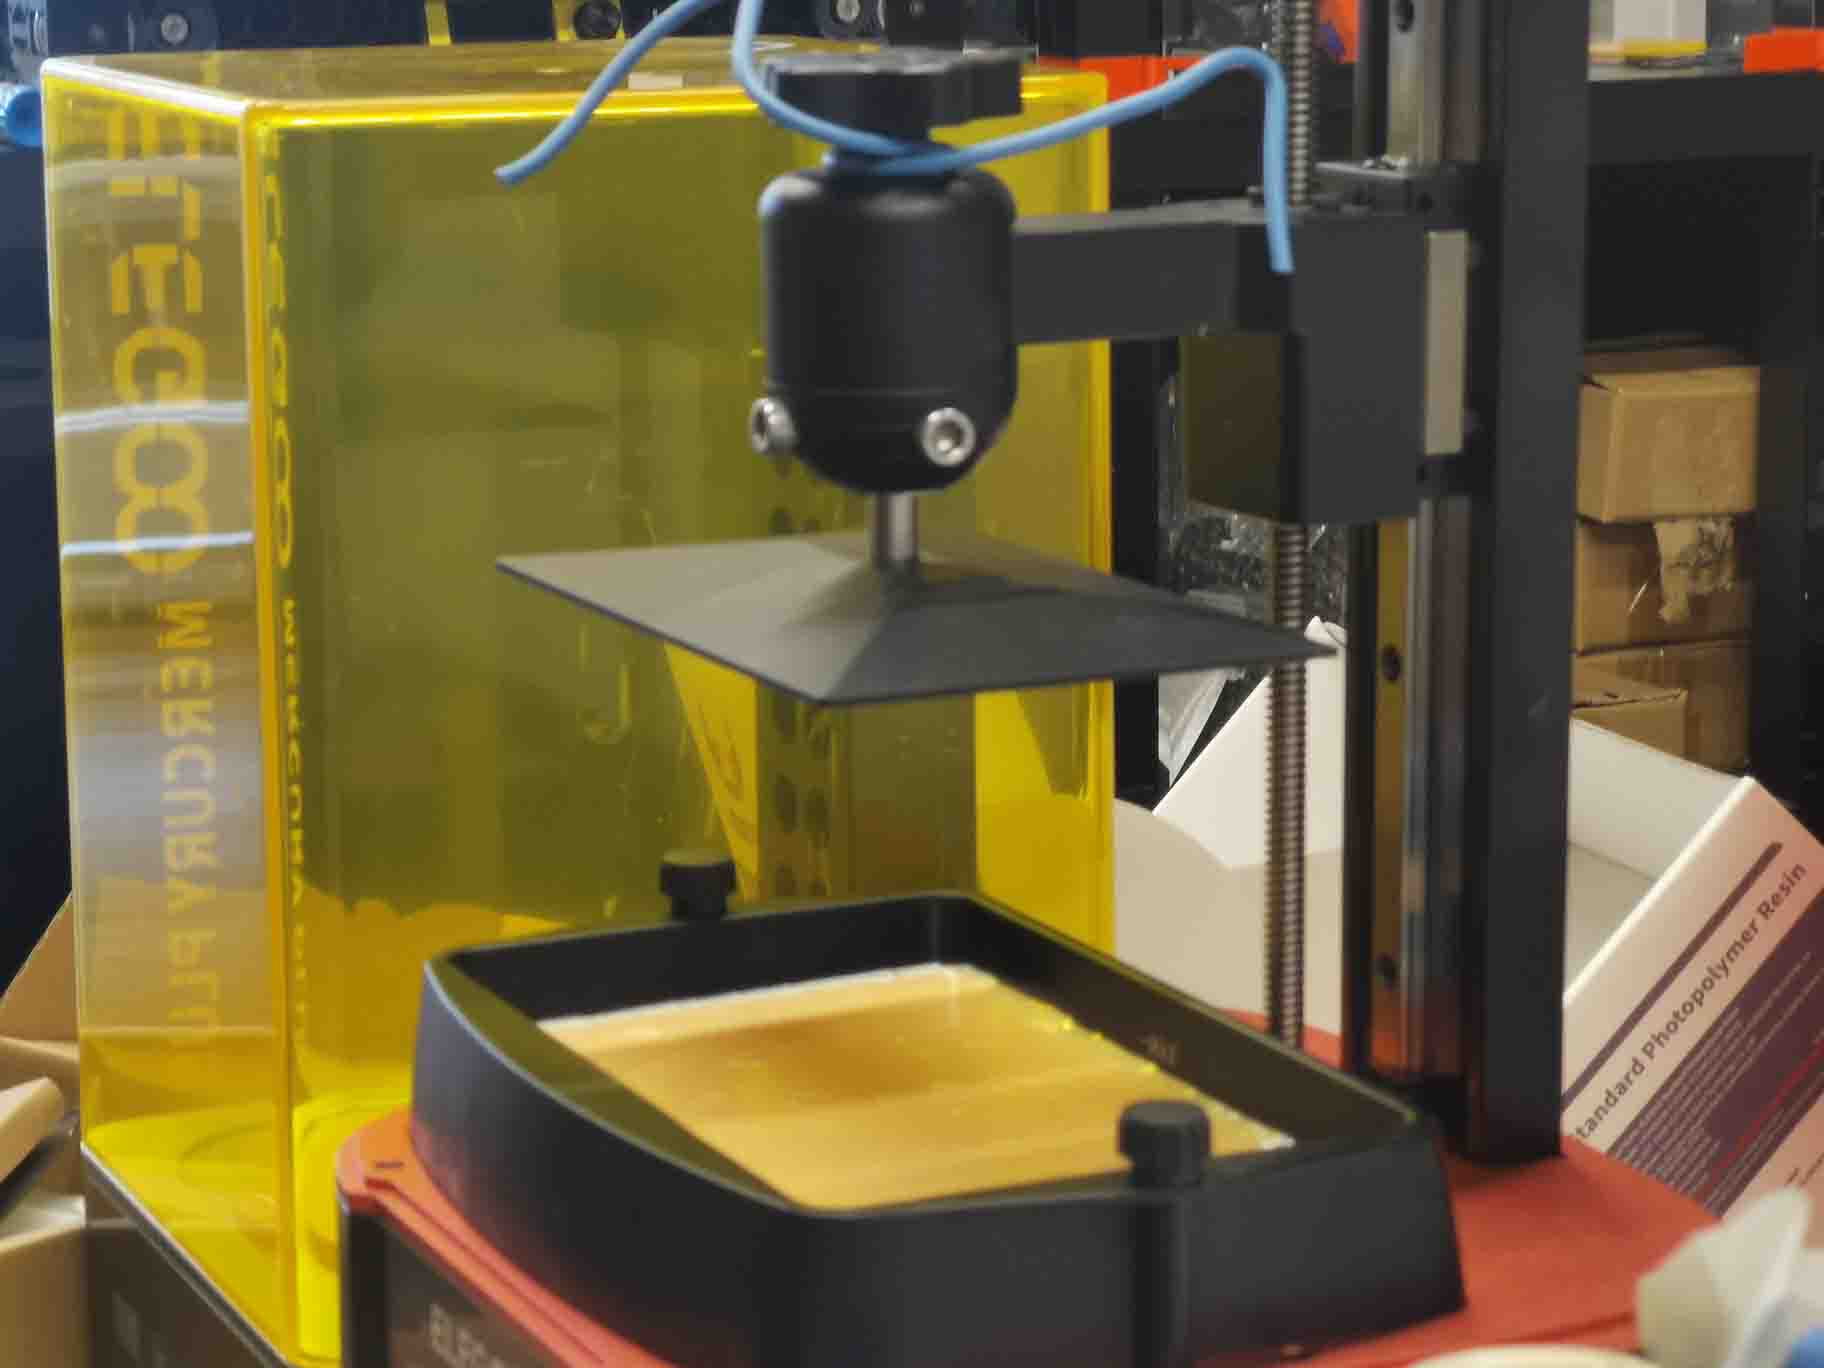
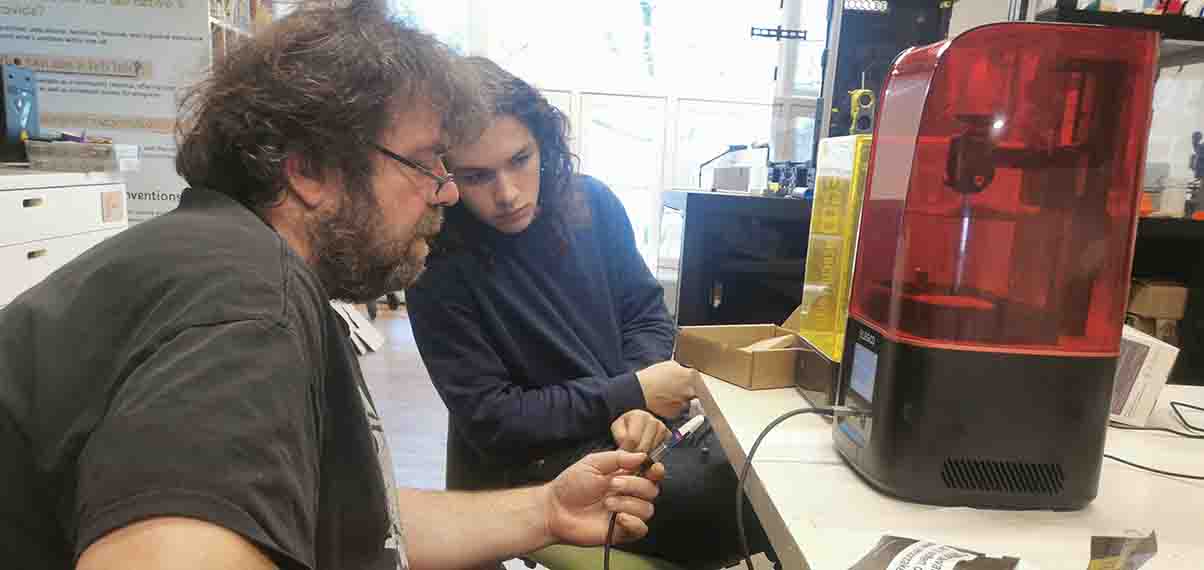
Resin printer
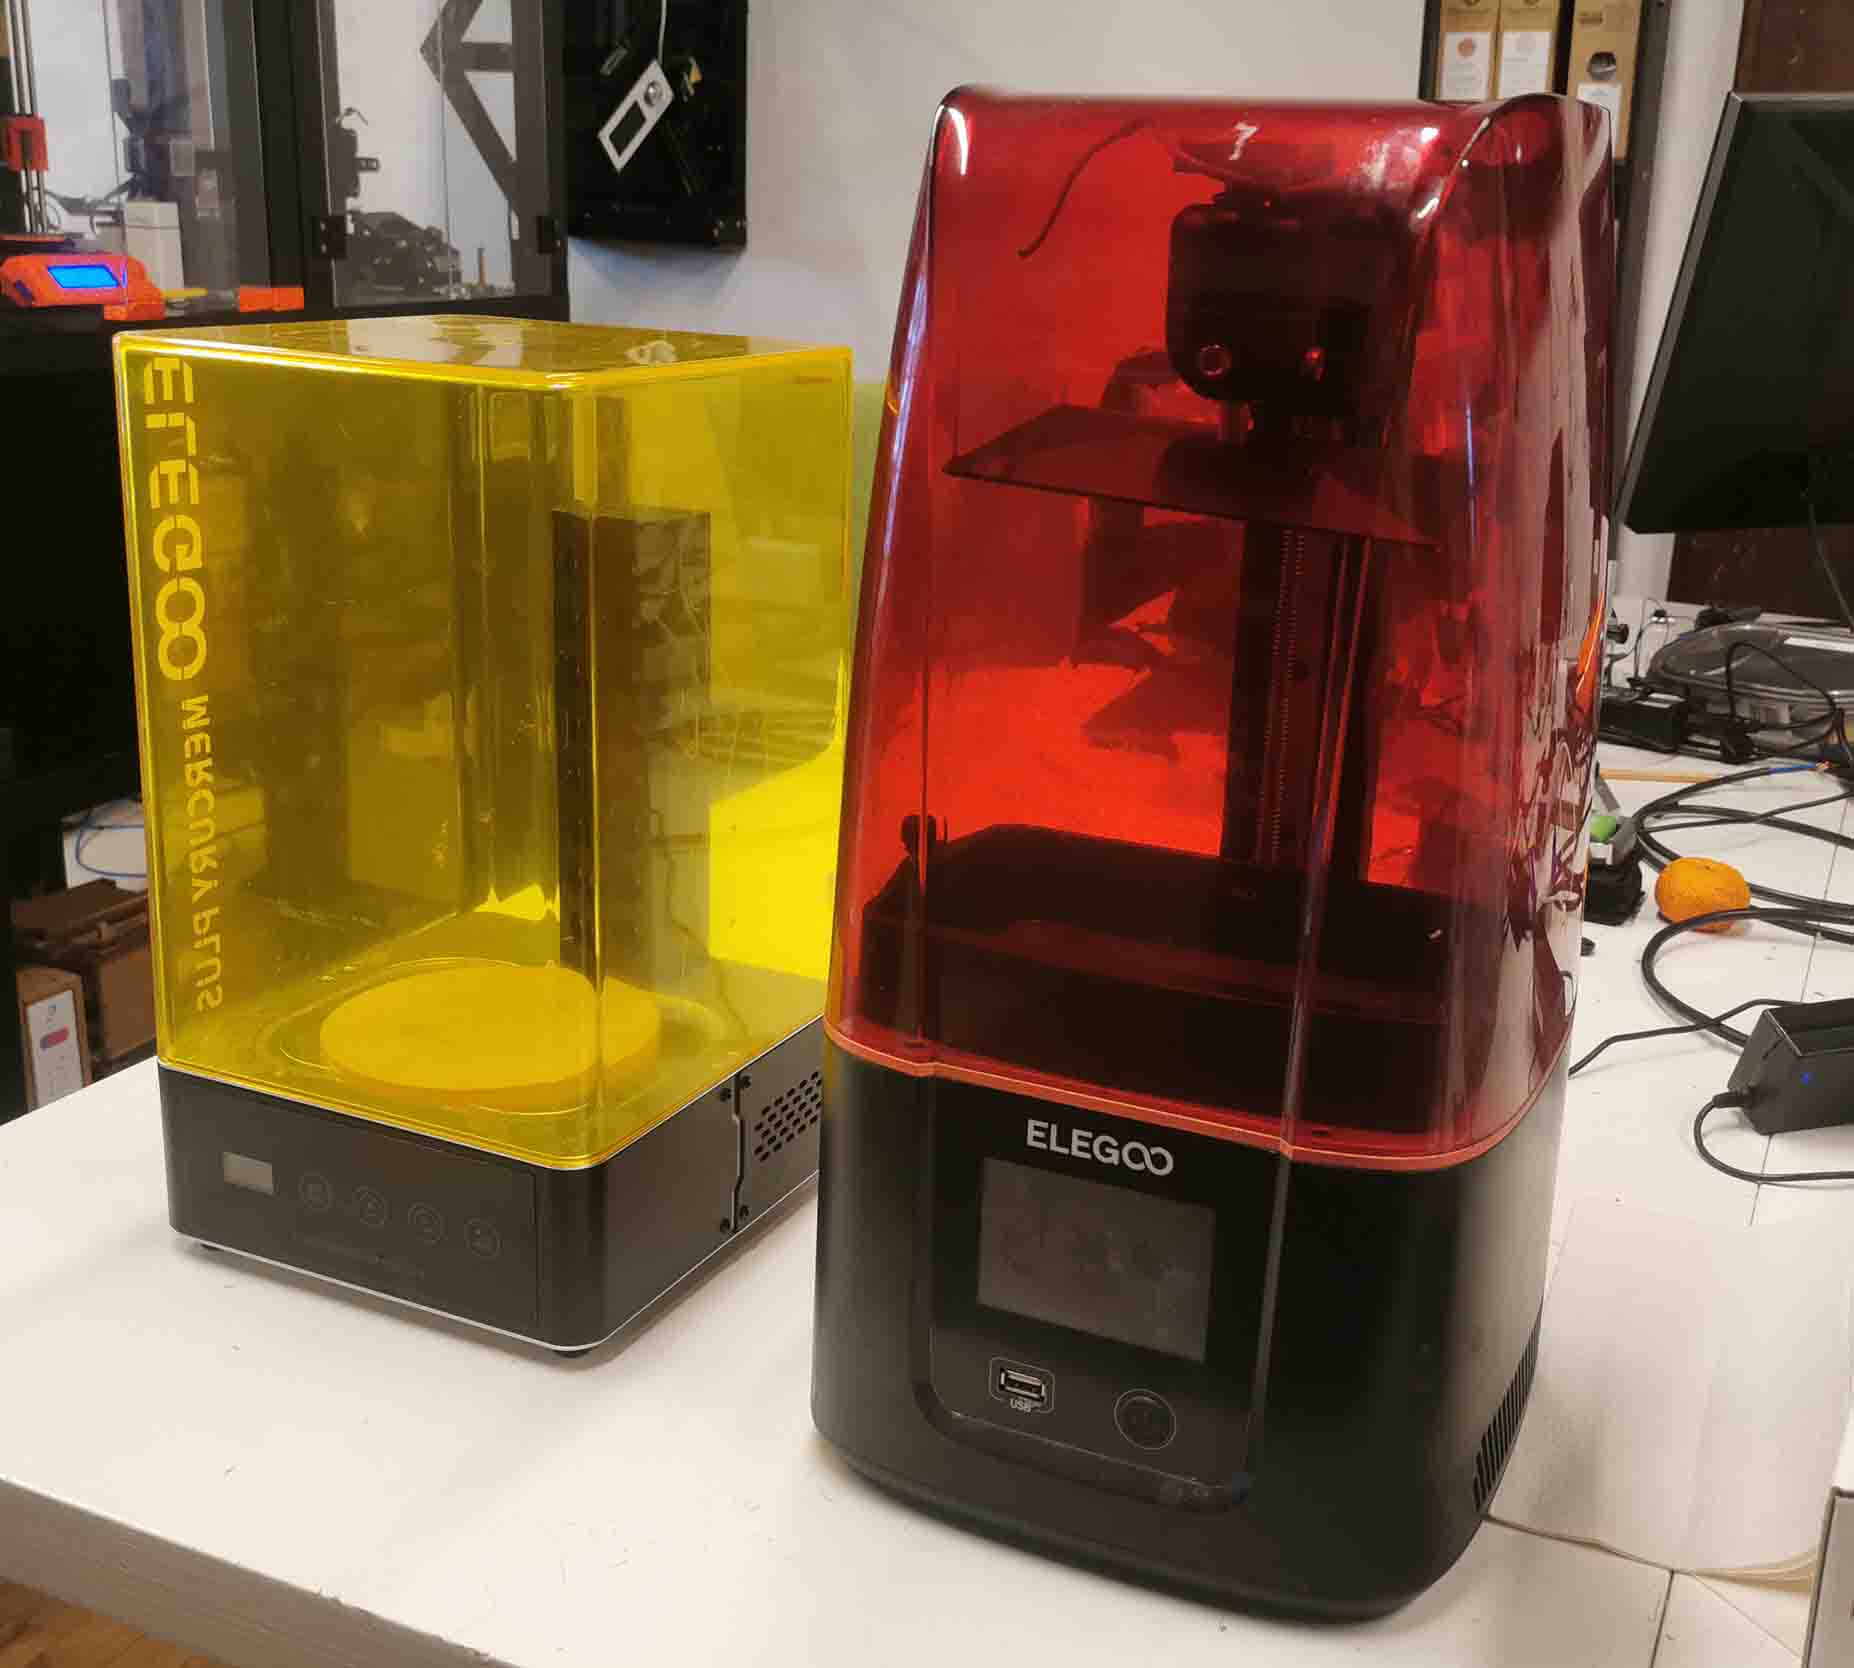
Printer: ELEGOO MARS 3 Slicer: CHITBOX Basic V2
The last printer we have here is a, ELEGOO Mars 3 resin printer. This is a very different kind of printer from the rest. It prints upside down and uses a pool of resin over a screen to create the layers. With every layer the screen lights up on the parts of the resin that should be hardened and the plate moves up on the Z-axis.
Slicer
For this printer we needed another slicer: CHITBOX Basic V2
Import the file into the slicer and enable supports.
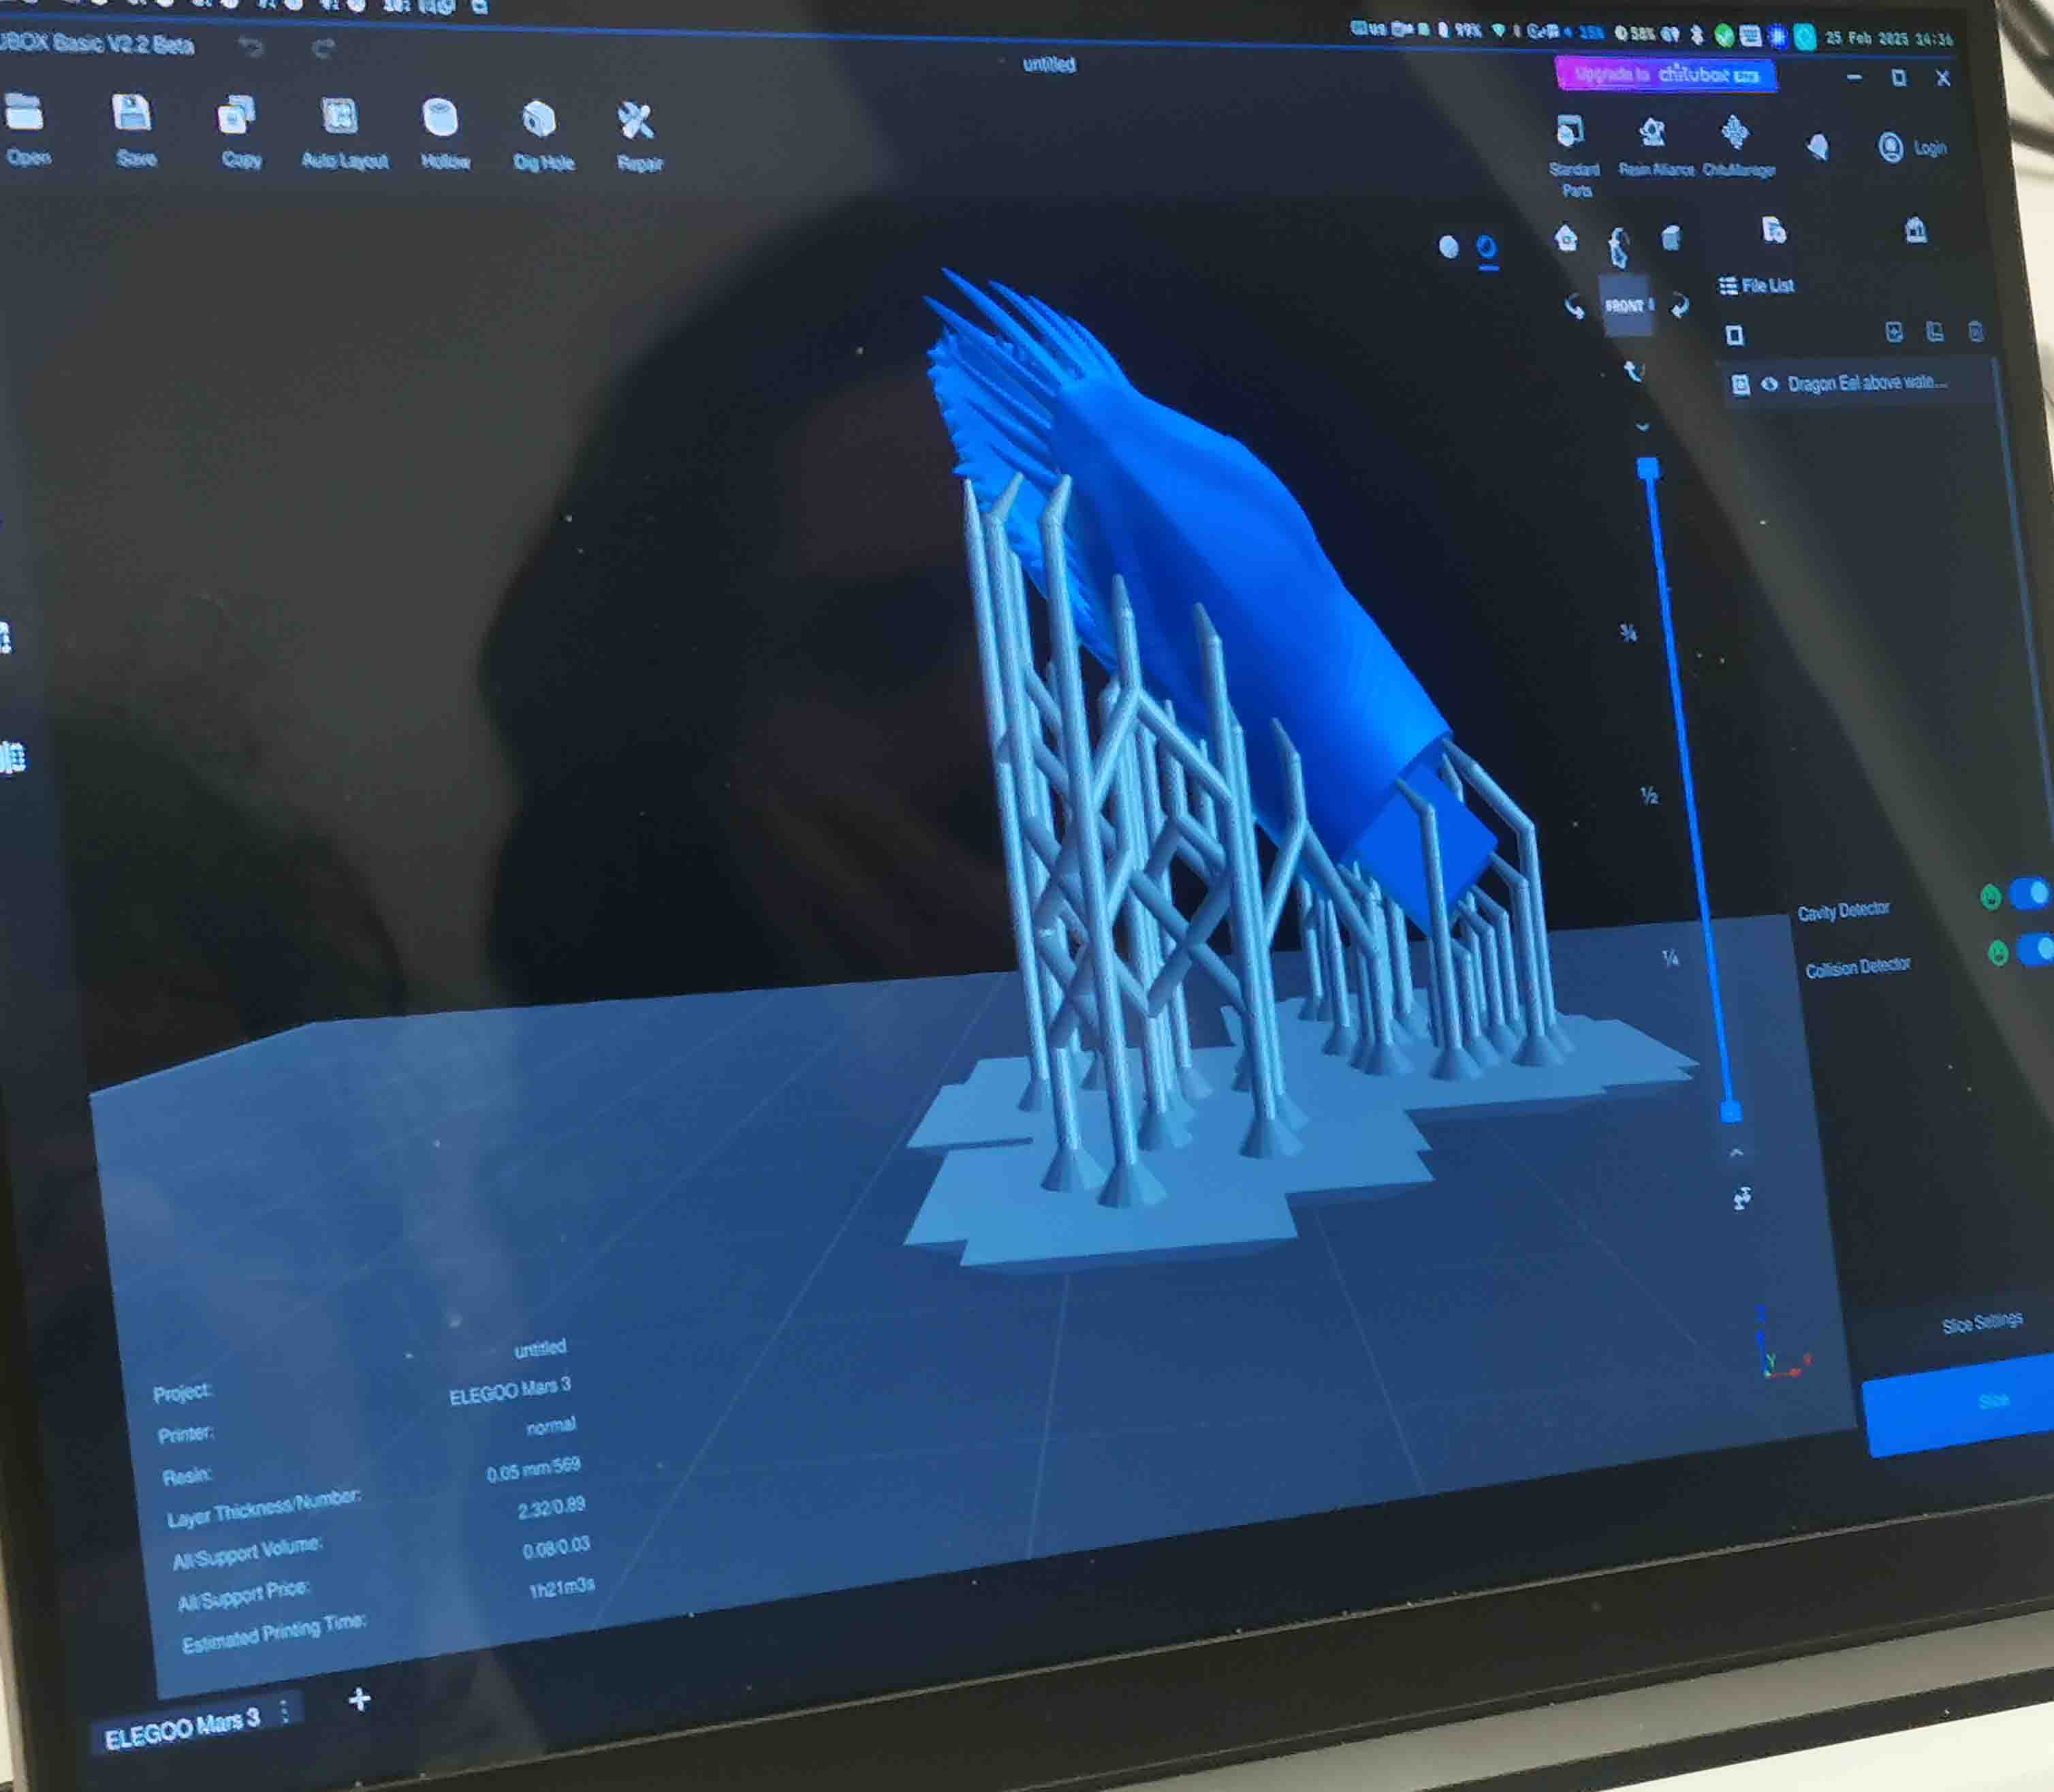
we changed it from the supports with spheres at the end as this savers some printing and is easy to remove, only a small .3 mm surface.
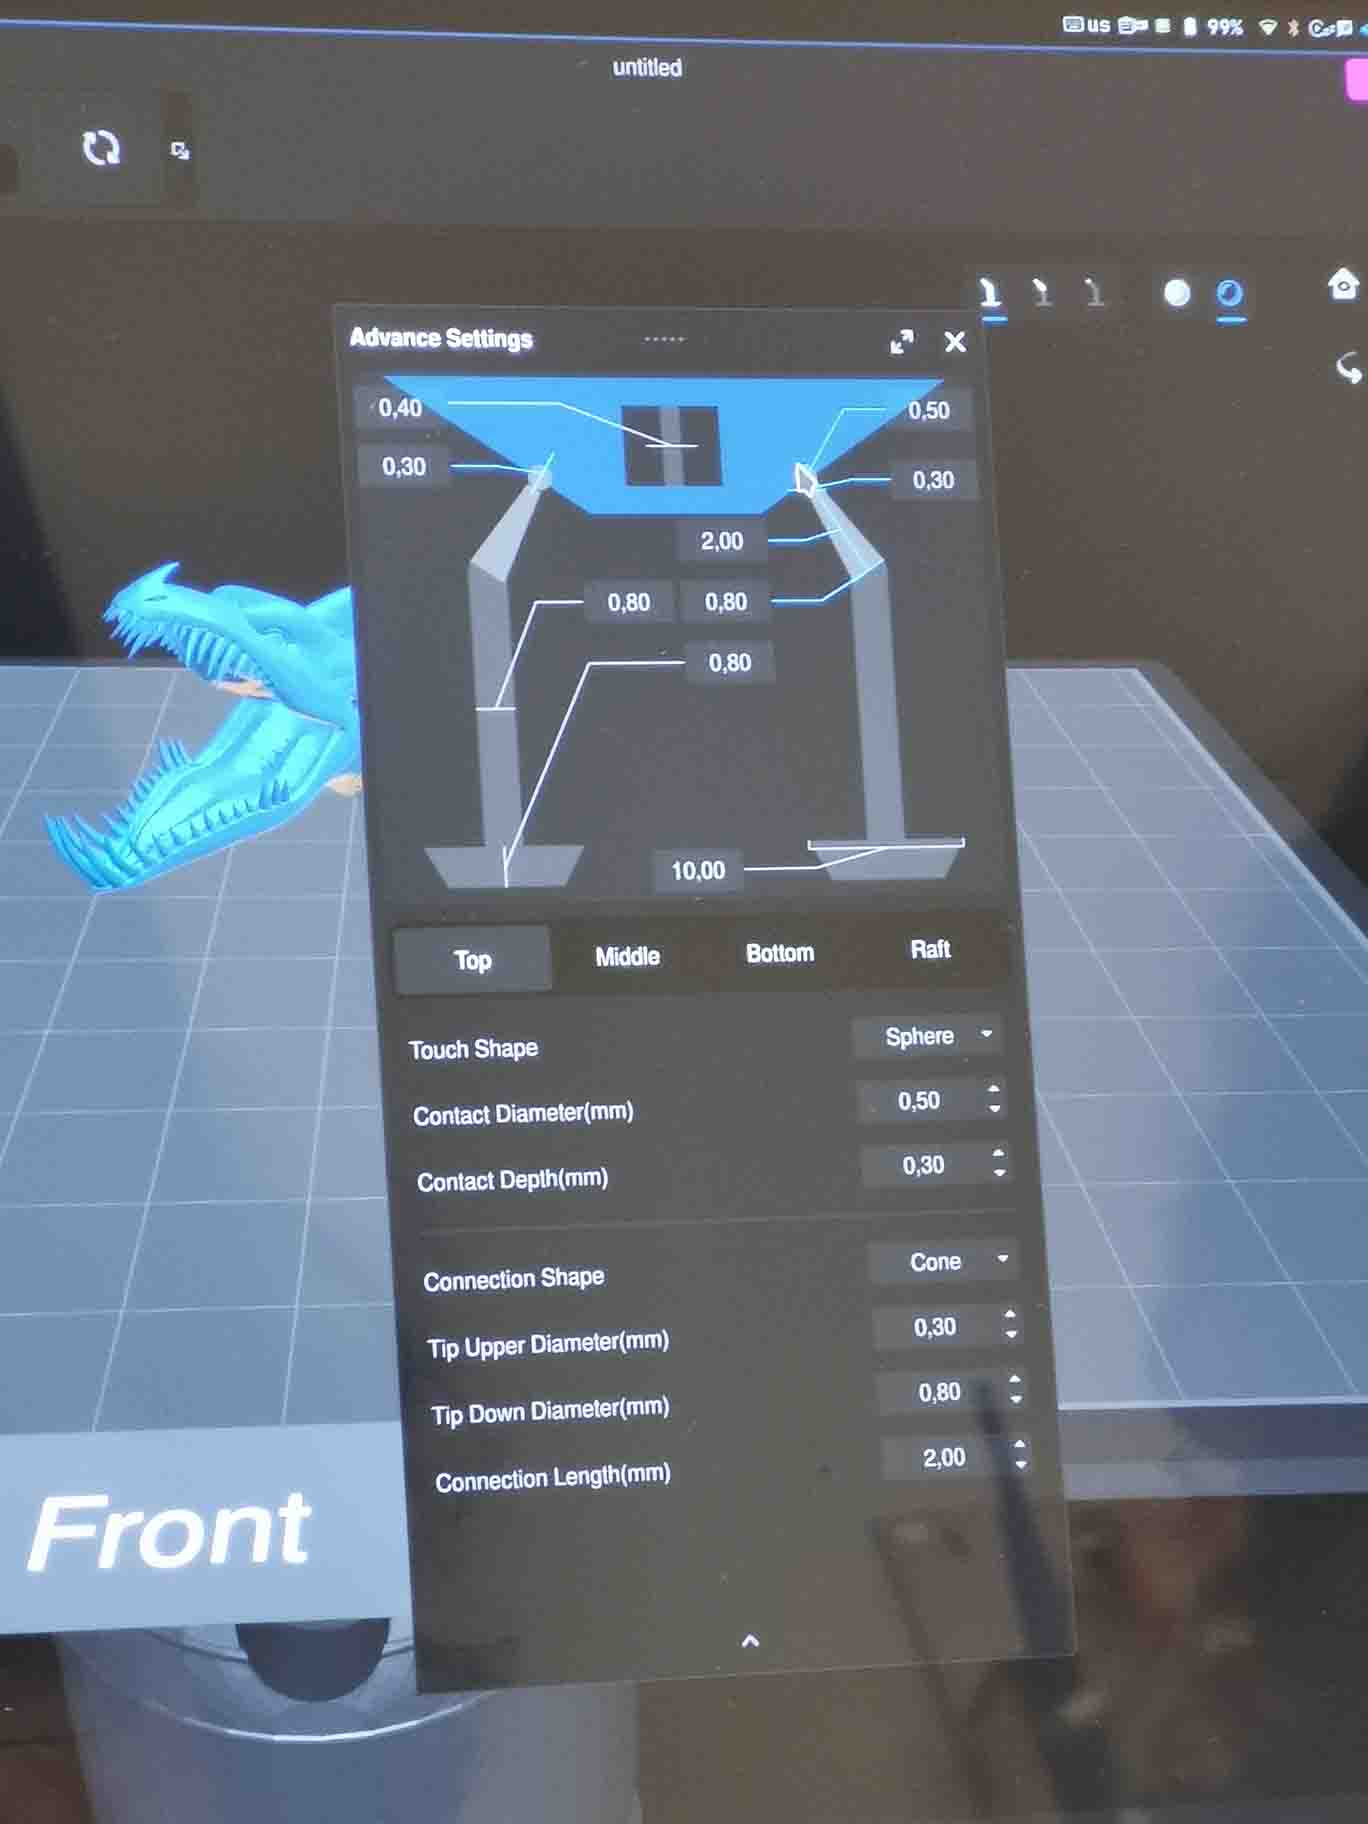
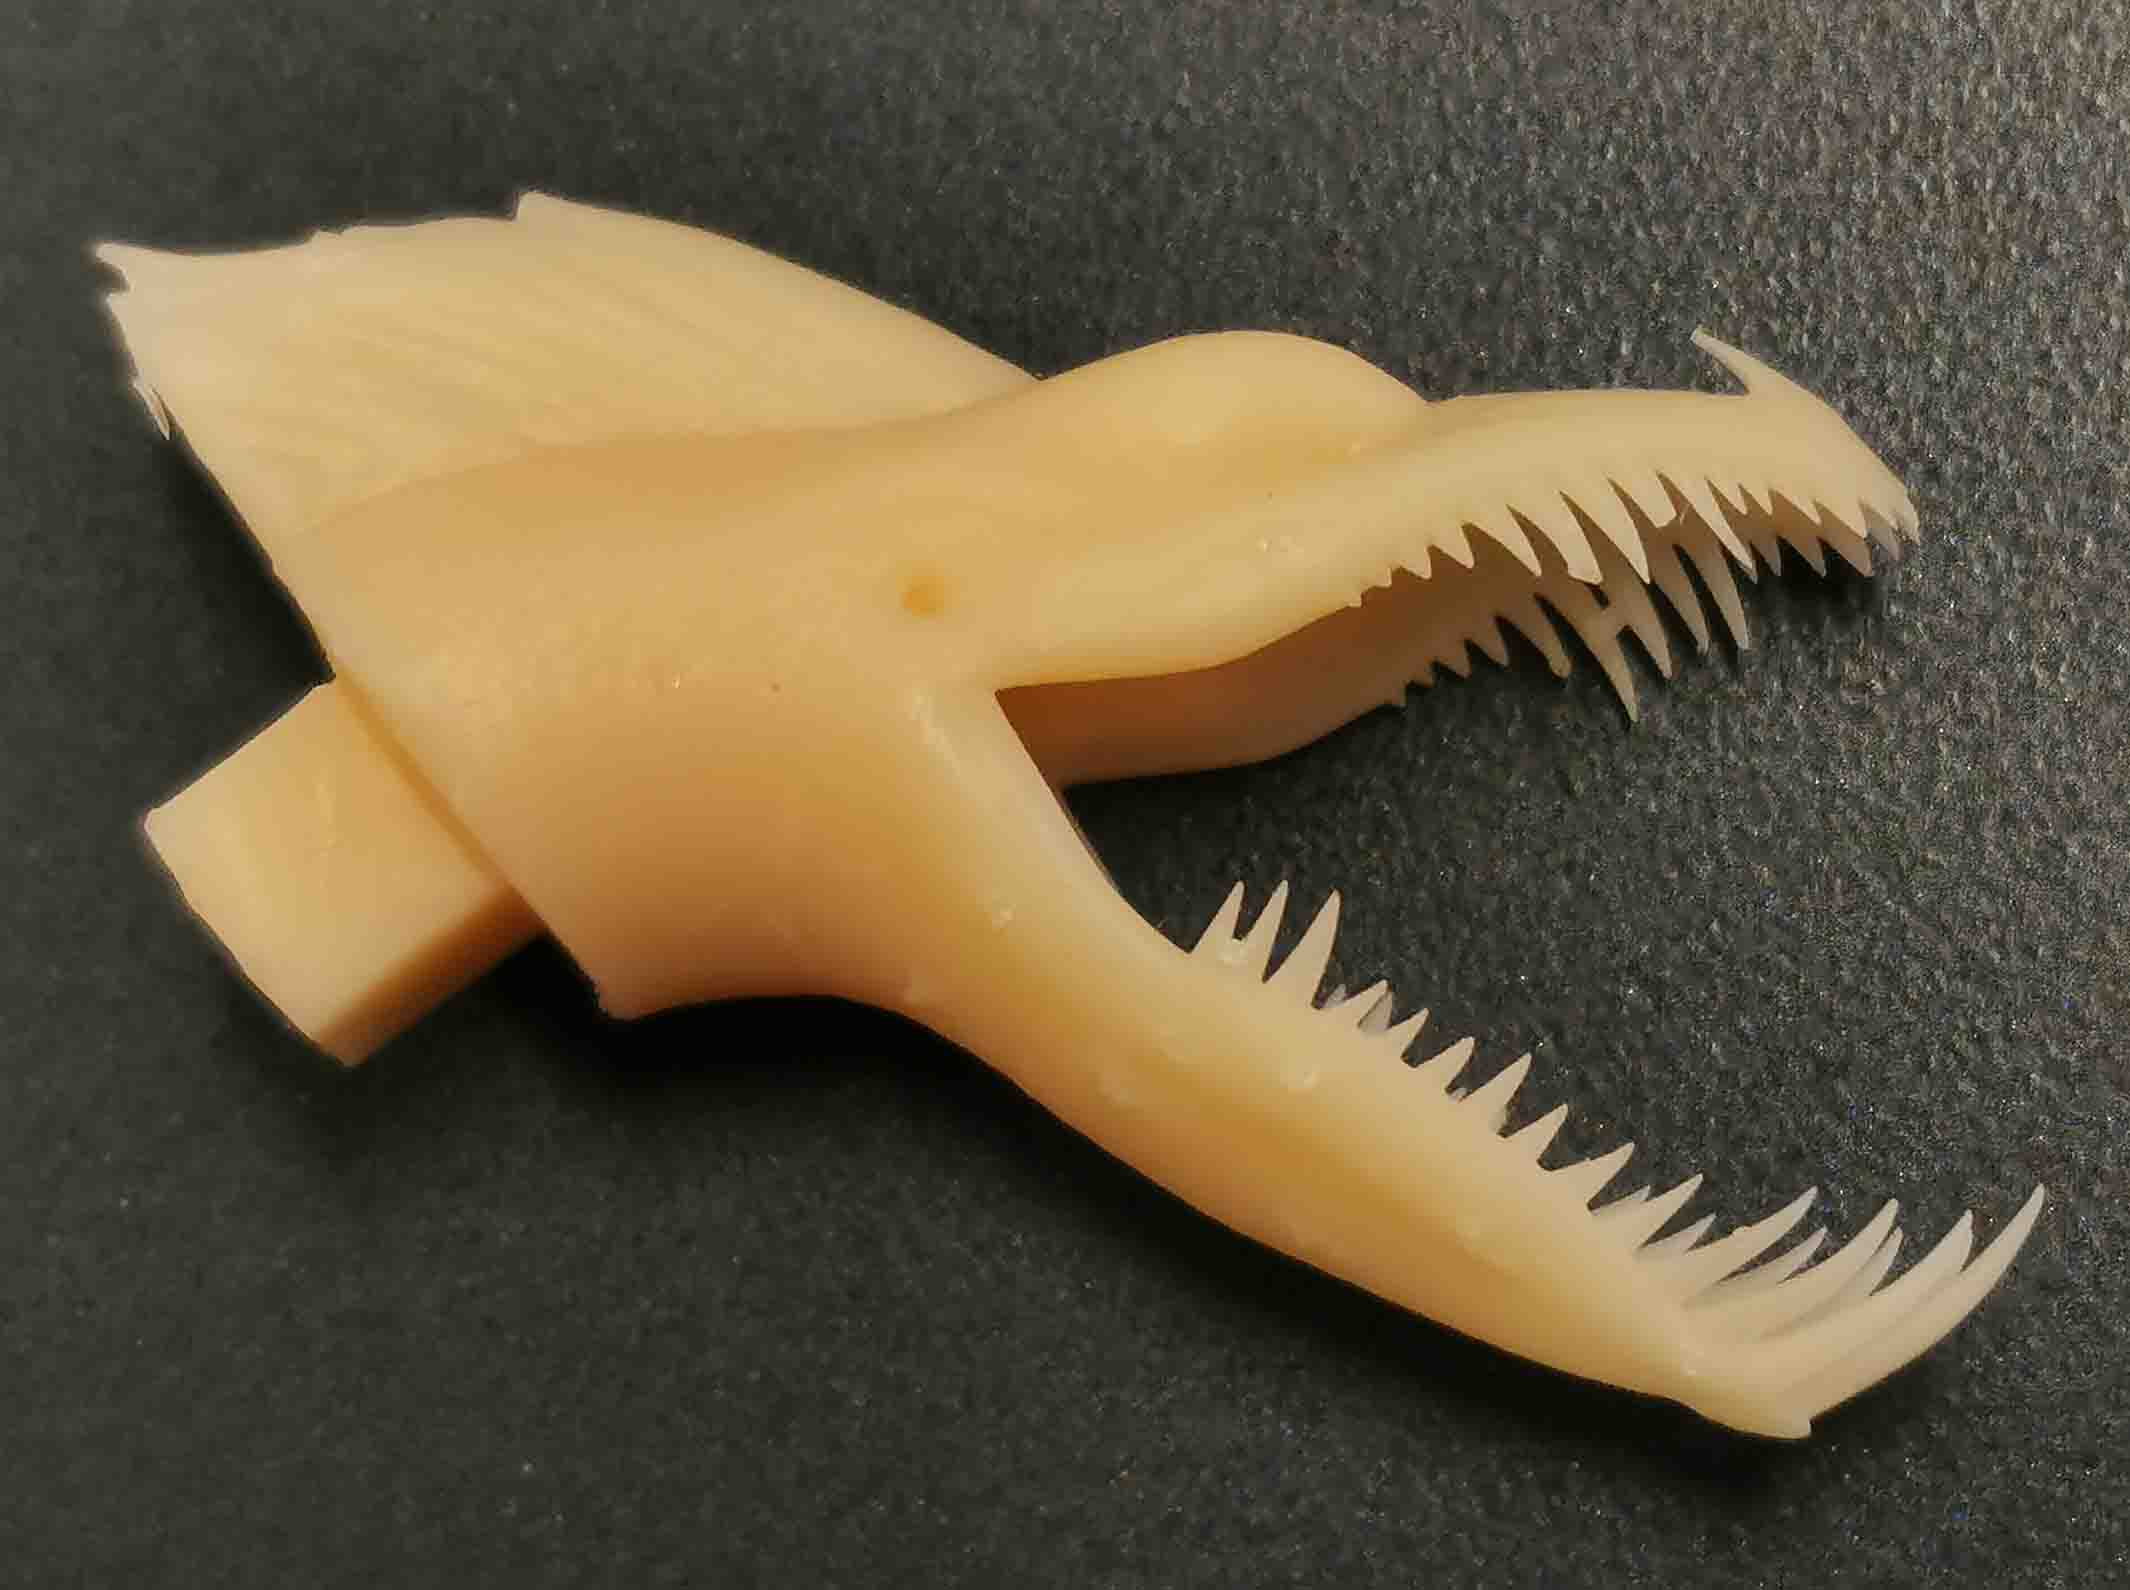
It's important to think about the direction in wich the model is printed. This can save supports, time and make the print neat. We were printing a dragons head, and wanted no supports on the teeth.
Now declear the kind of resin used. I our case generic resin from ELEGOO.
Select the printer: ELEGOO MARS 3.
Check for errors.
Export to a USB stick.
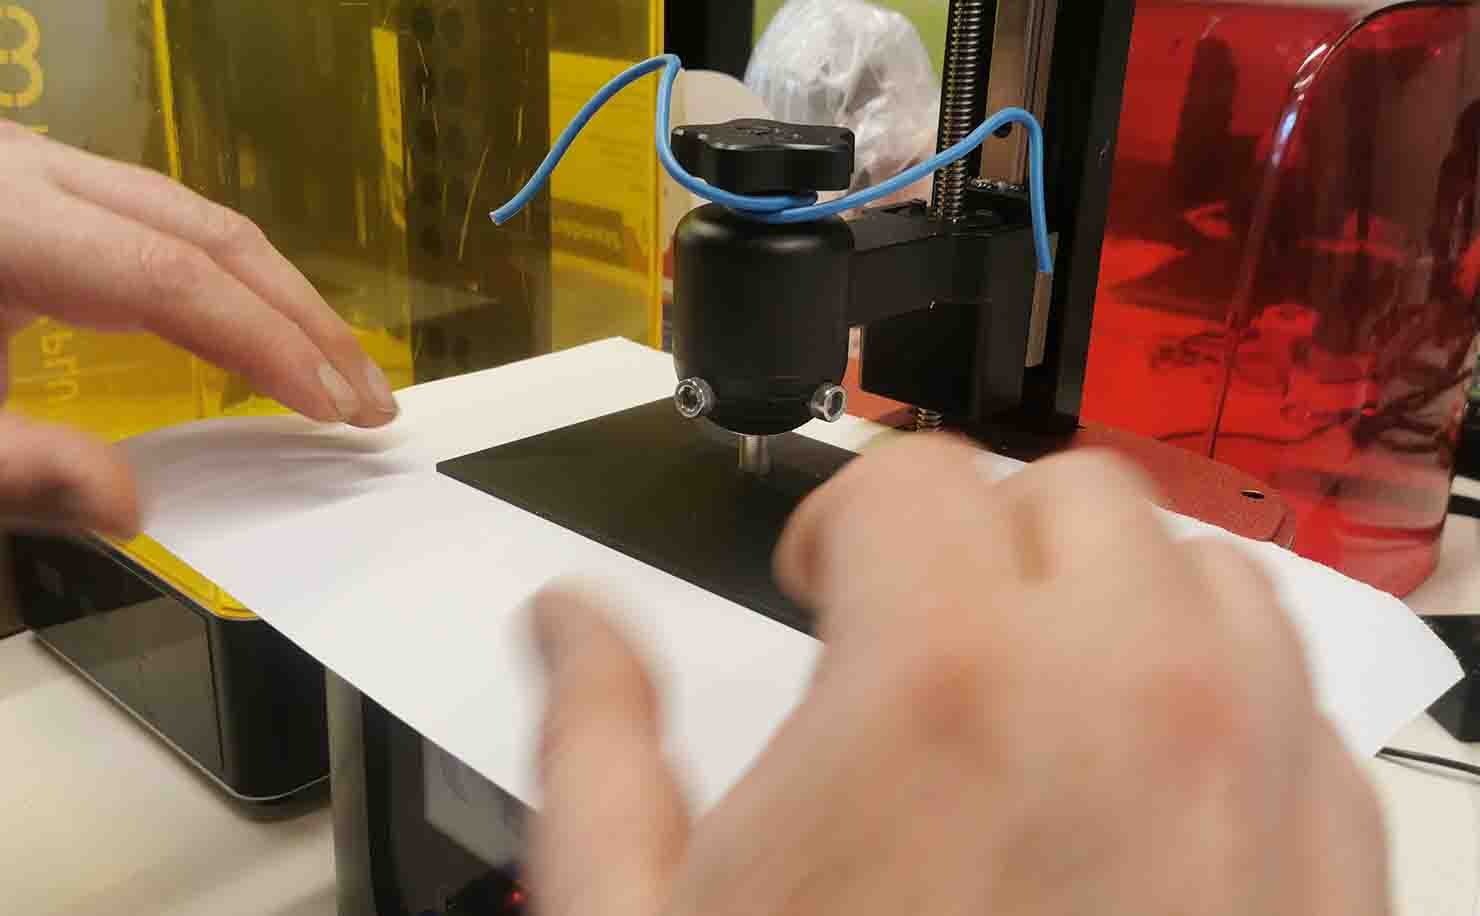
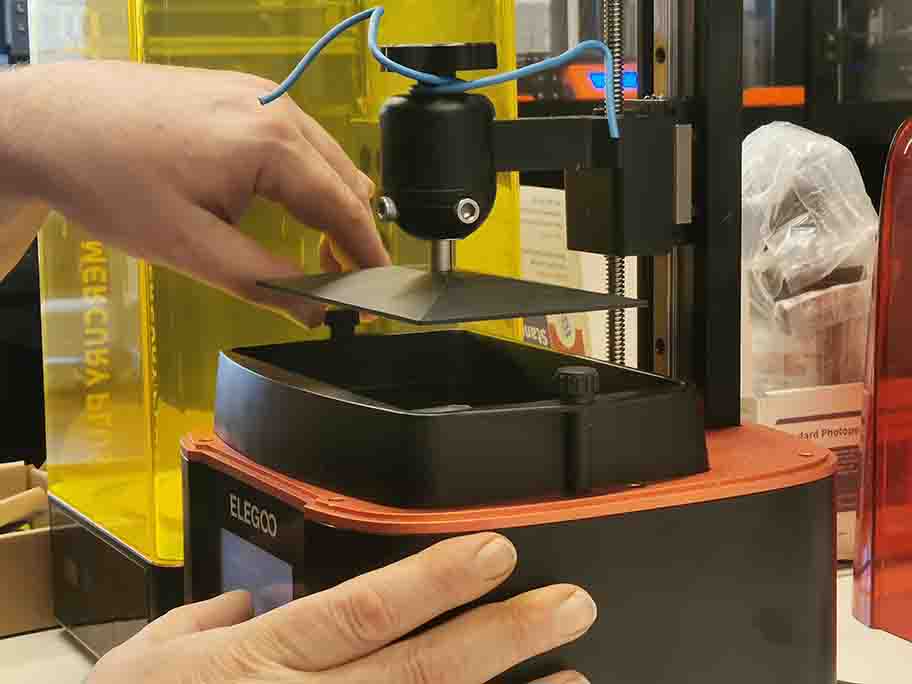
Bedleveling
To level the bed you first need to loosen the build plate so it can be adjusted.
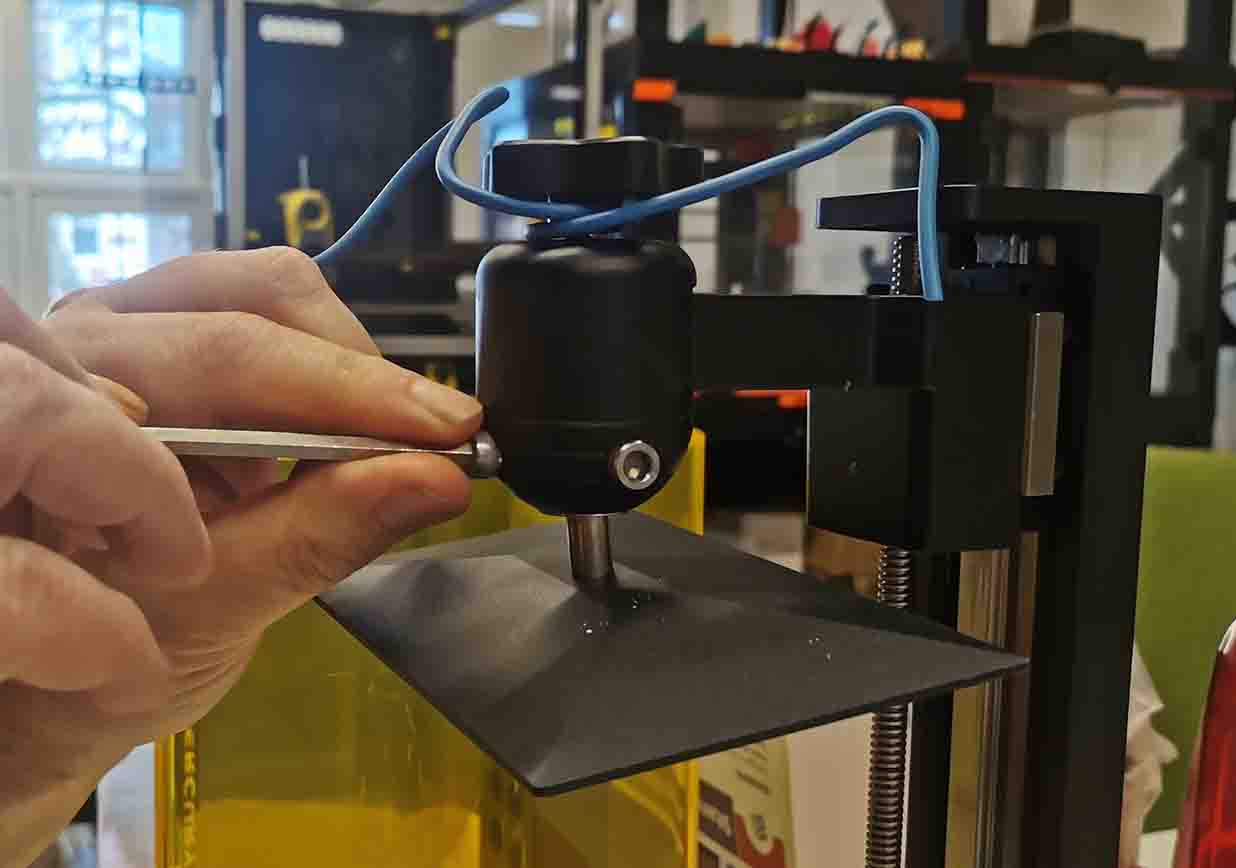
Remove the pool. Place a piece of paper on the screen and lower the buildplate until it is flat on the bed. TO to this click home --> tools --> adjust and then the icon of two lines going downwards.
Adjust the plate so it is placed according to the screen, and tighten the screws.
Click: tools --> set Z to 0. YOu are now saving the 0 position of the buildplate.
Move the buildplate up the Z axis by using the screen and put in place the pool.
PUT ON GLOVES
Shake the resin-container and add the resin to the pool.
Add in portable ELEGOO filter.
Put the lid on the machine.
Now there was time to start the print, but the memory stick was not working on the machine. Here is Sam and Henk waiting for it to work.
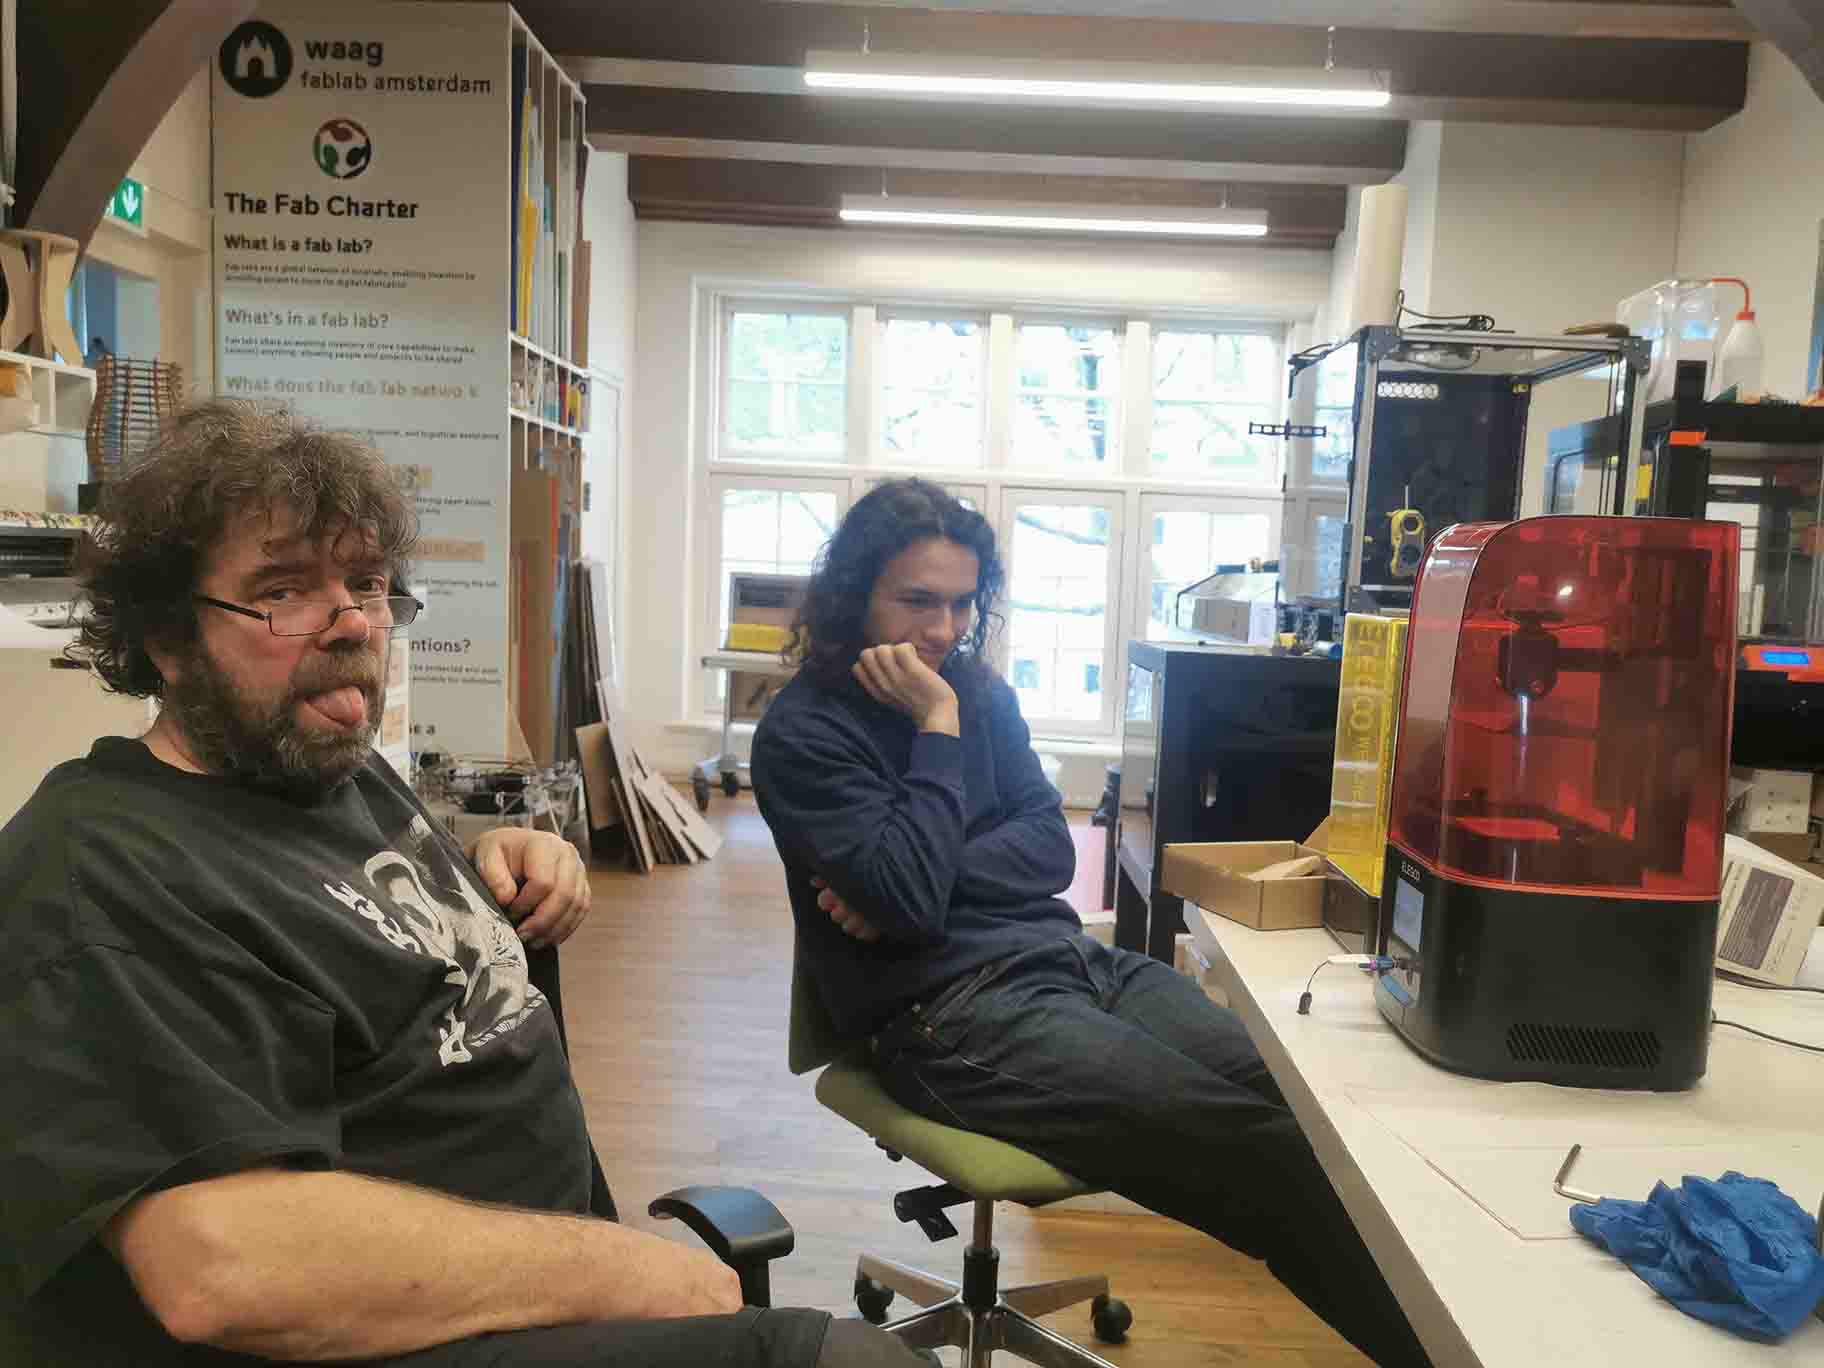
THe stick was empty despite having the file on it. So they tried with an exptention of the USB port.
New USB stick fixed the issue. Good! Or I think Henk would have gone home.
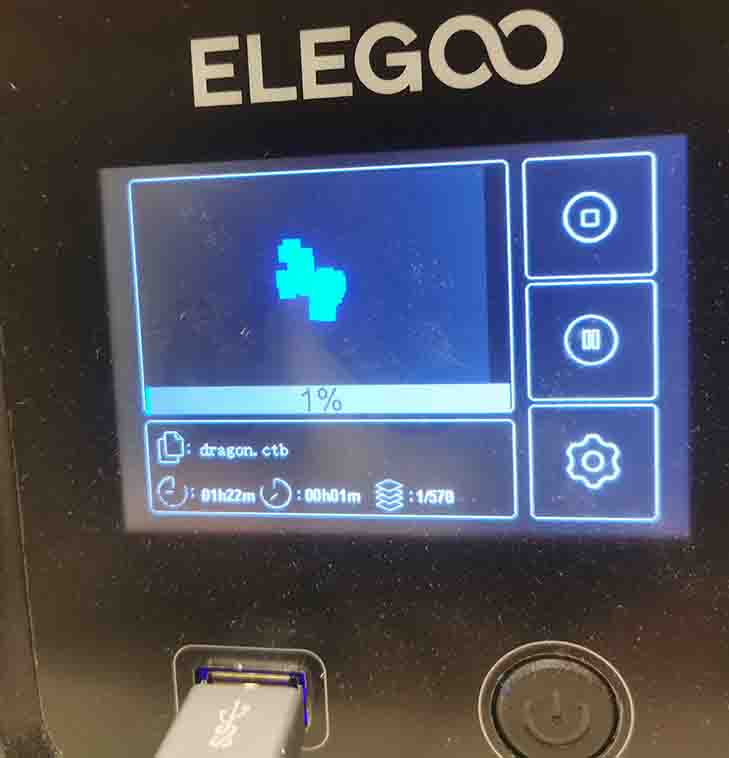
Press the correct file and print. The plate will now get lowered into the resin to the previousely set Z 0-position.
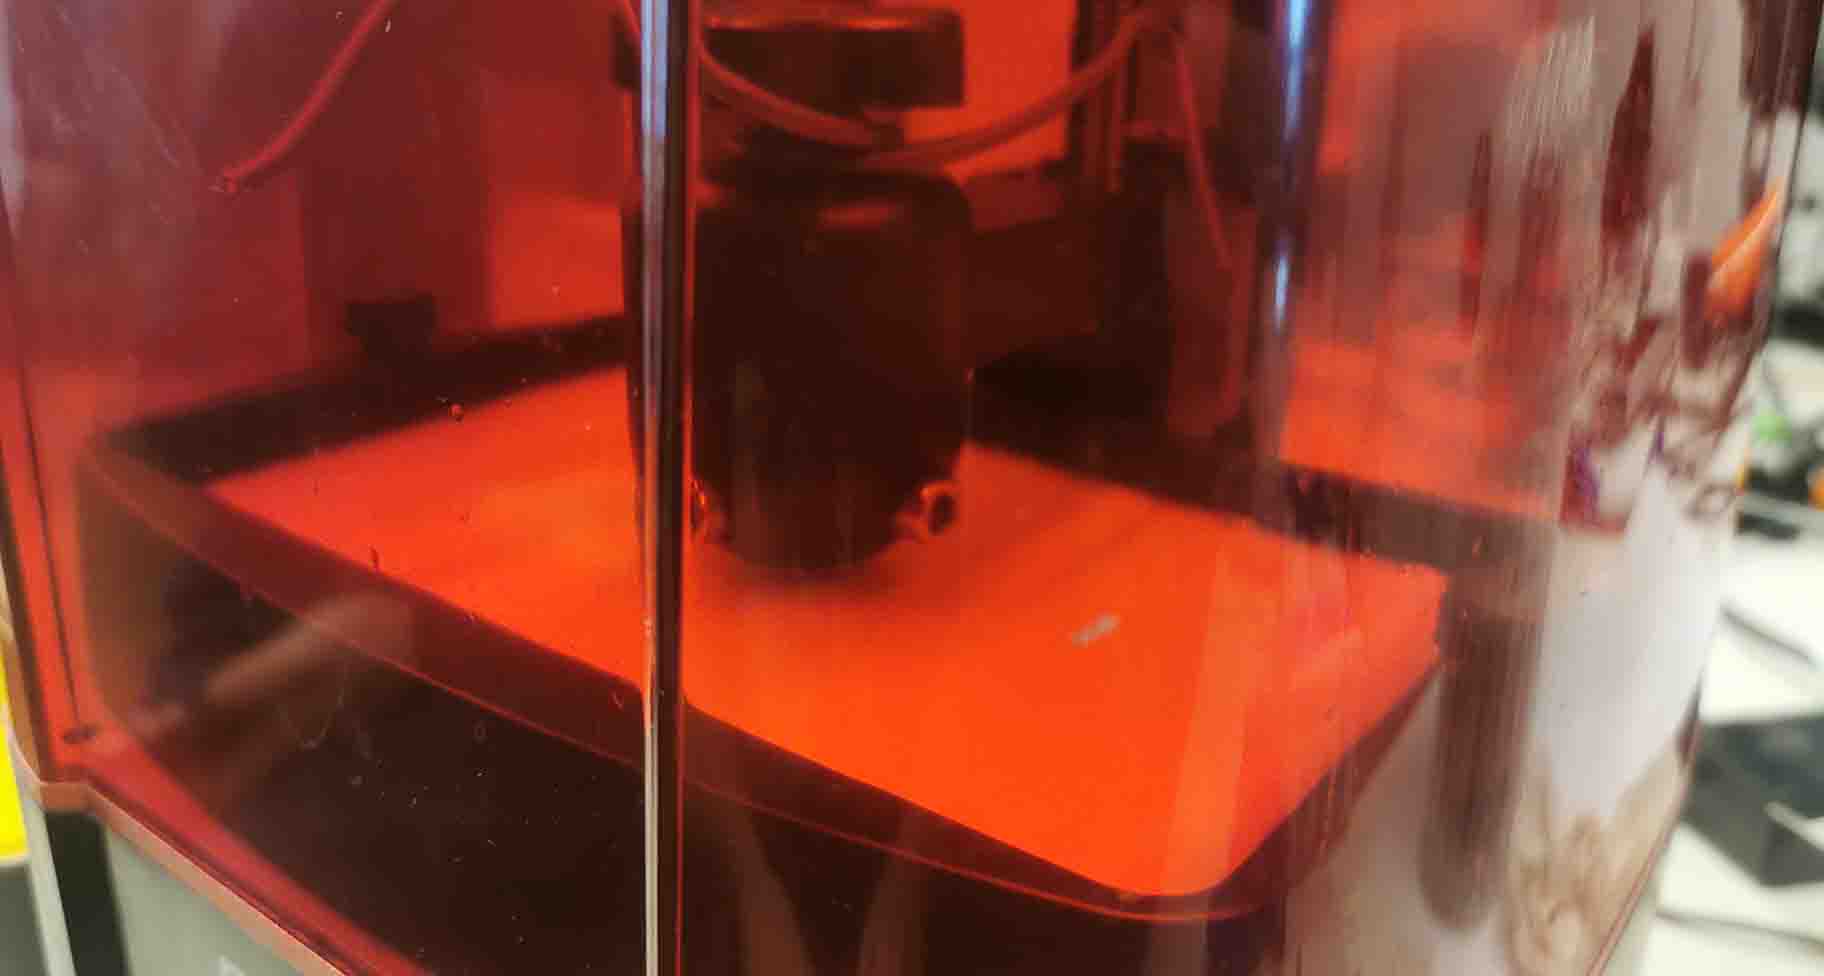
The screen will now show where it lights up, stating which layer is being created and how long is left.
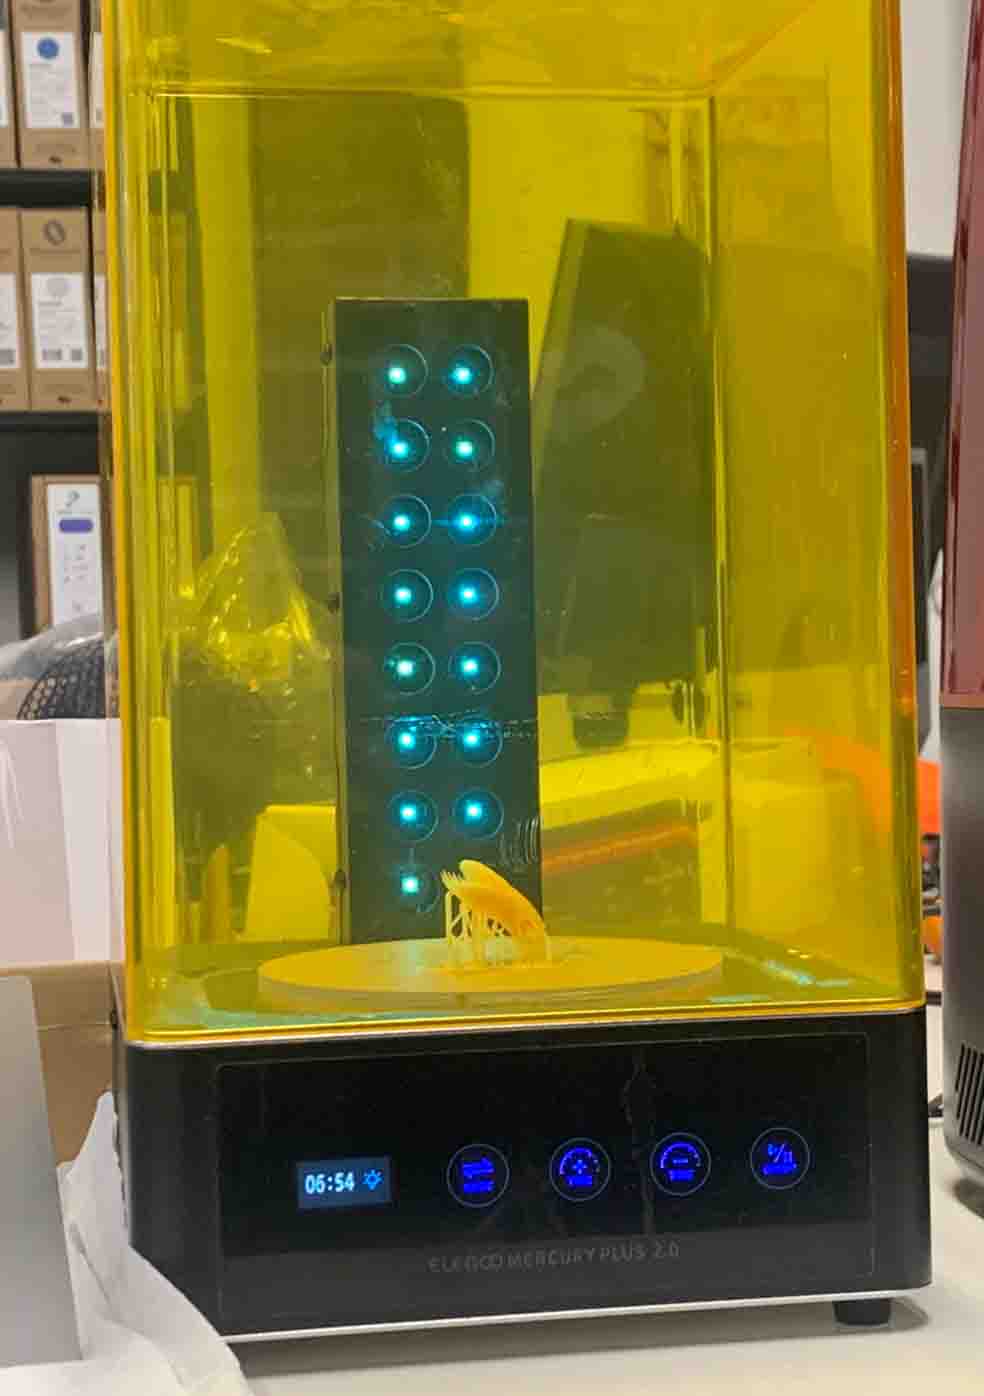
After the print is done it needs to cure. Take out the big alcohol container from under the 3D printers and submerge the print. Make sure that print does not hit the magnetic stirrer at the bottom of the container. It is still soft at this point.
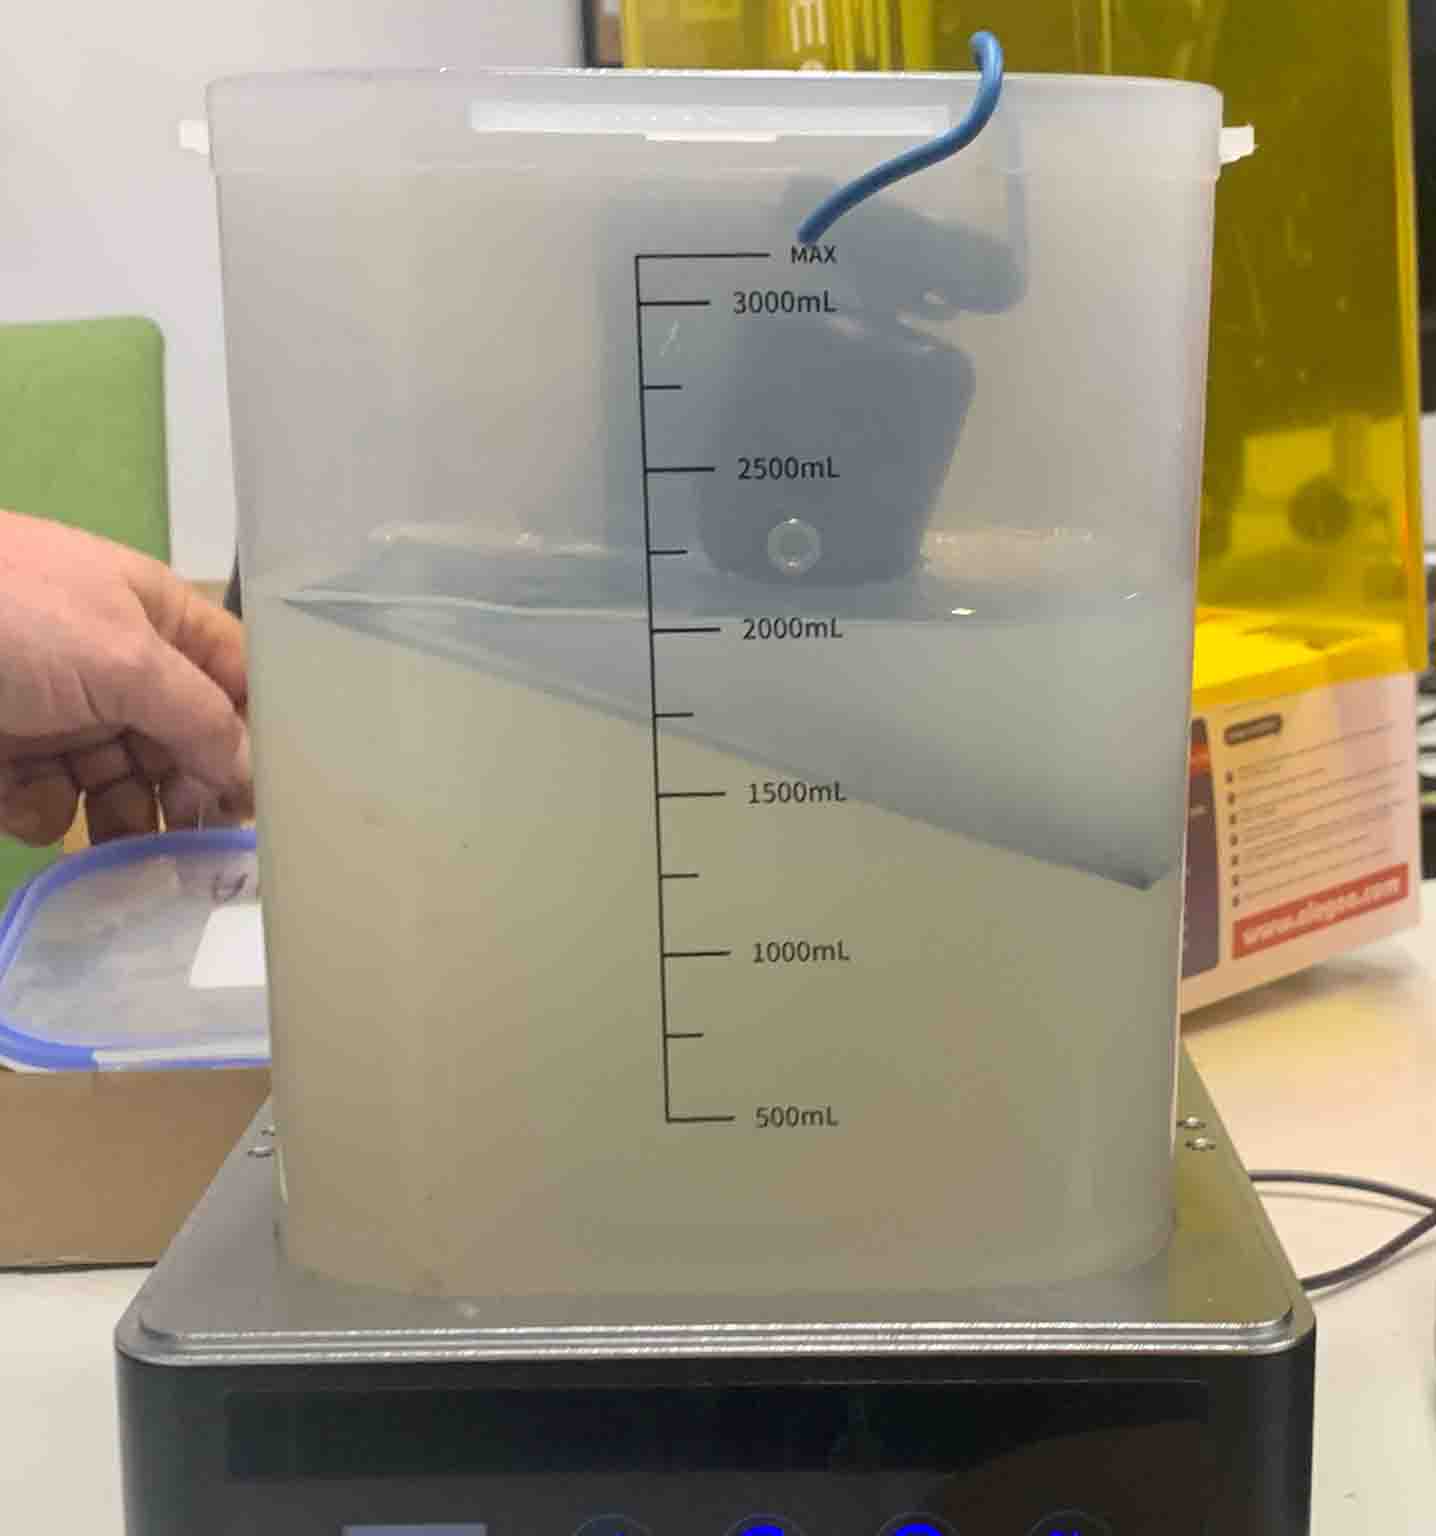
Put the curer on for 6 minutes on stirring setting. The magnetic spinner will swirl the alcohol and switch direction after 3 minutes.
After this take the piece out of the alcohol. Remove it from the baseplate with a plastic spatula and place it on the small round disk and put the curer on for 7 minutes on the light function.
In between it is time to put the remainder of the resin back in the container and to clean up. We do this by pouring the resin back through a funnel with a strainer in it. First make sure that the equipment is clean. To be sure go over it with alcohol.
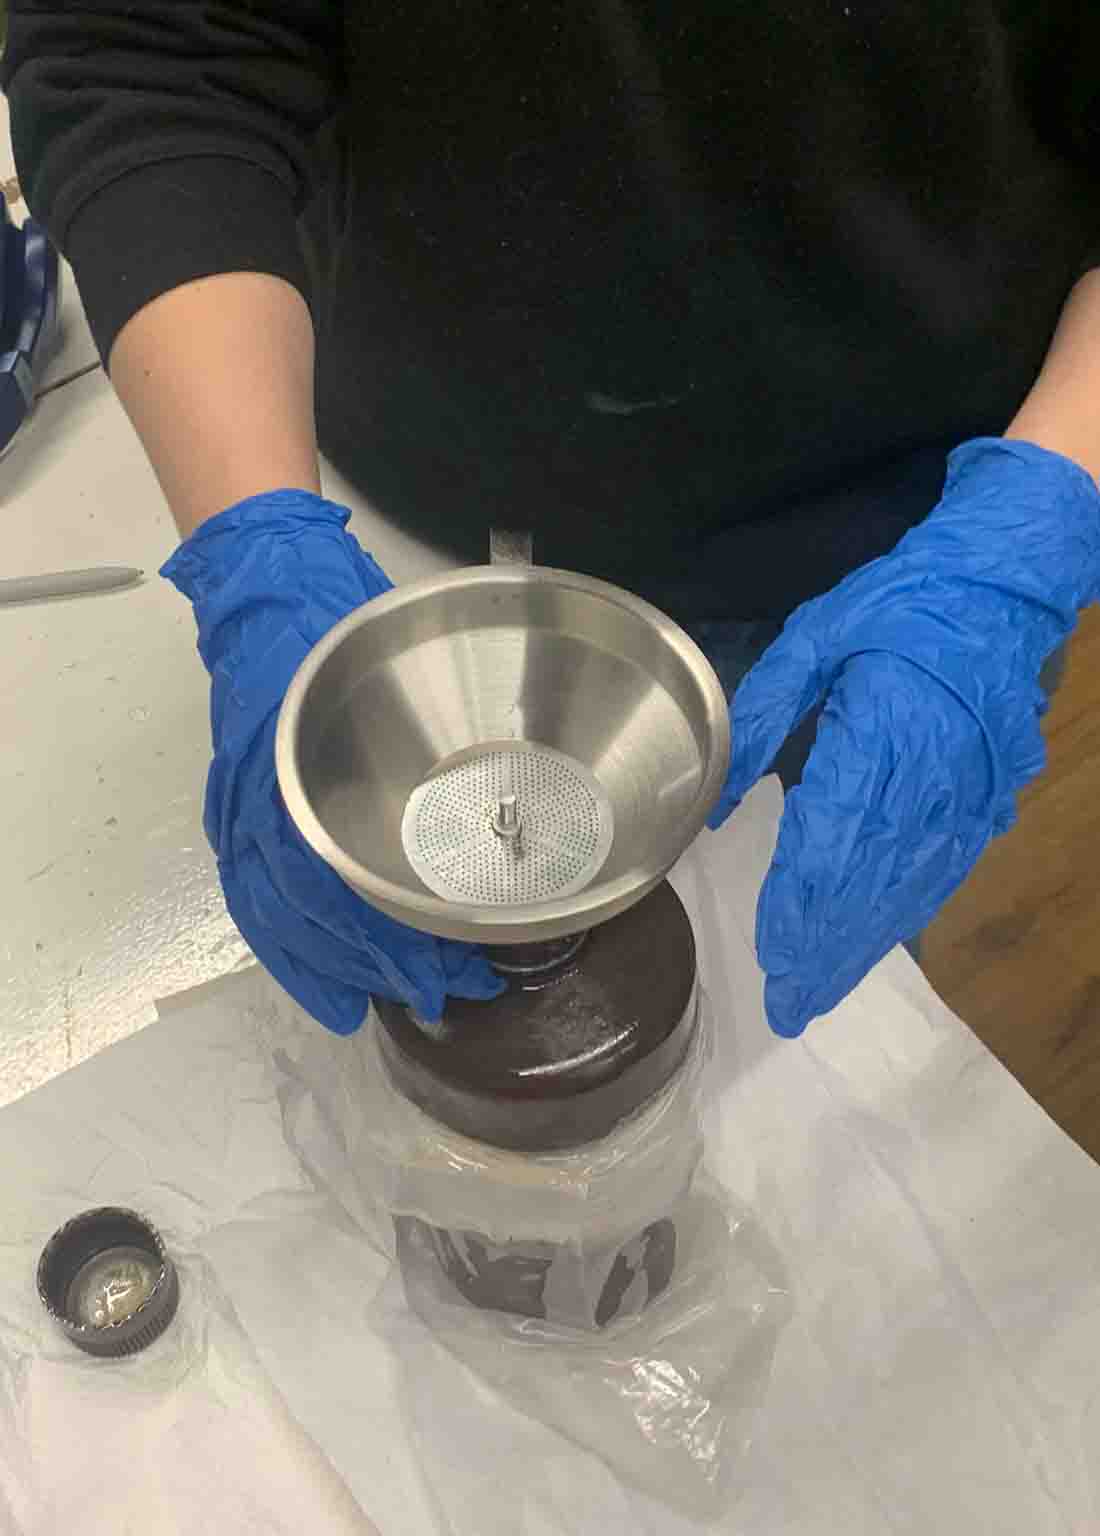
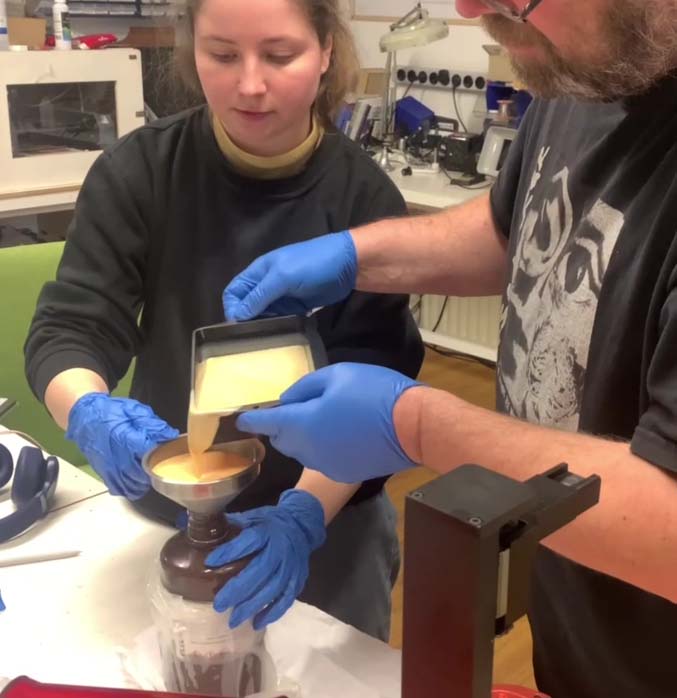
After pouring as much as the resin into the bottle it is important to get to cleaning the equipment. Be careful to not get any resin under the resin-pool. This cures and damages the screen and will affect future prints.
Clean all the equipment with paper and alcohol. Make sure all is properly clean and double-triple check the small nooks.

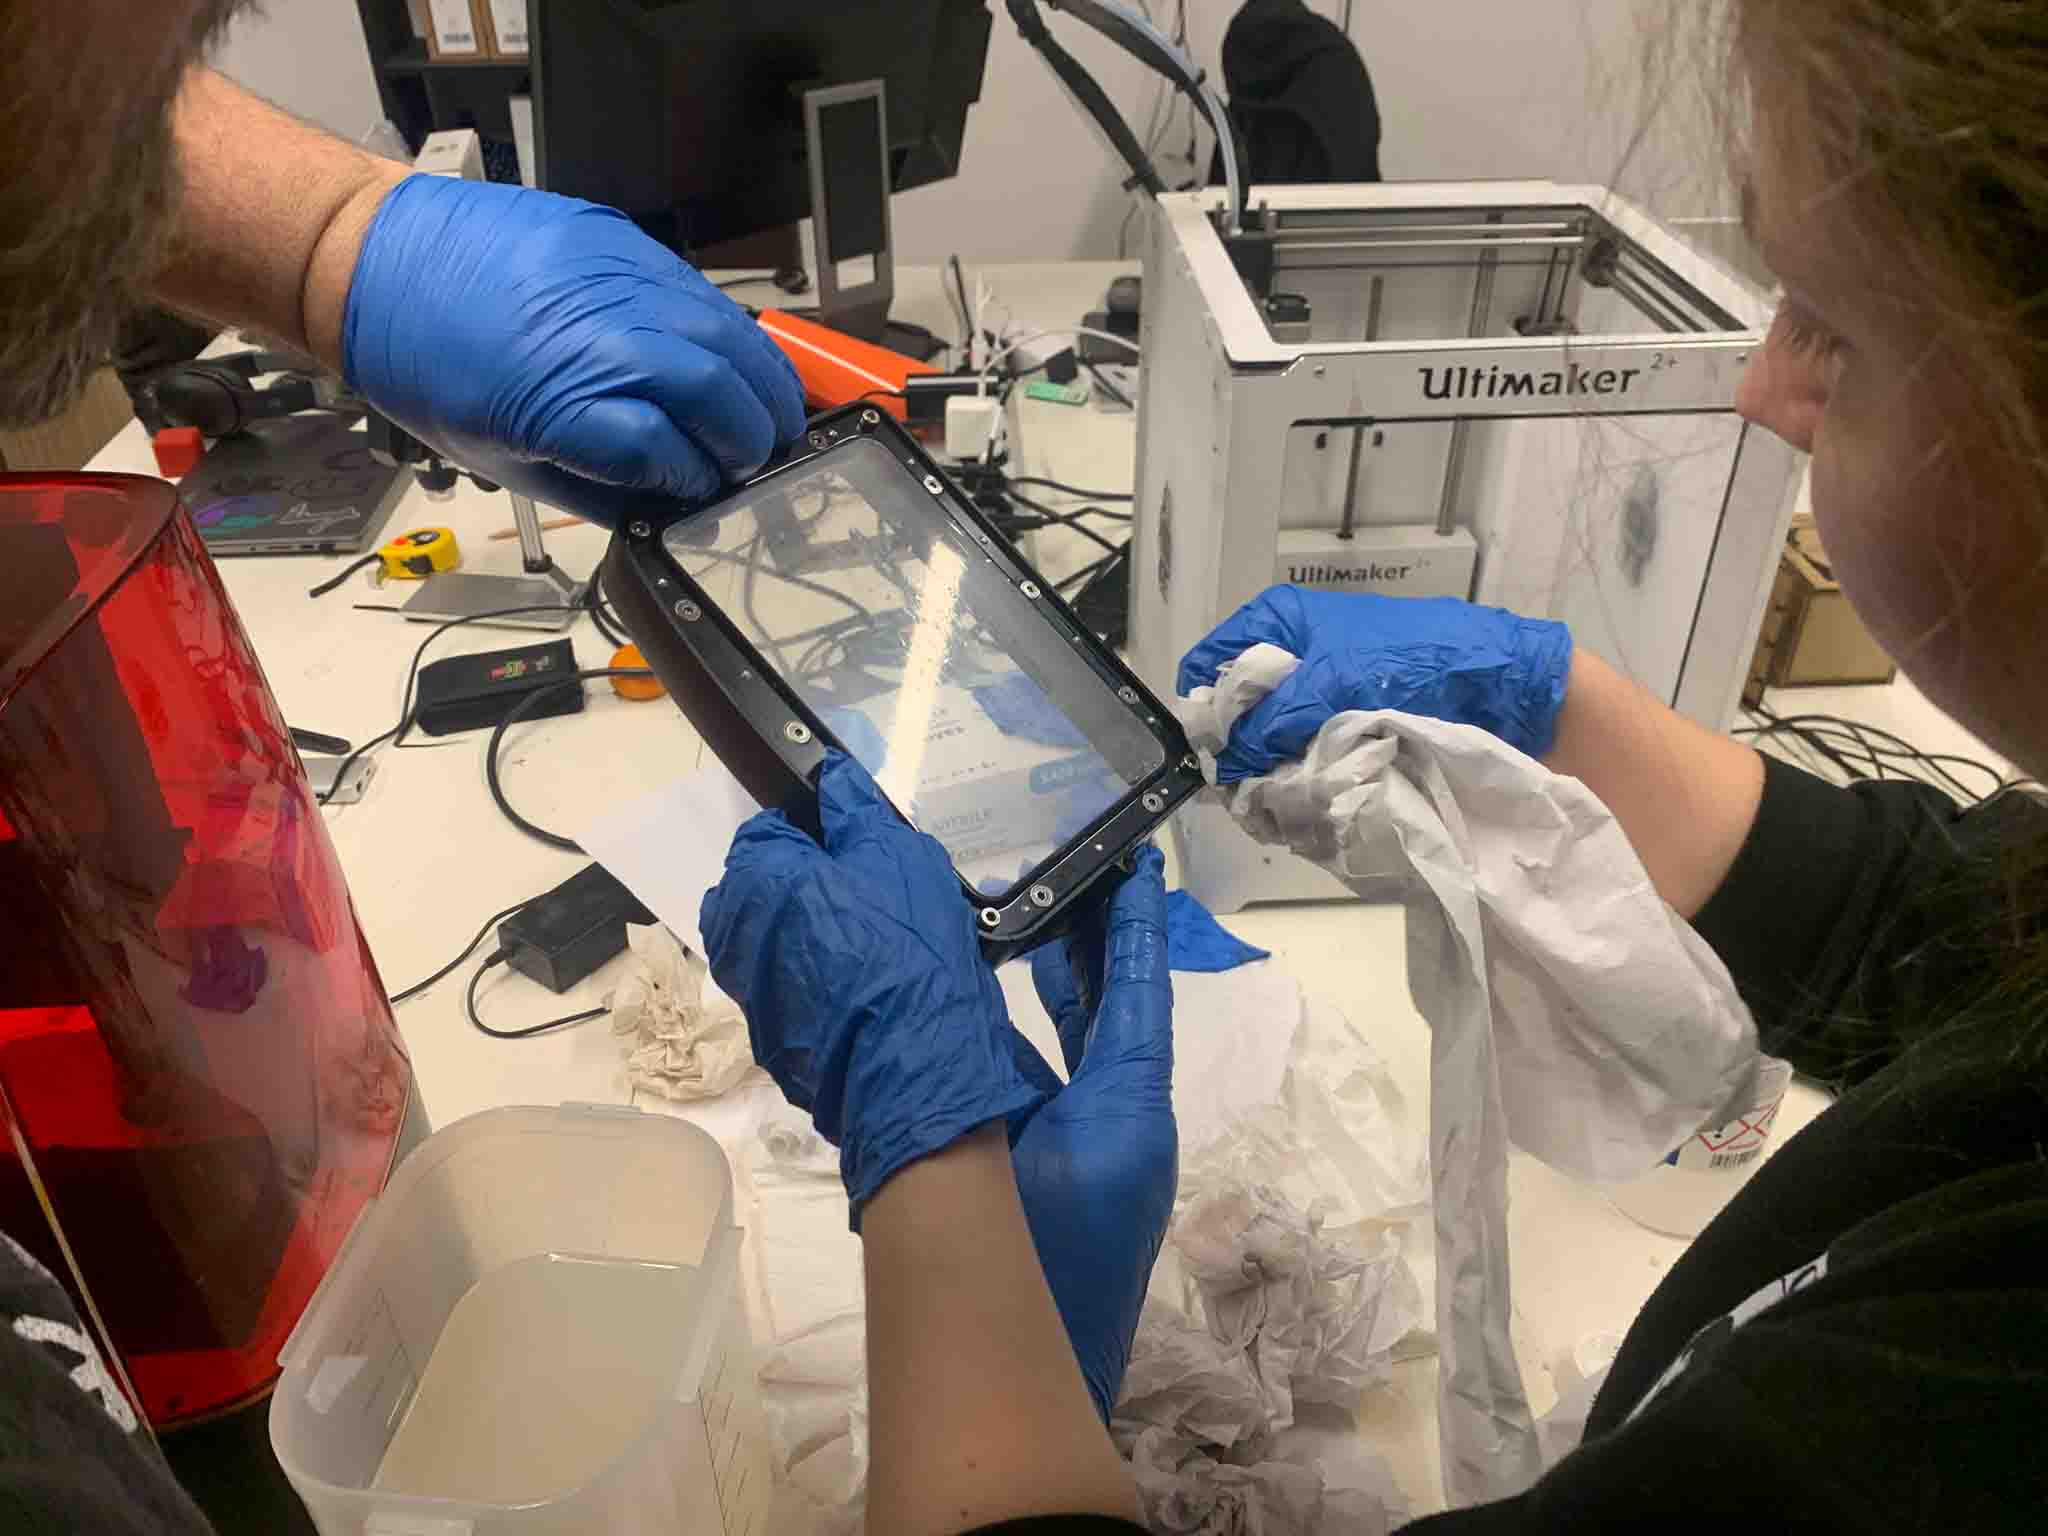
Once ecverythig it clean the curing of the print will be done. Remove supports.
This way of printing is messy and slow, but also very satisfying in the detail of the outcome.
3D scanning
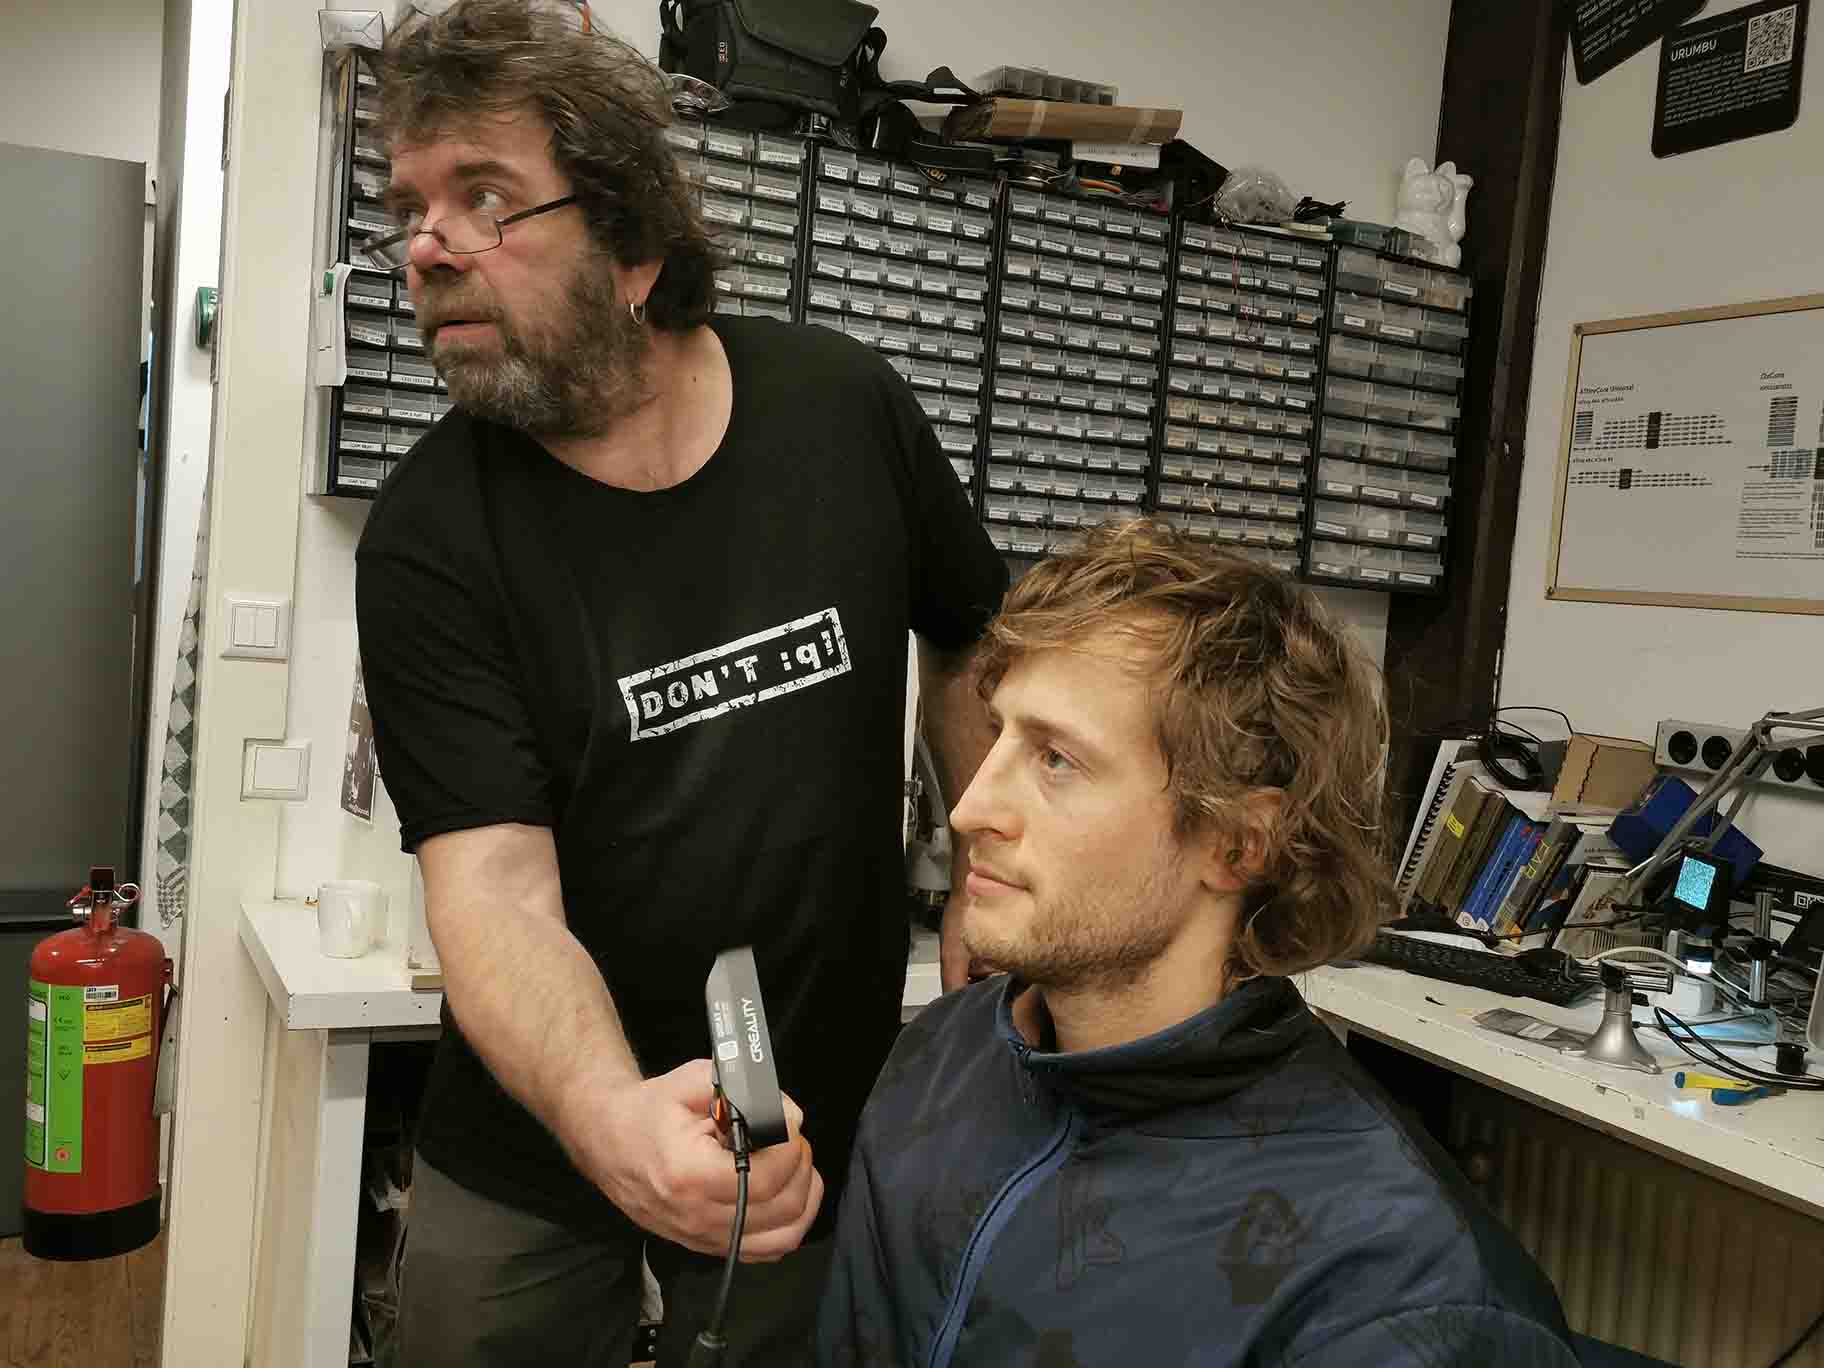
We got an introduction to 3D scanning with the Ferret. TO test it out we collectively did a scan of Dylan,
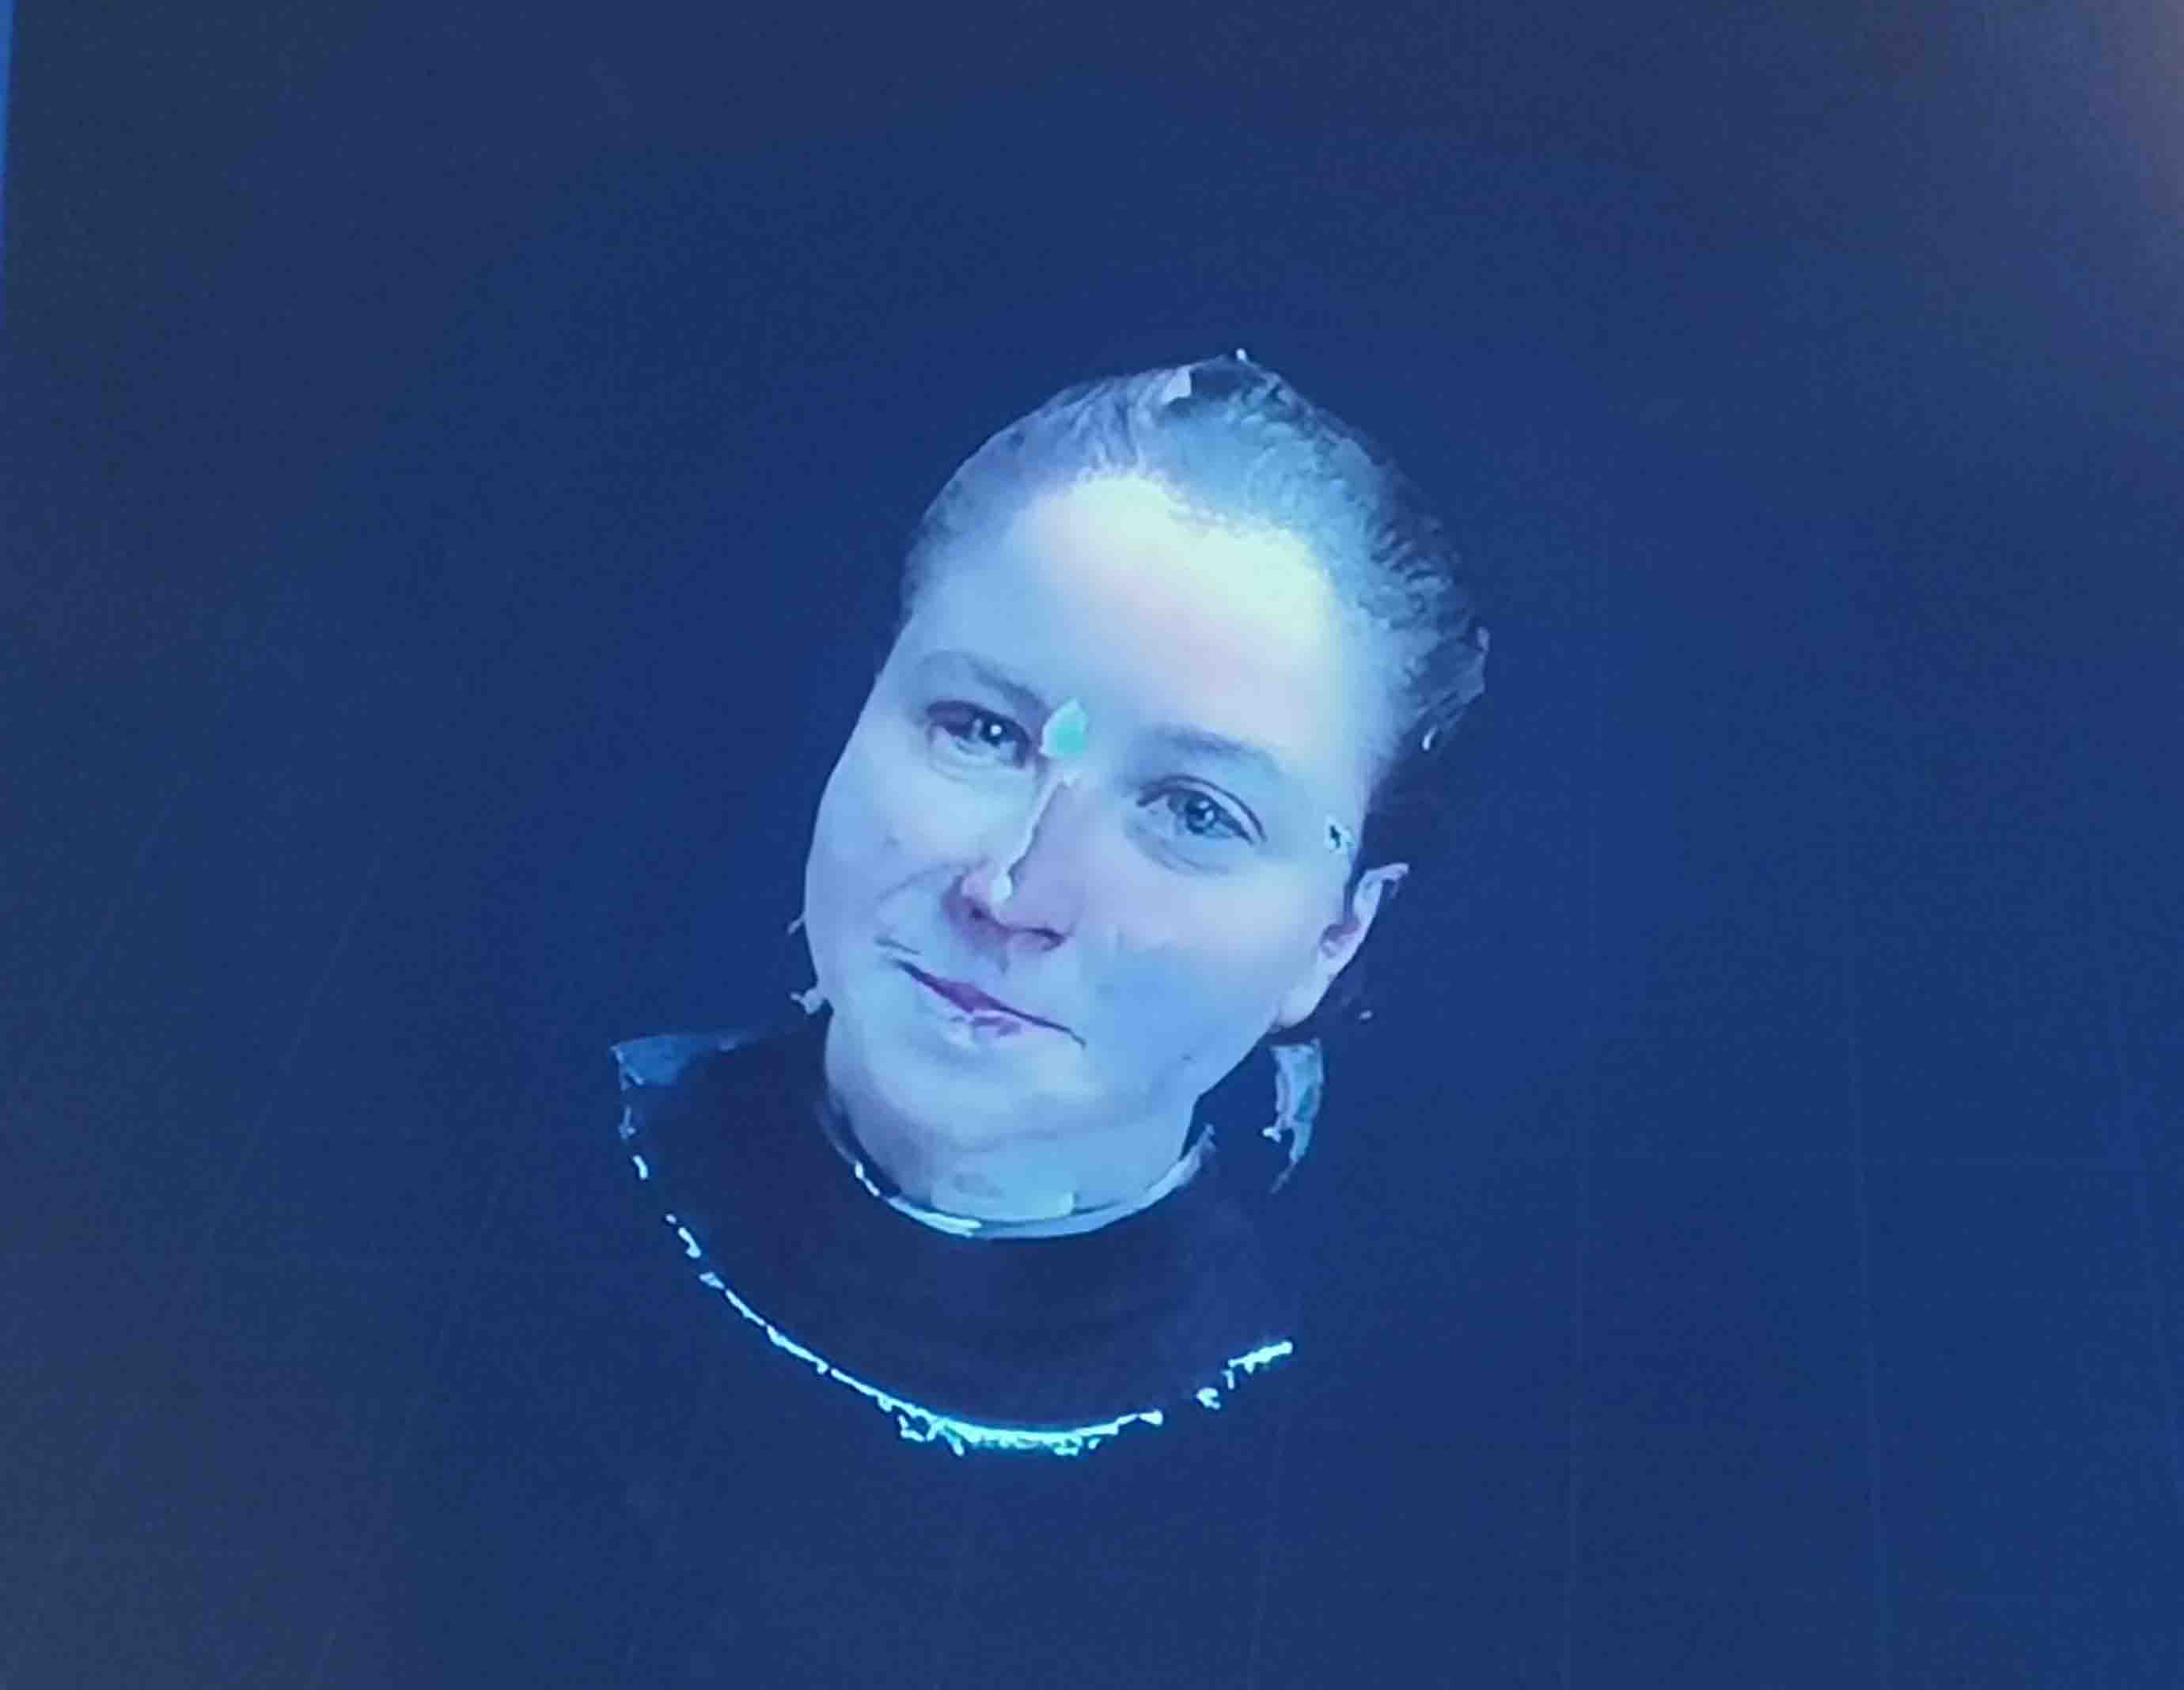
and then one of me. I would recommend not smiling during the print, if you can manage. I couldn't.
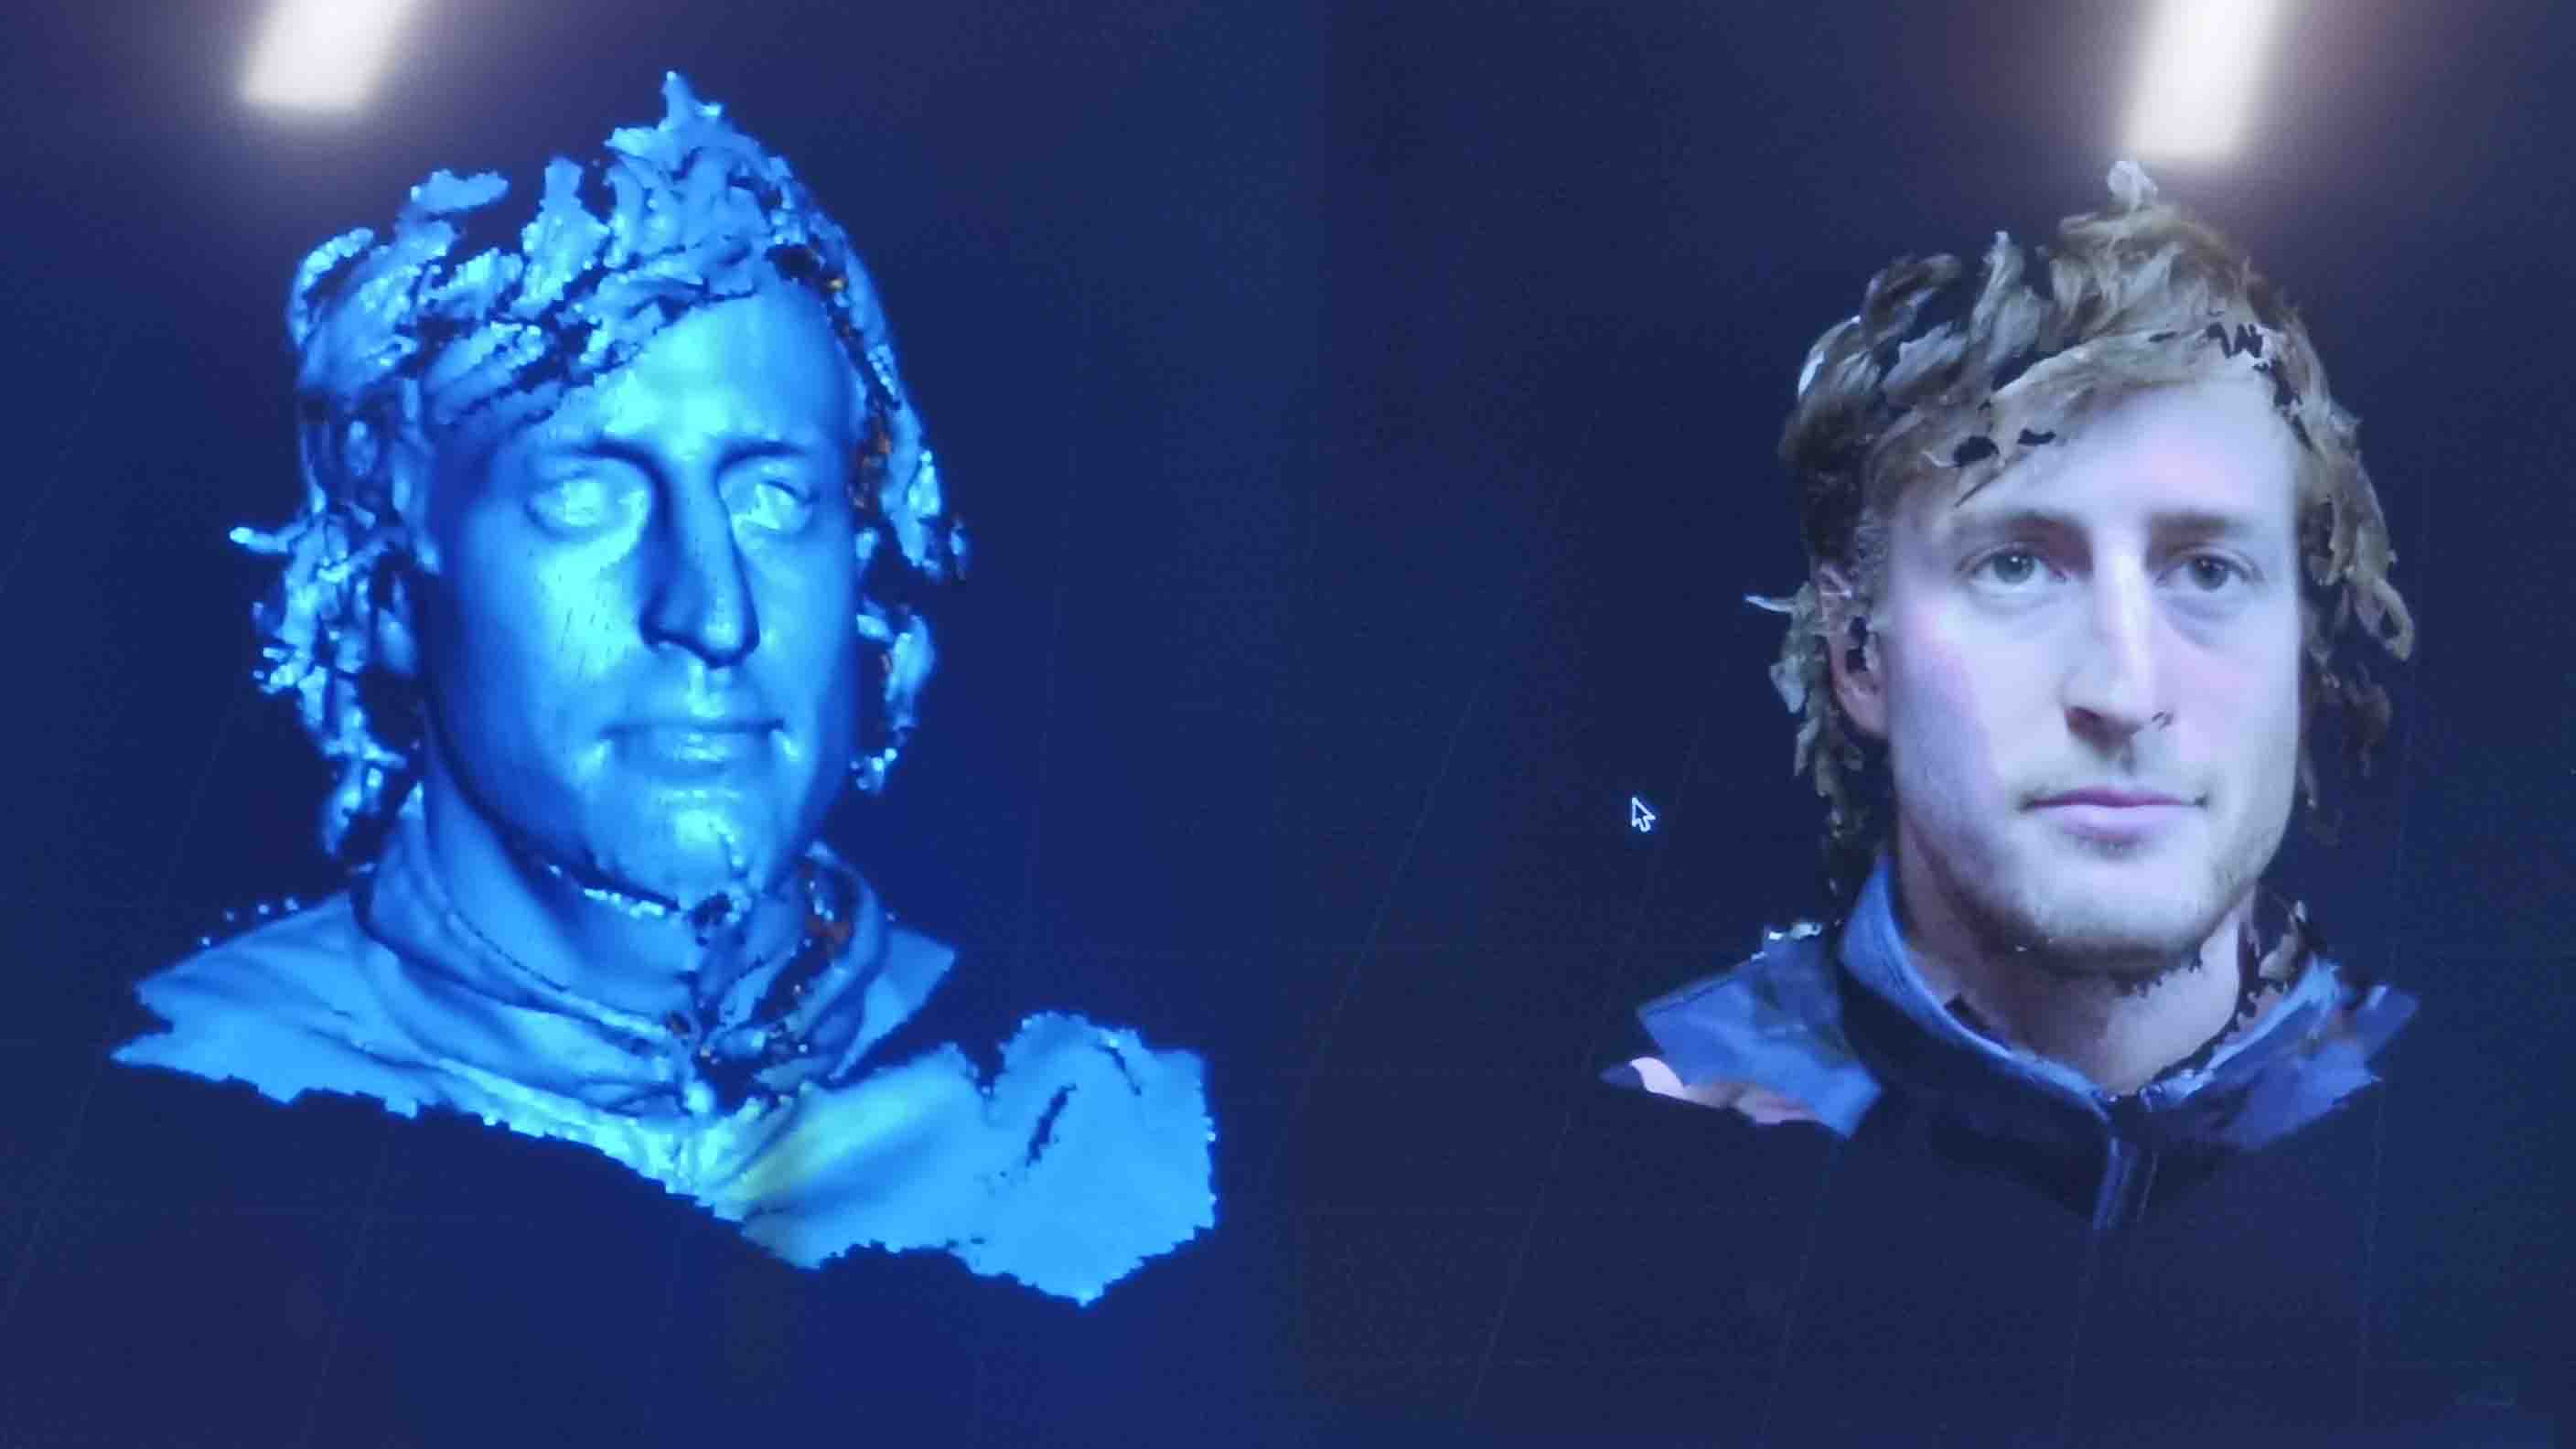
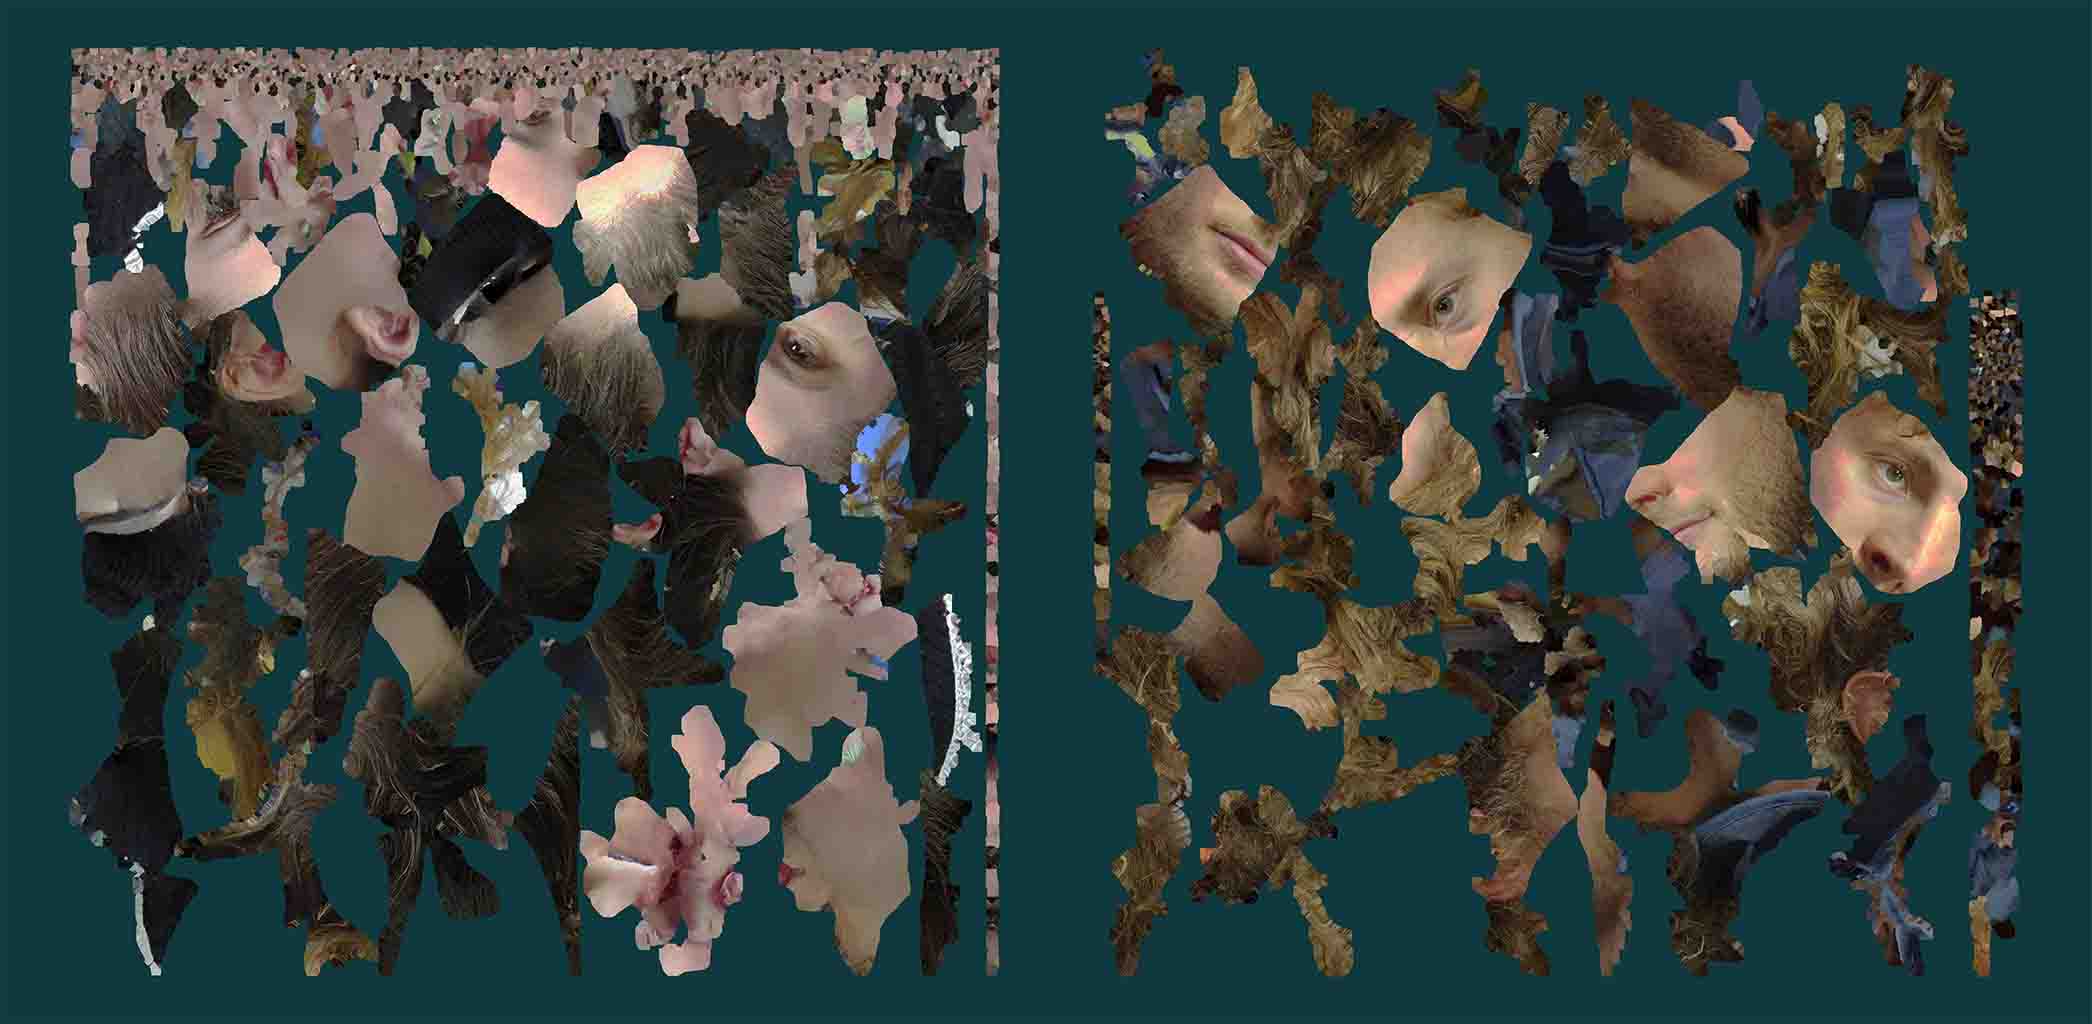
The files also came with a 2D PNG of the scan wich I thought looked pretty cool! A deconstructed self-portrait:
Individual assignment: 3D printing
THis weeks individual assignment is to design and 3D print an object (small, few cm3, limited by printer time), that could not be made subtractively (could not be made by removing material ie: lasercut).
I want to 3D print a casing for the humidifier I started working on. I am still concidering how it should look so for now I want to try designein gsomething with a texture in Blender to see how it turns out.
Blender modeling:
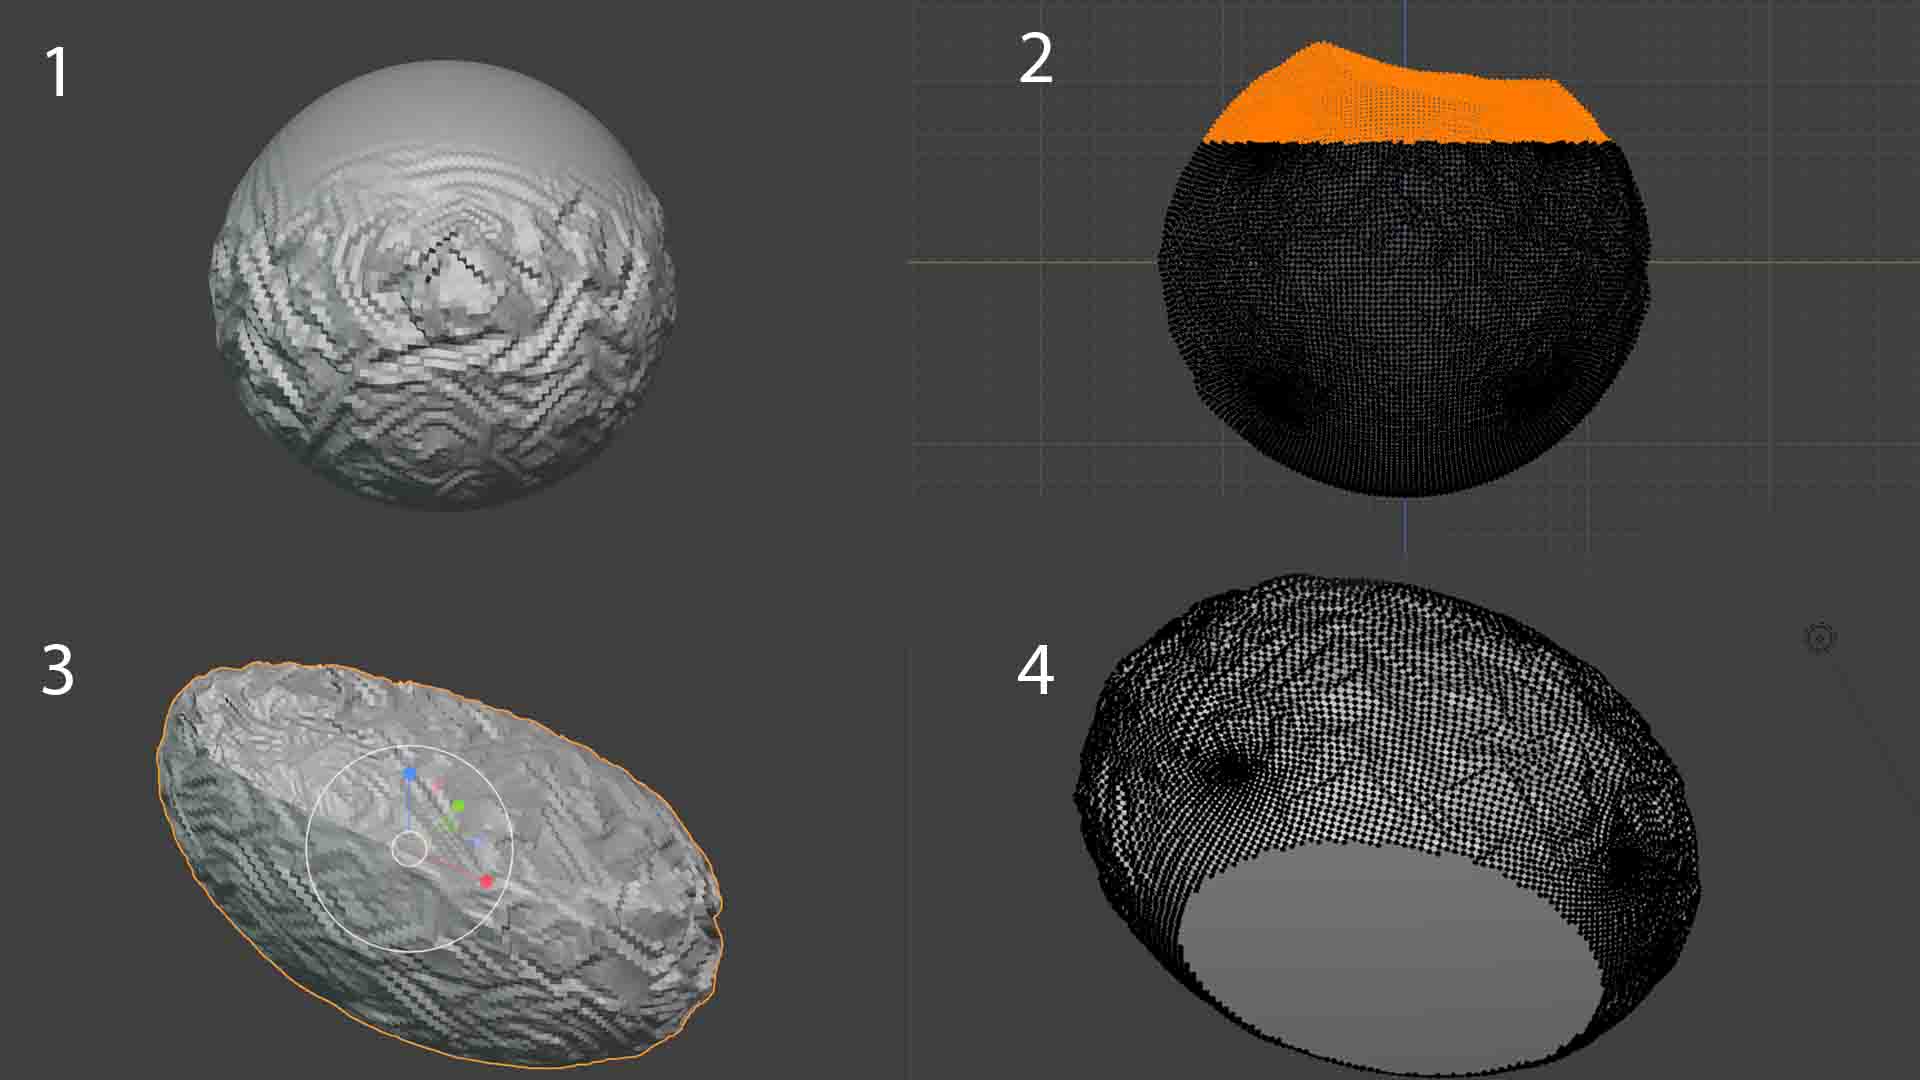
1: Opened a sculpting file in Blender and started changing the texture of the sphere.
2: removed the top of the mesh to make a hollow model.
3: Went back to object mode and changed the size of the model to make it mode oval.
4: Flattened the bottom.
5: Subedivided and exported the file and imported it into Cura slicer to prepare for printing on the Ultimaker 2+.
The file was a bit strange and I don't think the bottom was properly flat. The first layer failed.

It looked pretty cool!
I moved the file a bit lower in the slicer and now printing went well.
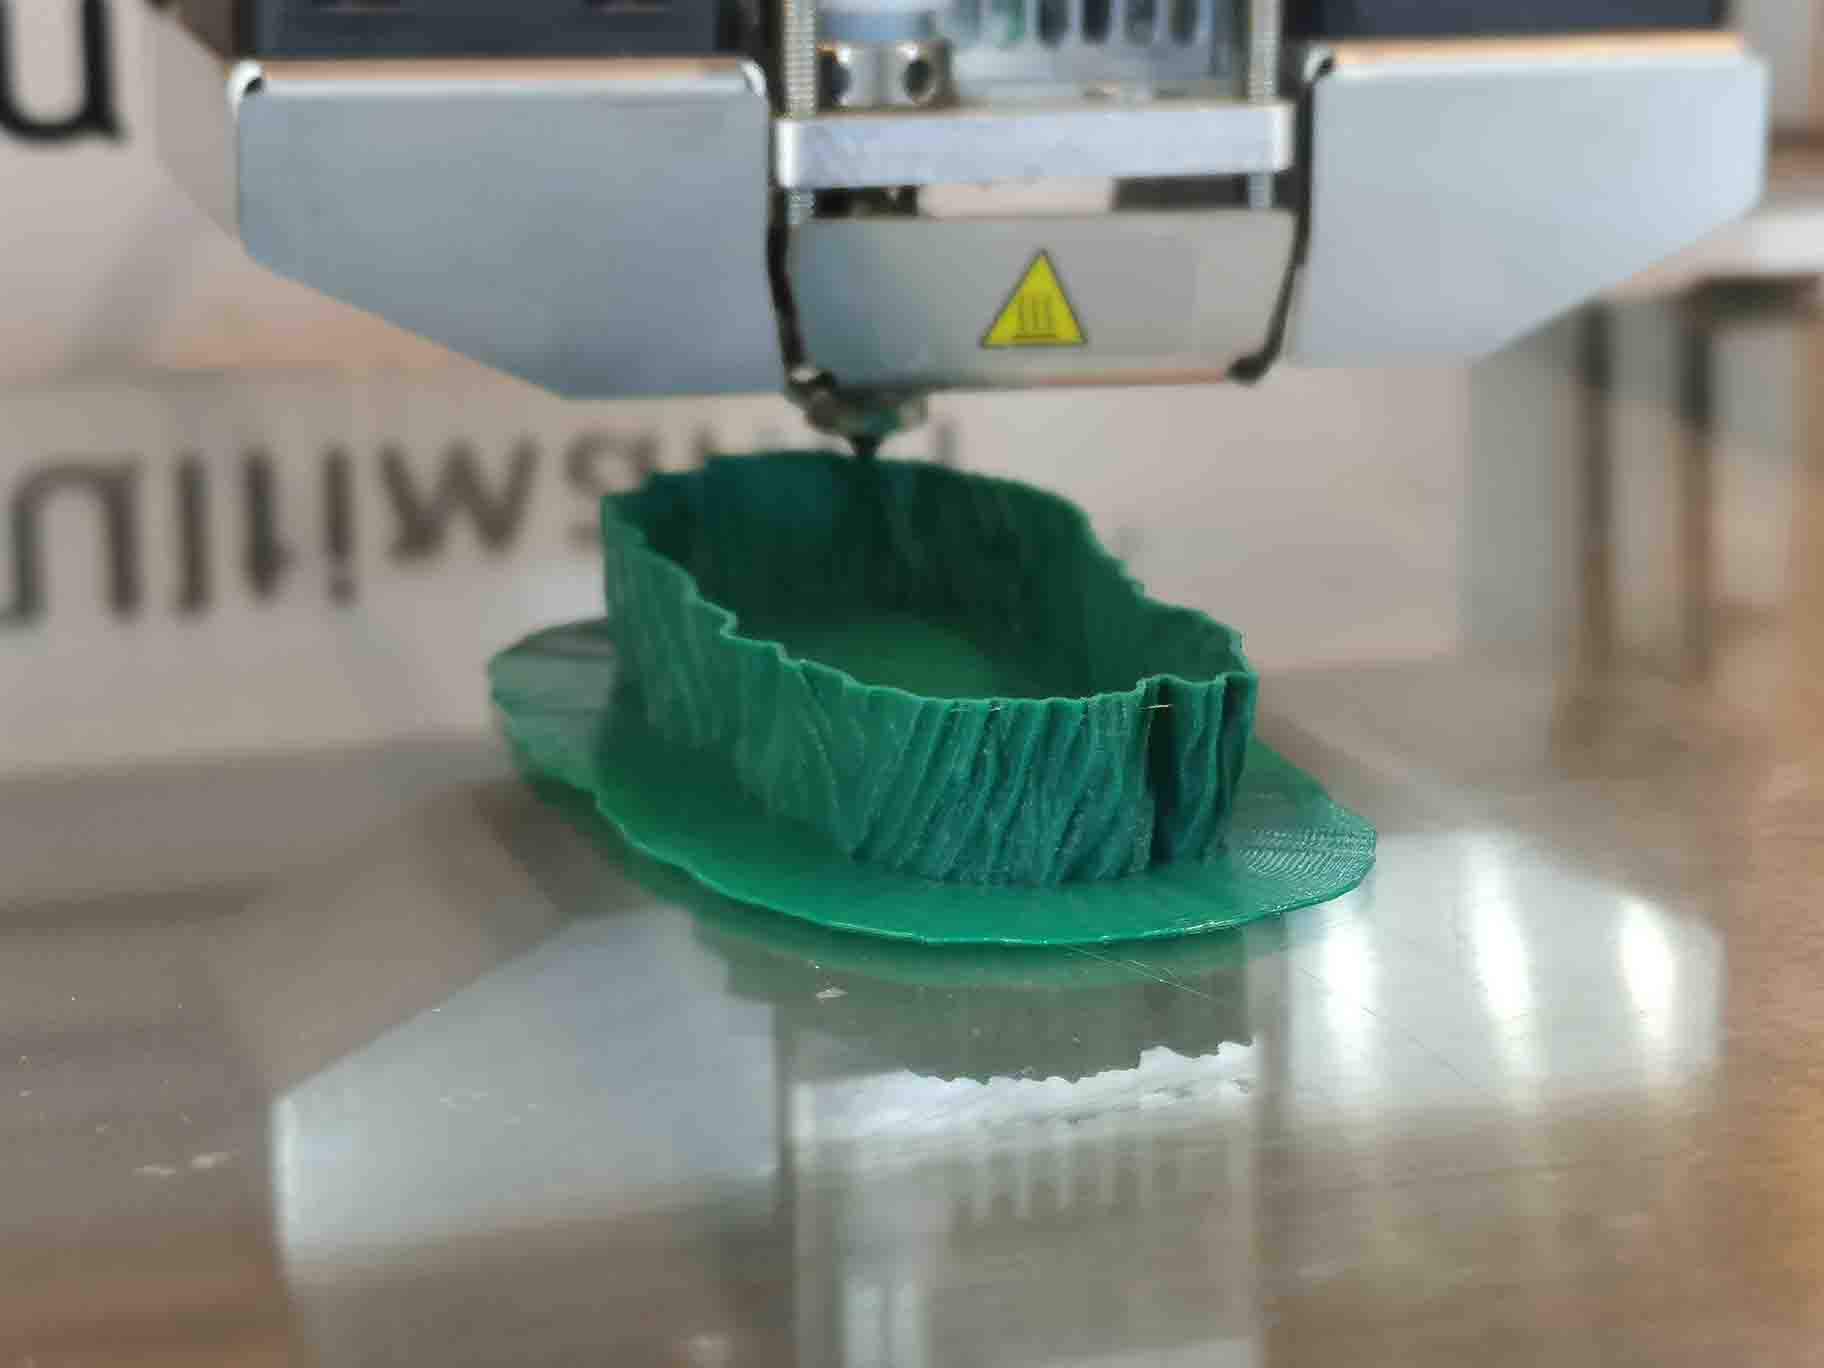
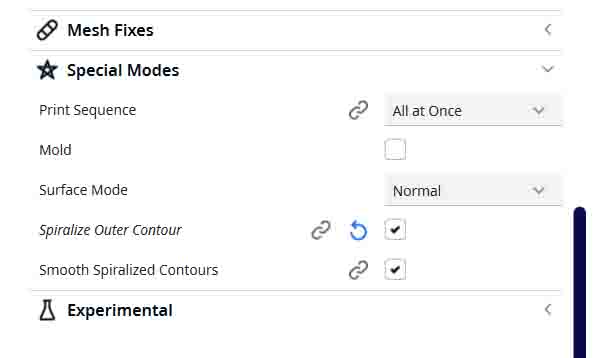
I printed the file in vase mode. It a a quicker way to print. Vase mode is a setting that makes the printer move in a continuous spiral rather then individual layers. In order to activate this mode go to Special Modes and enable spiralize outer contours.
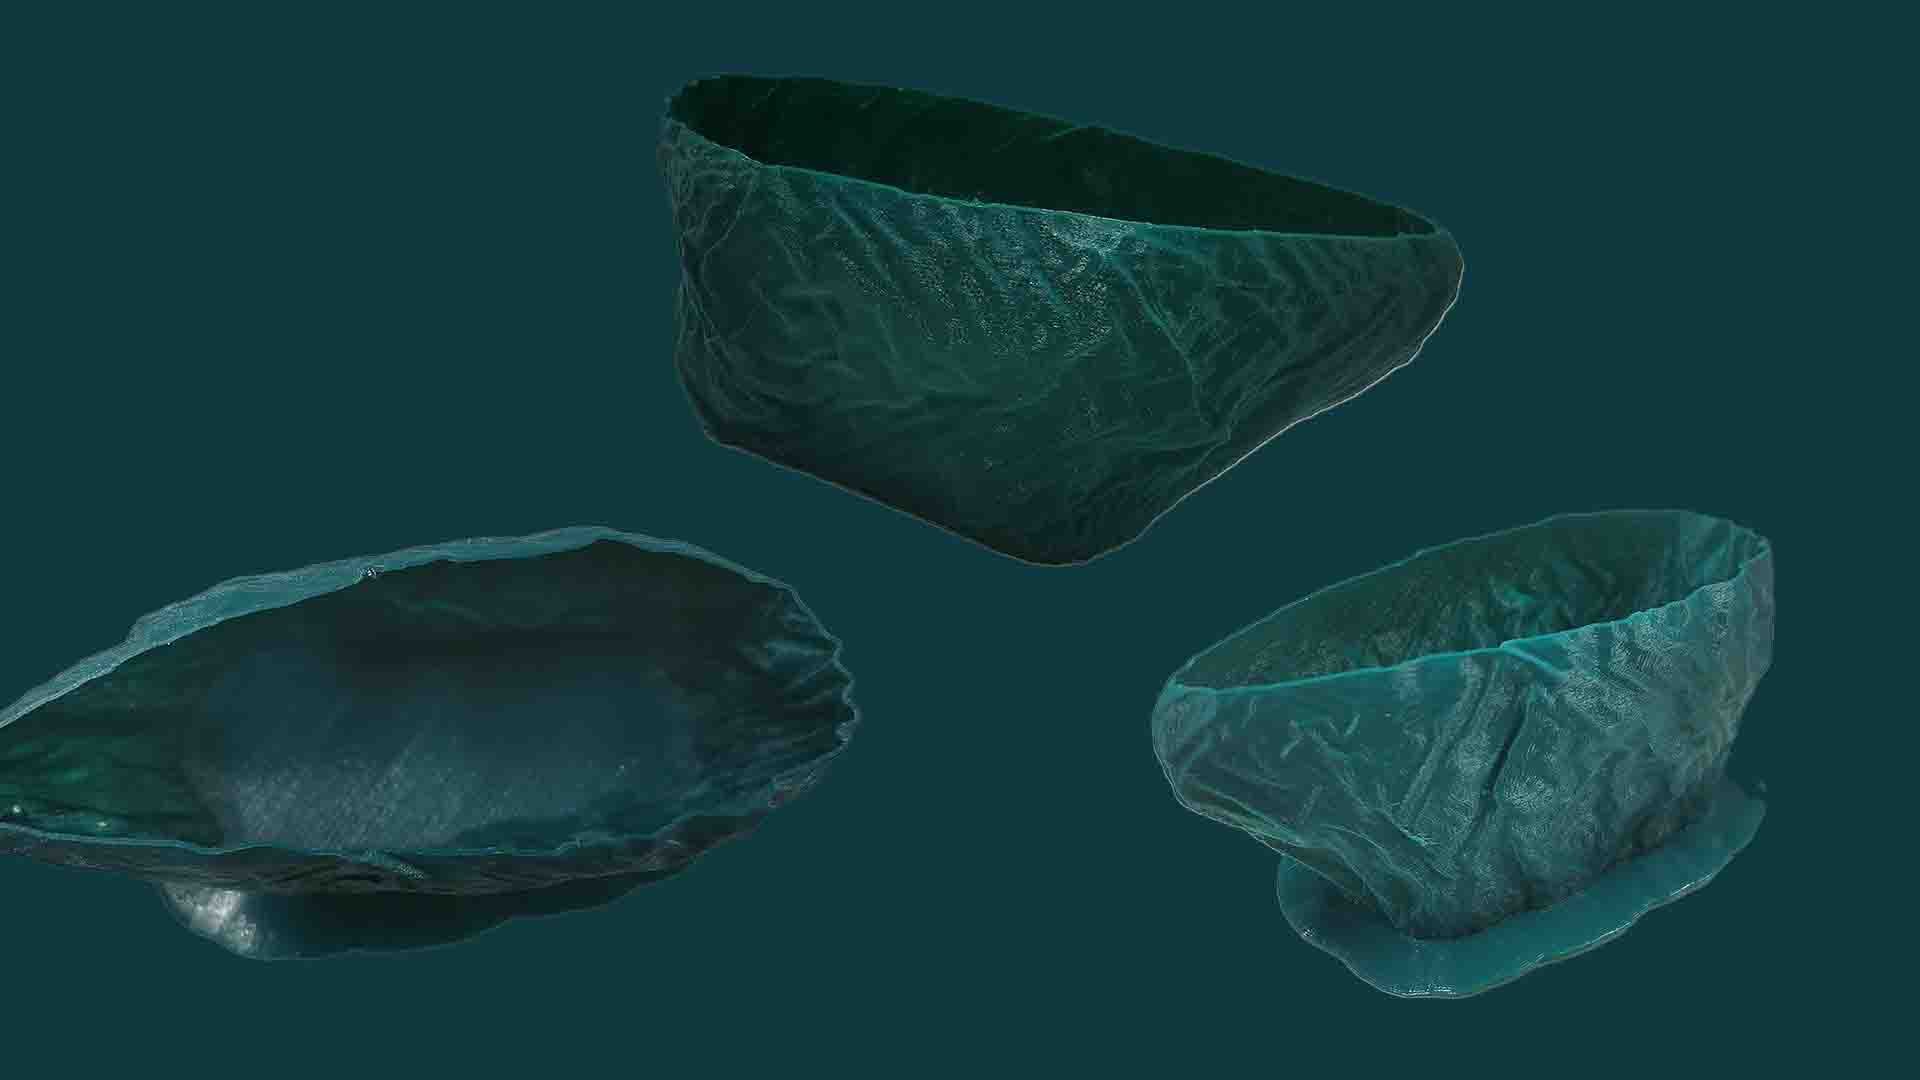
The final print is a vase like structure. I am quite happy with how the texture turned out.
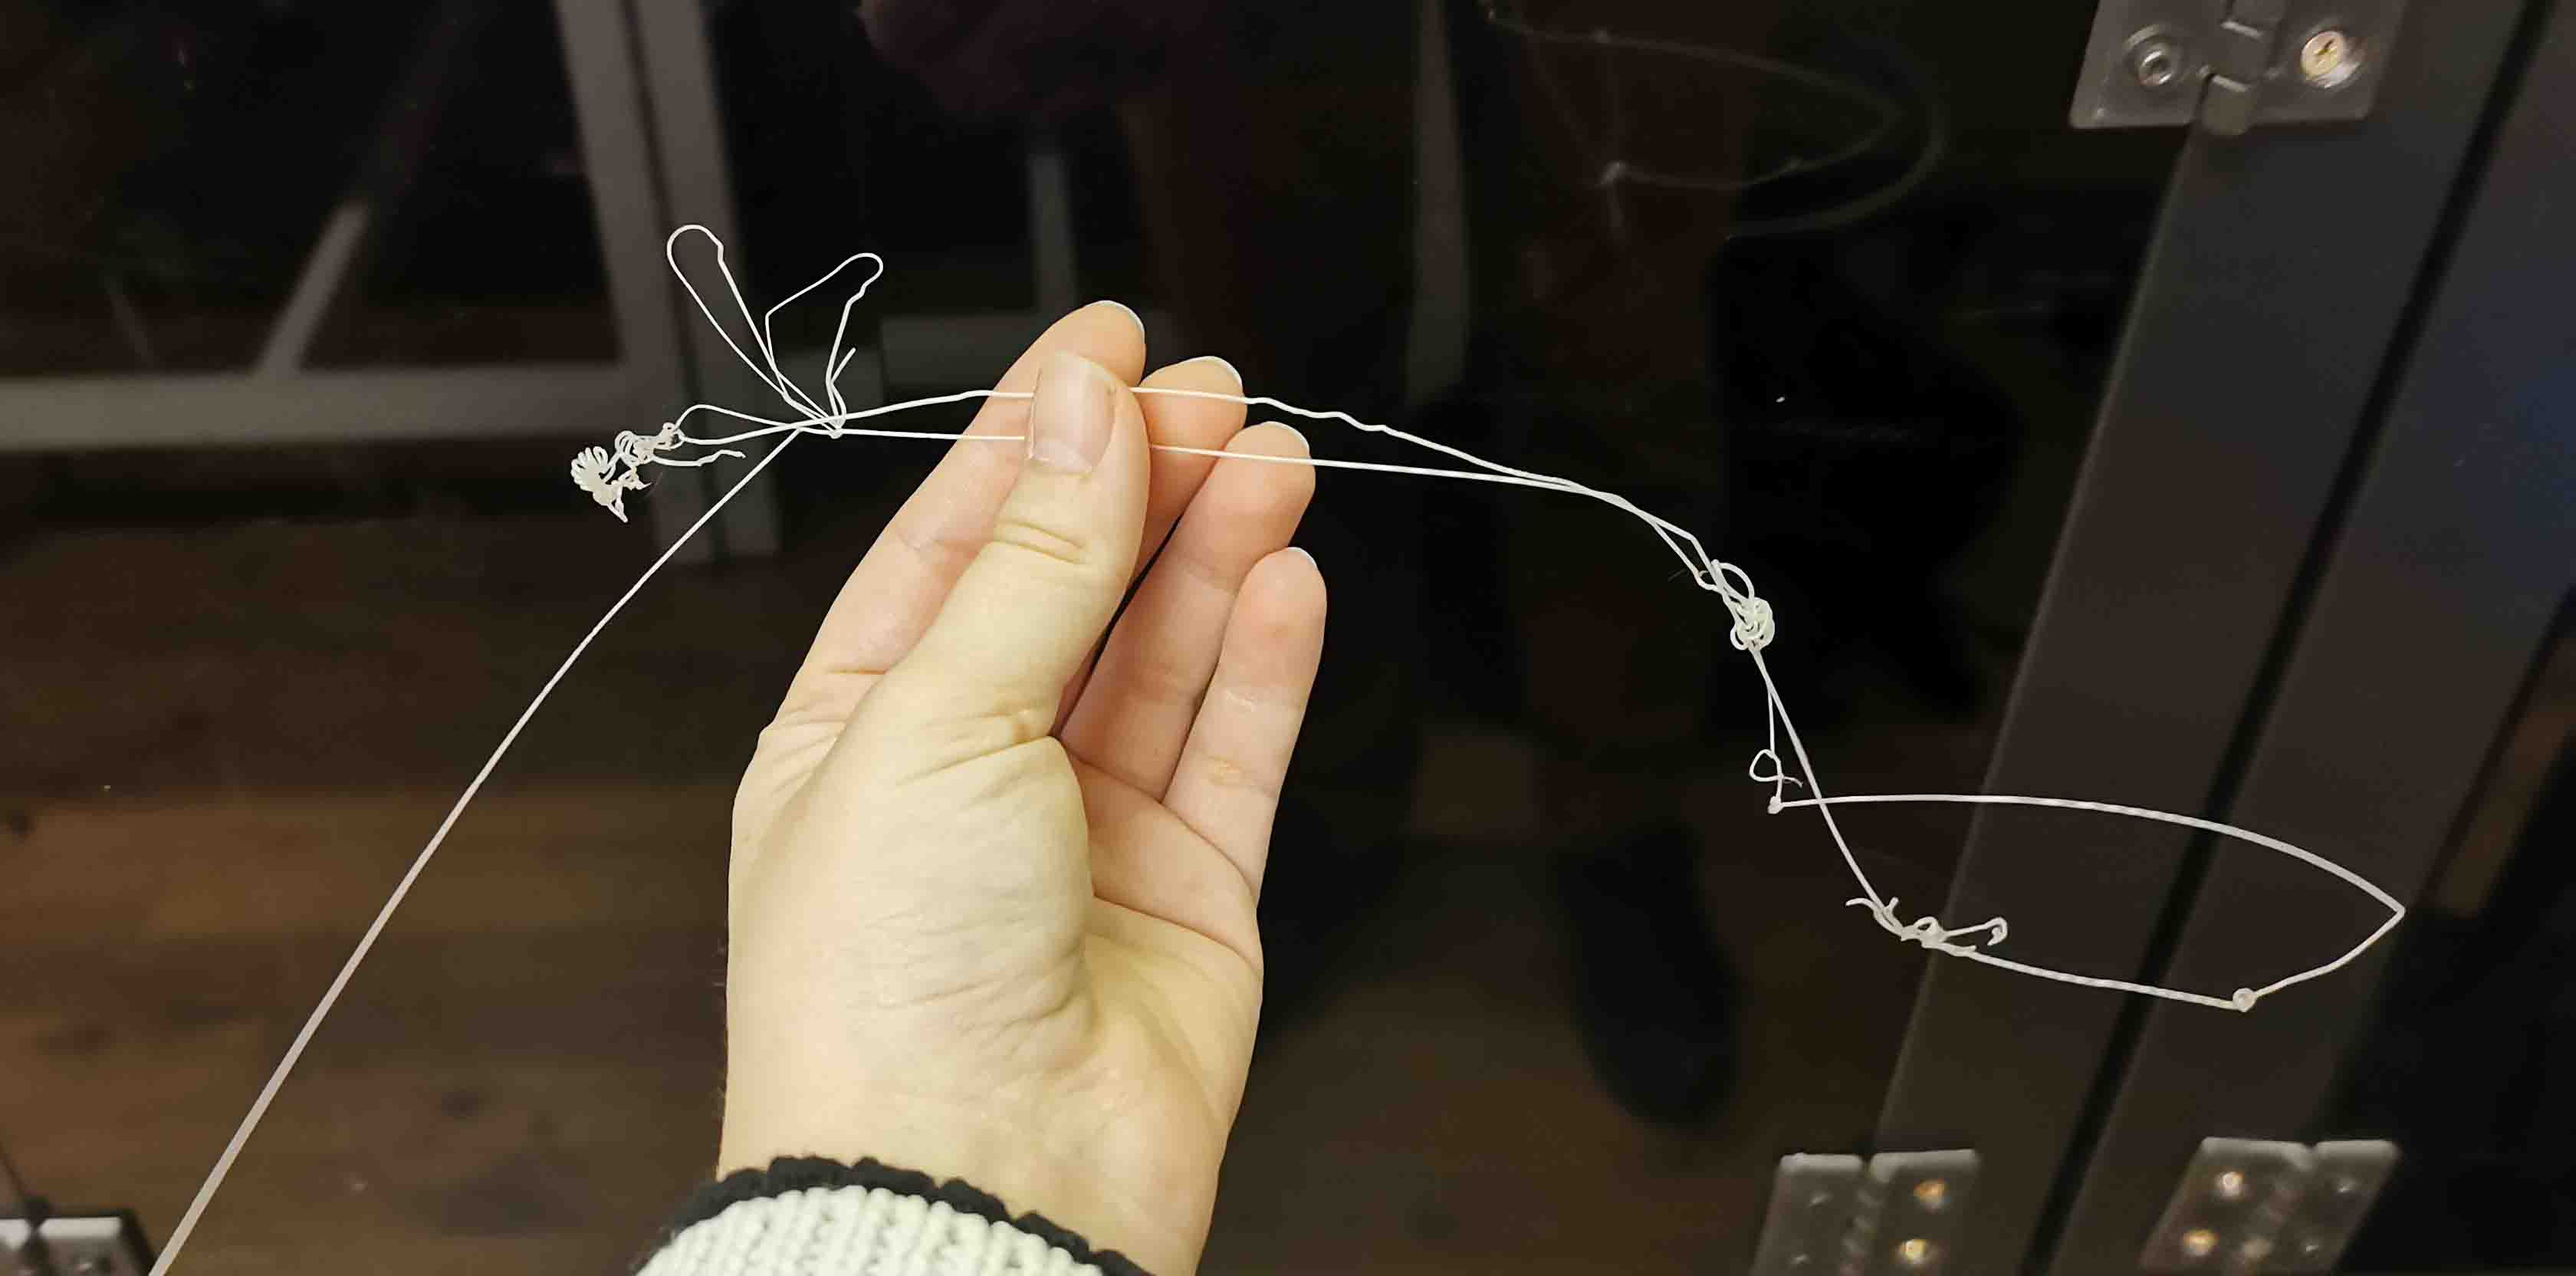
Individual assignment 3D scanning
3D scan an object (and optionally print it)
I first tried to scan the air filter at the soldering station.
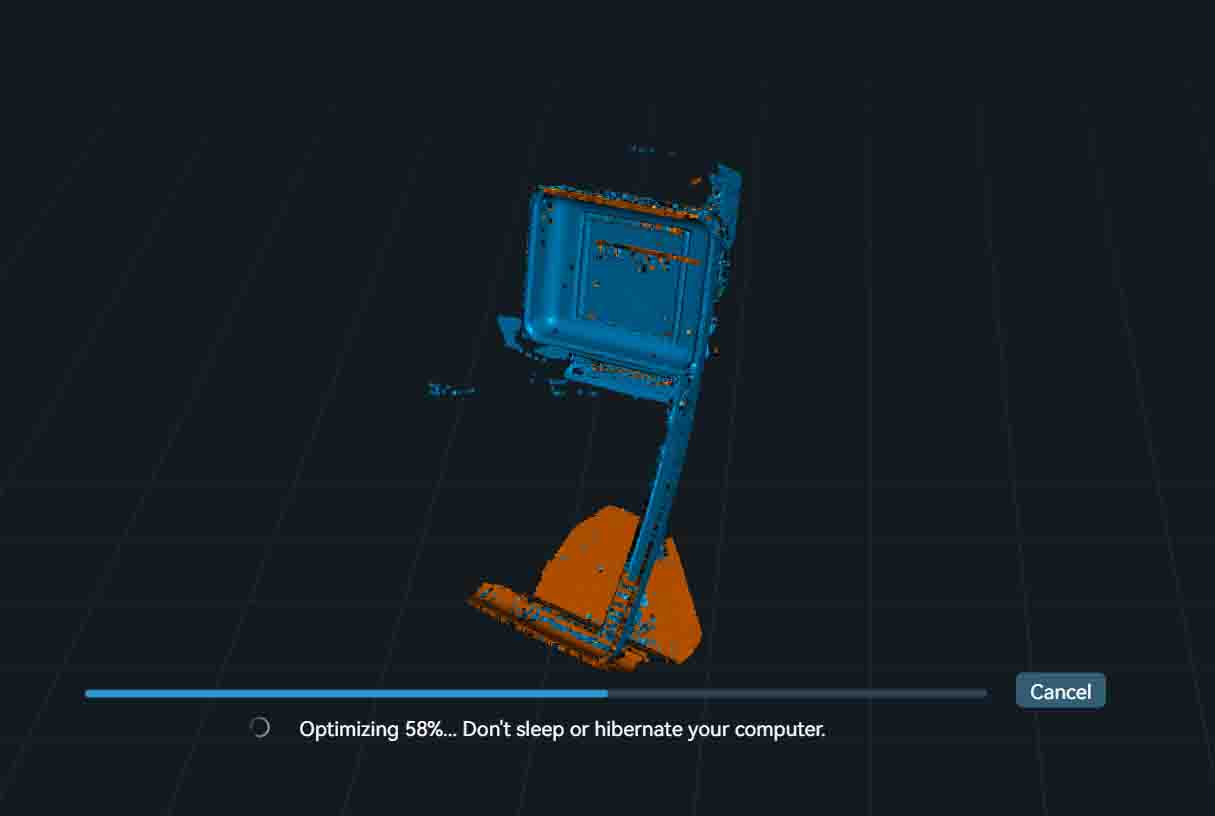
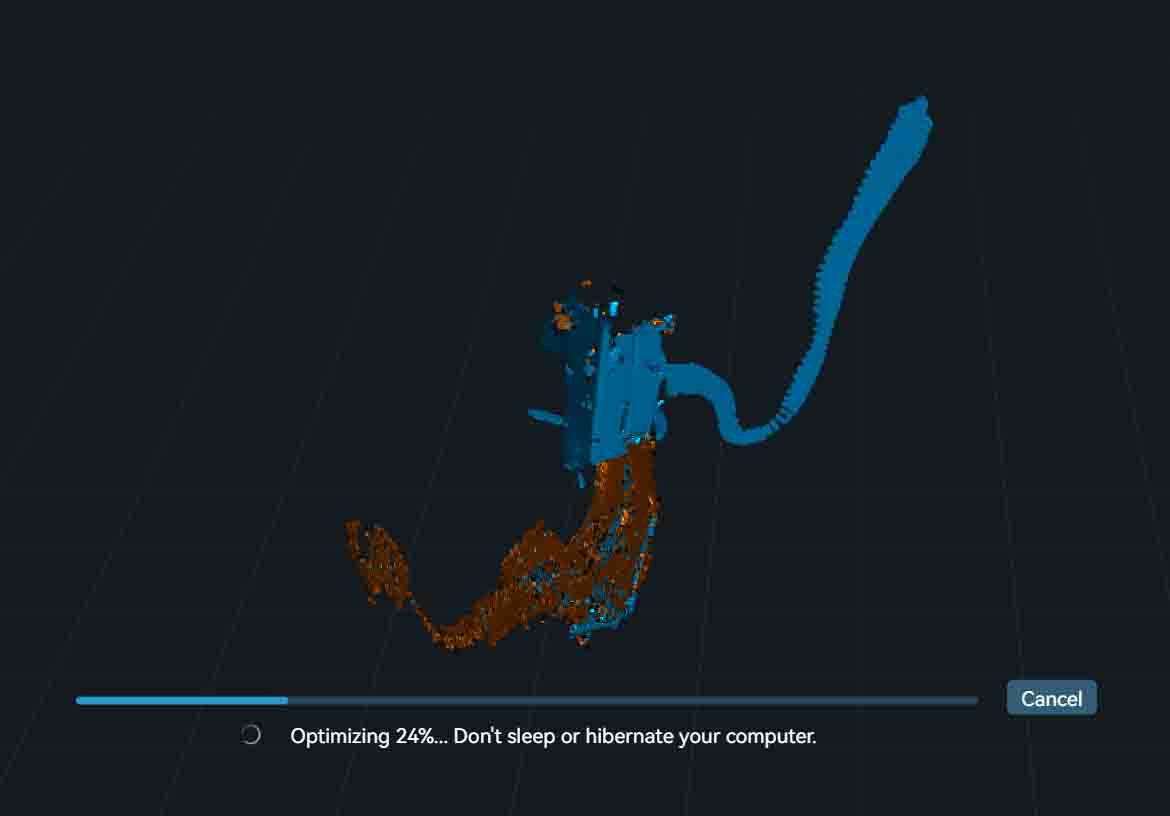
Neither of these turned out very well.
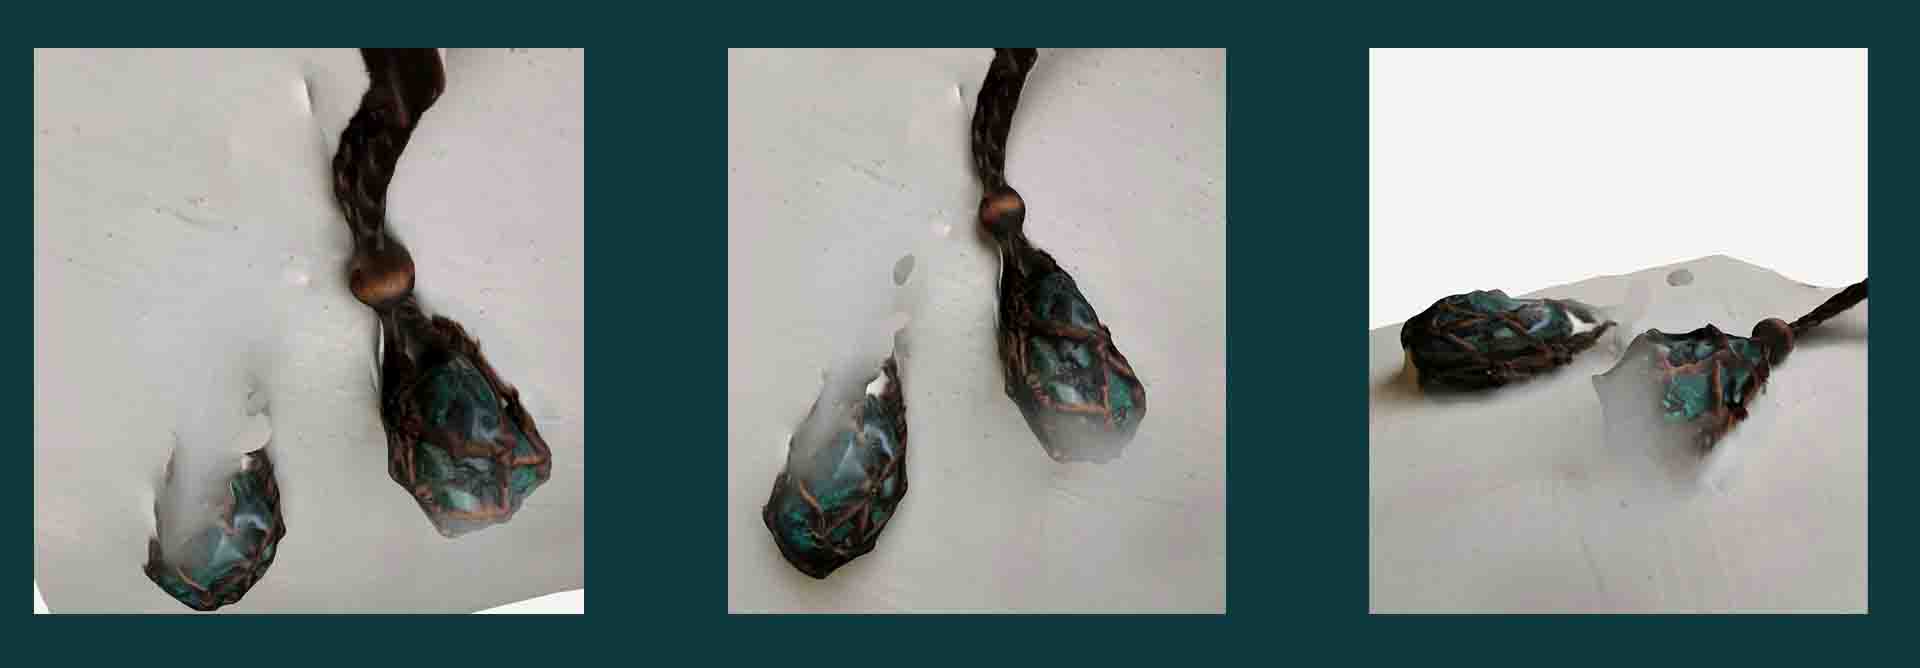
I then tried scaning in my necklace by using Poly cam. That left me with this. It did capture both sides of the necklace and I think it's in style with the PNGs from the ferret scanner: deconstructed.
Bonus printer: BambuLAB A1
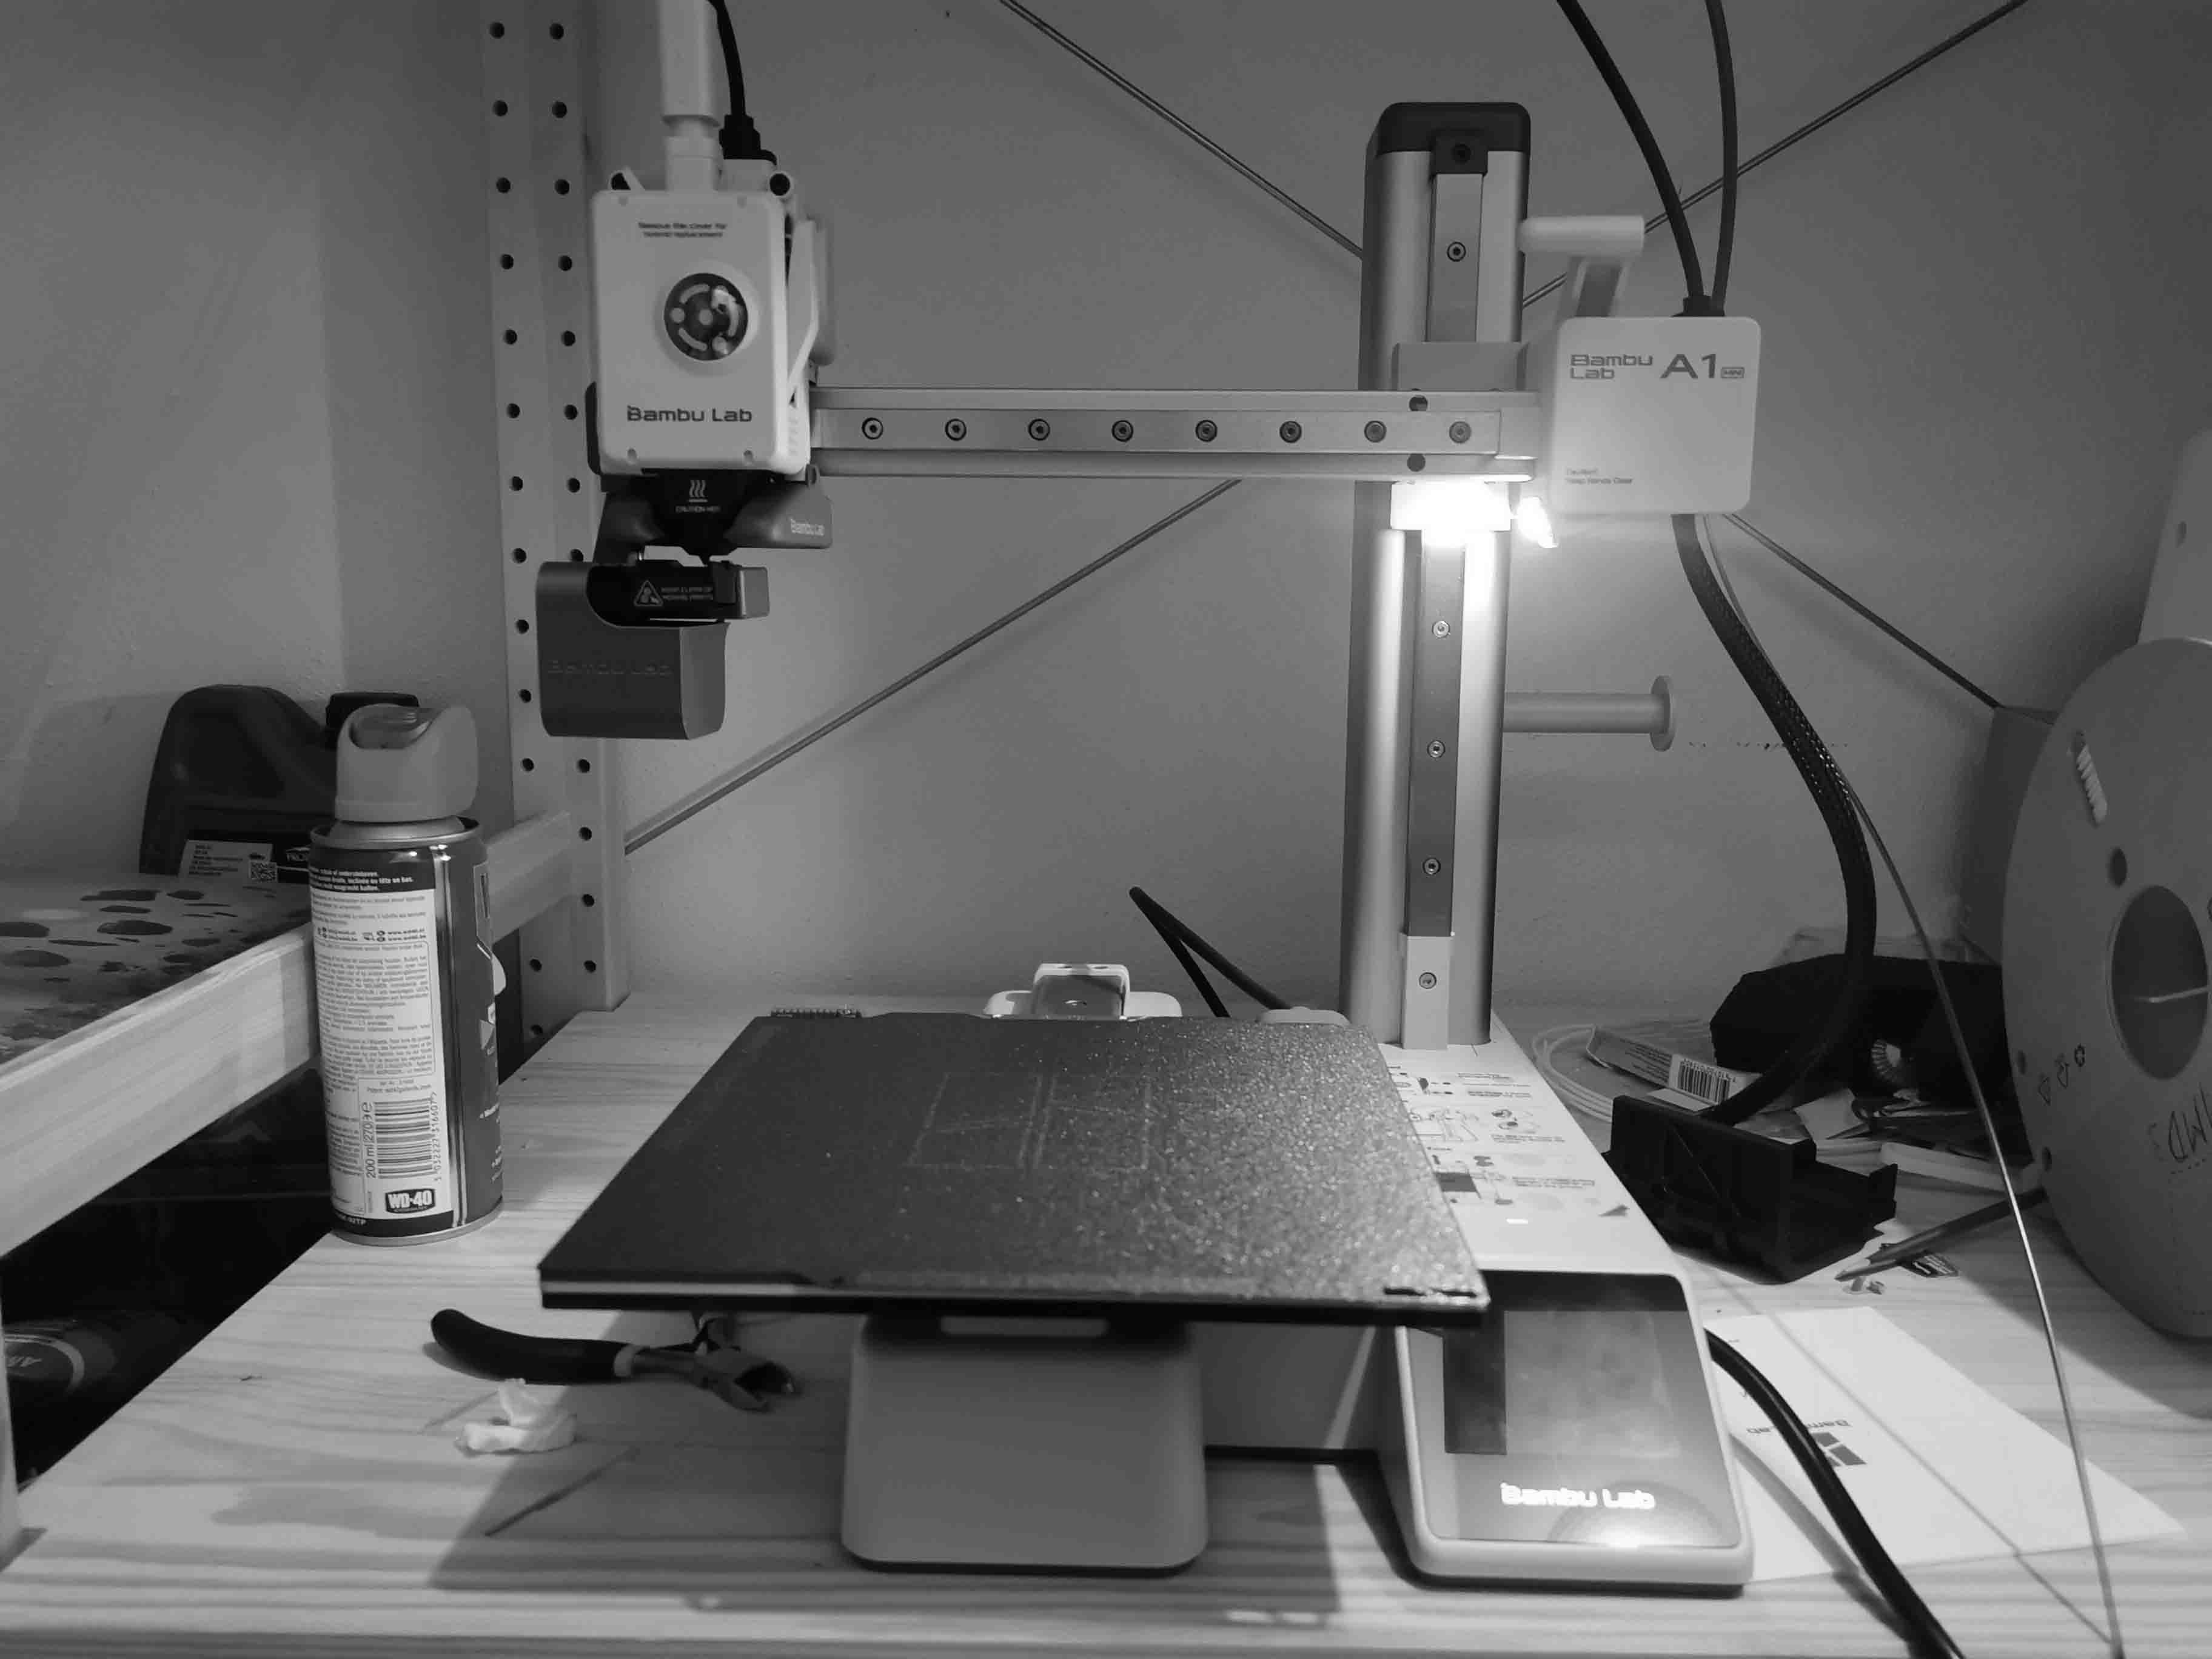
I have a BambuLAB A1 mini printer at home and have been using this this week so I thought it would be good to add that into here aswell. It is a simple printed that for the most part prints well with PLA and PETG, but from my tests this week I still have not managed to make it print with allPHA.
I could feel and see that the PHA filament got loaded the nozzle, but it did not get extruded. Whenever I would load another filament after it seemed to come seeping out as if it was almost liquified. I wonder if the nozzle temperature is too high. I adjusted the settings on the machine, but the A1 mini would change the temperatures in between, heating up the bed, going from very low to high nozzle temperatures.
Time to test this machine aswell. Since I have 2 filaments, PLA and PETG I wanted to see if there were any differnces. Both filaments has been dried.
The first print i did with PLA failed:
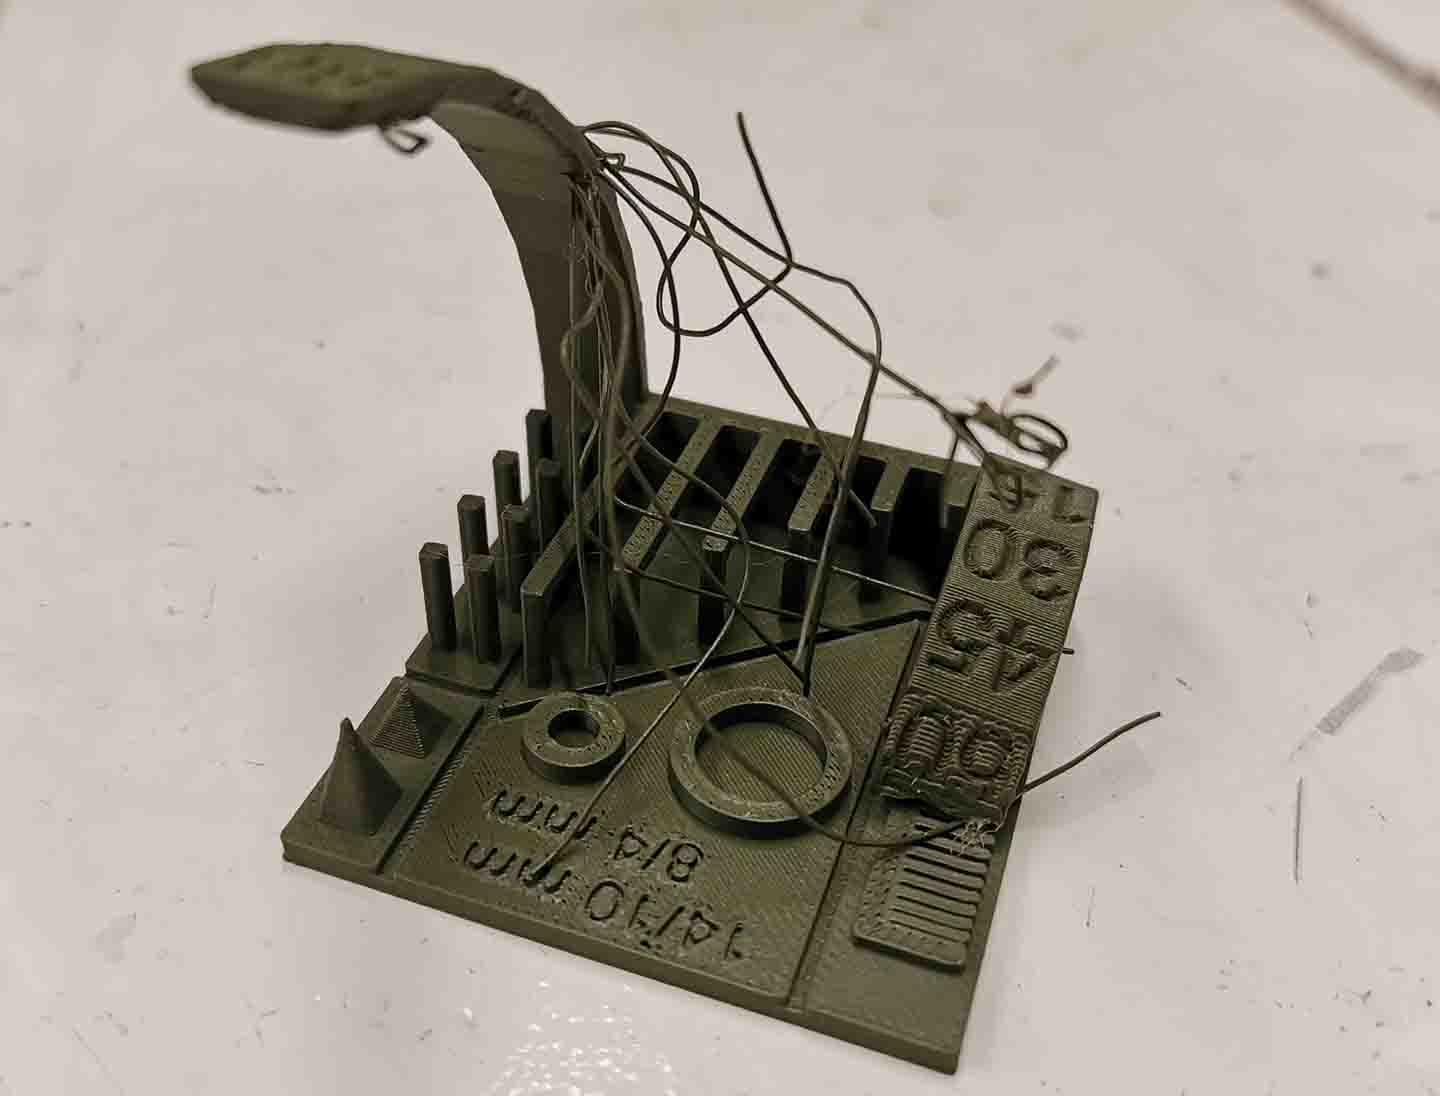
The nozzle was dirty. I take this as a reminder to clean the nozzle as well as the printbed.
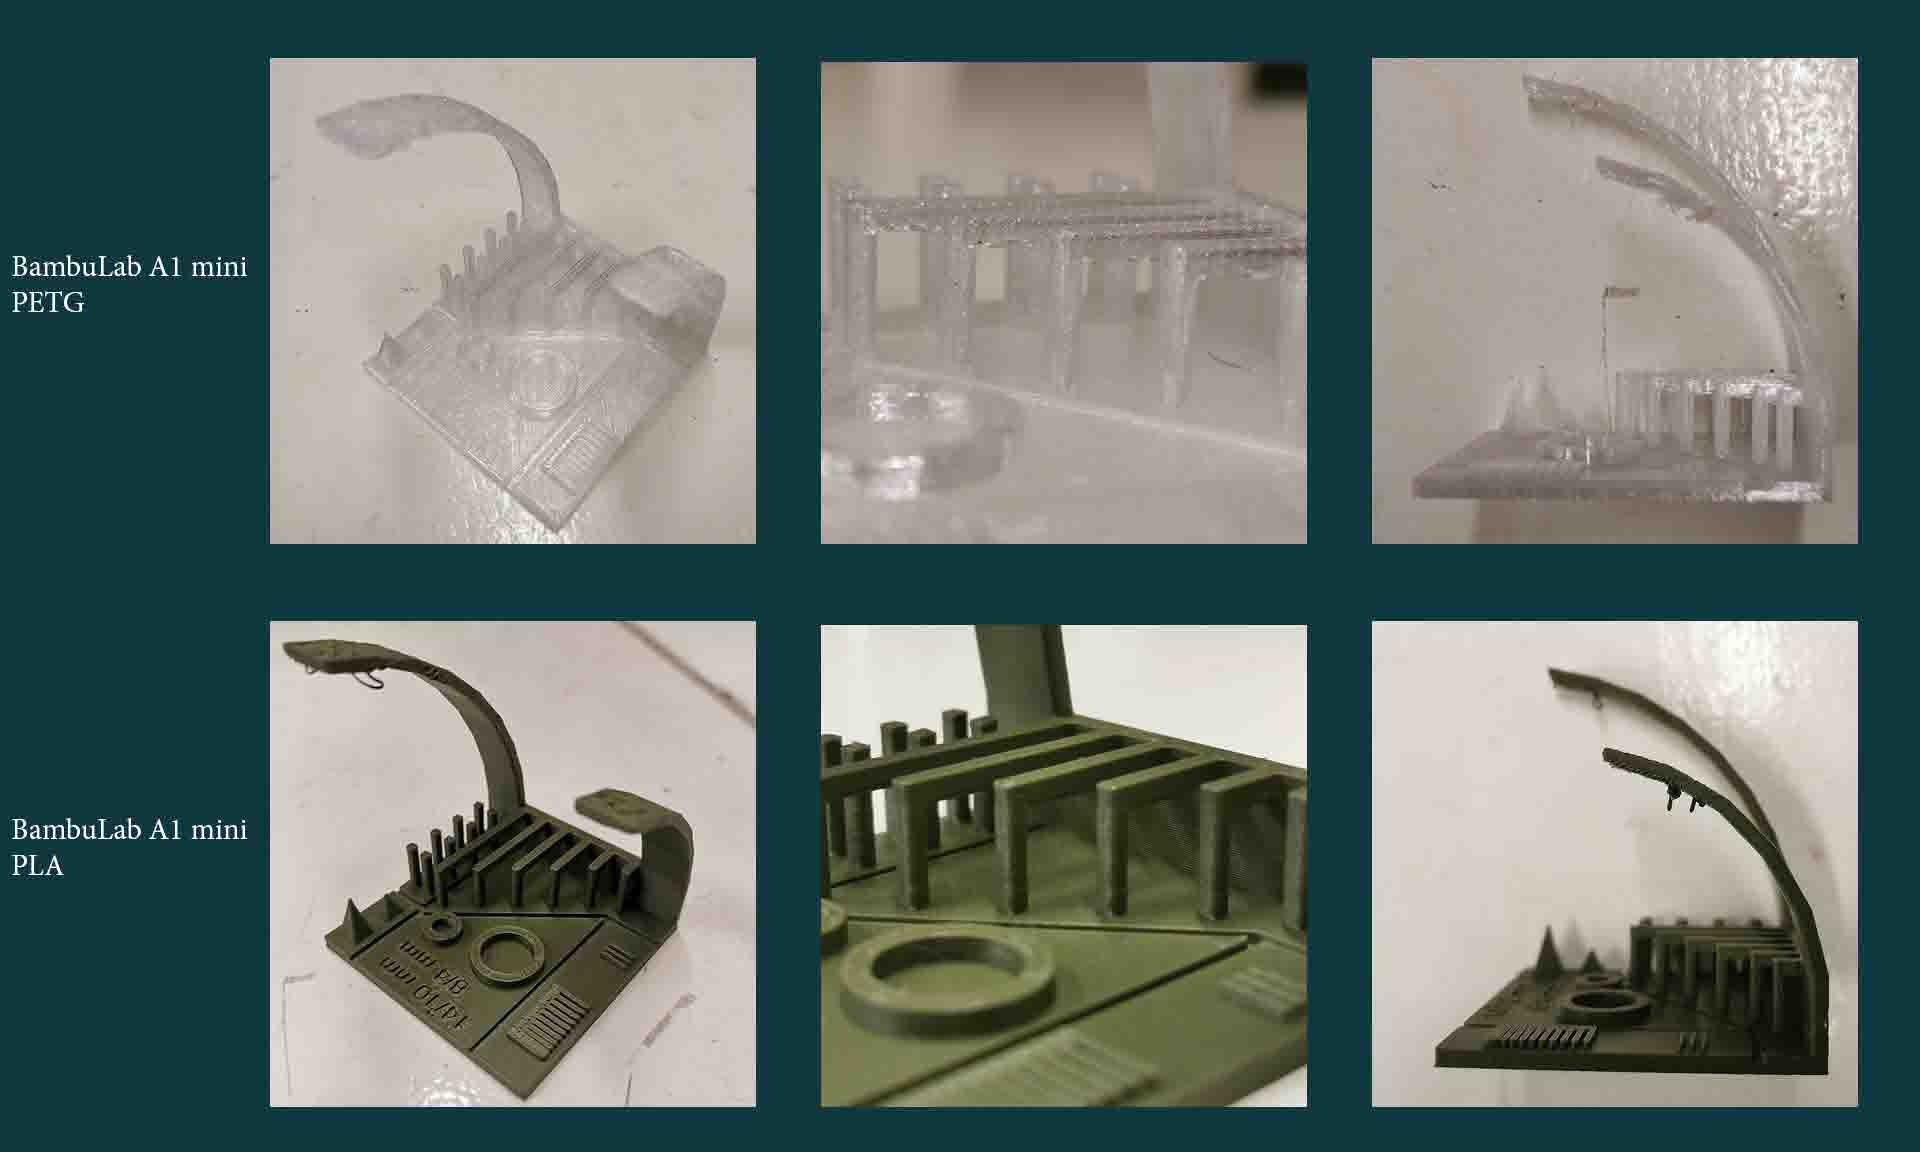
They turned out pretty similar. The PLA is slightly better at overhangs but other then that they both keep up very well.
Test: dry filament
One of my PETG rolls was unopened so I did a test print with it before and after drying the filament at 60 degrees for 8 hours.

I had read online that PETGs often arrives not fully dry and therefore needs to be dried before usage. I didn't need a microscope to see that the undried print was very uneven with some holes. The picture above shows the 2 compared to each other.
Test: Transparency
Since I know I eventually will need a water tight print I did a few tests with nail polish and looked at what this would do to the transparency of the prints:
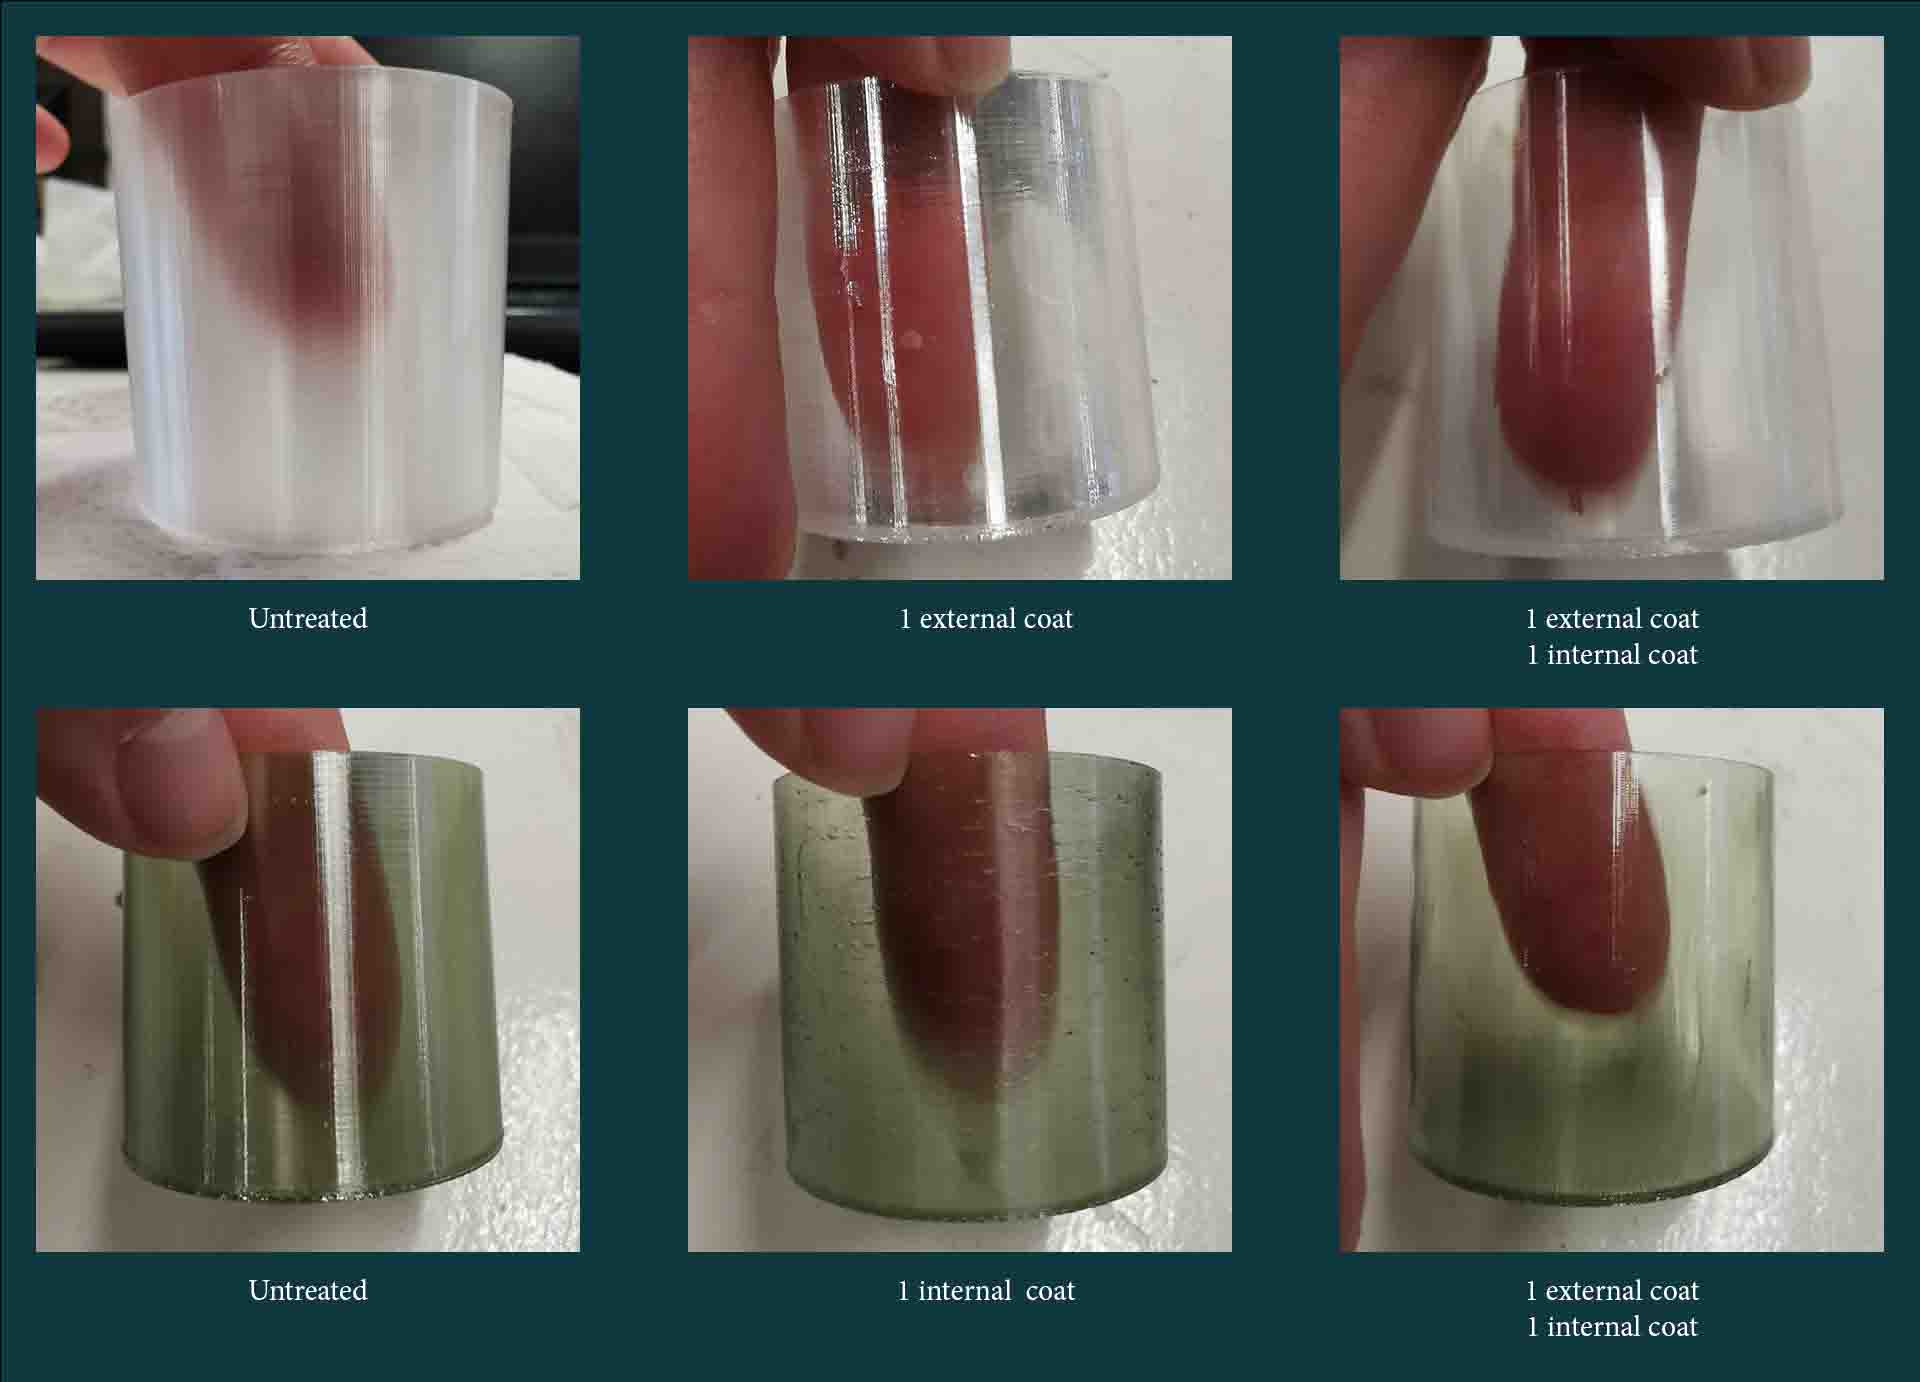
The coating on both inside and outside makes the prints more see through then I would have expected. It is a bit uneven, I have to think about it if this is somethign I would like. Mabye just a cover on the inside would be nice, to keep the texture. First I need to see how these prints hold up with water in them.
Water test
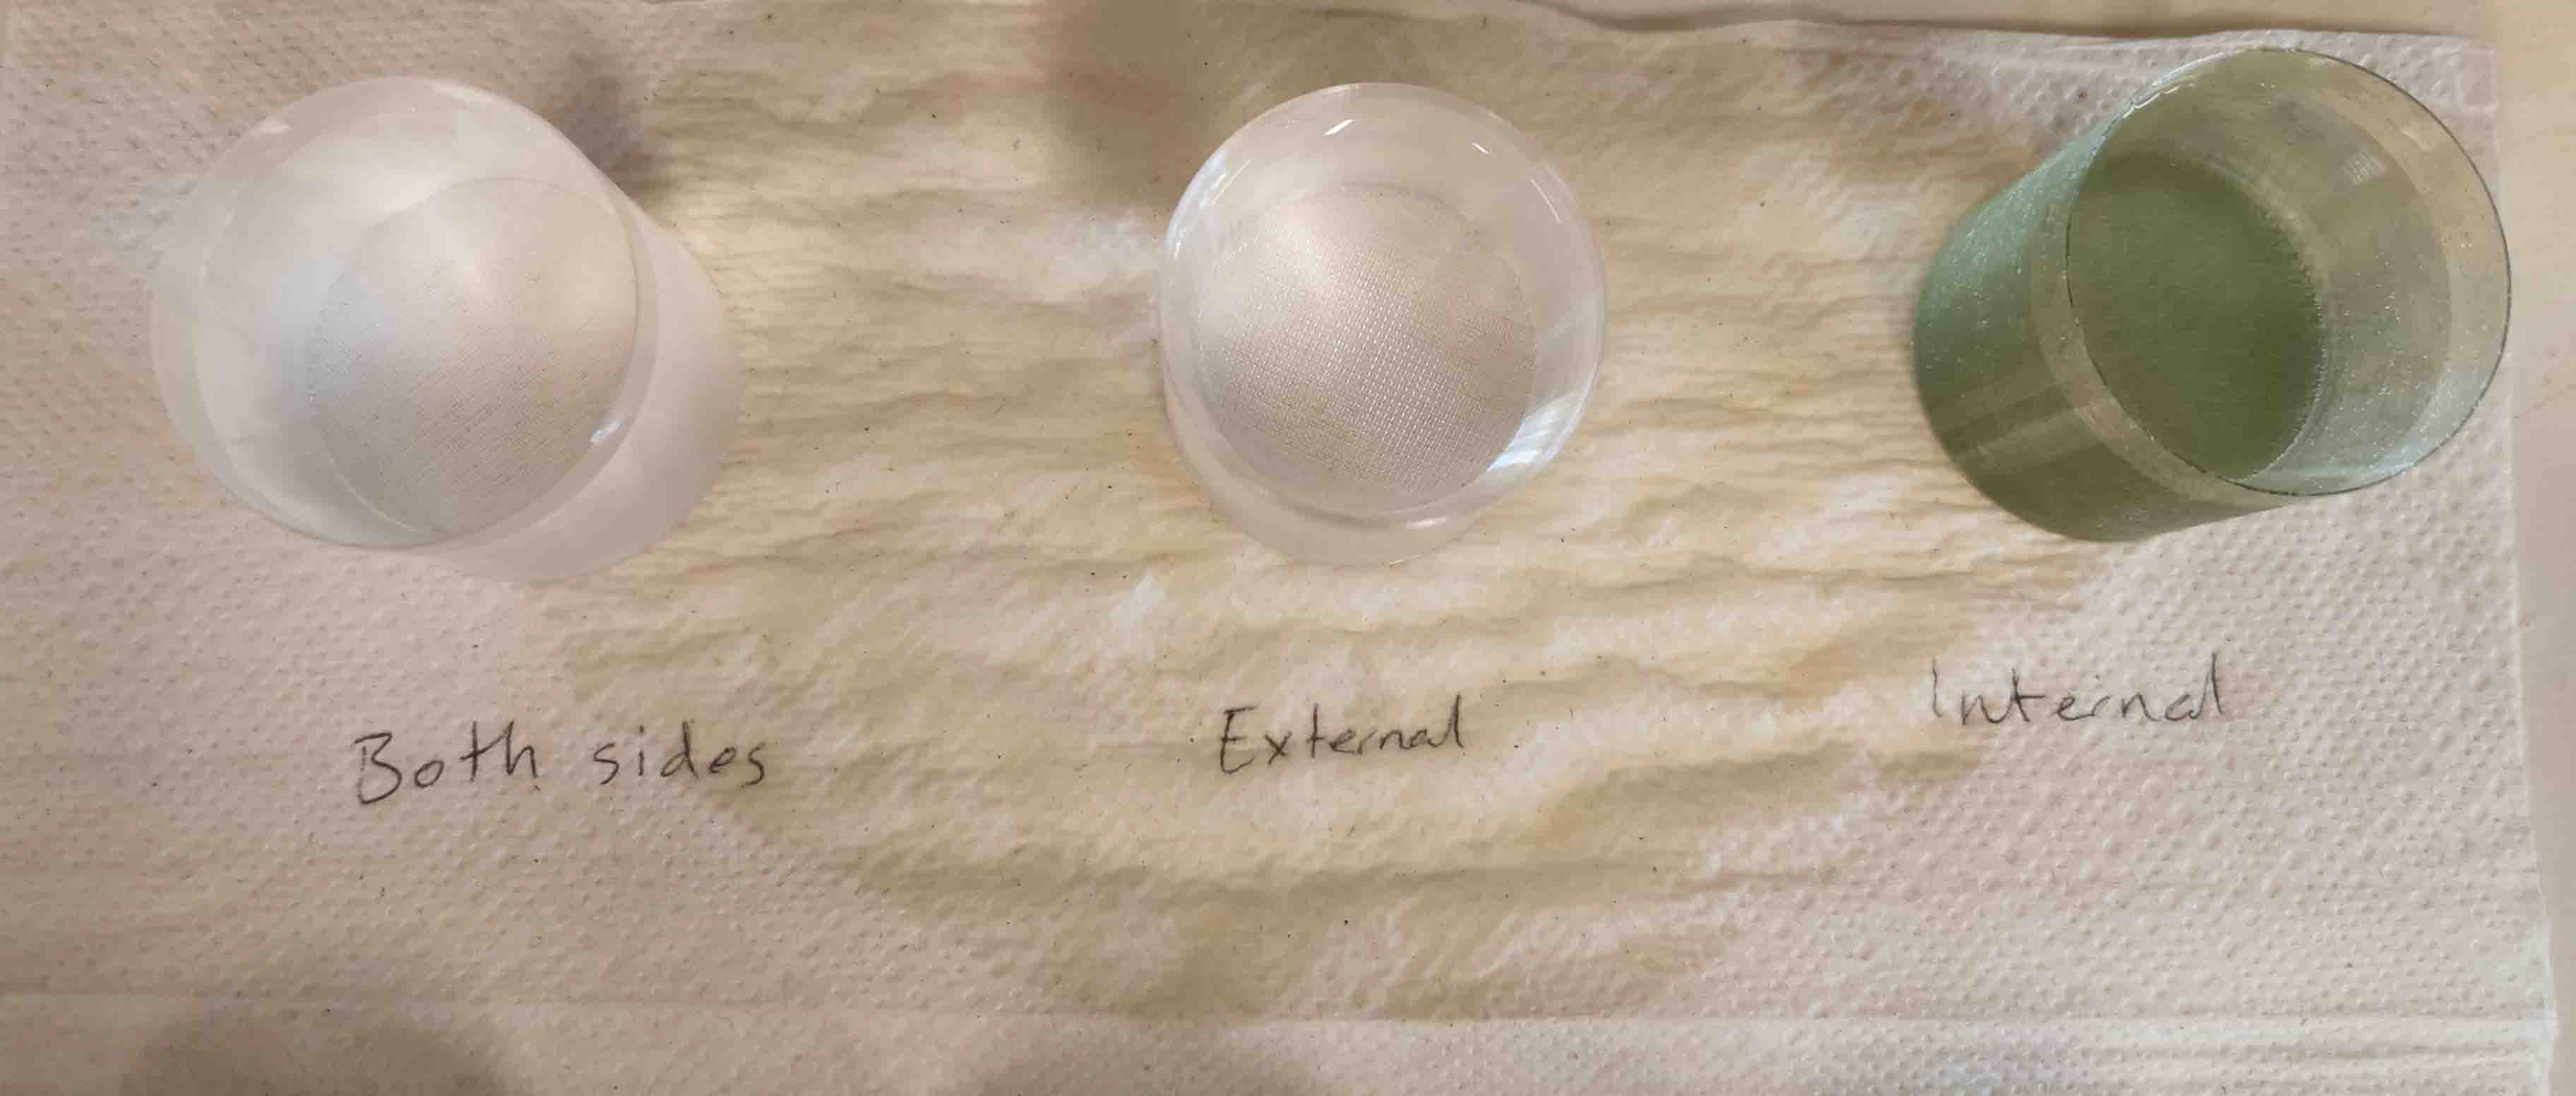
For the water test I spaced all 6 containers on a paper towel markking how they were coated.
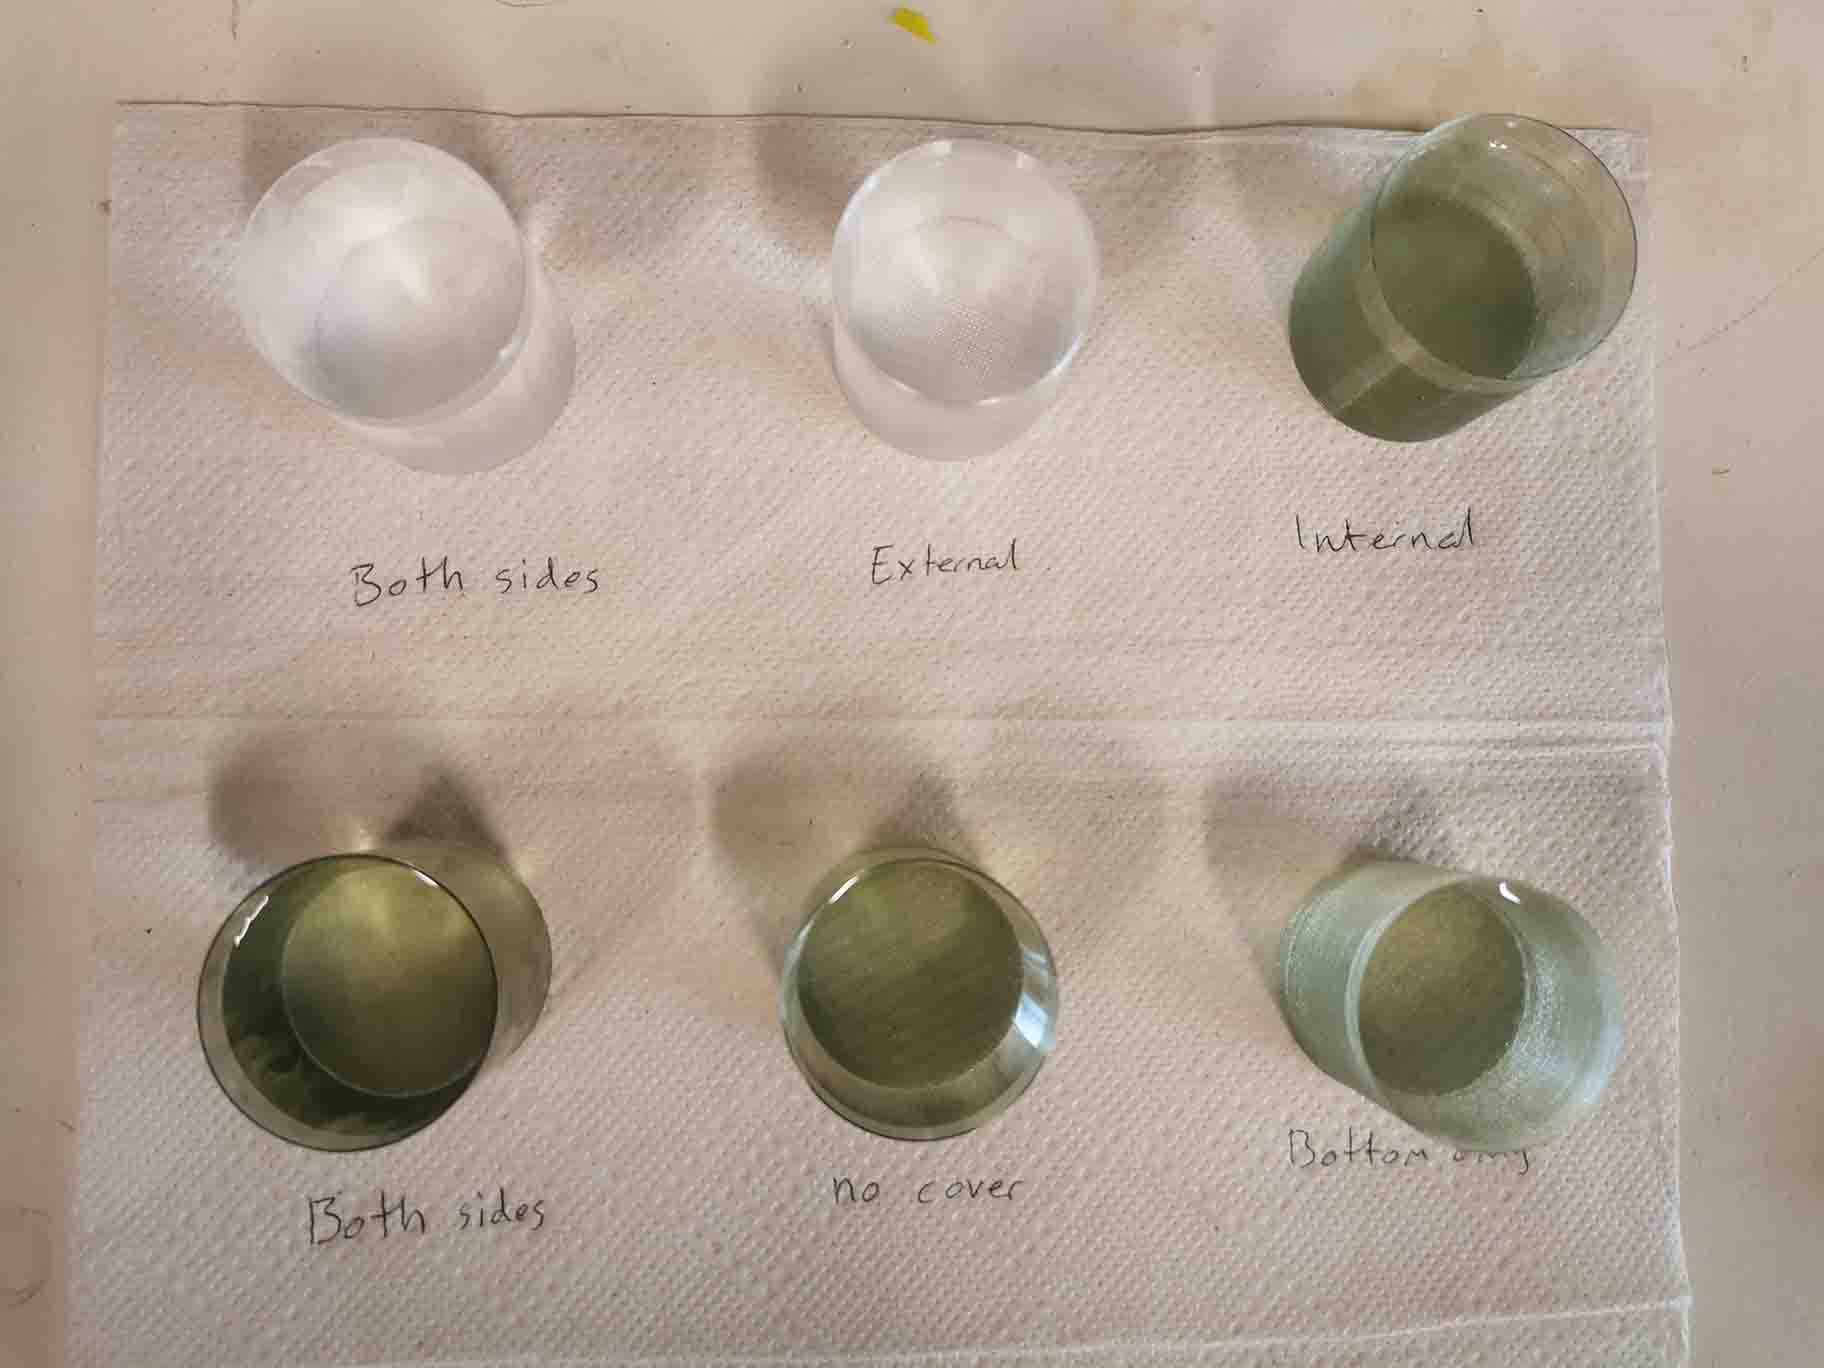
After just 5 minutes the externally coated container started leaking. It is worth to notice that I only covered the sides and not the underside of this one.
42 minutes in the container only covered on the bottom started leaking. Only after I touched it. The water started seeping through the holes in the filament. It was printed with the non-dehydrated PETG.
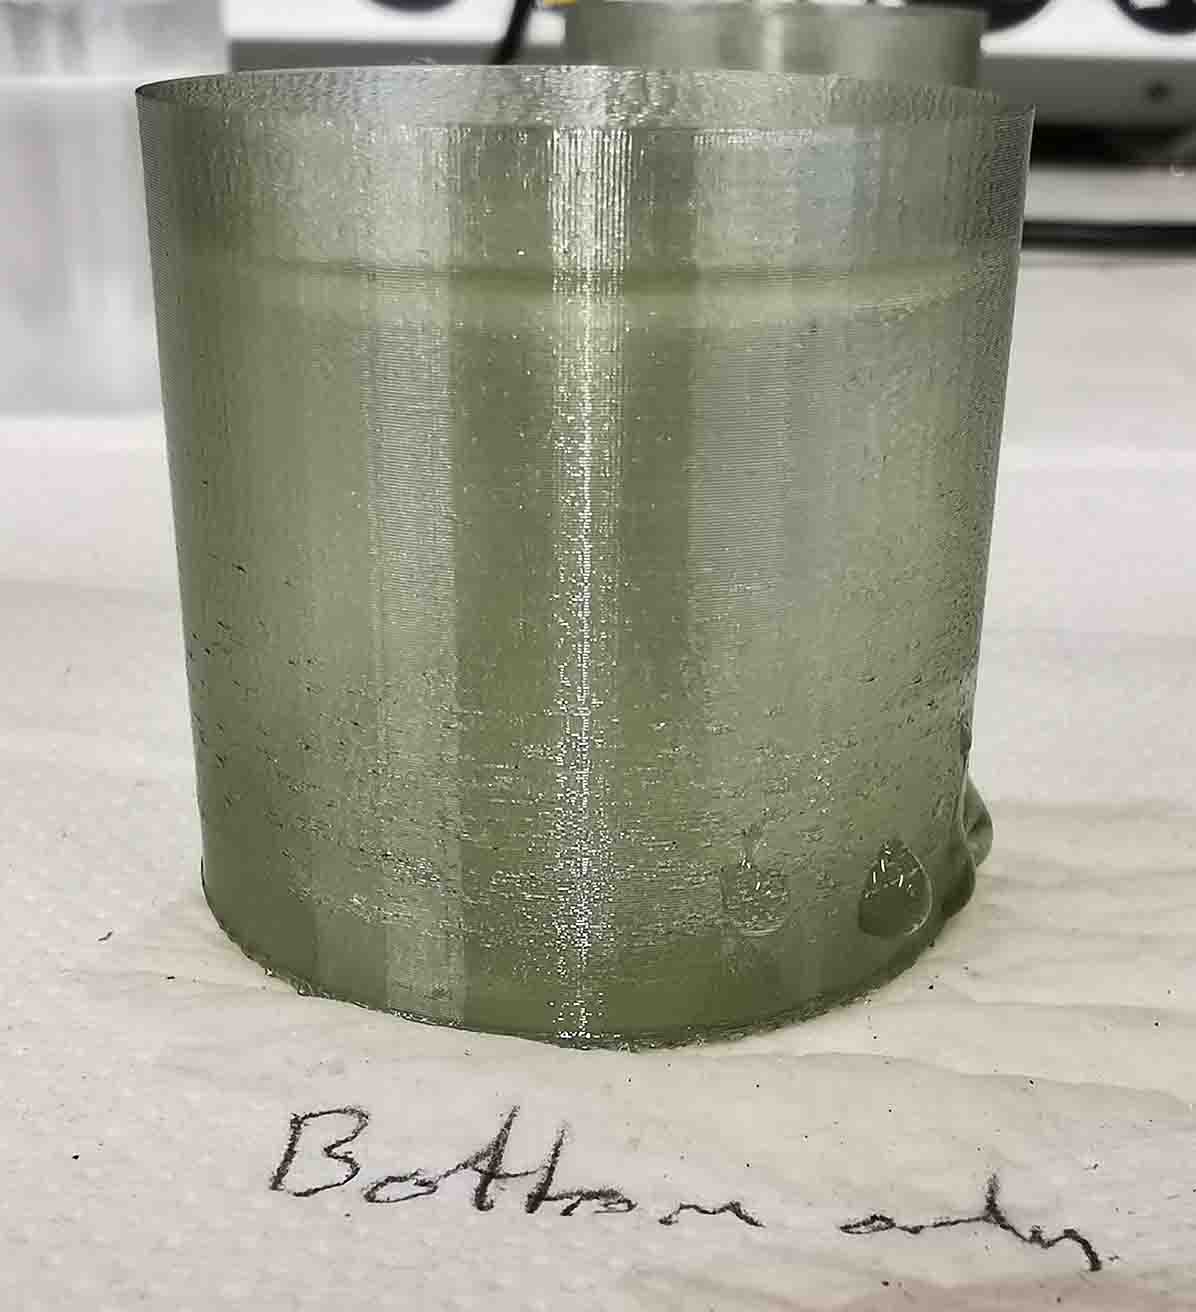
So far the remaining 4 are: not-treated olive translucent PETG, double coated olive translucent PETG, double coated translucent PETG and internally covered olive translucent PETG.
THey all held up ater 2 hours. I would need to do a longer test to be sure, But I think I git lucky with the no-treated print. It is not somethung I can rely on for future watertight prints. I personally like teh look of the double coated prints more. Will need to do a light test, to see how leds makes them light up and another test with textured prints.
Destillation spider print:
Manual for elegoo Mars 3: Manual
I have modeled the )