16: Wildcard week
This week I tested dipping balloons in alginate bioplastics and composited textile, both in attempt at making waterproof containers for my humidifier.
Alginite bioplastic
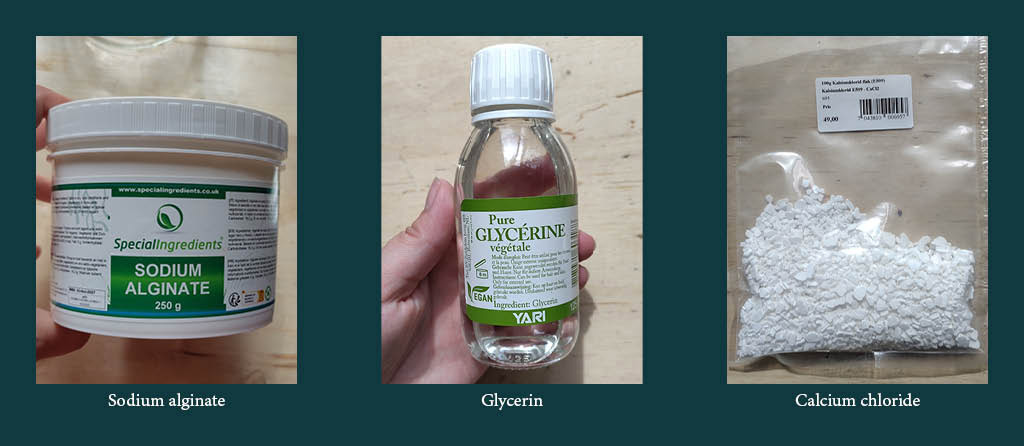
Cecilia in the textile lab here at Waag suggested to me to try using alginate bioplastics to create waterproof containers. And after talking with Asli as well she shared some resources with me, with recipes and experiments:
Tests
| Jar 1 | Jar 2 | |
|---|---|---|
| Water | 5 dl | 5 dl |
| Sodium alginate | 15 g | 13 g |
| Glycerin | none | 30 g |
Sodium alginate and water
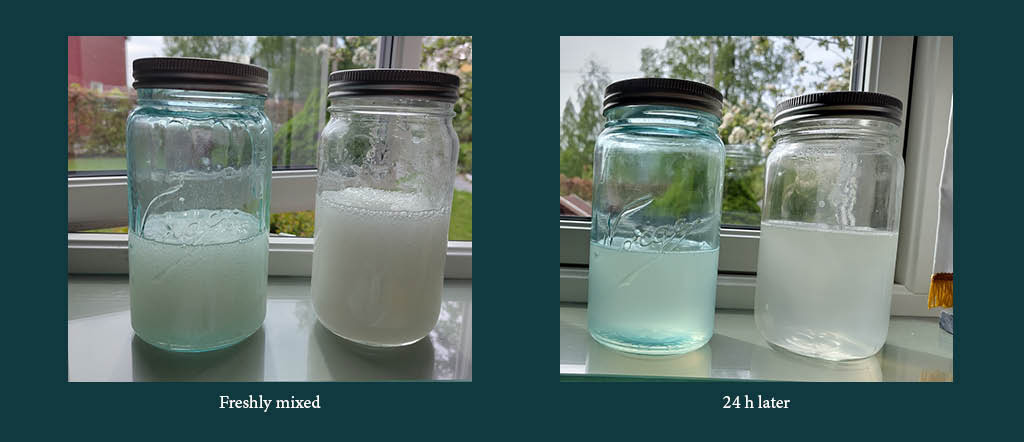
I added water to a jar and, using a hand mixer, mixed in the sodium alginate a bit at a time. I suspect my handmixer was too weak, because the last few grams of powder did not get mixed in properly. The mixer was going, but the liquid/gel was not moving any longer. I believe this was due to the viscosity of the liquid.
Sodium alginate, water and glycerin
I added 2g less sodium alginate in this test in hopes that the mixer could manage it. It still struggled in the end. I let the 2 mixtures rest in the fridge for 24 hours to get rid of the bubbles.
Balloon tests
Once the liquid had settled I went on to test out the dipping tecnique.
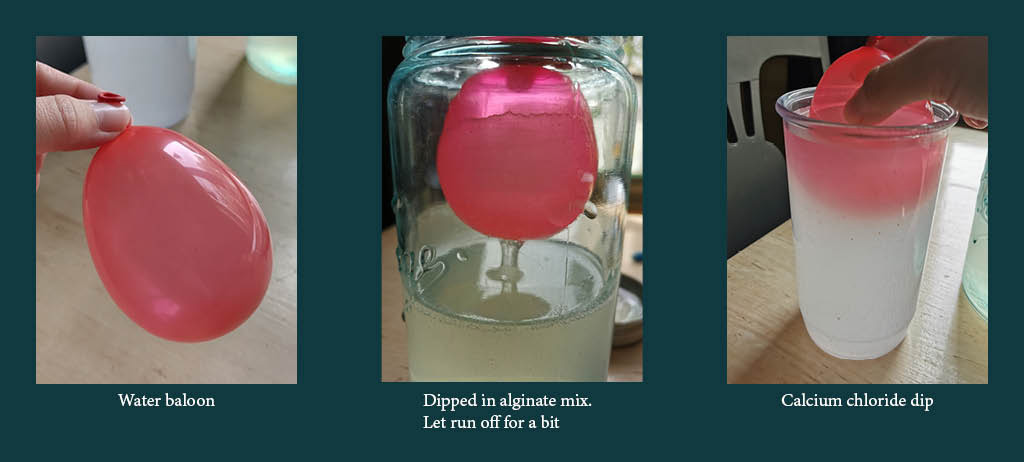
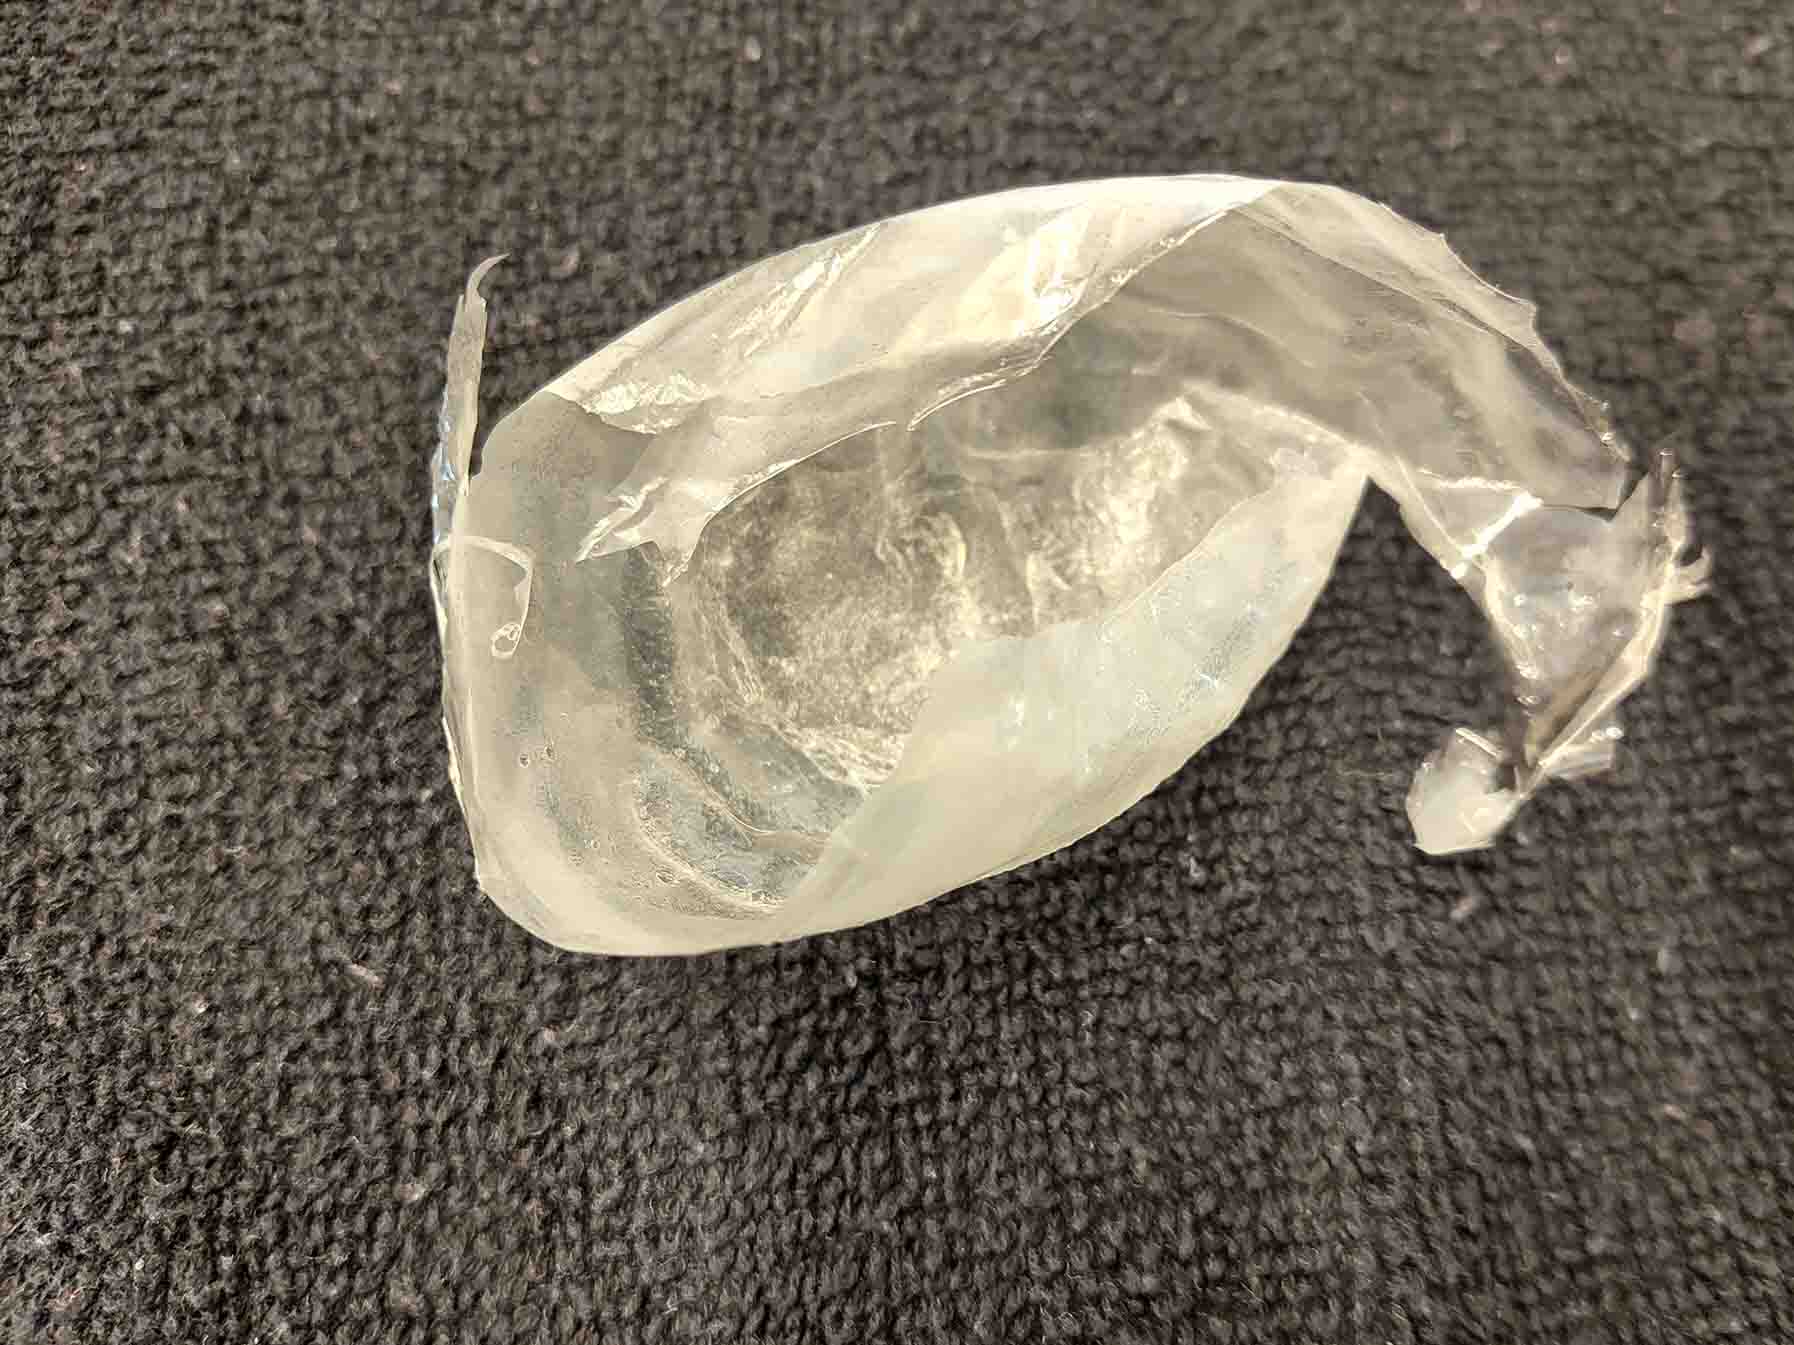
I was surprised at how much like regular plastic sheets the alginate bioplastic truned out to look. It really looks like a kind of plastic. The samples without glycerin are a lot more brittle the the ones with.
Dipping the balloons in alginate does not really work for making containers. The liquid sticks to the balloon, but slowly runs down the sides and covers a smaller area as they hang. This thins out the layer closer to the top and leaves a thick pocket at the bottom of the balloon. The top part dried in a few hours, while the underside took 24 - 36 hours depending on the thickness.
I did tests ranging from 1 dip to 4 dips. 1 dip looked good before drying but ended up being way too thin. The 4 dips had a very solid bottom at the end but thin brittle walls.
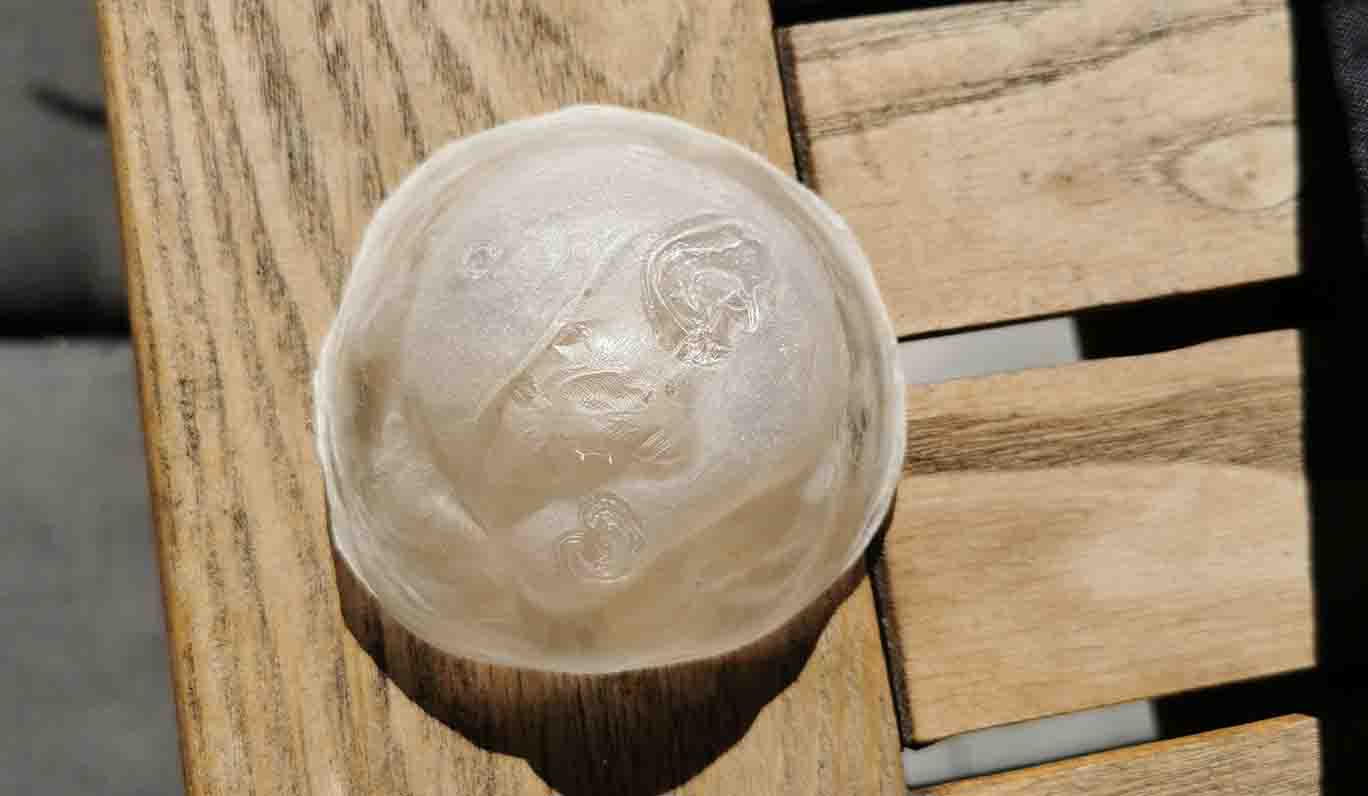
For 1 test I dipped a dried one and tried to apply a 2nd layer directly to the shape, but as Asli had warned me the 2nd layer started drying as it got in contact with the calcium chloride solution still covering the first part. Since this shape was now drying from both sides I removed it and put it on another balloon. This actually turned out pretty good. There was unfortunitley a hole in the bottom due to bubbles, and the little bowl was not water proof. I do like how it looks with sunlight shining through it.
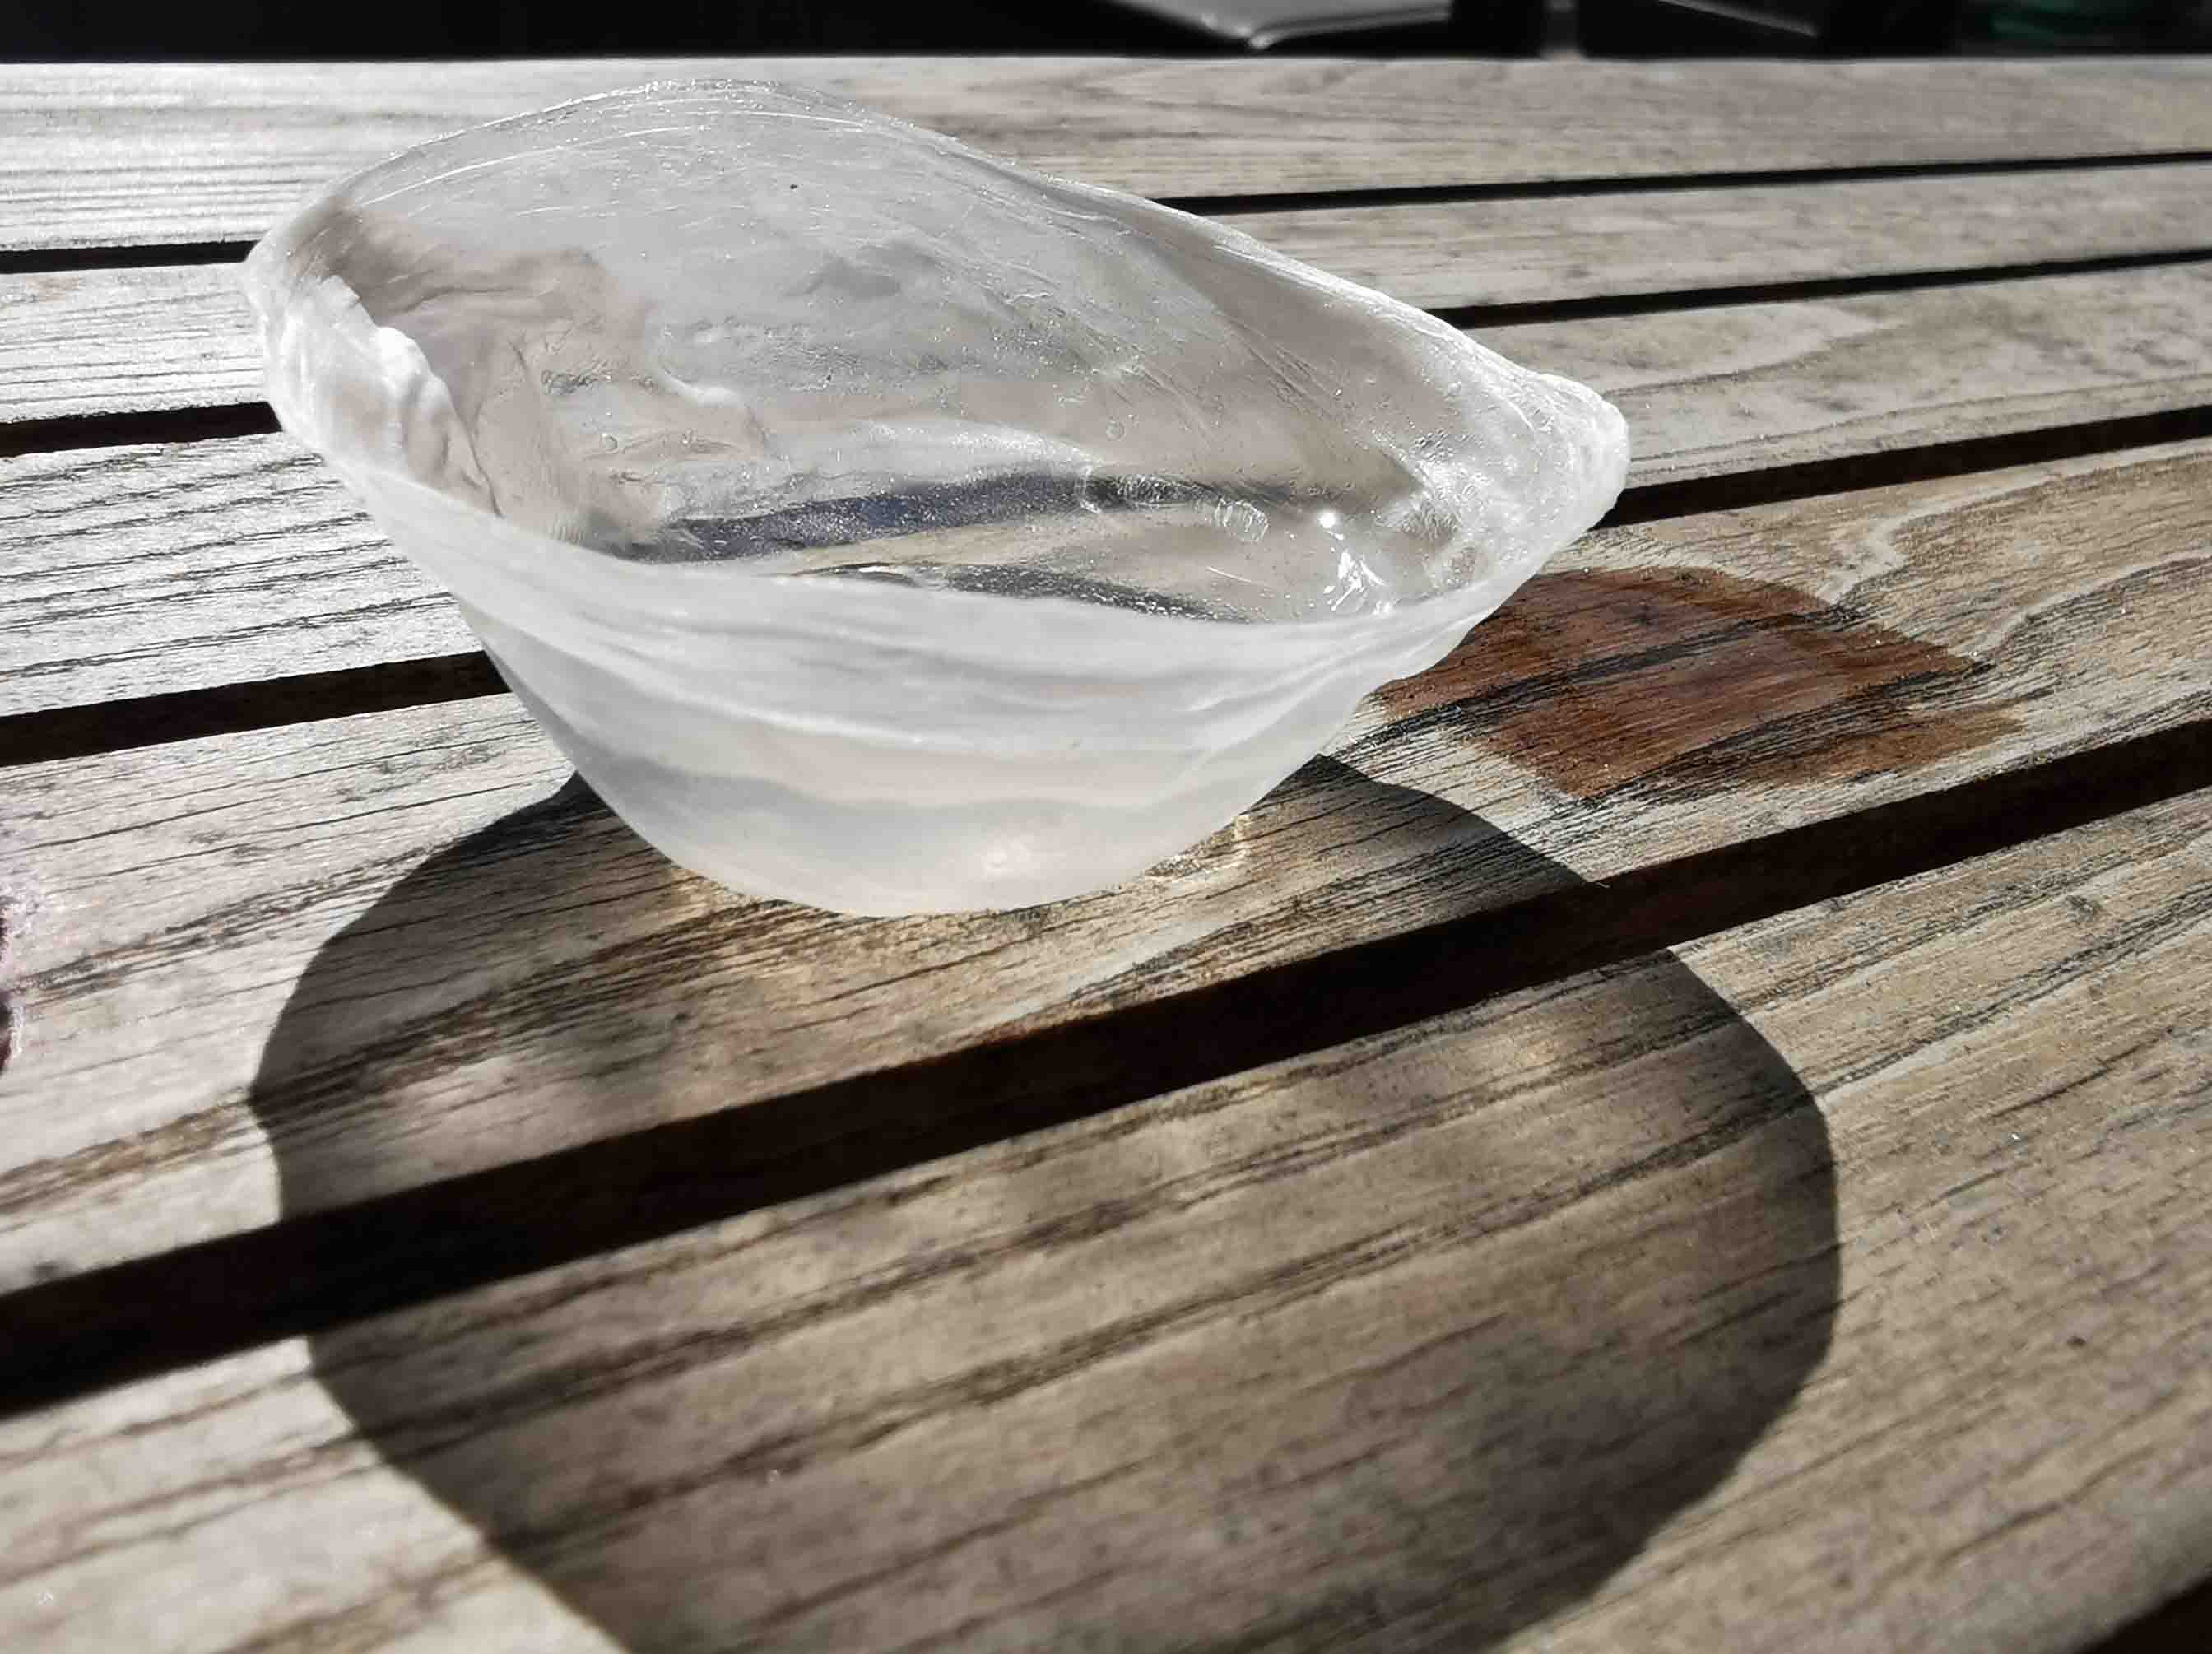
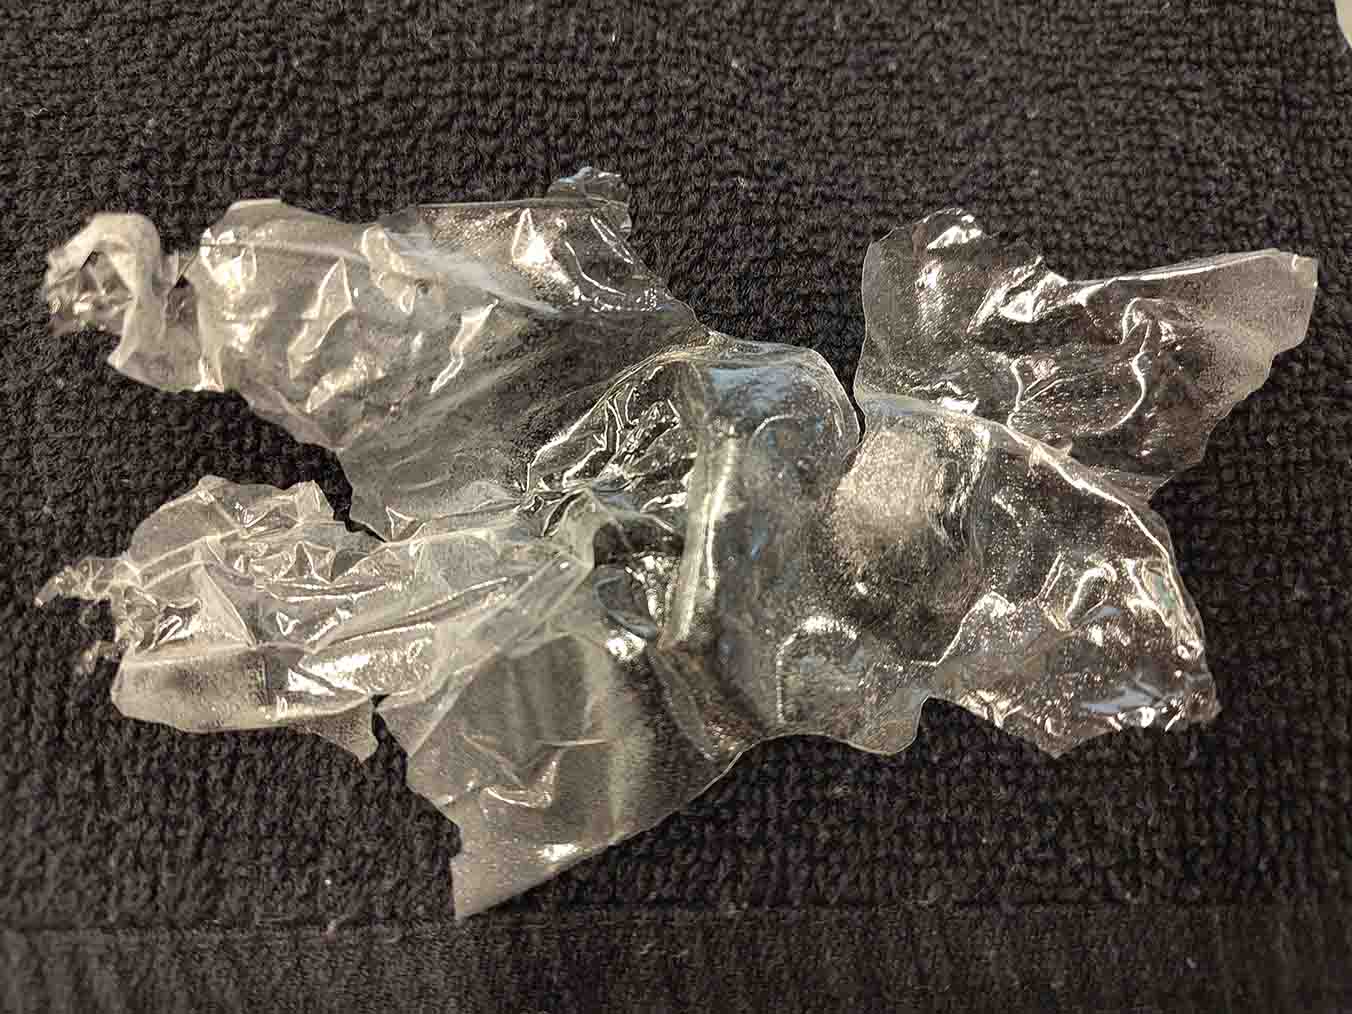
Once fully dried the shape was less clear.
Flat mold
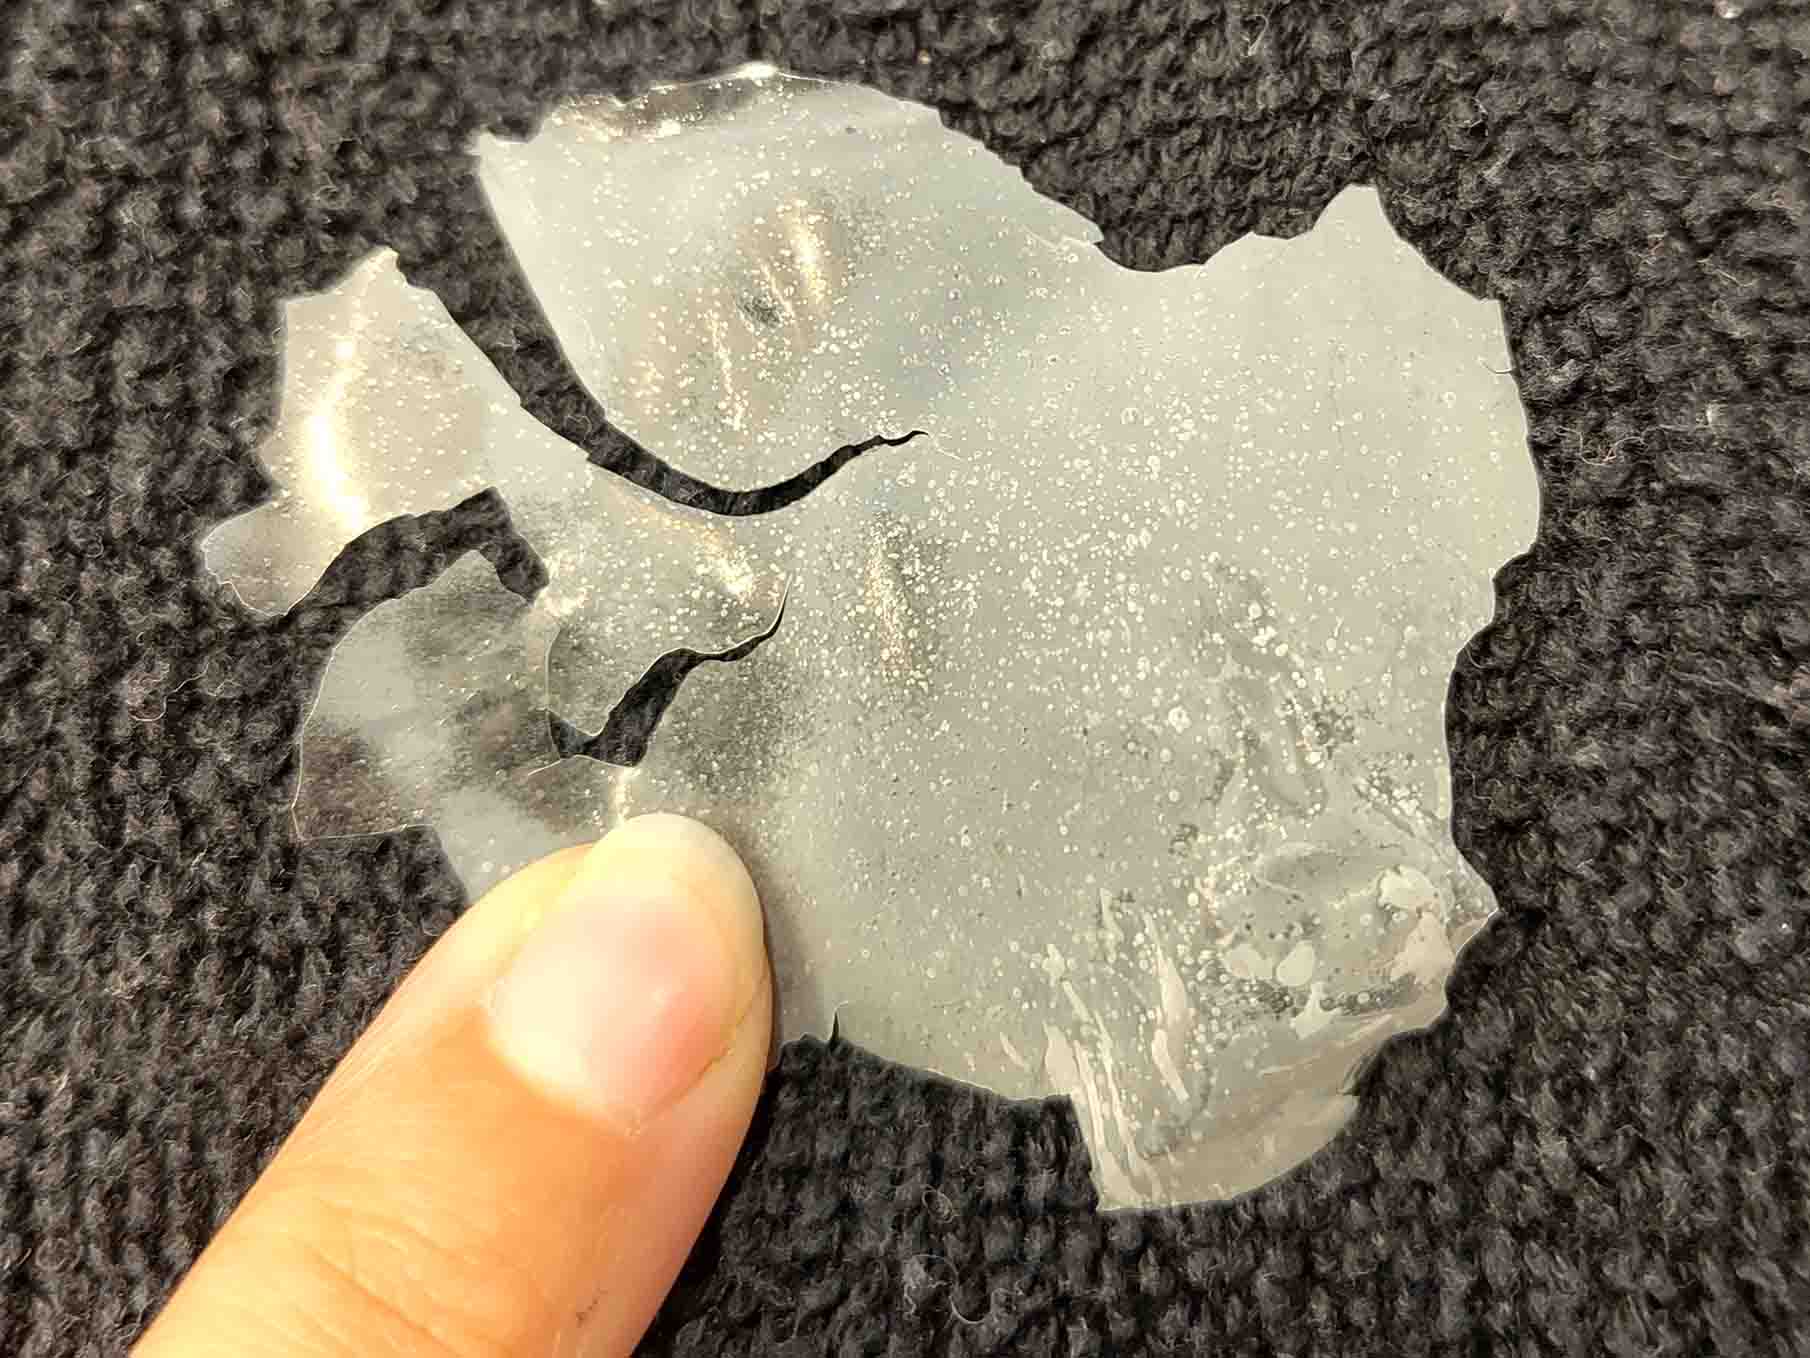
While the balloon test were drying I put an old apron I had over a plate and sprayed it with the calcium chloride solution. After pouring the sodium alginate mix onto the textile I also sprayed the top.
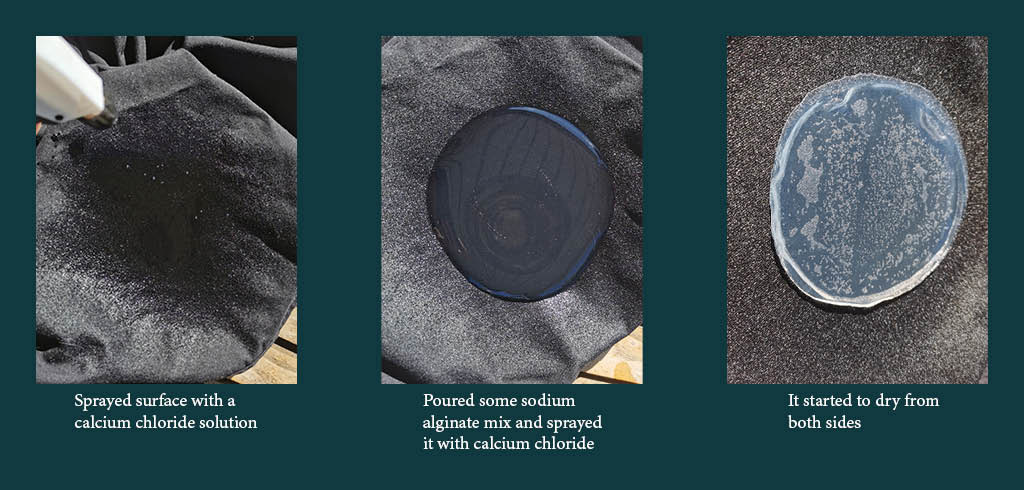
As the mix dries the moisture migrates to the middle causeing a blob of liquid there. I pinched a hole and pushed out the excess liquid.
The shape was now quite bendable and I could pick it up without breaking it. I transfered it to a small bowl to see if it would keep the shape. The bowl trapped the water expelled by the mixture. It did not fully dry in time.

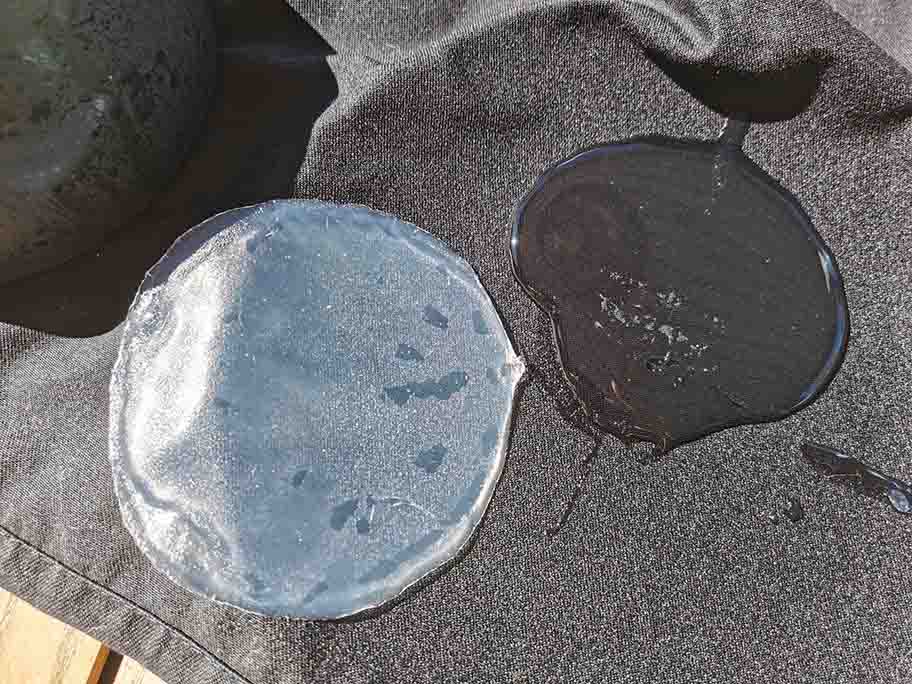
I dried some pieces in the sun and others over time inside. The parts dried in the sun over a few hours were less see through then the slow dried ones.
Some of the samples kept their shape better then others. This on is the 3 times dipped in the mix containing glycerin. The mix seeped down the side off the balloon making it a smaller sample then intended. It kepts its shape relatively good.
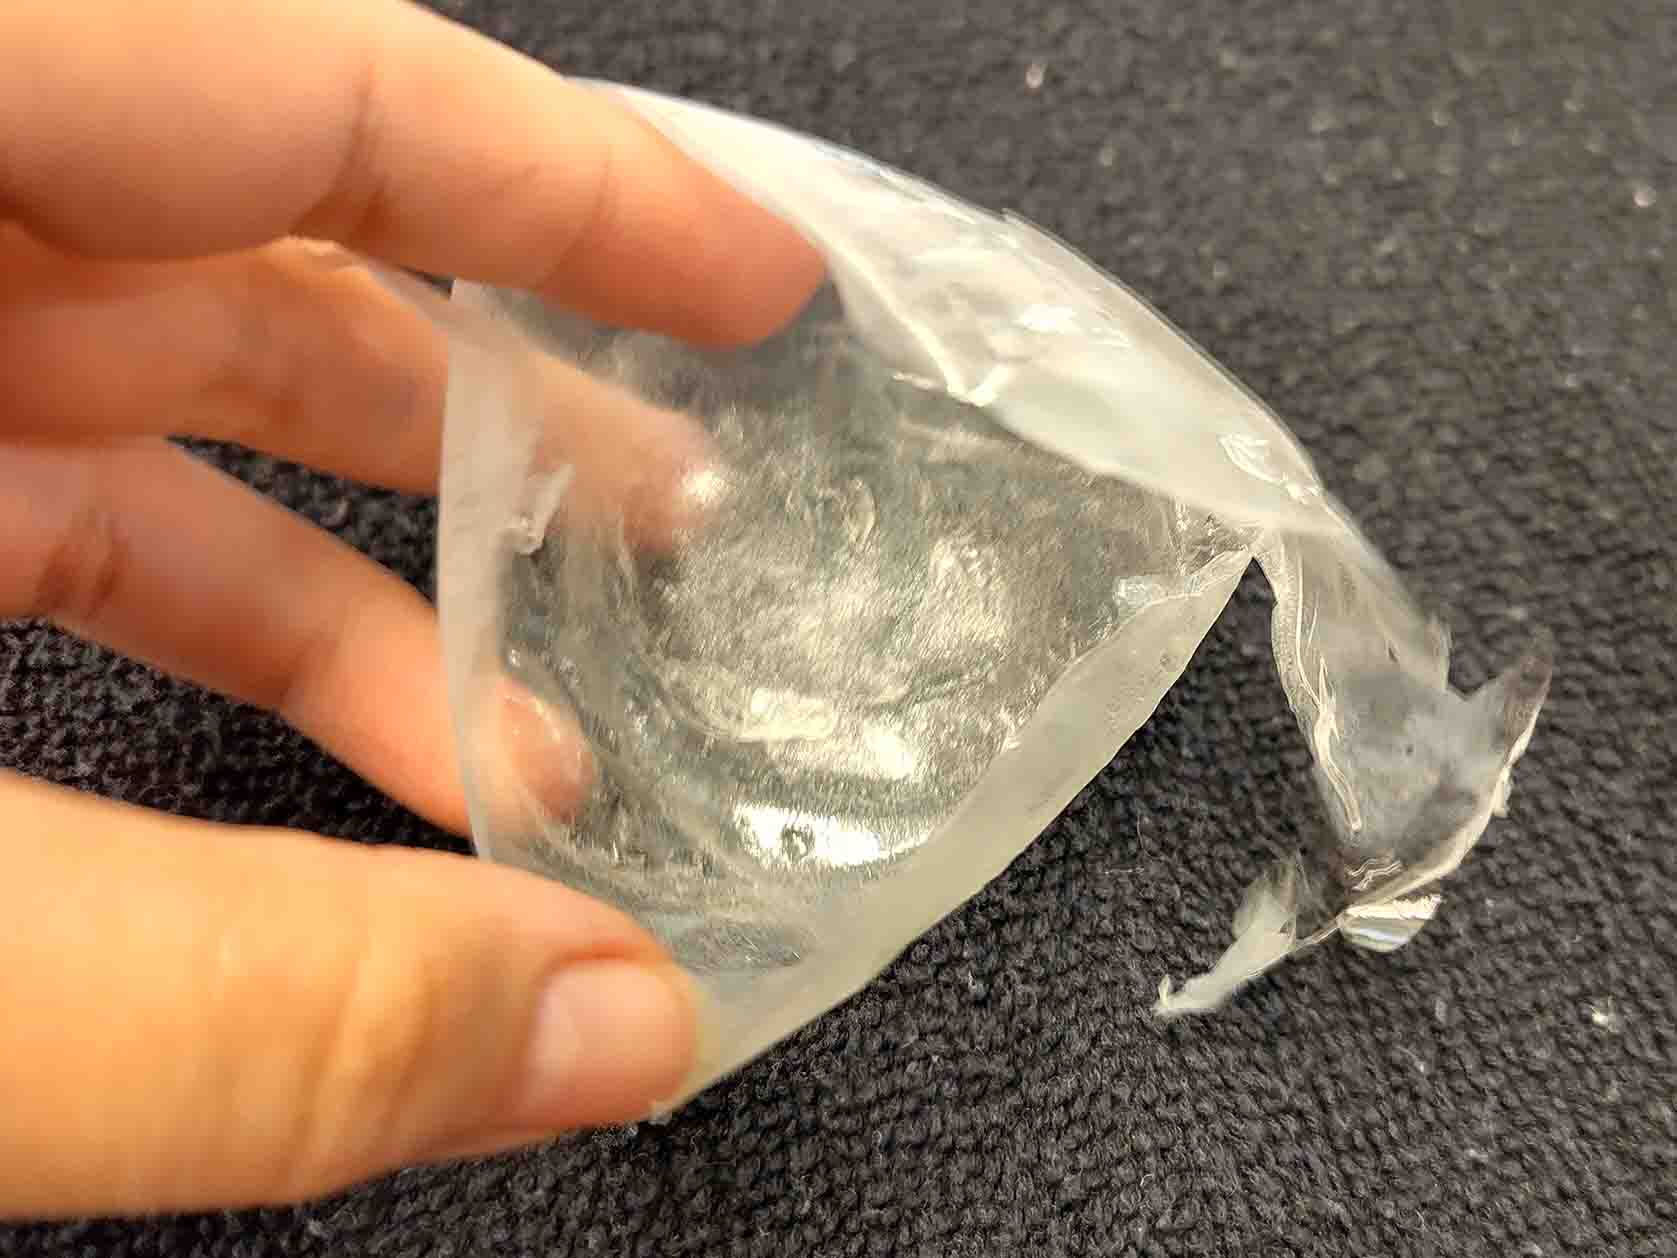
The sample without glycerin turned out very brittle.
This sample form the glycerin and alginate mic feels like plastic.
I see potential in making water proof containers using alginate, glycerin and water in combination with a calcium chloride solution. It would take more experimentation.
One of the big challenges are that as the mix dries it shrinks in size. The balloons were a good tool since they mold a bit with the material.
I wonder if using an inflatable instead of a balloon might provide better control. If it would be possible to slowly shrink the inflatable in pace with the drying process.
Another issue is gravity and thinning of the mix. The bottom of the balloons had a thick solid layer of alginate biolastic, but the sides were thin and fragile. Using a mold would be advisable. I noticed with the sample in the little bowl that the moisture had no where to go. Small holes or a moisture absorbent layer would be good to consider.
Resin composite
When I got back to Amsterdam Dylan and Sam had started working on composites for this weeks assignment.
What is composites
Test pieces
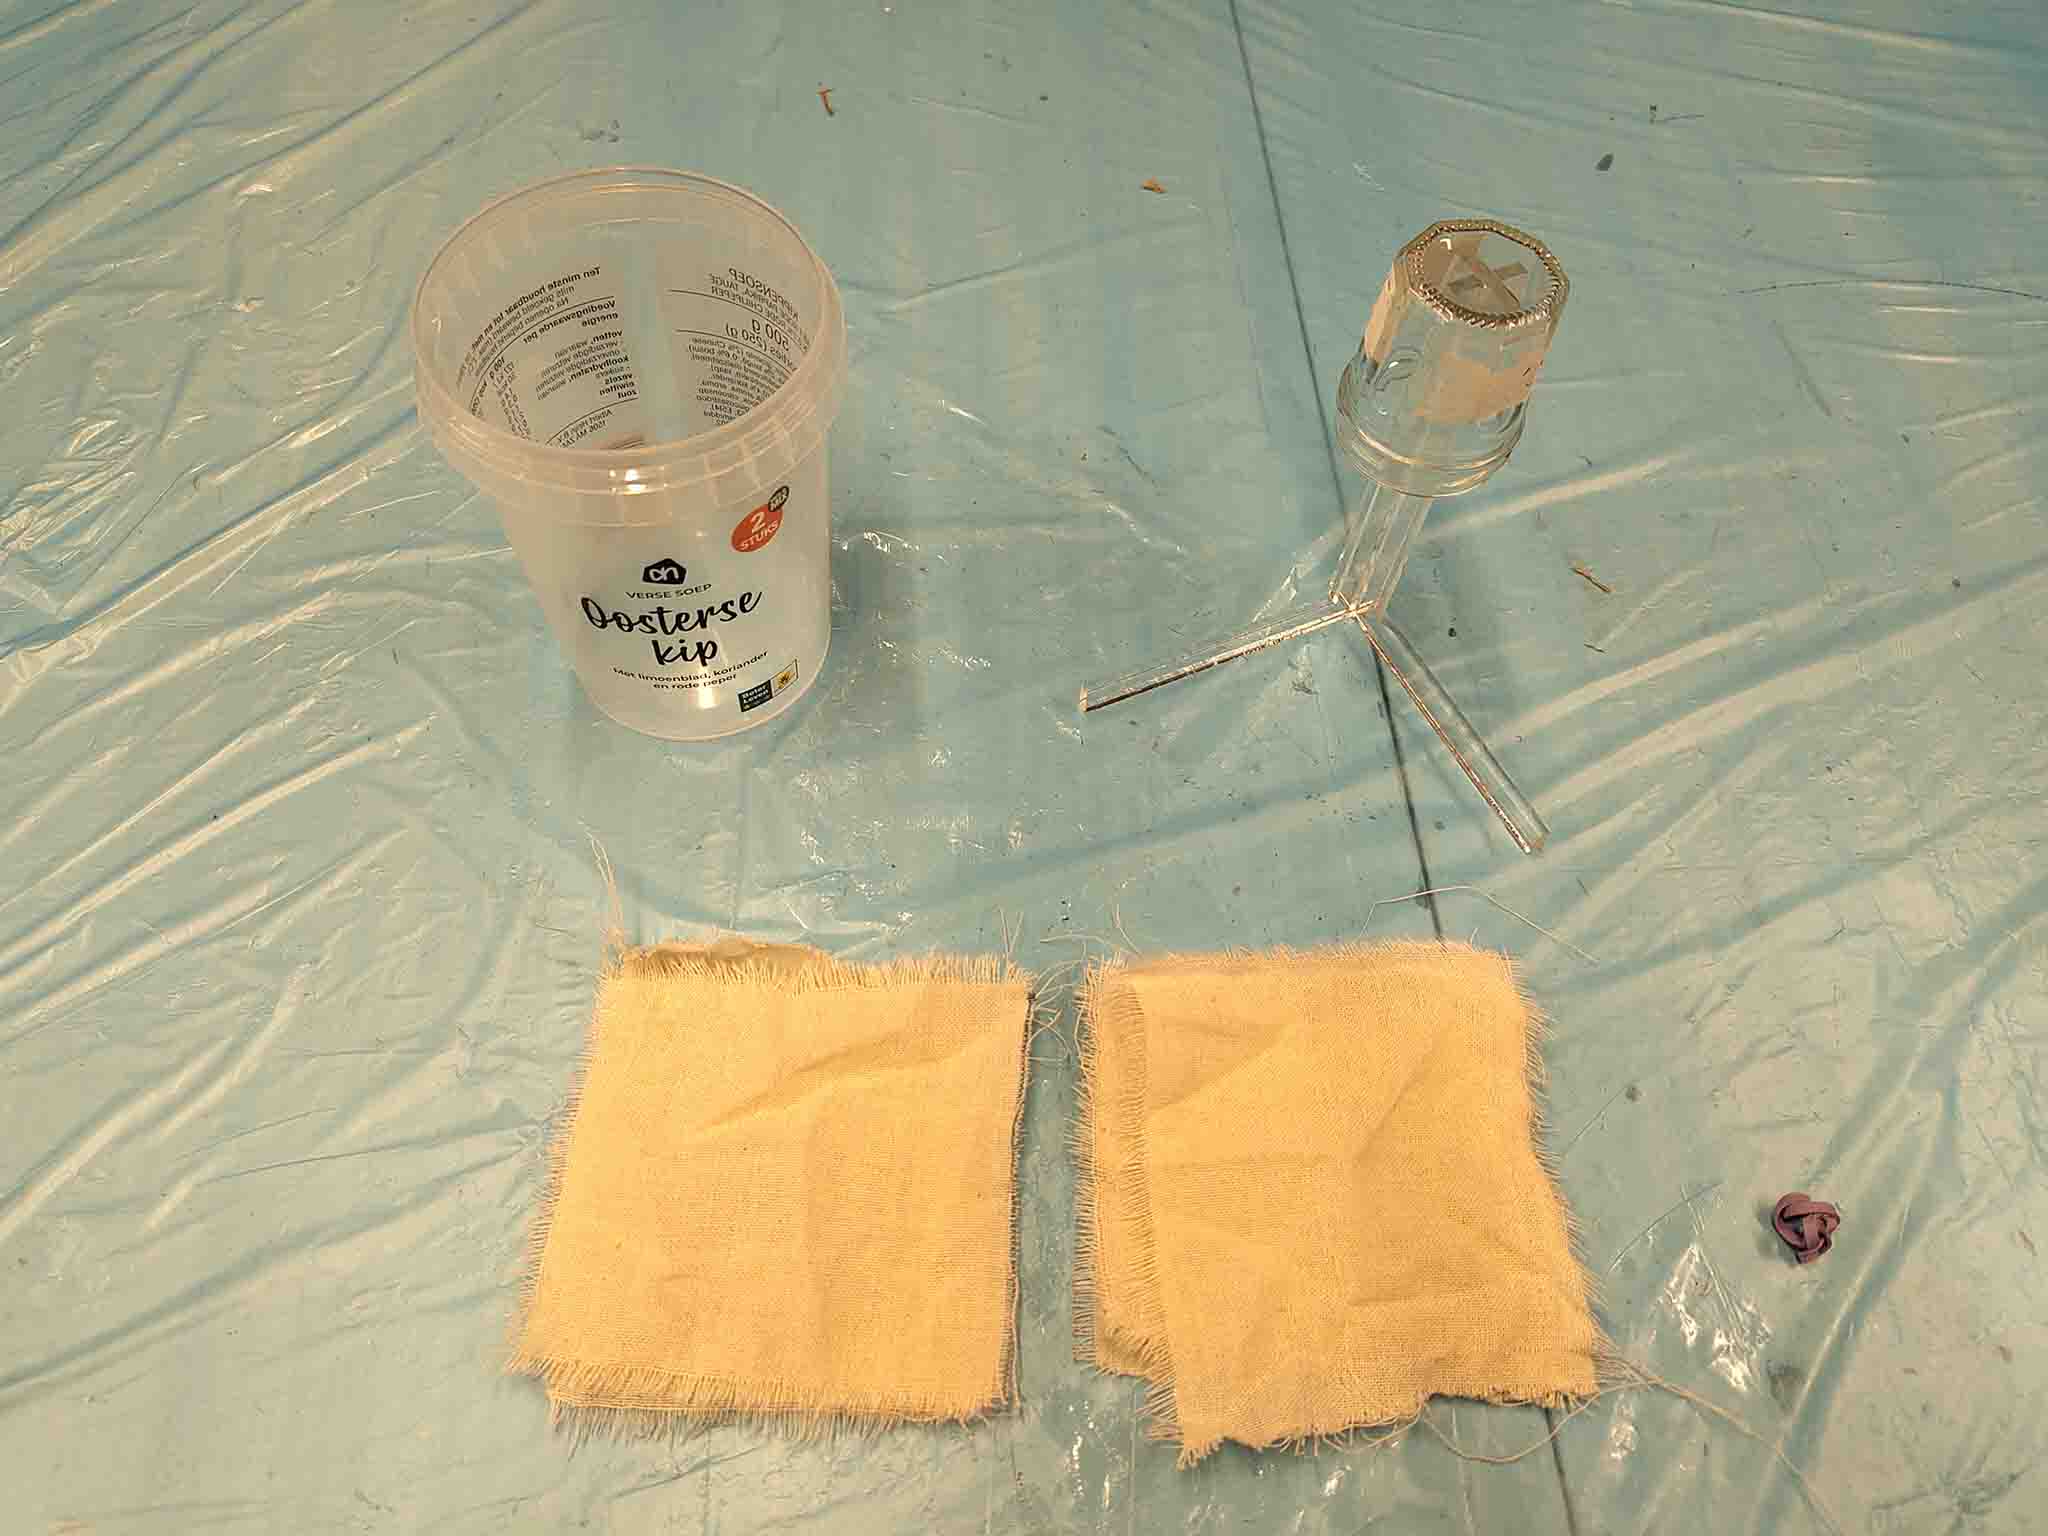
I did some tests with cheesecloth. To test making containers I covered 3 layers of cheesecloth in resin and put them together. These were folded over a marmalade jar put on top of a small stand. The cloth was attached with a rubber band to keep its shape.
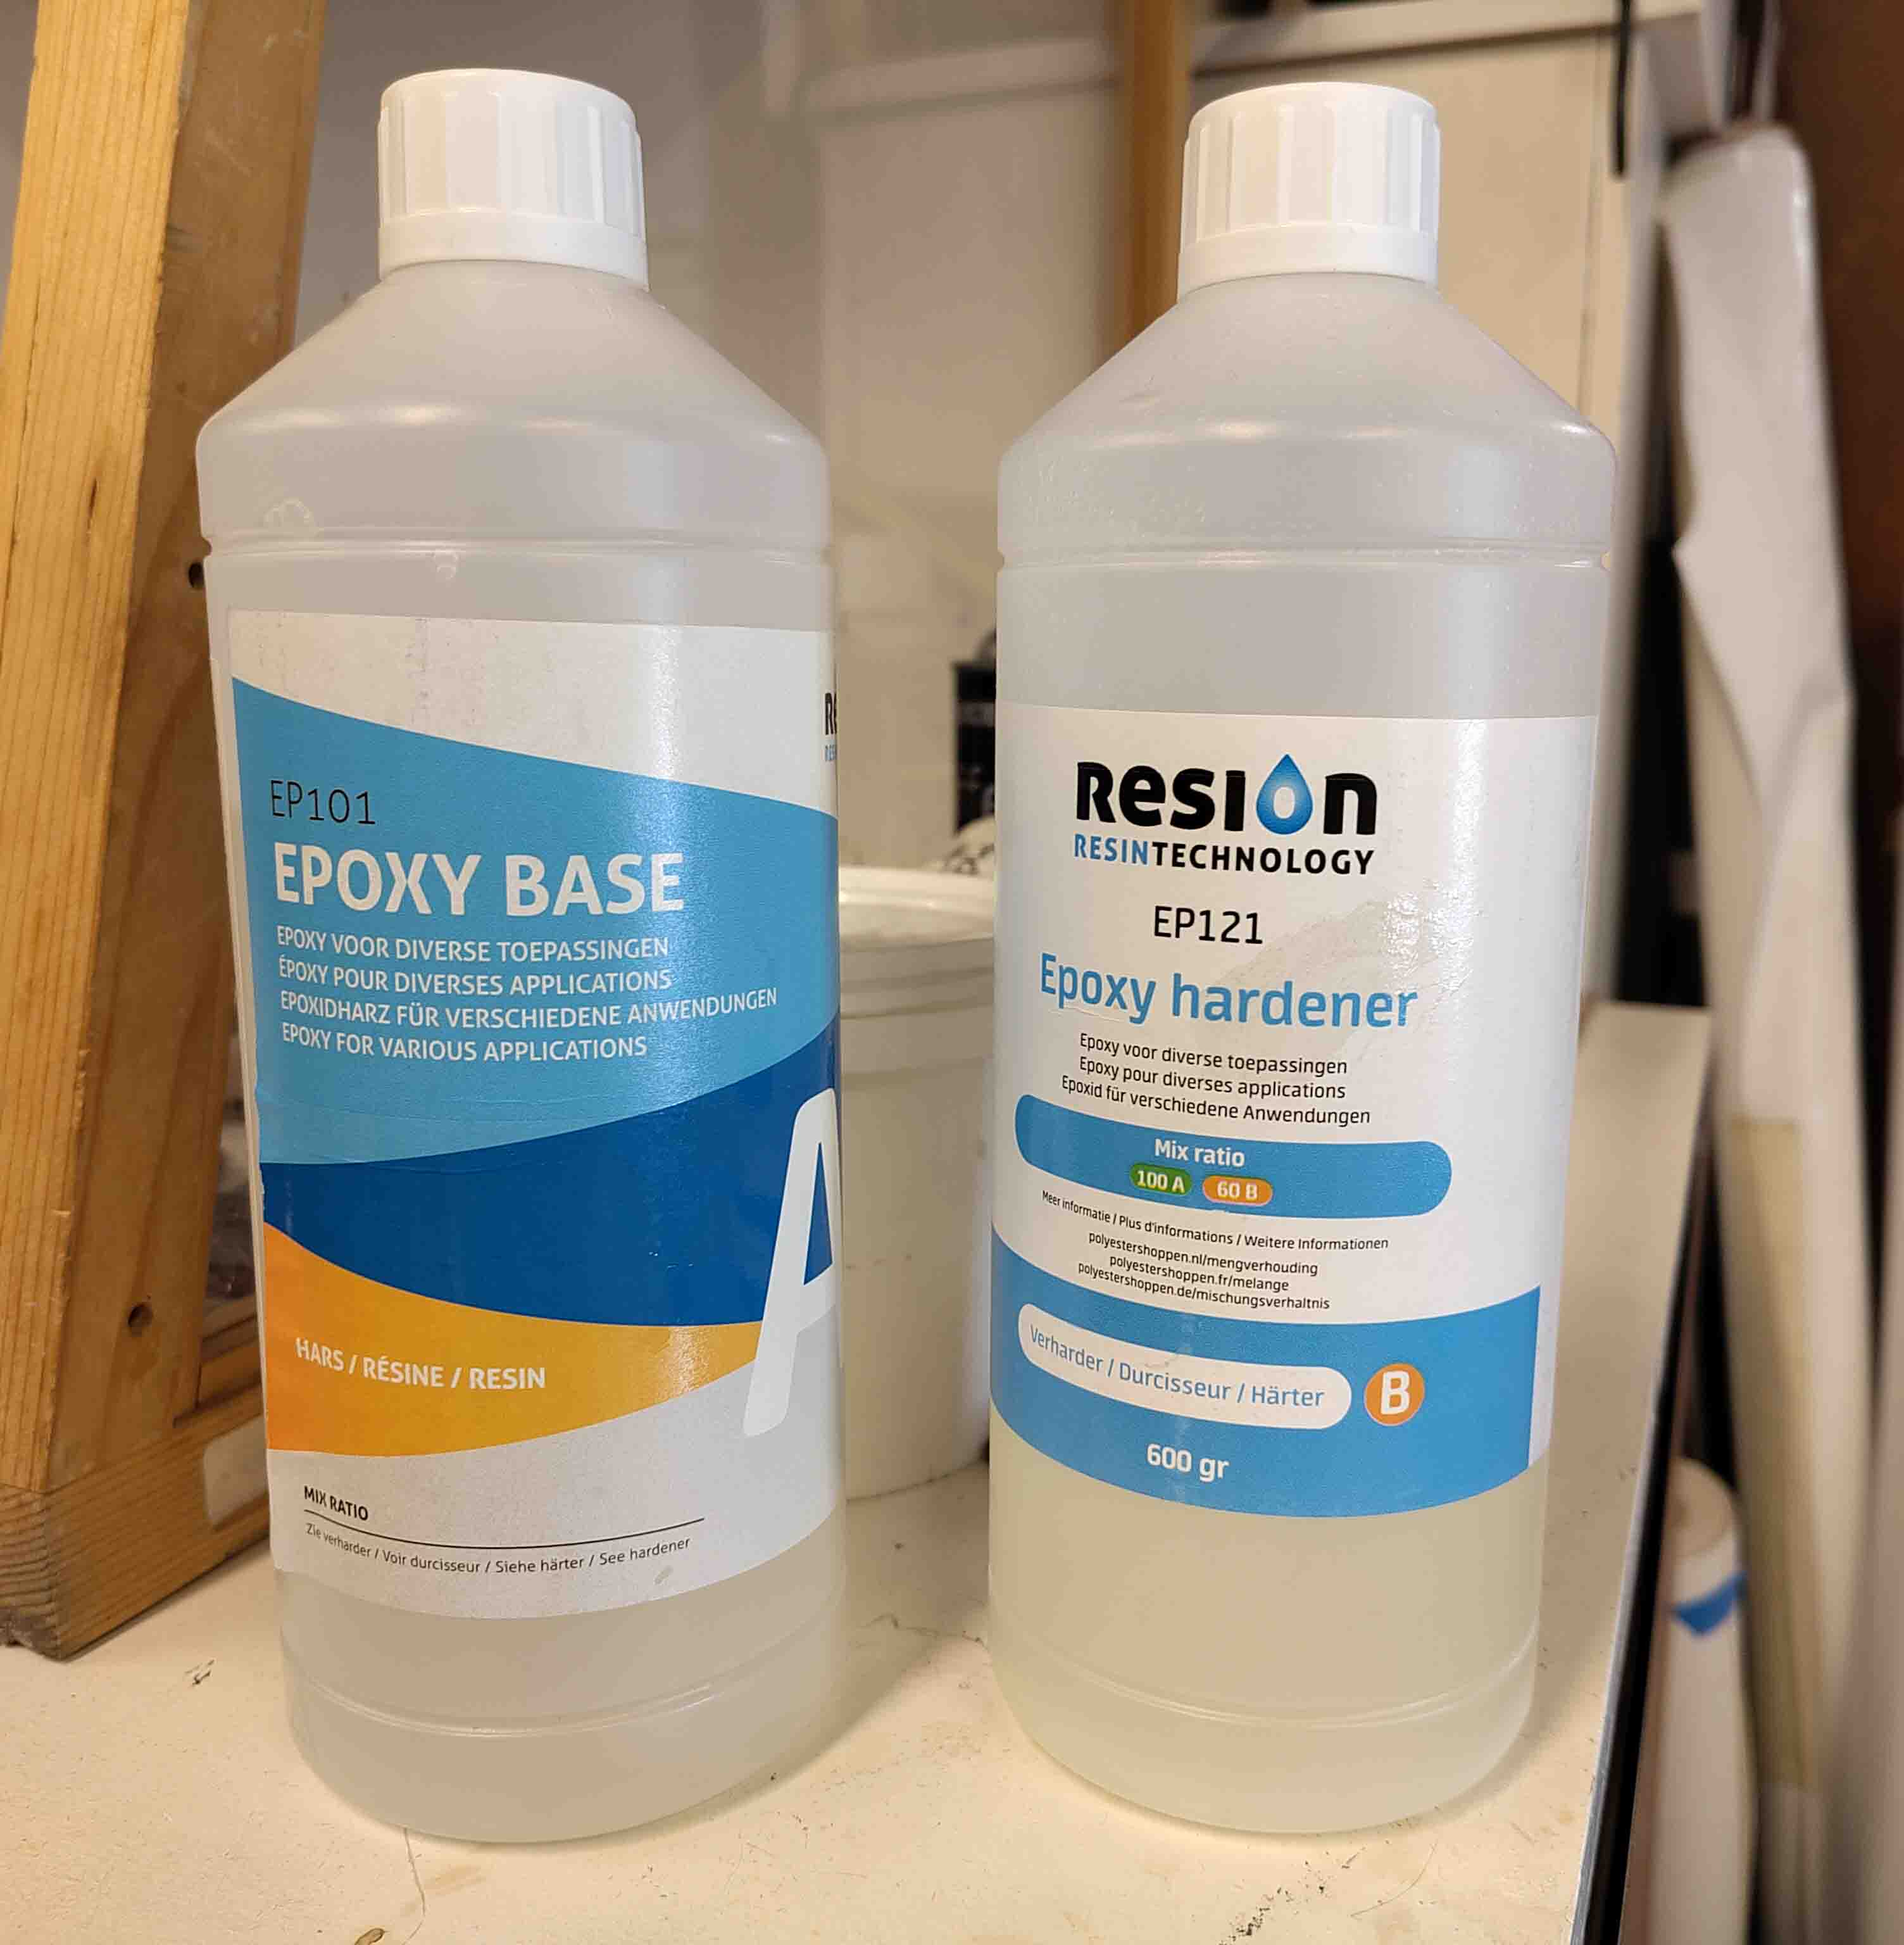
We used epoxy in a 100A:60B ratio. I weighed the parts on a scale and massaged the epoxy into the cloth strips on both sides.
The next test was to compare 1 vs 2 vs 3 layers of cheese cloth. These test strips I folded over some failed 3D prints we had in the lab.
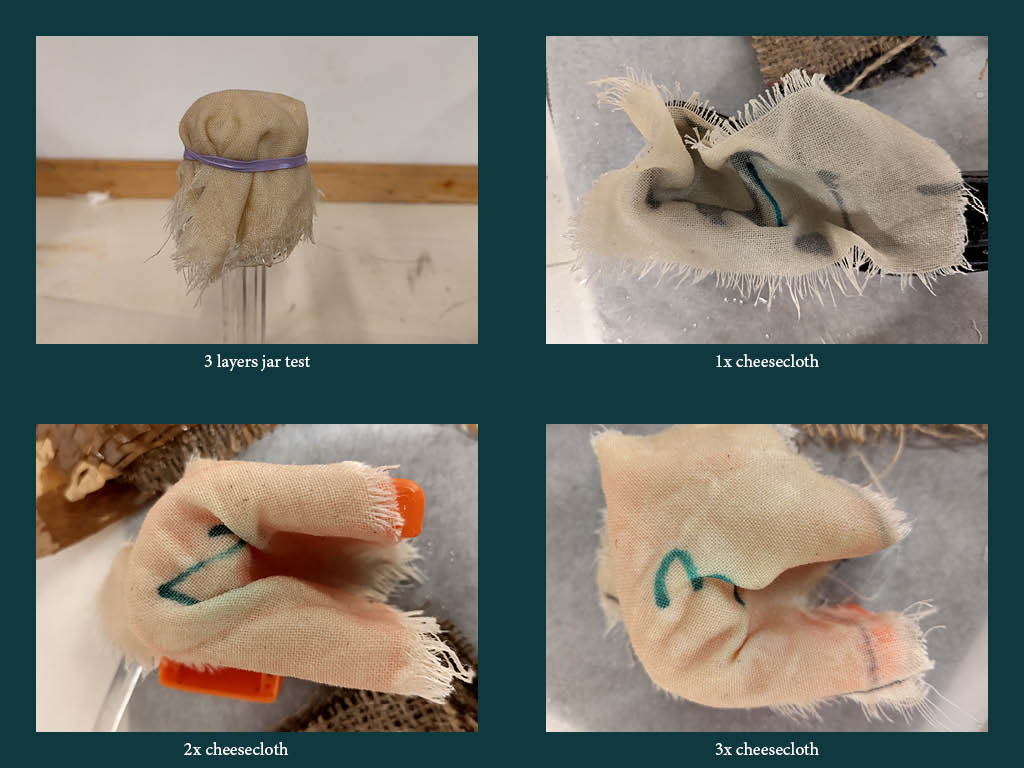
I had forgotten to use a mold release agent and the tests were stuck to the pieces of plastic and the little jar. I could not get them off, but could feel that the single layer one was very flexible.
Balloon holder
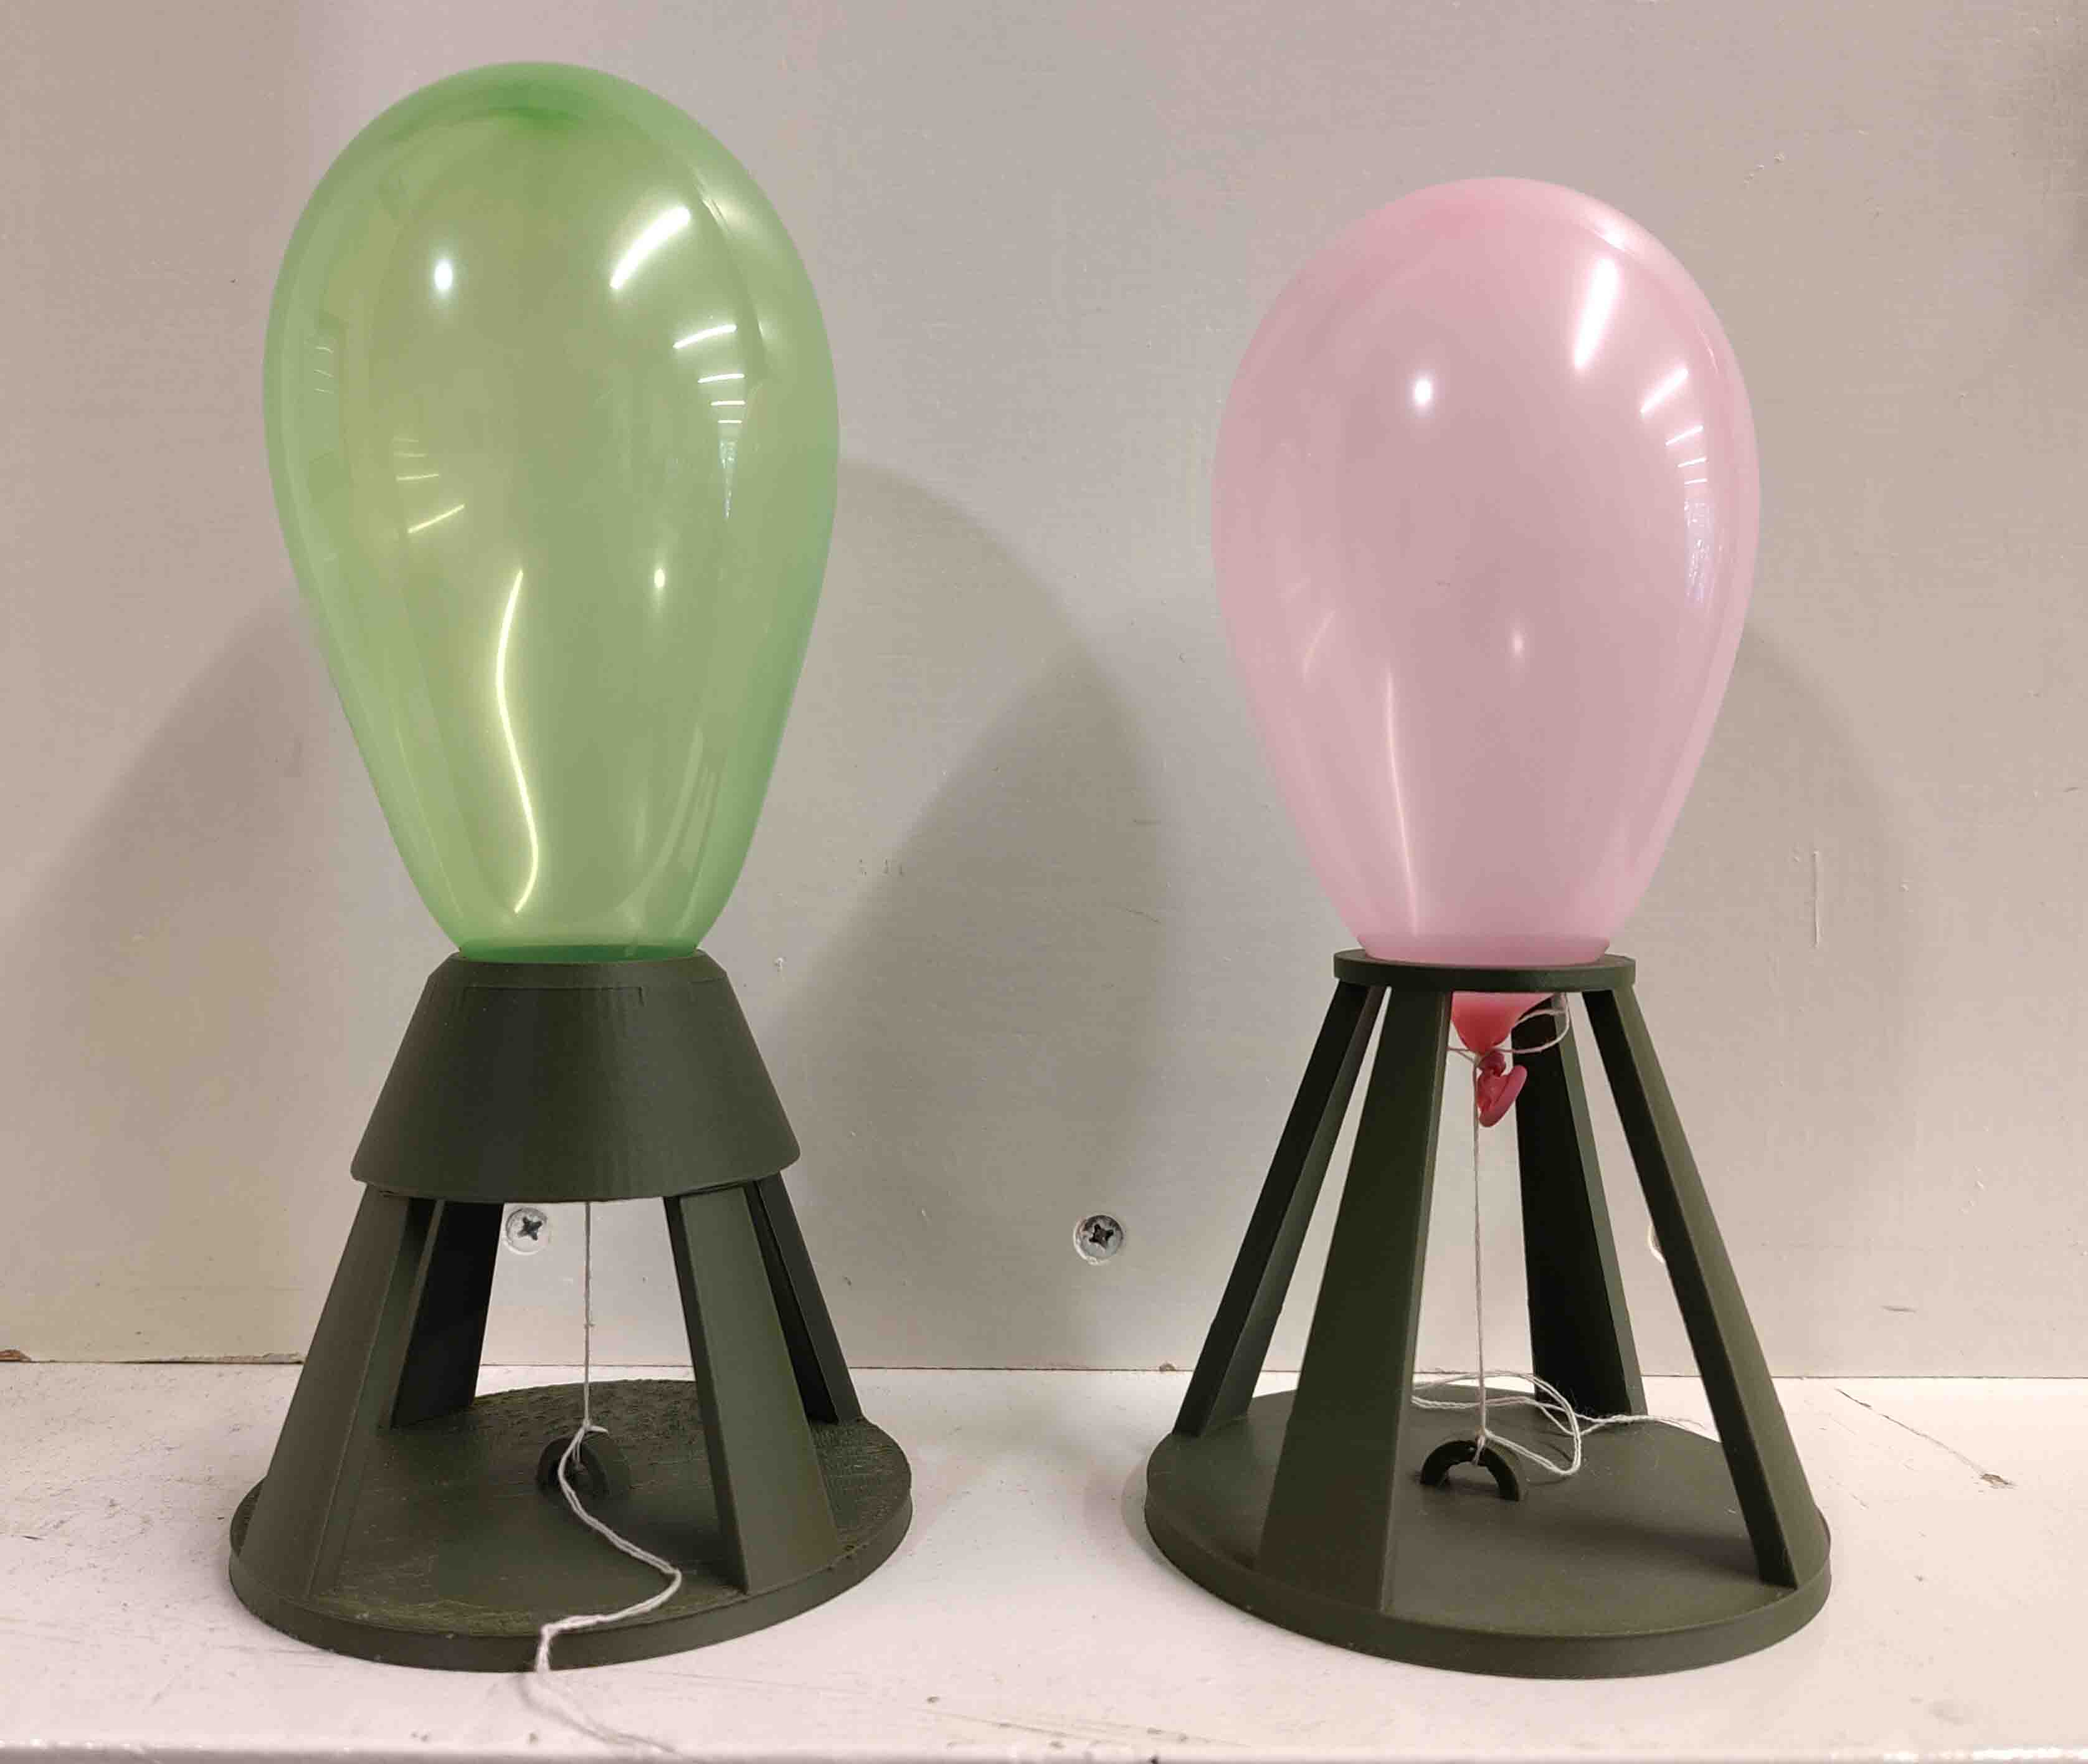
In order to make a shape that has a sort of bottle neck that widens out at the top I thought to used the balloons I got for the bioplastics test.
Sketches:
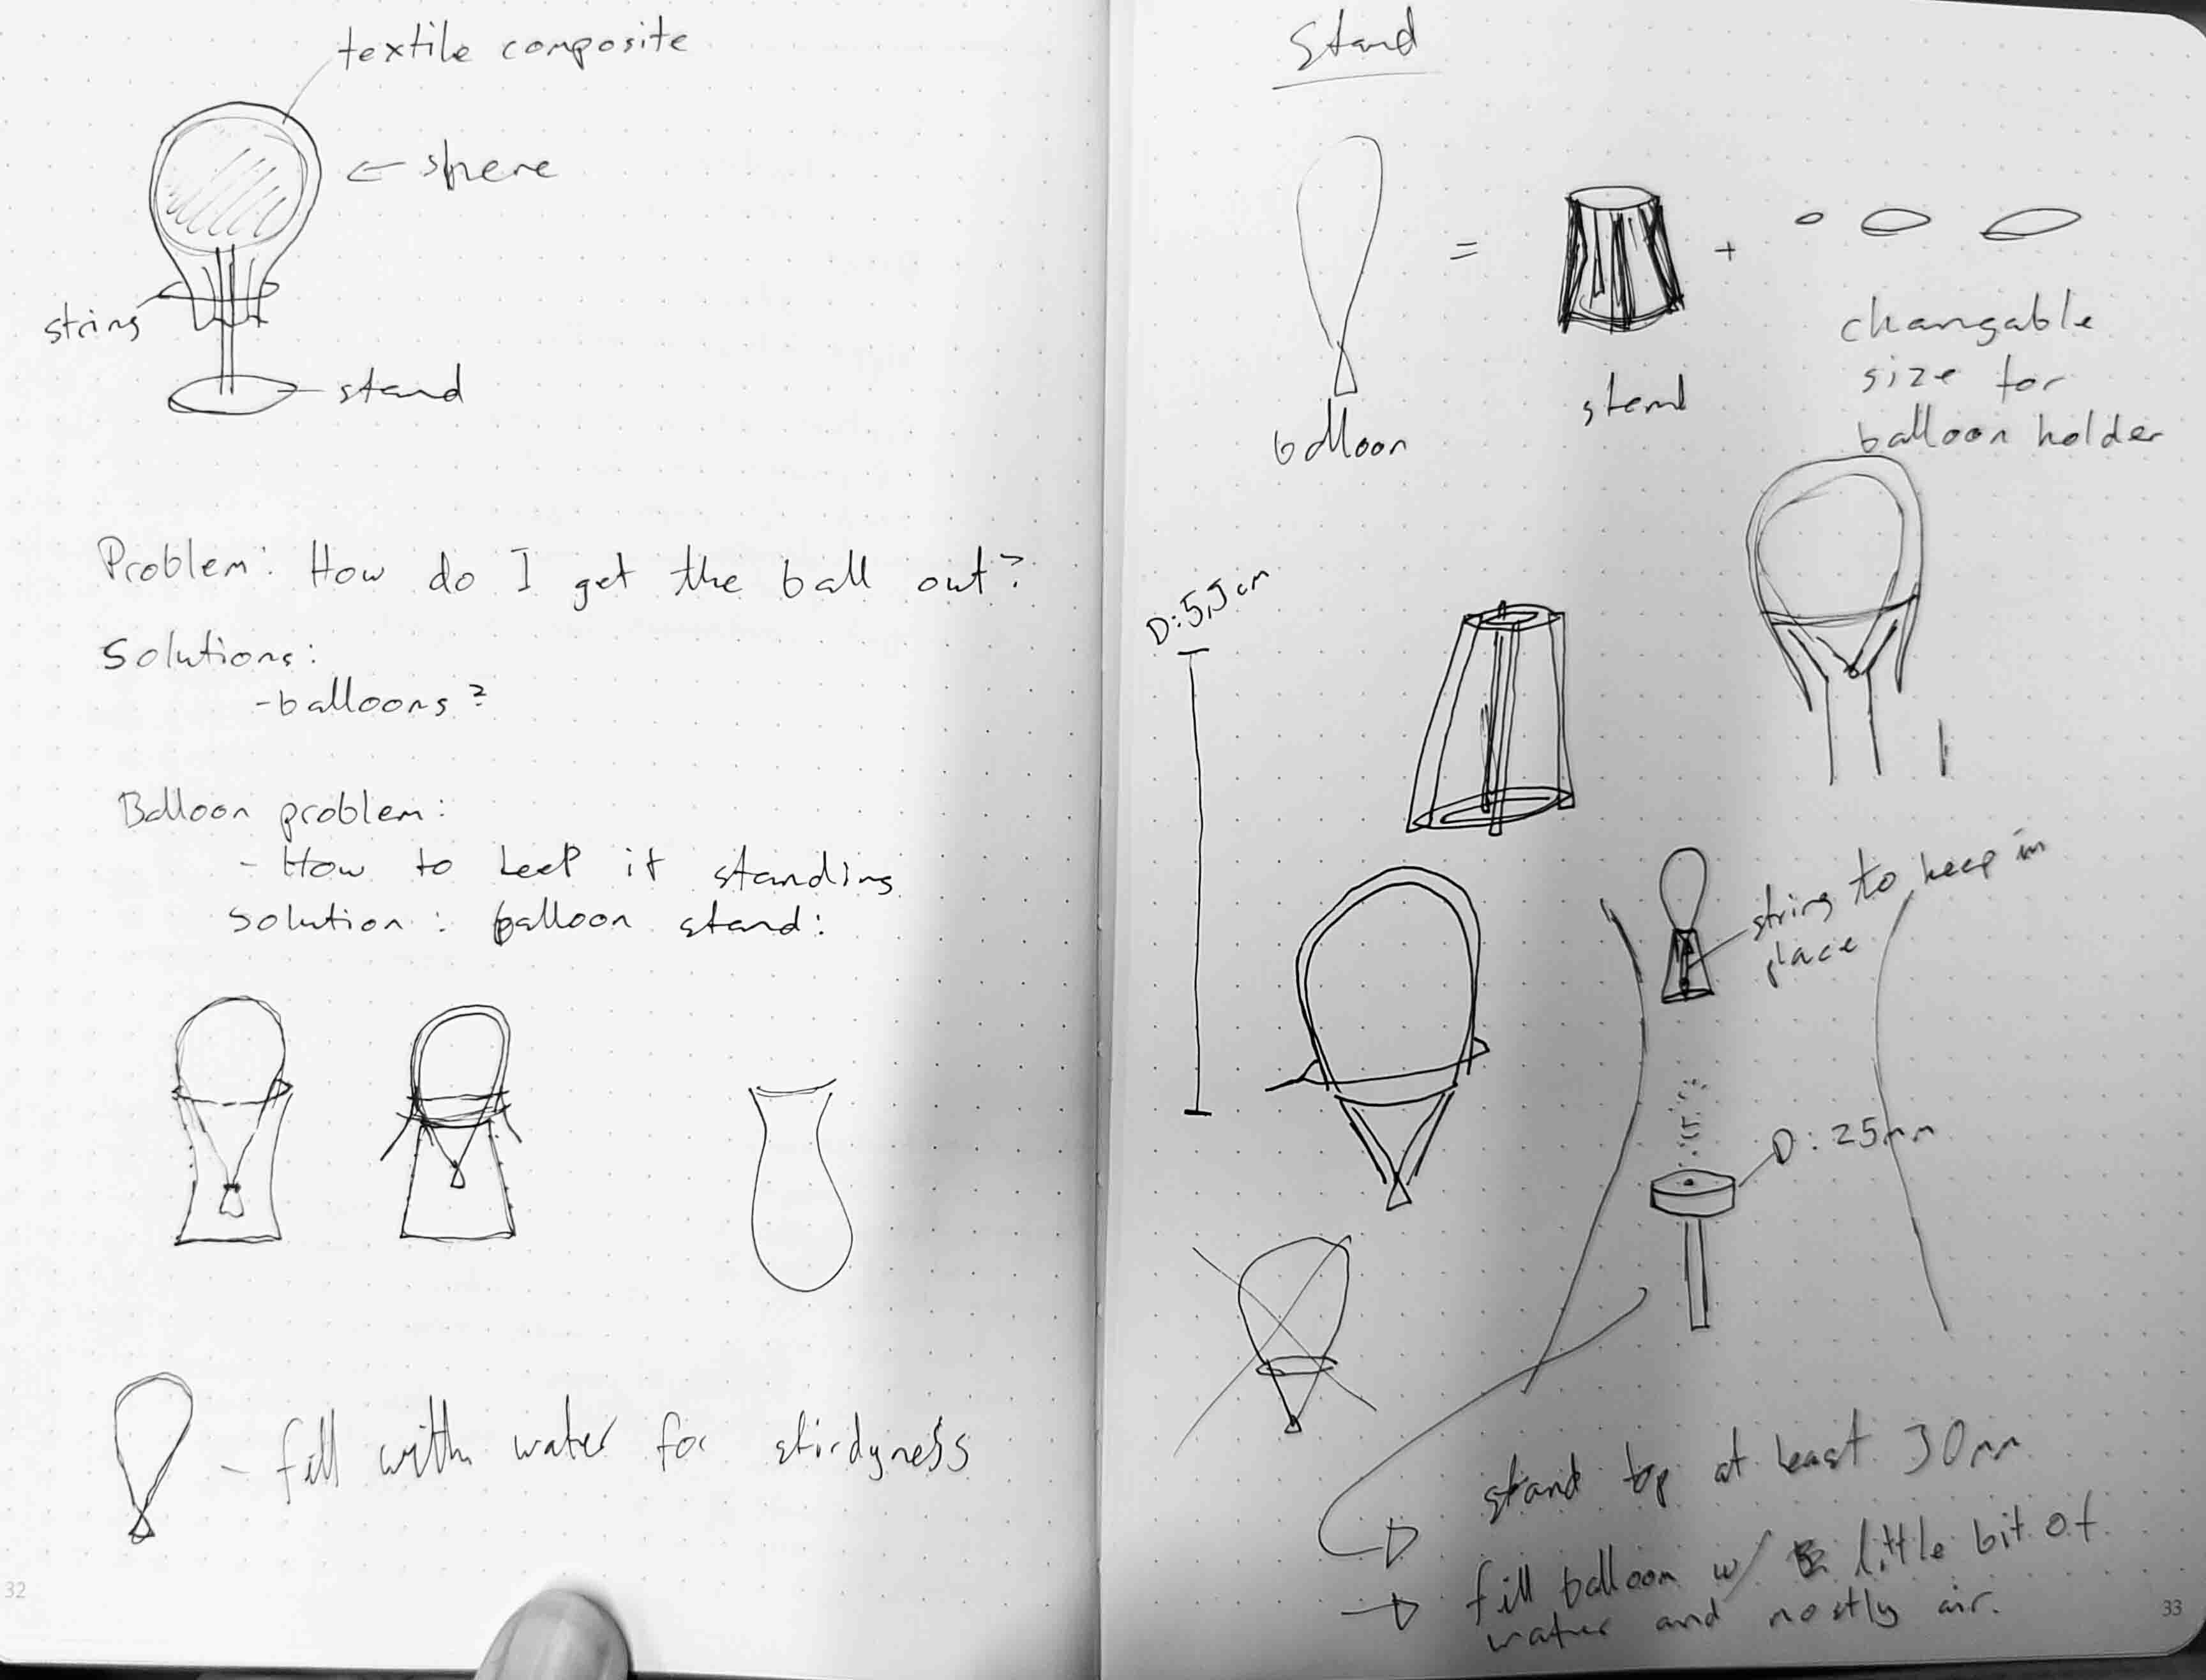
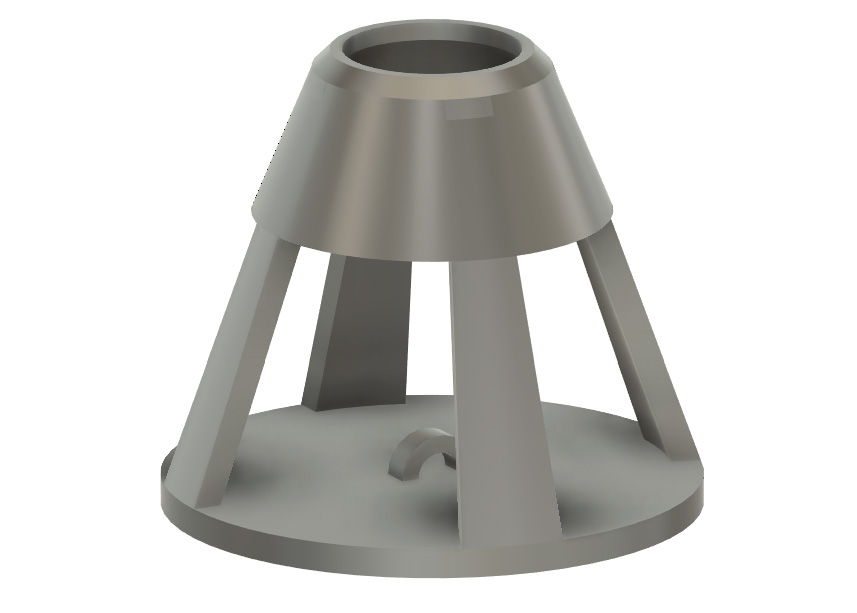
After some sketching I went on to model a holder for the balloon:
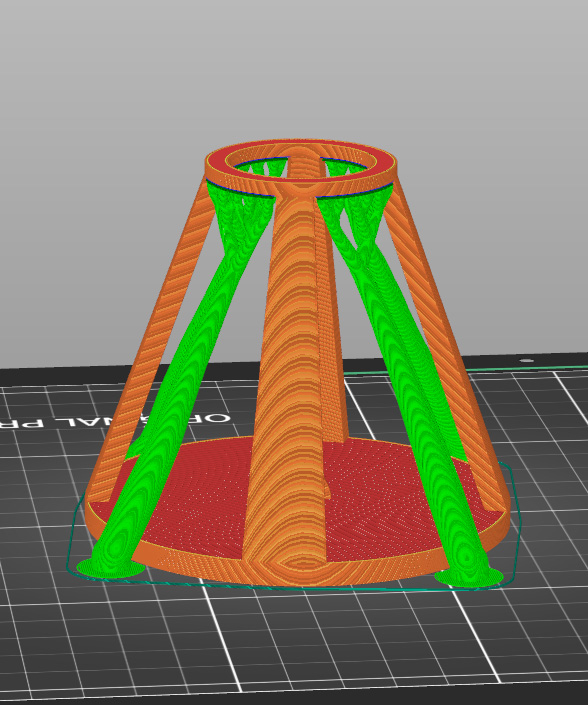
In order to hold the balloon in place I decided add a place where I can attach a string to the base of the balloon and tie it to the base.
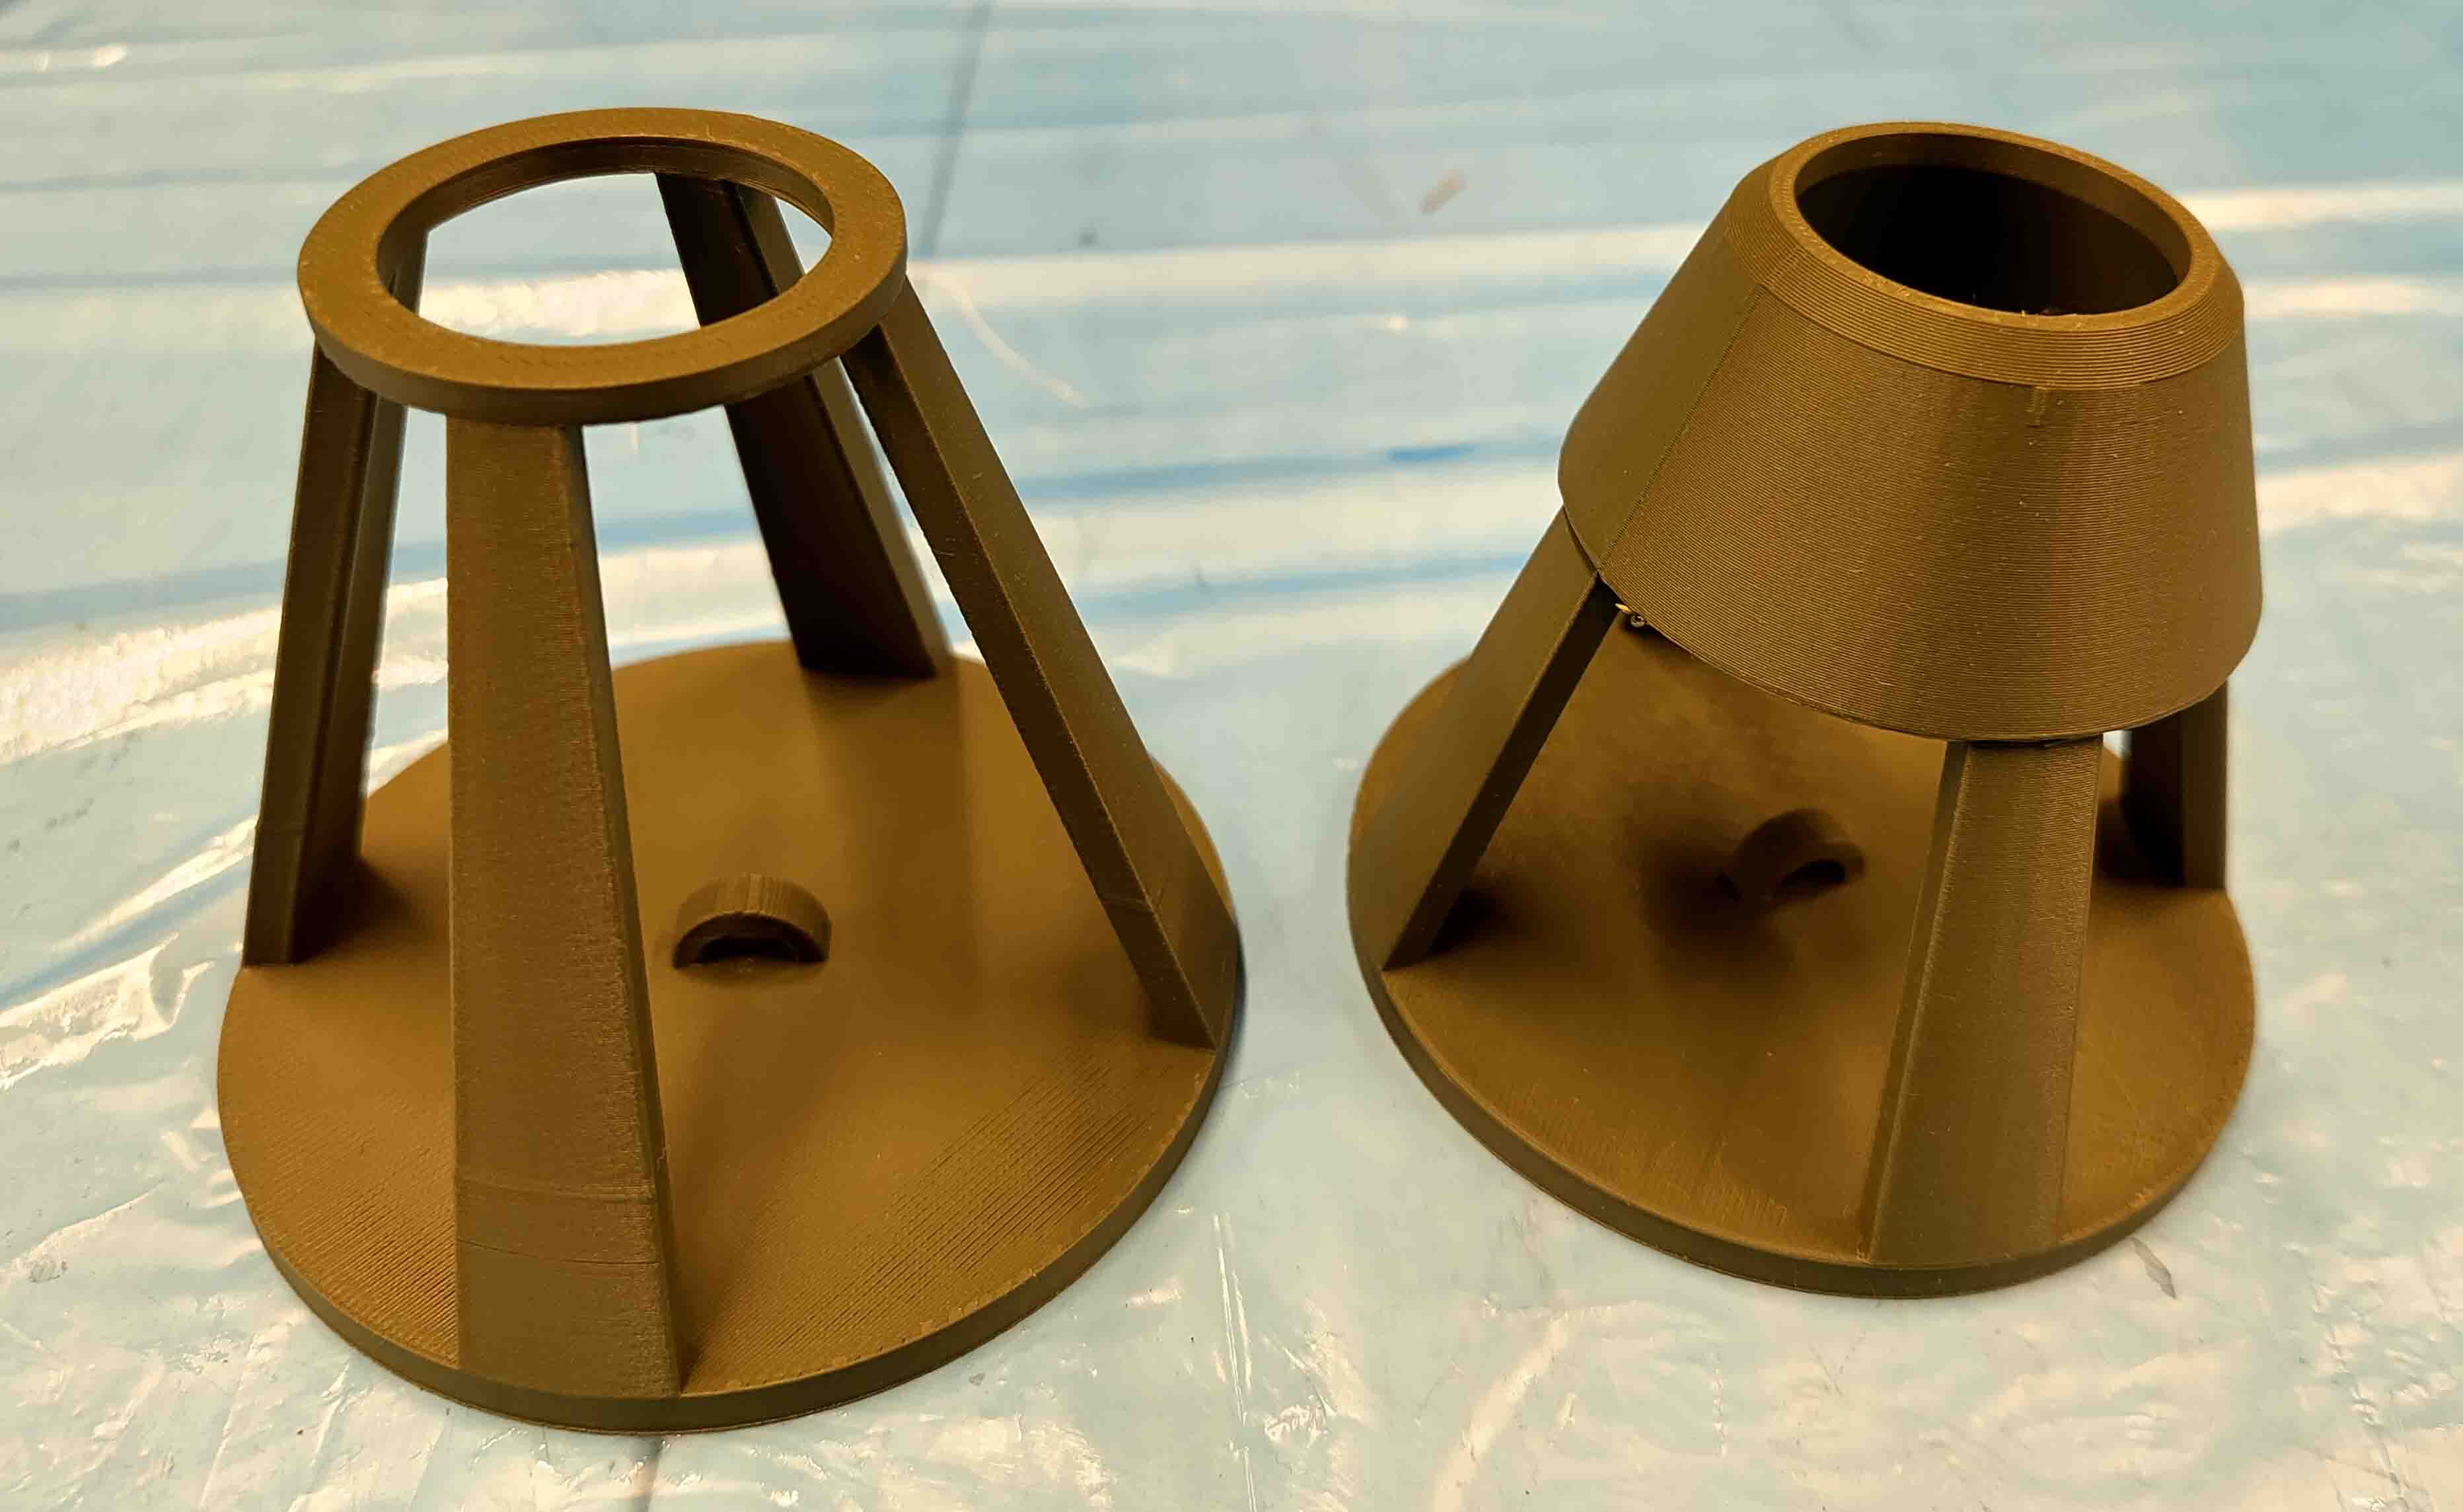
After startign the print of the first version I realised that it might be nice to have a stand with a skirt at the top to shape the textile around.
Here is the result of the 2 prints.
Epoxy resin
Part A: safety data sheet Part B: safety data sheet Both: Technical data sheet Mixing data sheet
Warnings:
Hazard statement(s): Part A:
- Causes skin irritation. (H315)
- May cause an allergic skin reaction. (H317)
- Causes serious eye irritation. (H319)
- Toxic to aquatic life with long lasting effects. (H411)
Hazard statement(s): Part A:
- Harmful if swallowed. (H302)
- Causes severe skin burns and eye damage. (H314)
- May cause an allergic skin reaction. (H317)
- Harmful to aquatic life with long lasting effects. (H412)
Safety gear:
- Glasses
- Gloves
- Protective clothing
This is a very toxic substance so I set up in the ventilated box we set up for these kind of projects.
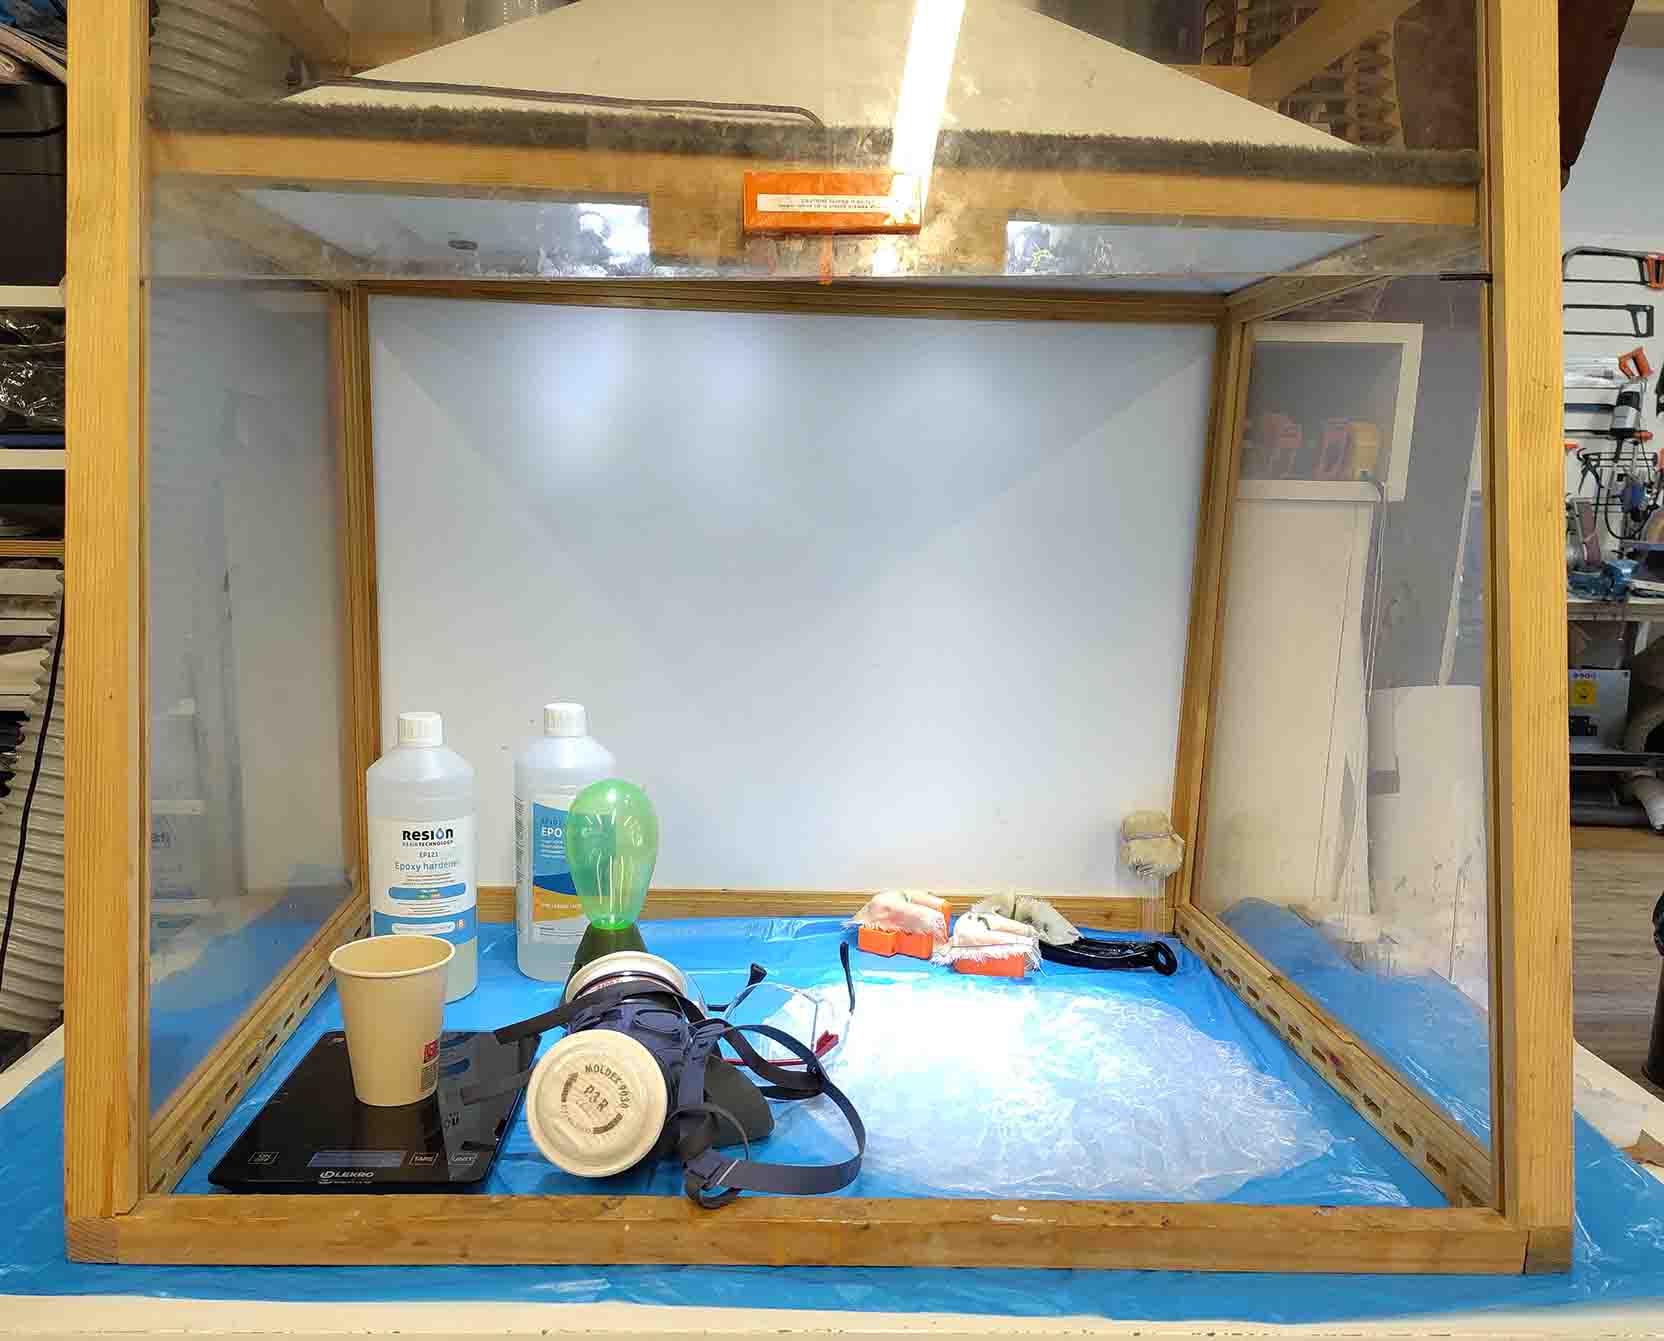
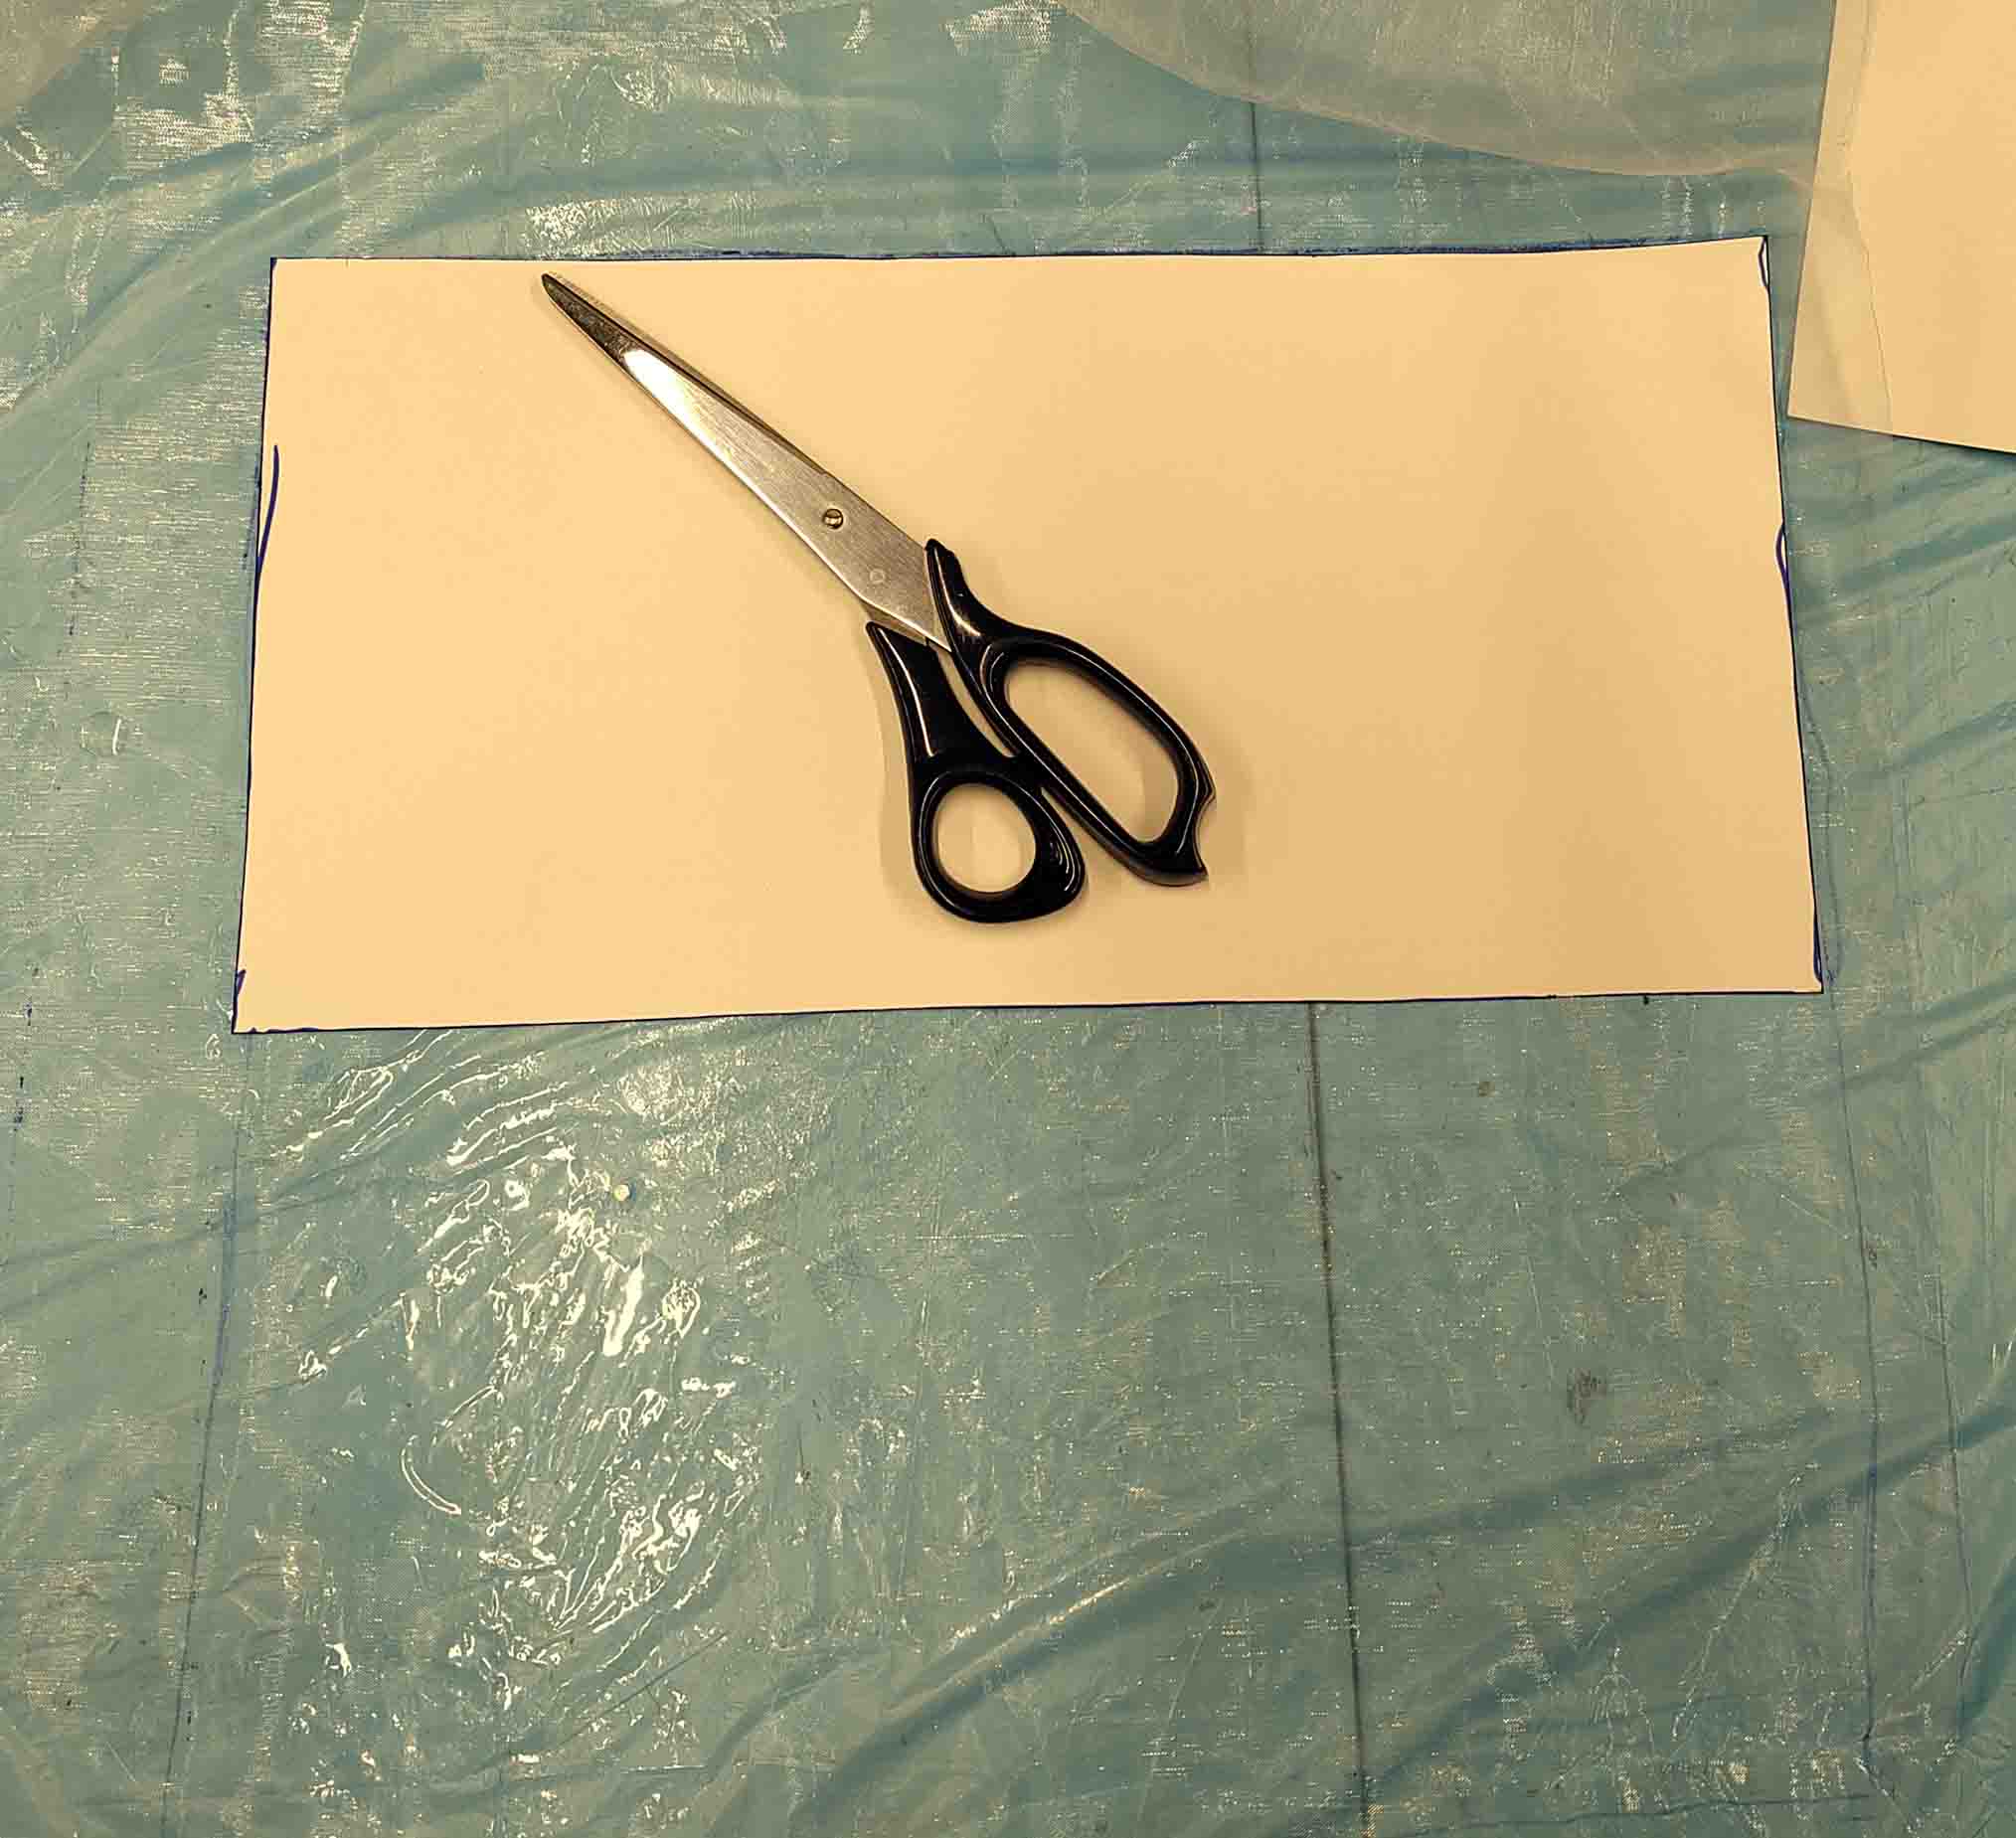
I measured how much textile I would need and cut a 18cm x 36cm rectangle and after ironing the textile cut out 3 squares and rounded their corners a bit.
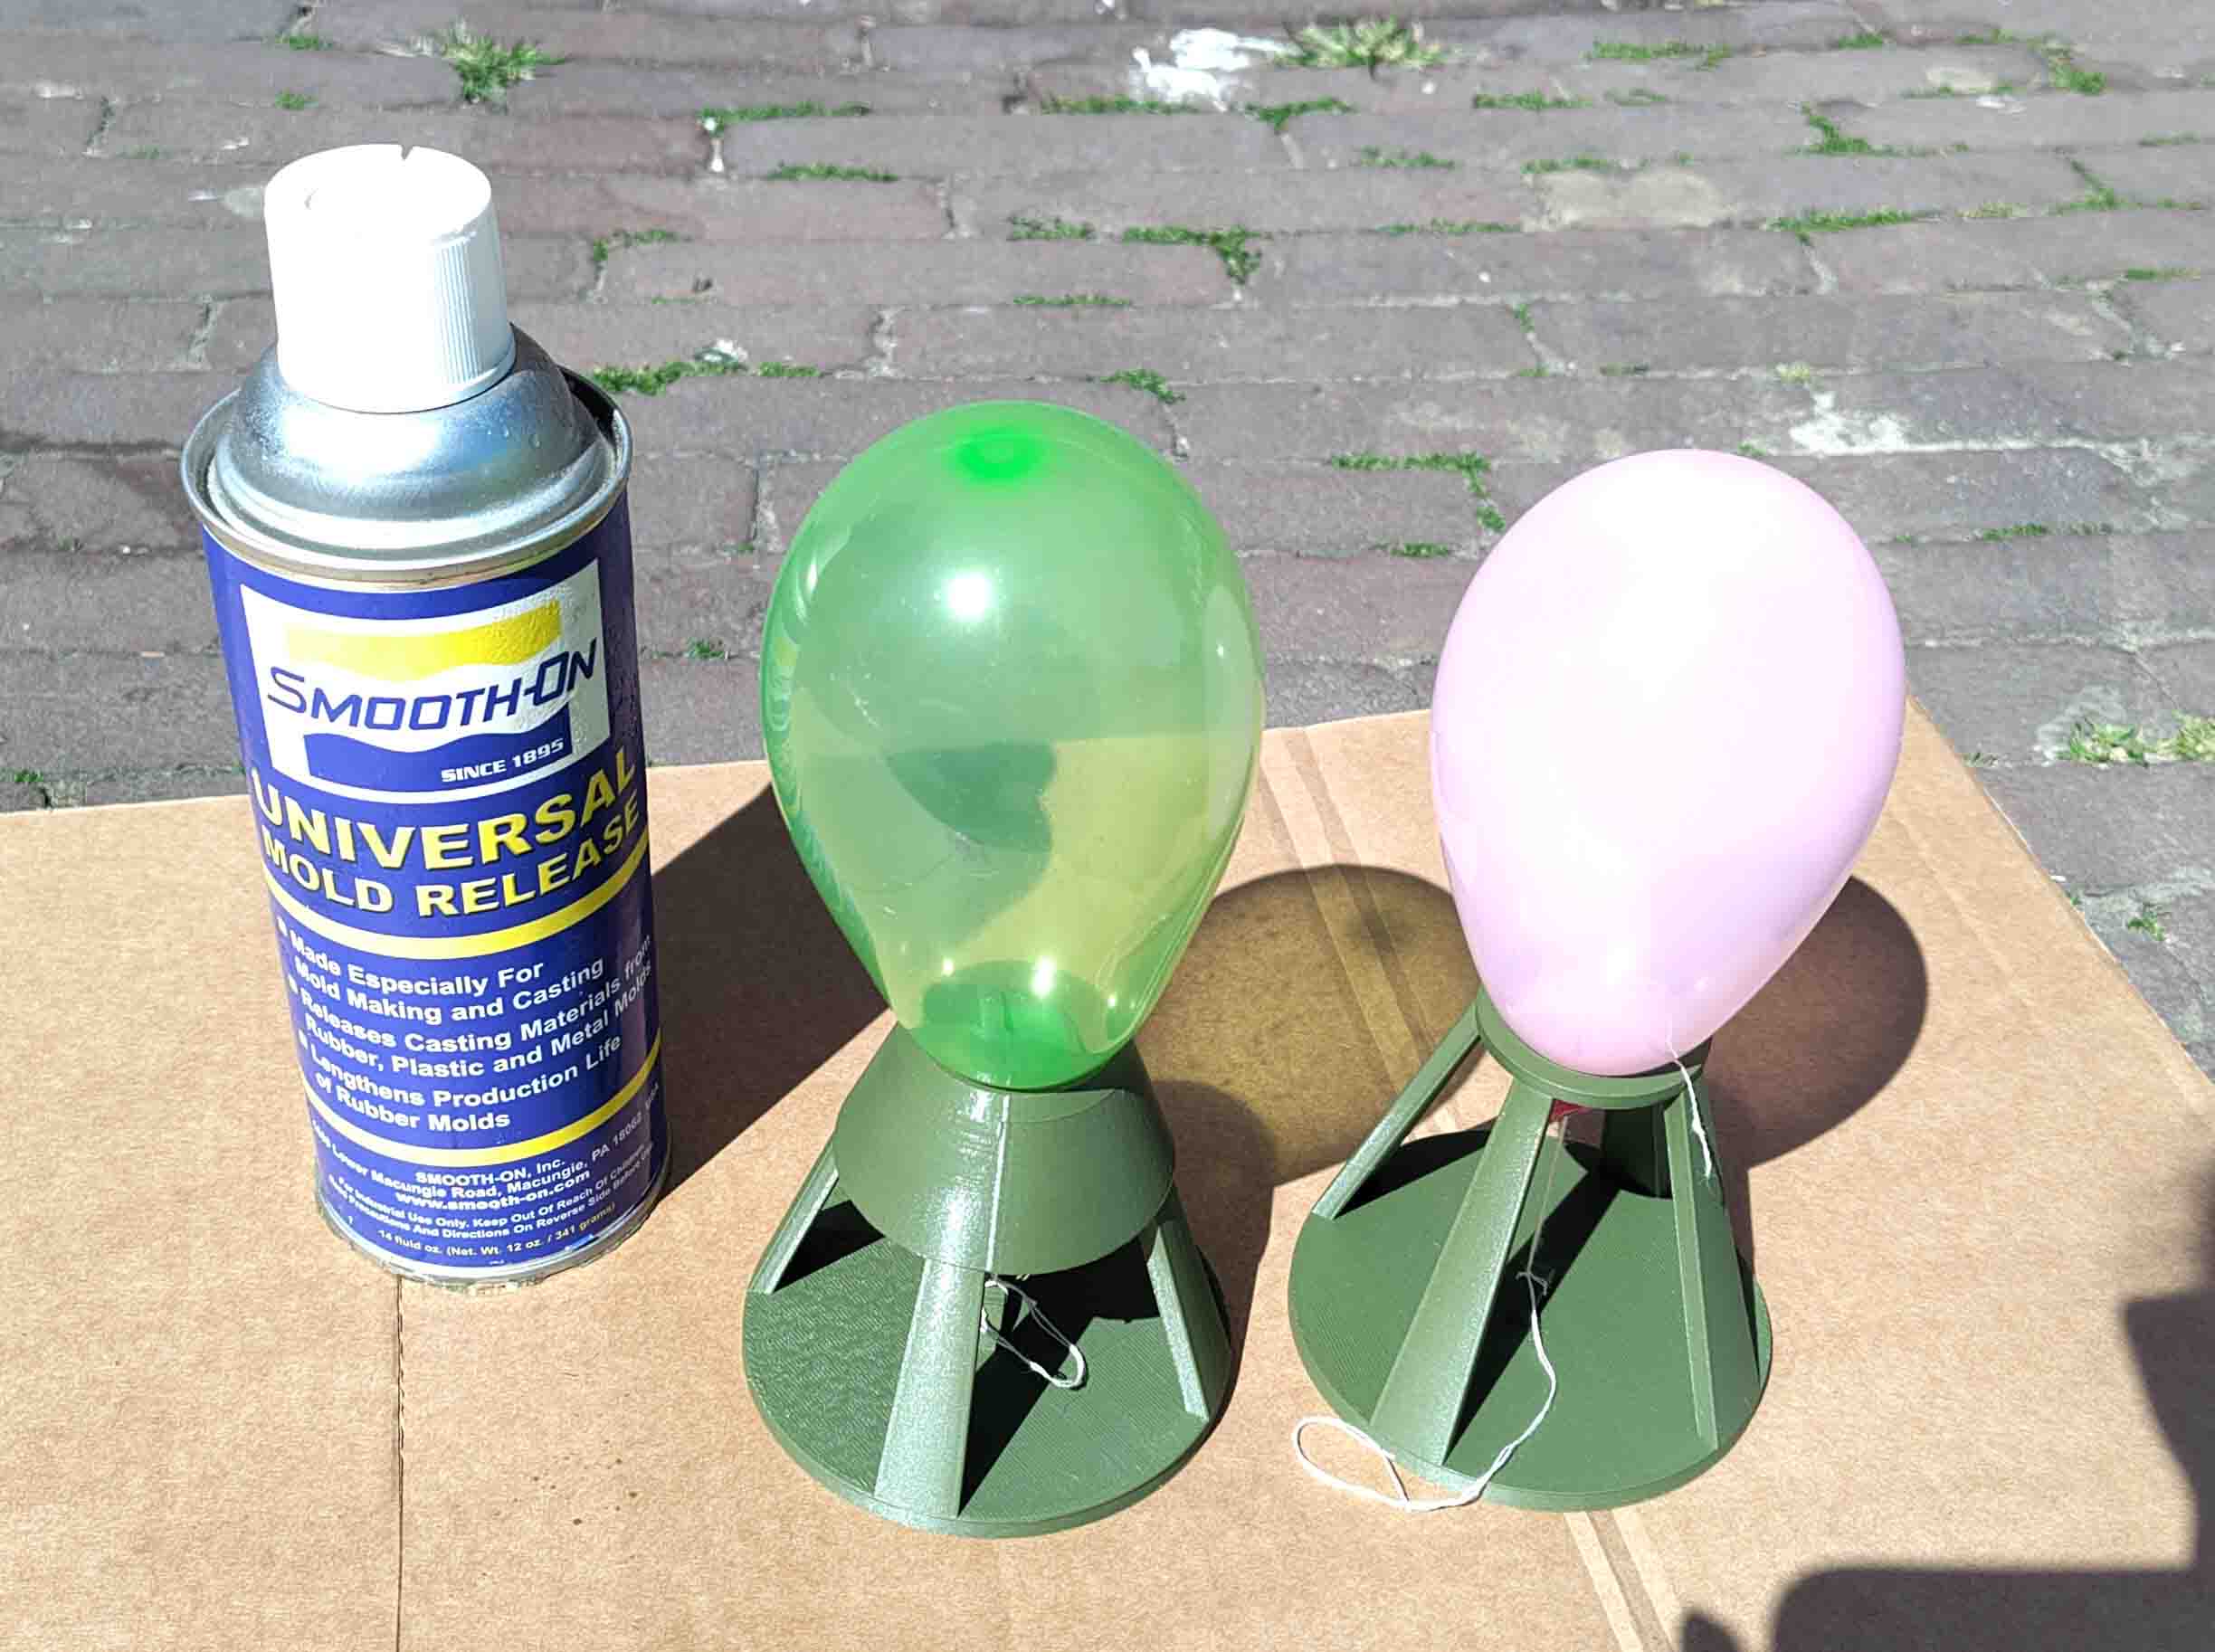
To avoid the resin sticking to the mold I sprayed the balloons and holders with mold release.
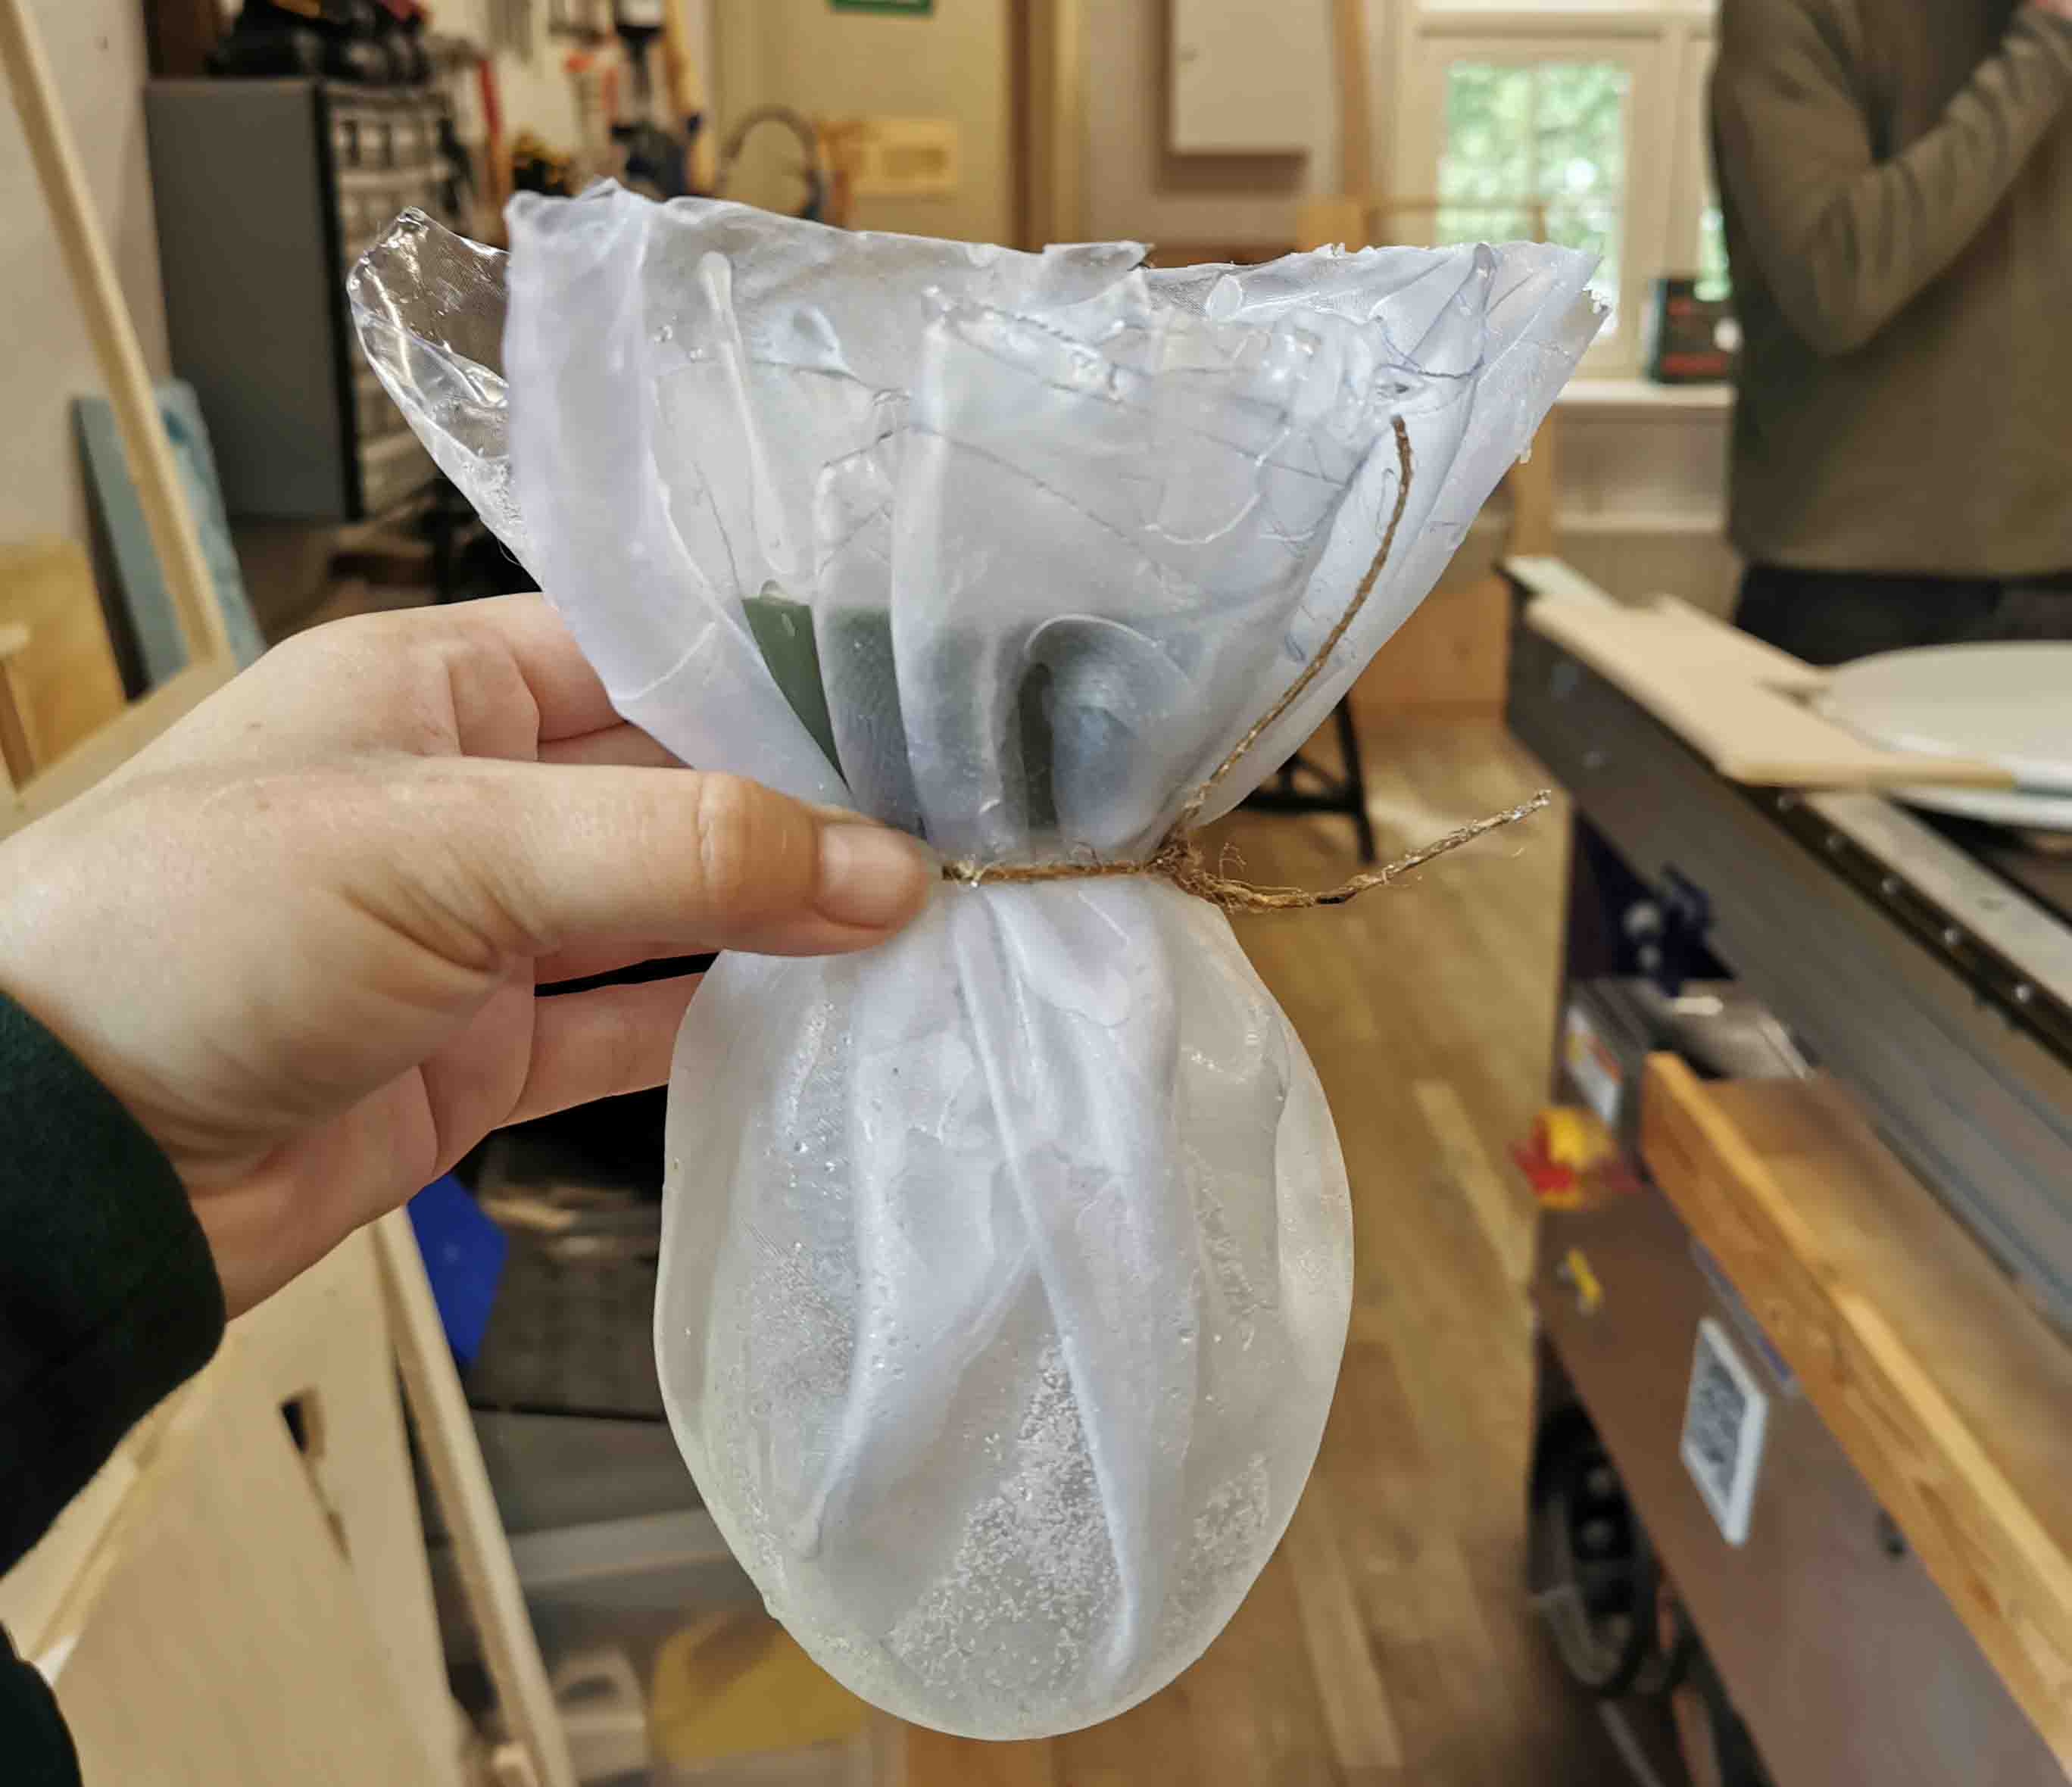
Inside the ventilation chamber I mixed the epoxy and massaged it well into the textile pieces making sure both sides of each piece was covered before combining them. I tightened a string around the narrowest part of the shape.
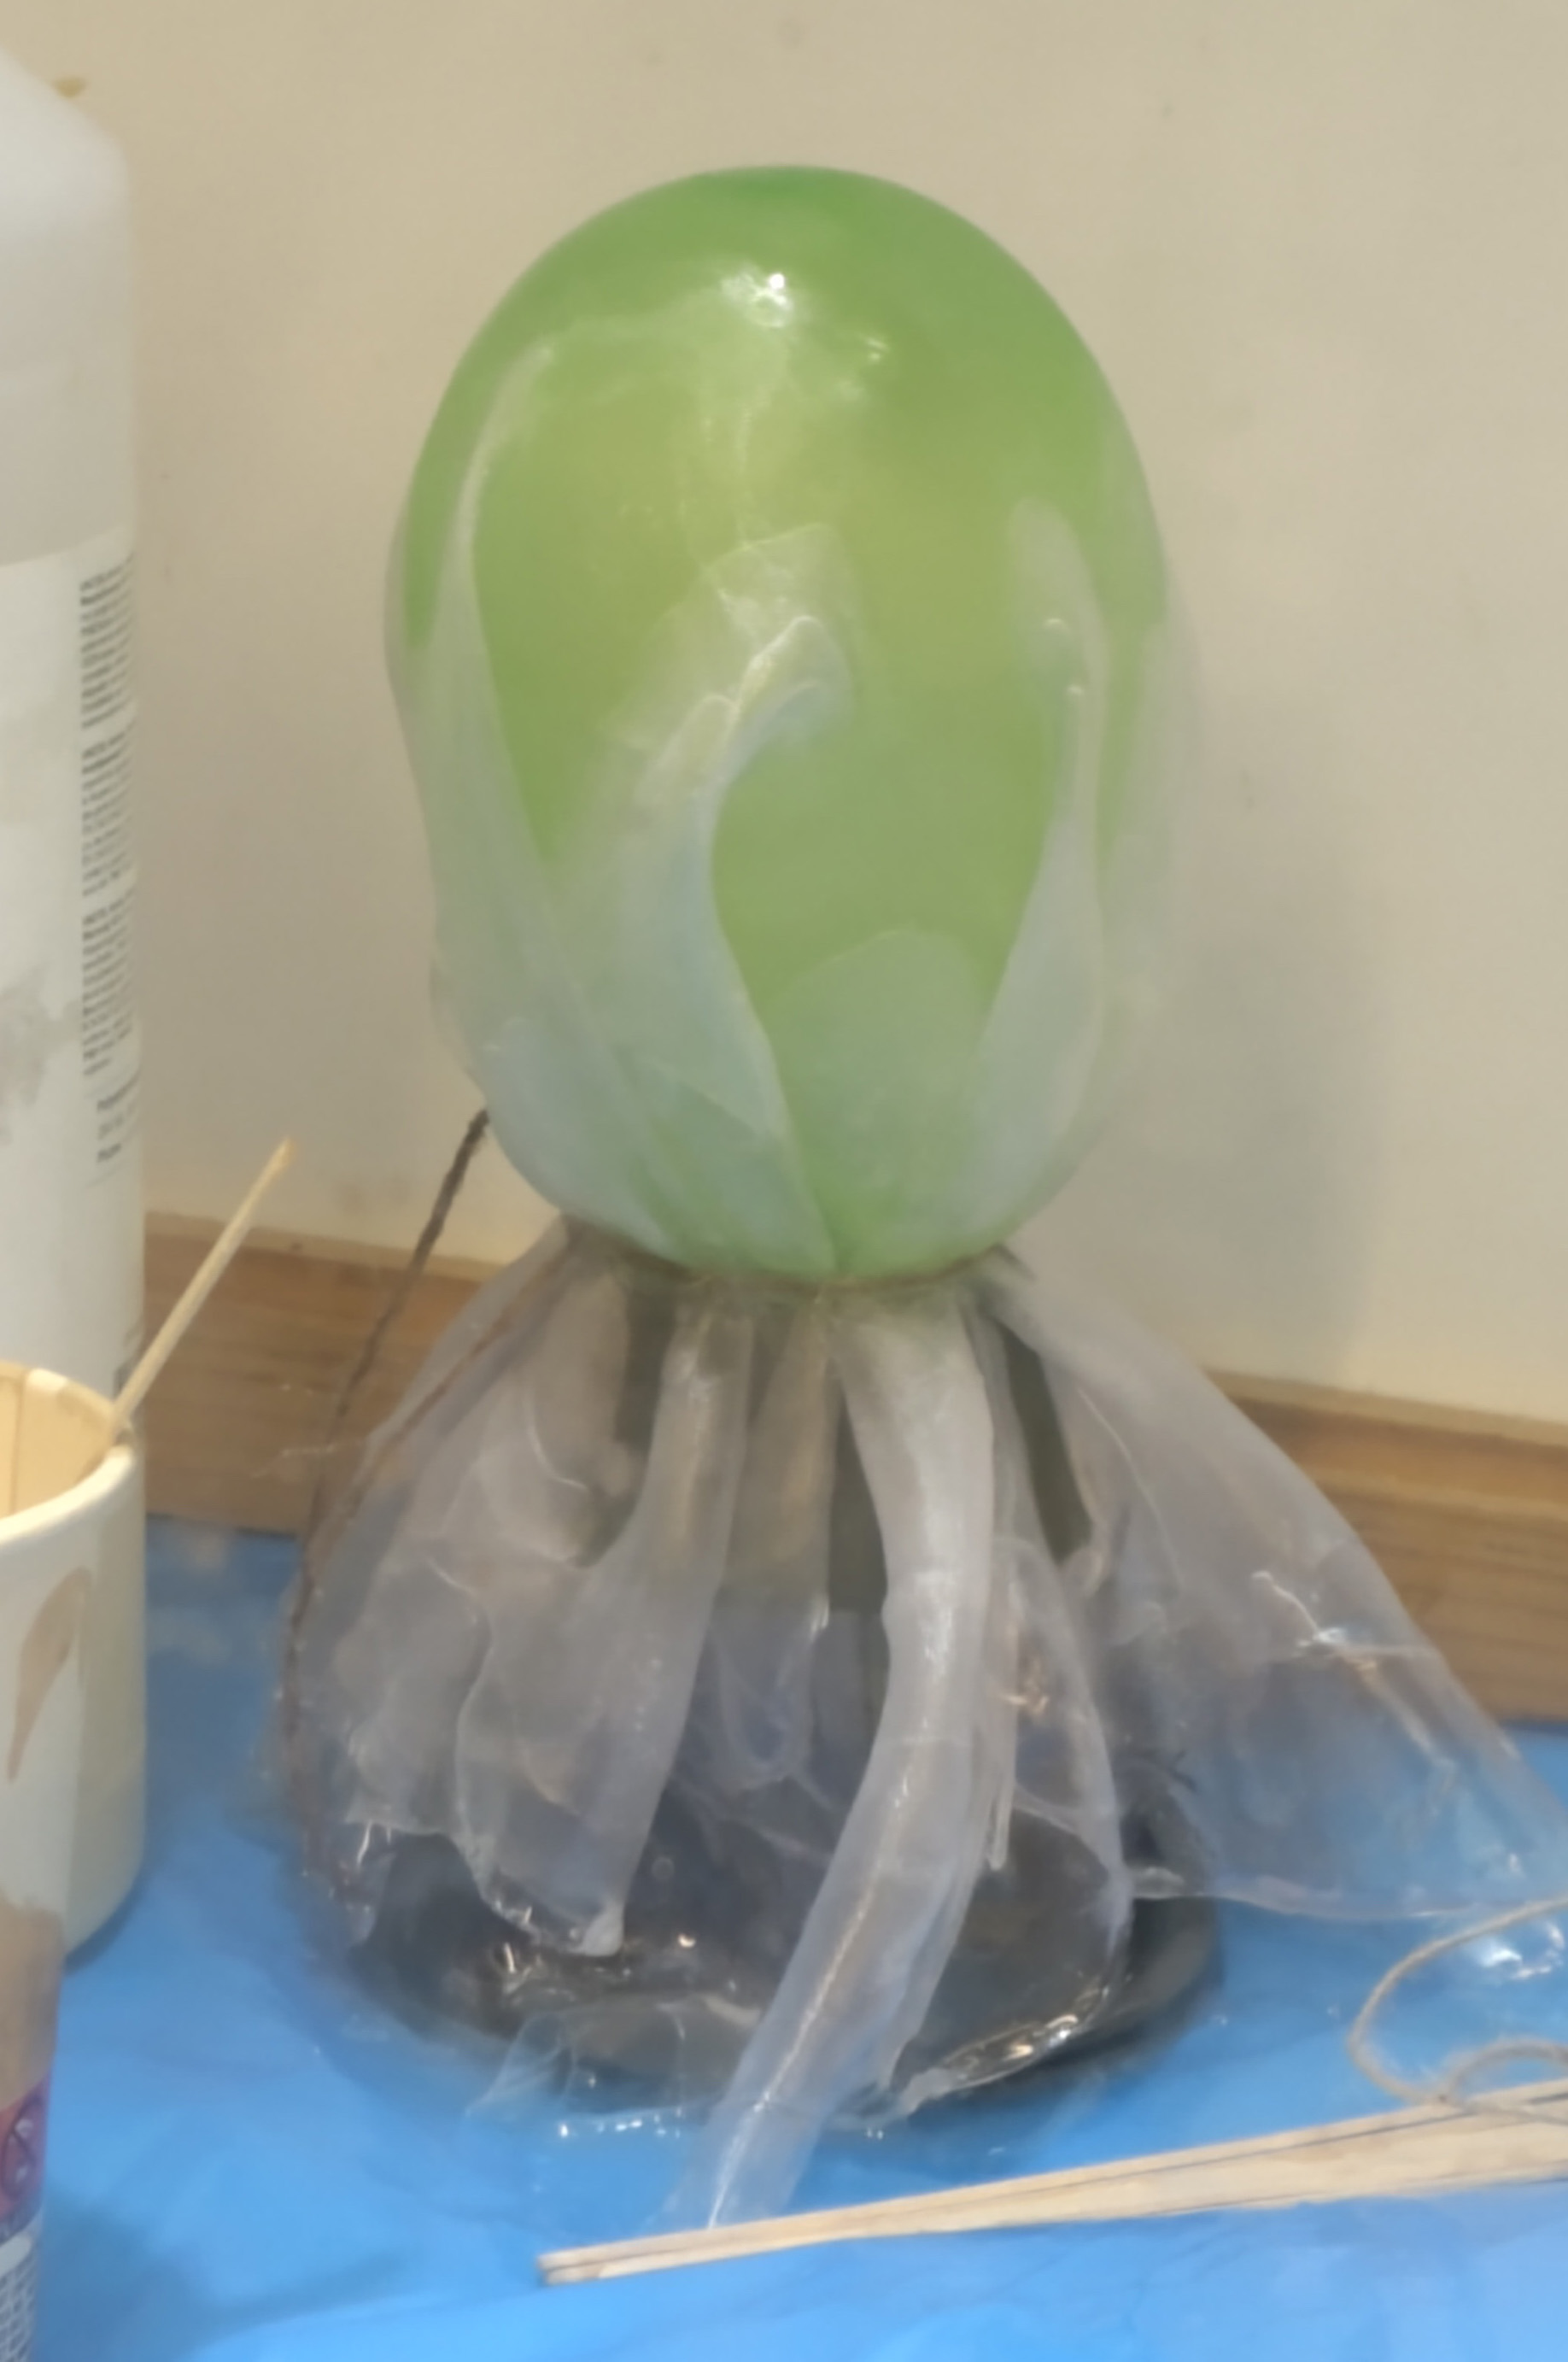
It turns out that the mold release did not work well on the PLA. The mold broke when I tried to take off the composite. It wokred great on the balloon and I just popped it and it was loose.
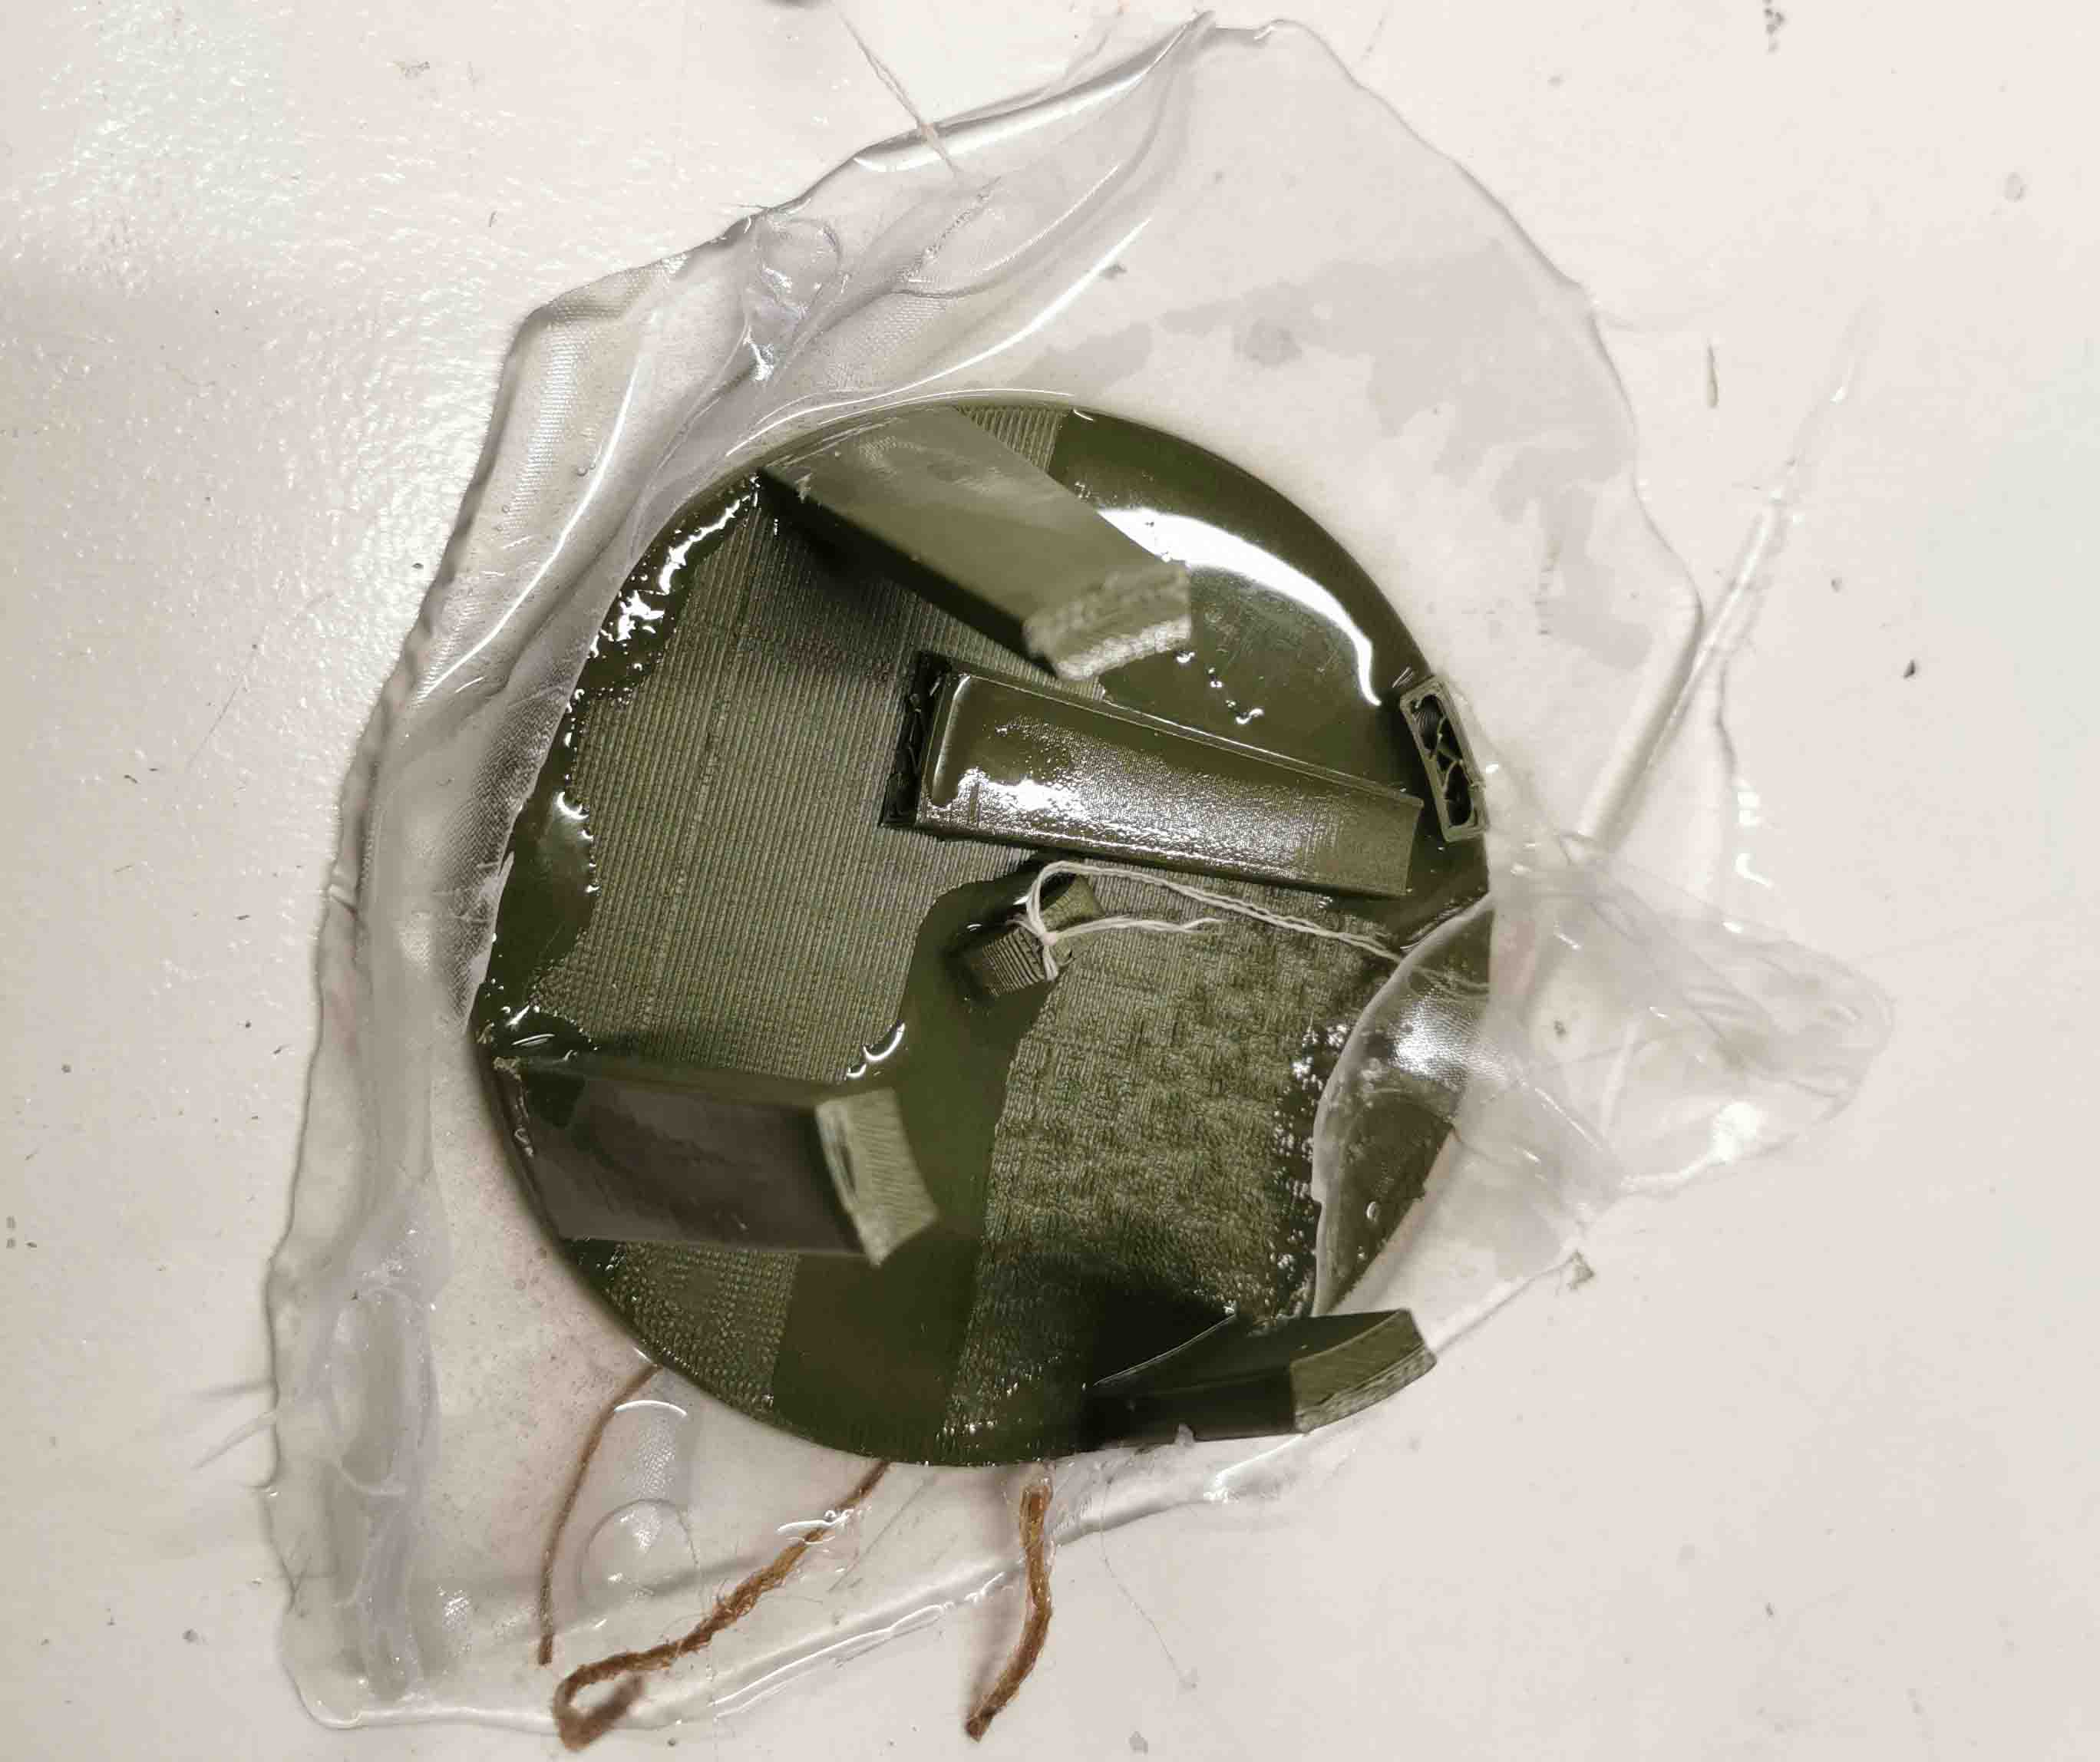
On close inspection I got a bit worried that the resulting container was not, in fact, waterproof.
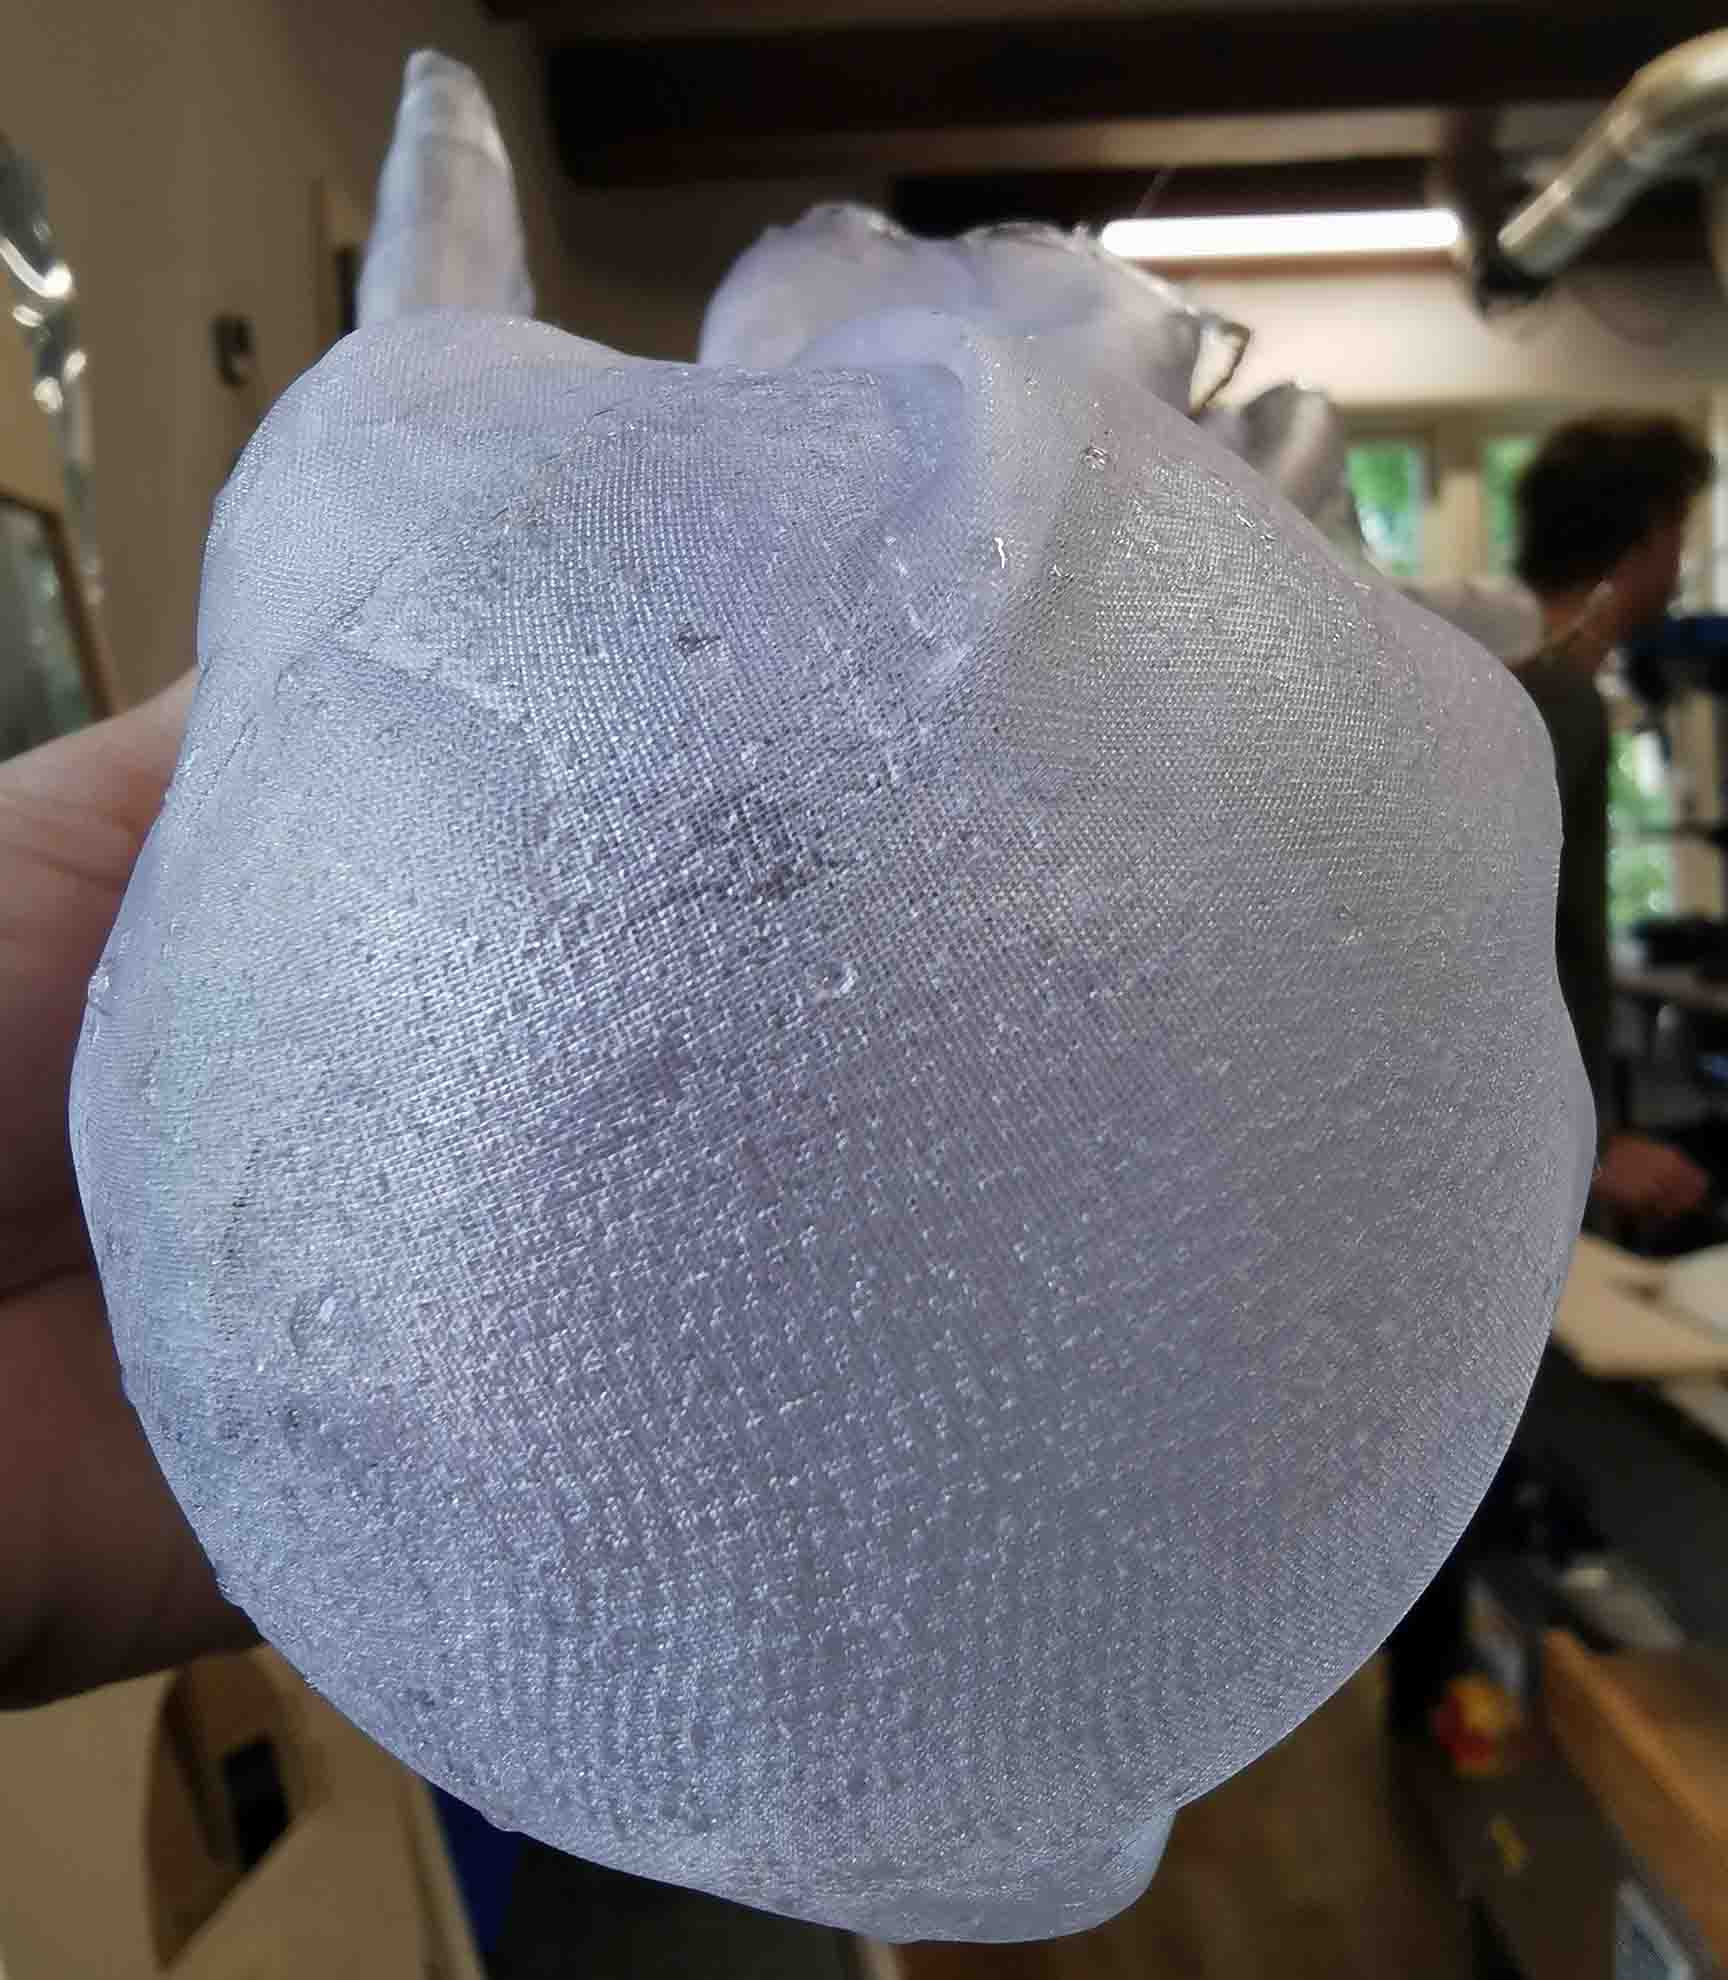
Only one way to find out:
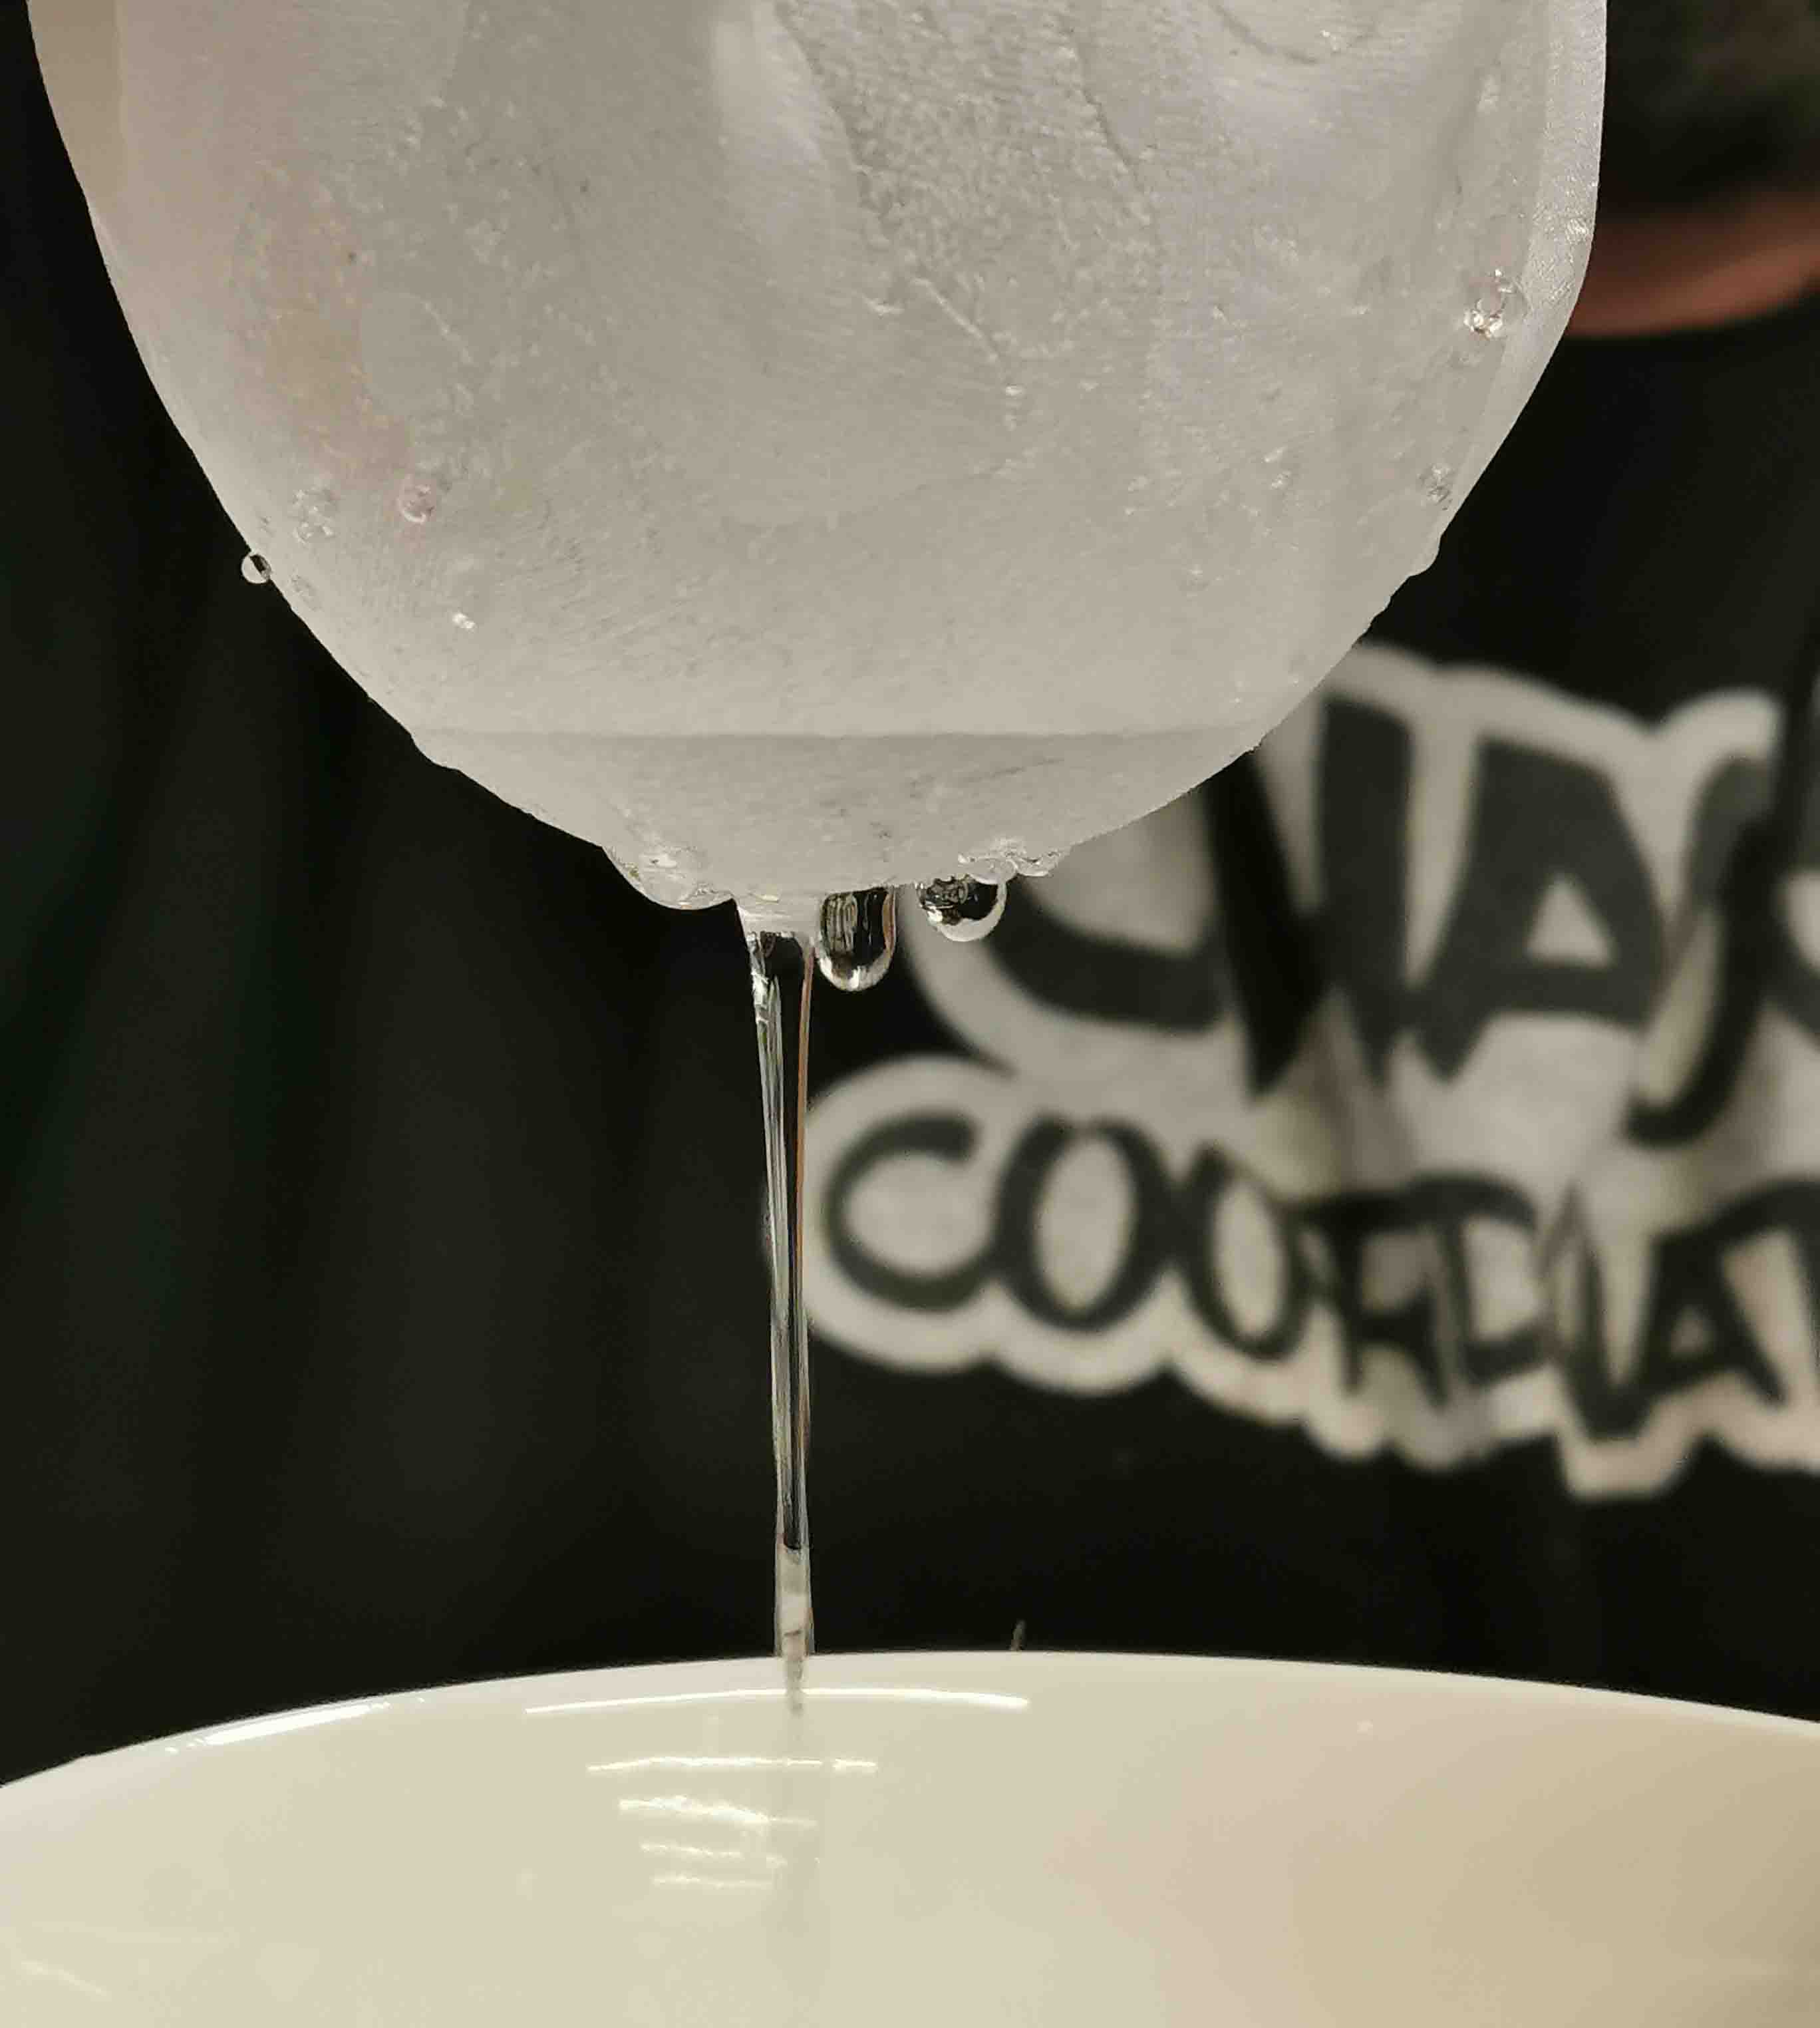
It was definitley not water proof. However I do like the way it looks.
Conclusion
In conclusion making watercontainers form bioplastic is difficult. It should be possible with a sodium alginate, water and glycerin mix treated with calcium chloride solution. However the shrinkage of the material as it dries makes keeping a shape tricky. Using a balloon for this worked quite well.
Letting the solution dry from both sides, draining it and placing it over a shape or in a mold could be an option. Draining away the excess water is a difficult bit, and getting an even layer when the mold is not flat also proved difficult.
For the composite tests I would definitely use natural fibers next time. The sheer textile was from plastic and as a result did not soak up any of the epoxy, resulting in holes in the resulting container. Using a balloon as a mold gave a nice shape and after having prepped it with mold release spray is released easily when popped. This was not the same for the PLA, which should be covered with vaseline or another type of release agent.
Future tests:
- Natural fibres: jute or cheese cloth
- Vaccuum sealed hung put upside down
- Vaseline for mold base
Further work
Next test was 3 layers of cheese cloth. I first mixed 45:27 A:B of epoxy. This turned out to be too little and I had to supplement it with 13:8 at the end. This material soaked up the epoxy much more then the synthetic textile. This time the PLA part of the mold was covered with cling film and made sprayed with mold release. I had seen this work well with Dylans composite.
This did not turn out to be water proof.
video/gif here
To try to salvage the container I mixed 10gA : 6gB and used a paint brush to coat the inside and outside of the shape. Hopefully this will make it waterproof. Ill see tomorrow.