13: Casting and molding
This week I want to make a culpture that changes color in sunlight, indicating that if the sculpture is lacking UV, so are you. I wanted to do this a while ago and got the pigments for it. However my initial plan was to make a biodegradable sculpture. And this pigment is really toxic!! Then again, so is resin. Making it a good match for this week. But first: the group assignment.
Group assignment
This week the group assignment is to:
  review the safety data sheets for each of your molding and casting materials,
     then make and compare test casts with each of them
        compare mold making processes
Sacos into
We got an intro from Saco on some of the basics in molding and casting.
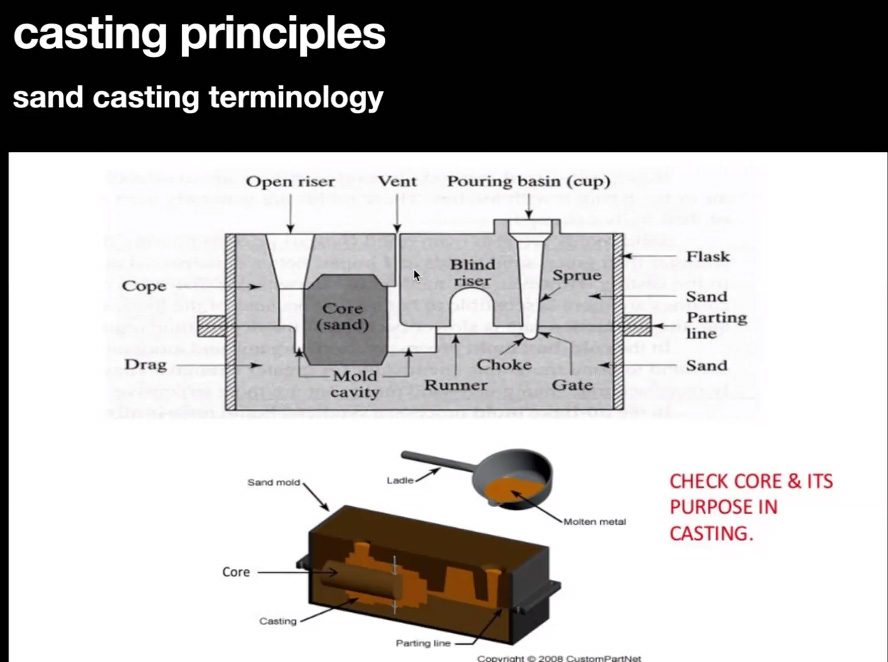
This image is for casting metal in sand
Mold cavity - final firm
- Core - for hollow/ inner shape
- Pouring basin - pour in material into sprue
- Open riser - allows the material to fill completely,
- Runner - from pouring to mold cavity
- Vent: allows air to get out - usually multiple - apply everywhere air would be trapped
- Parting line - where the mold splits
- Draft angle: angle that allows or release of the soft mold after casting. Sometimes 2 degrees is enough.
- Holding together:
- Pins -= for alignment
3D (2.5D) milling
Pay attention to:
- milling strategy
- complex shapes, saco used fusion for this
- what milling bit? rounded? flat?
- smoothness
Tips
- Material always shrinks when it hardens
- Details depends on fluidity of casting material
- The bigger the volume the faster it hardens
- Complex questions: ask the supplier
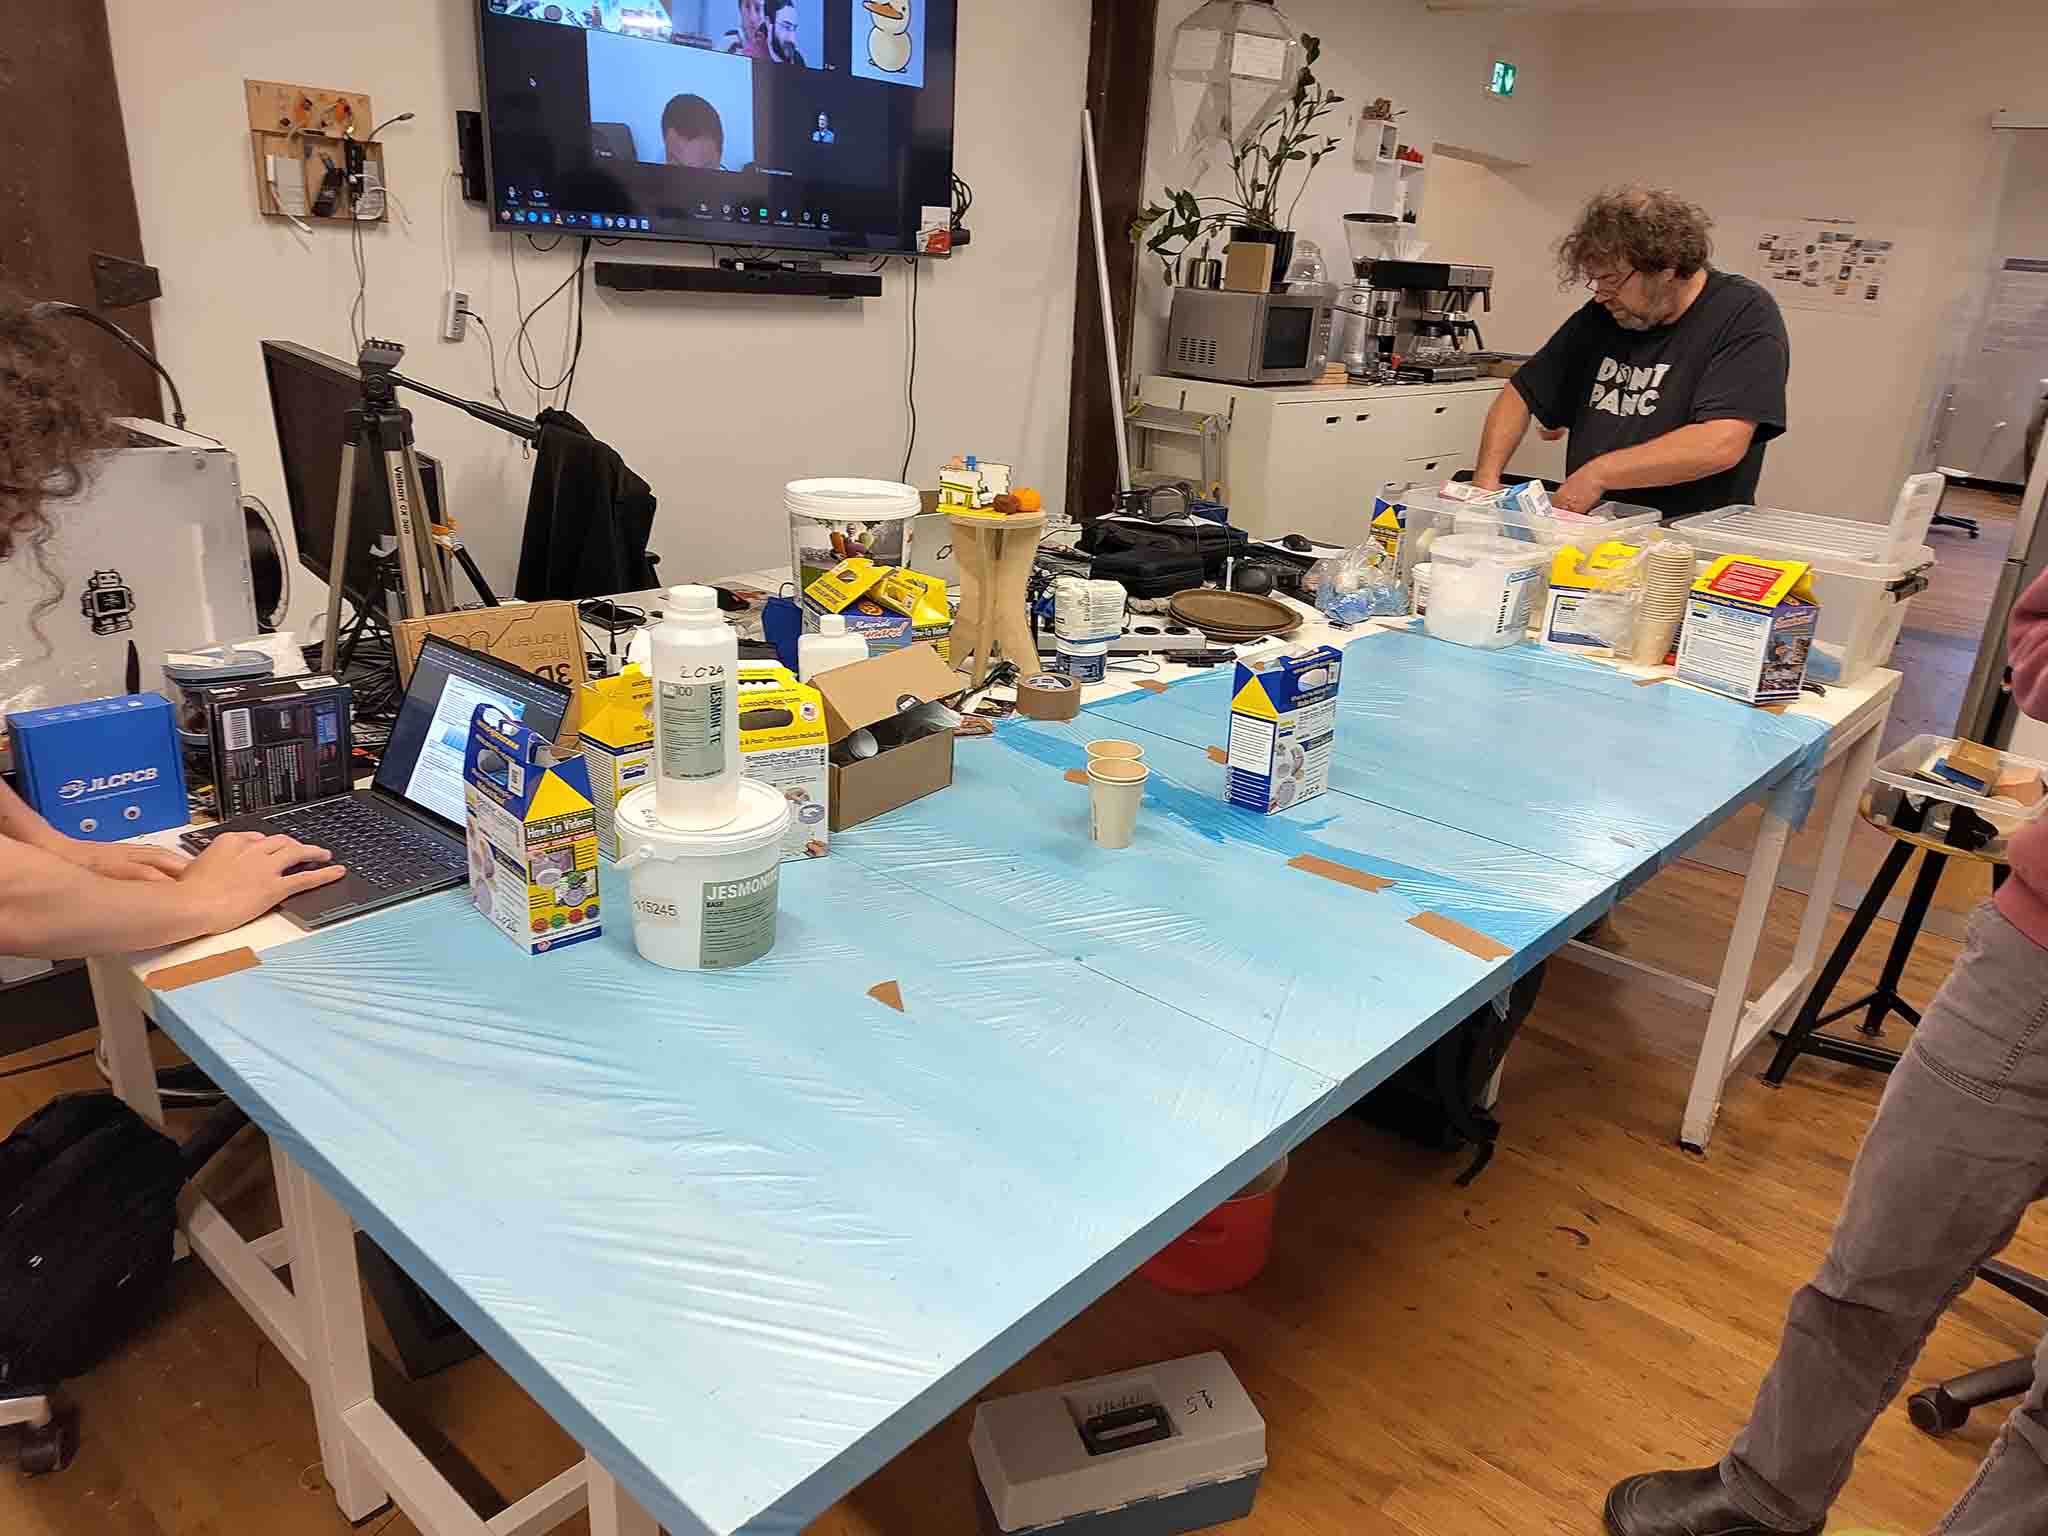
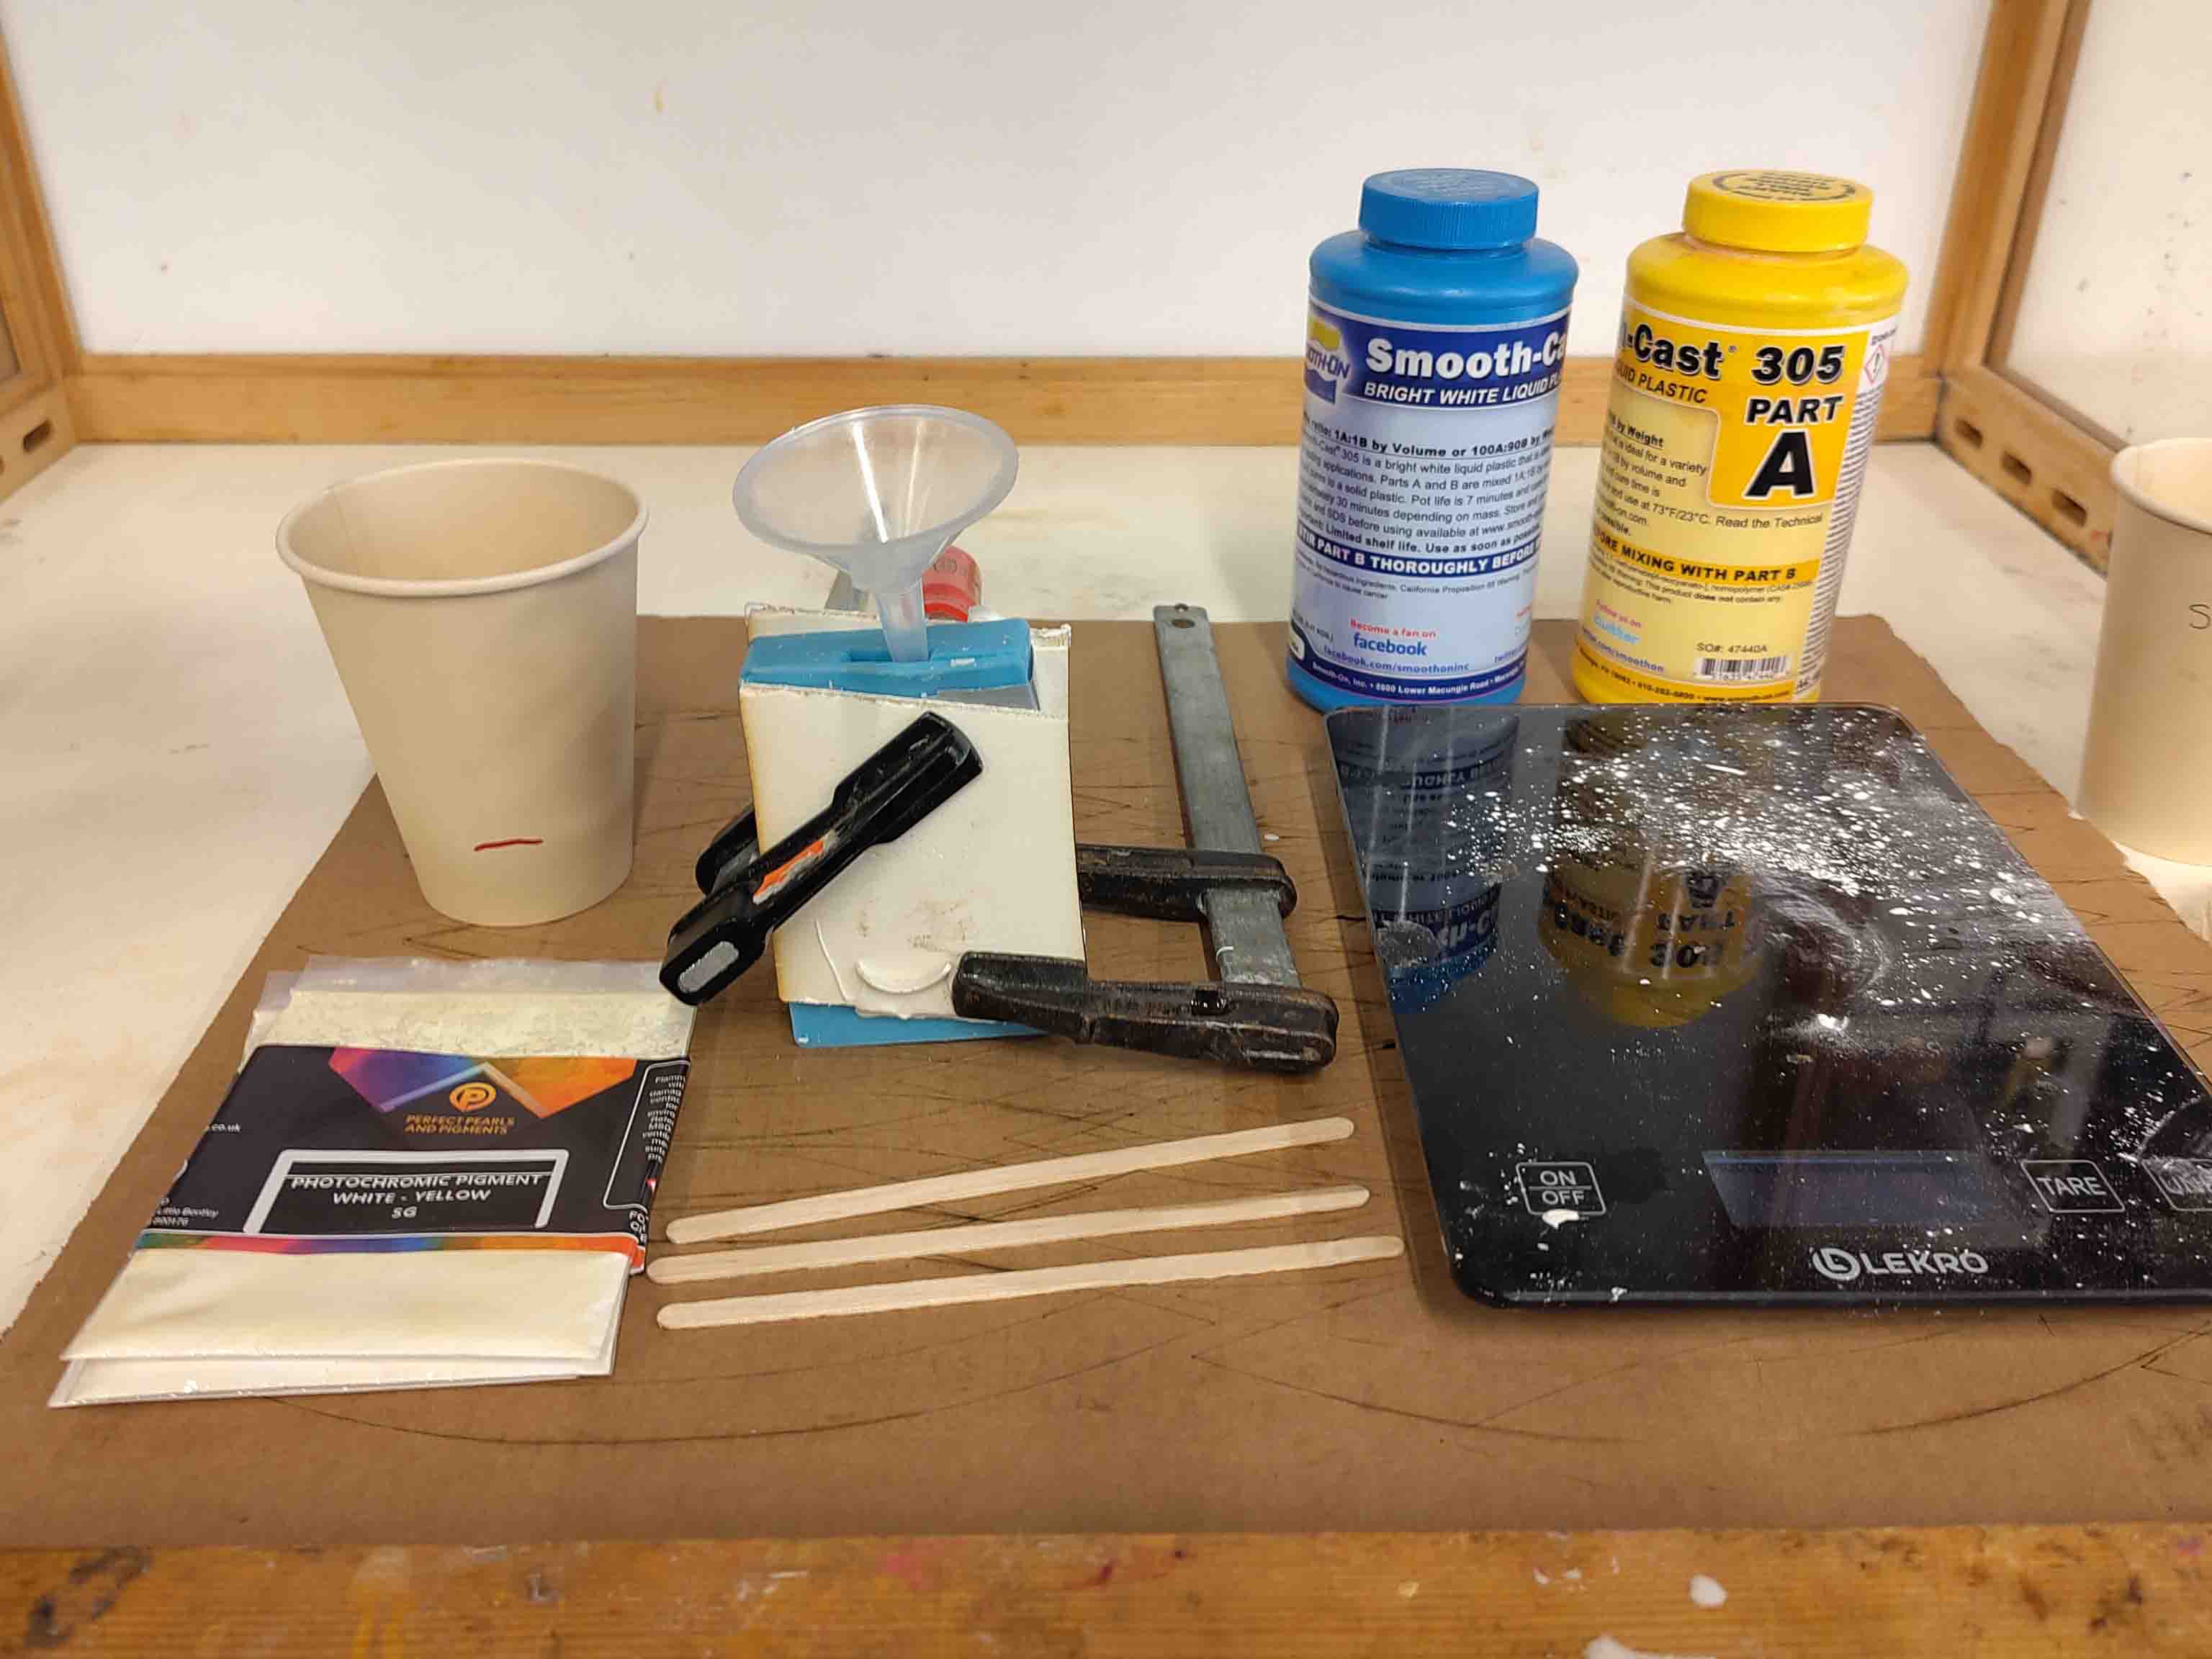
Then we sat sown to read about the different materials we have here in the lab. In order to get acquainted with them we set them on the table (after covering it up):
We devided the materials into 3 tests each. I was responsible for testing Jesomite AC100, Smooth cast 300 and smooth-cast 305.
I first looked over the safety datasheets and technical sheets of each of them. For clarity I'll keep them separate in this documentation.
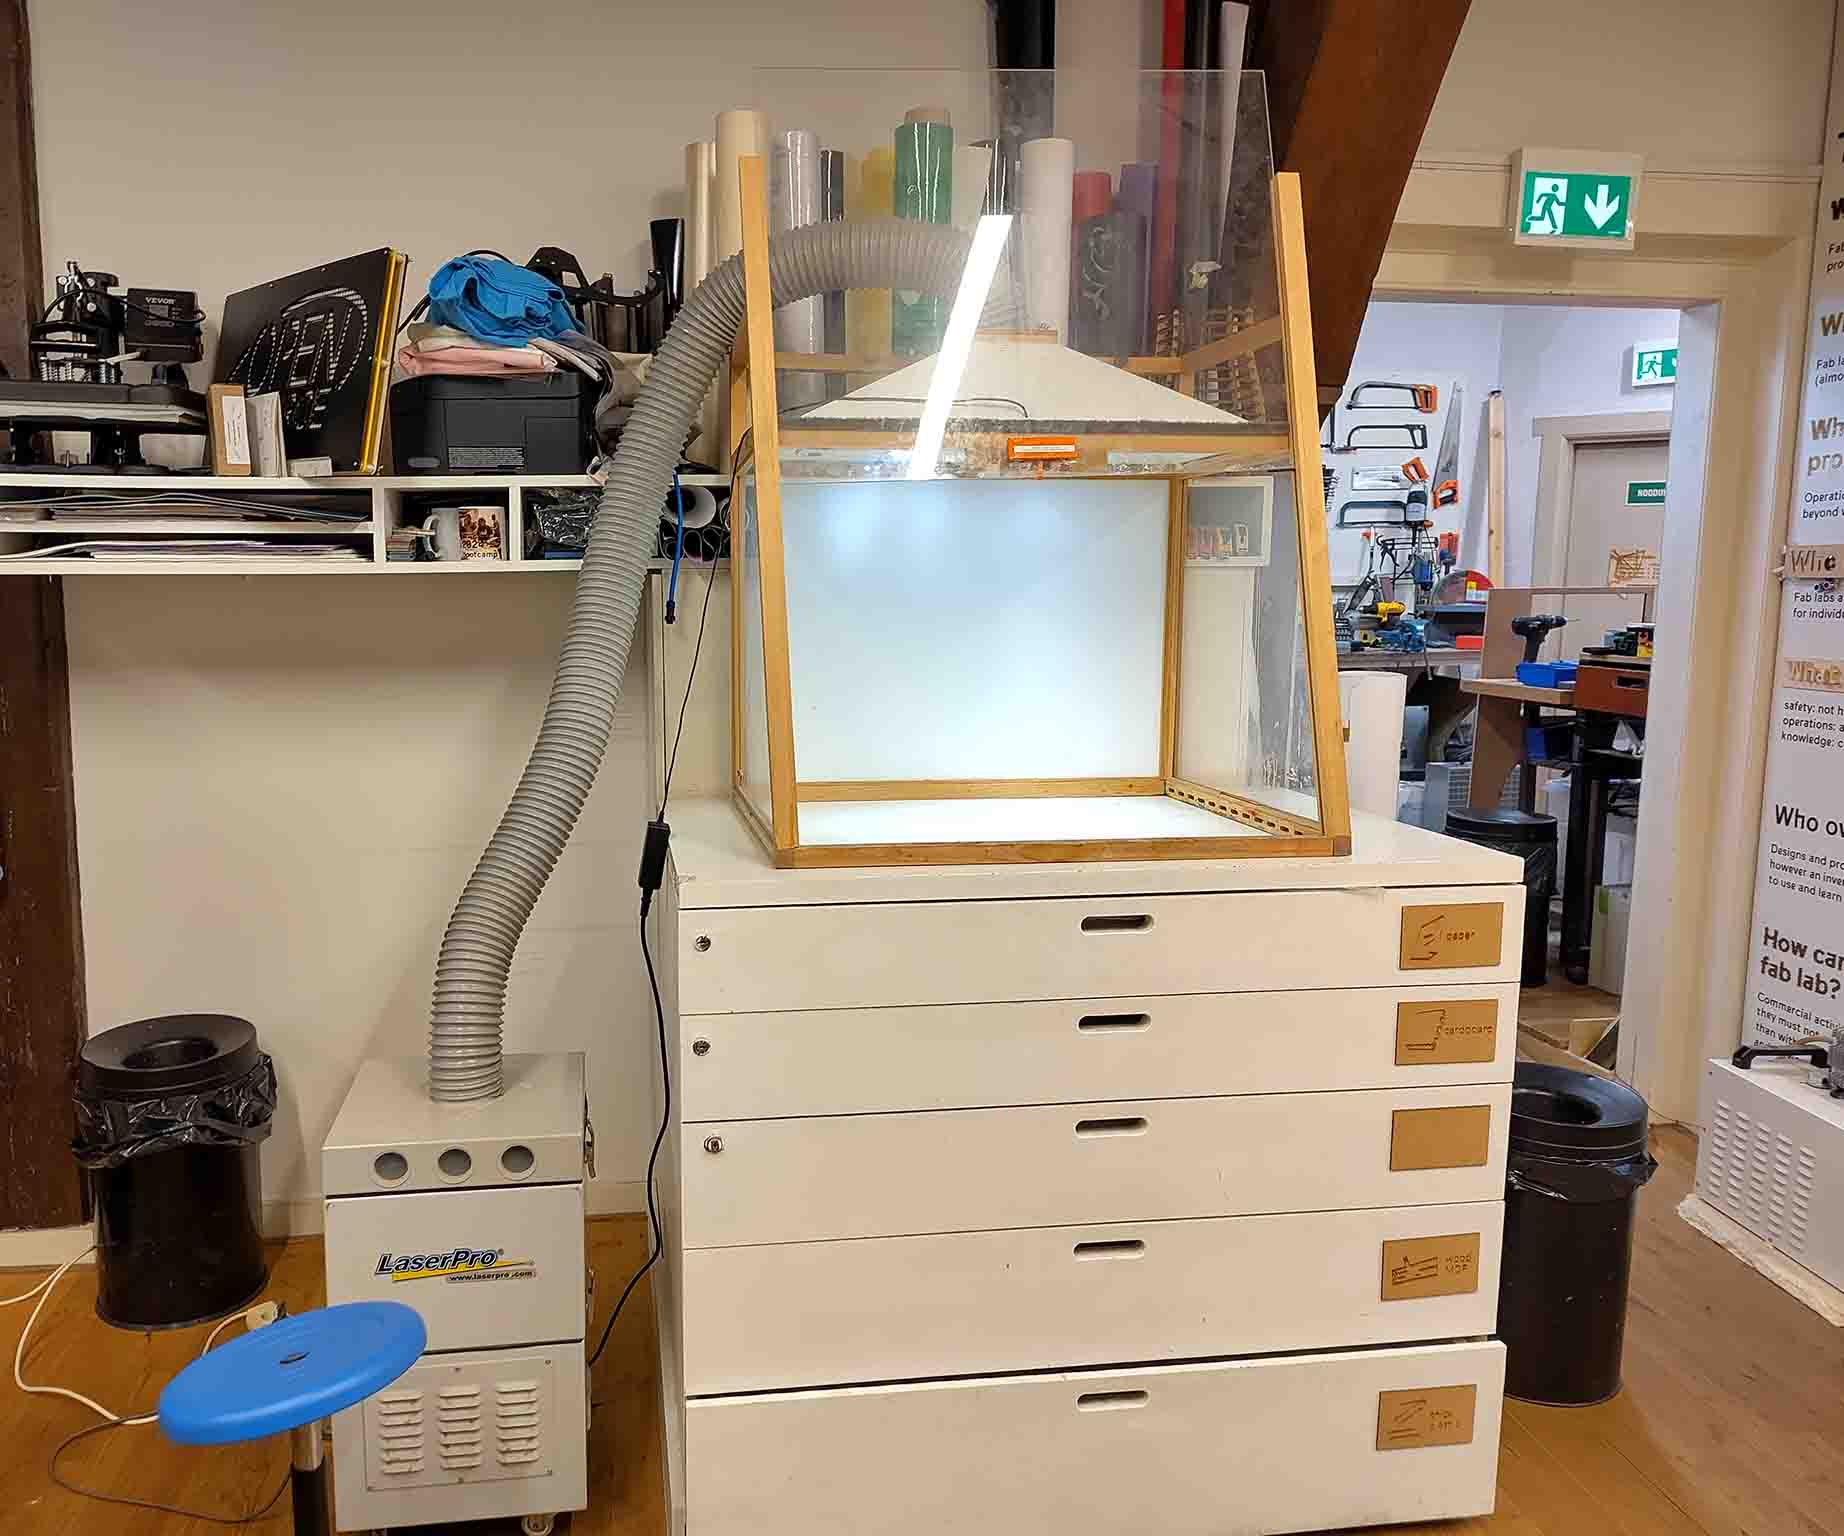
For this week Henk put up this ventilation chamber we can use when molds and casts are curing.
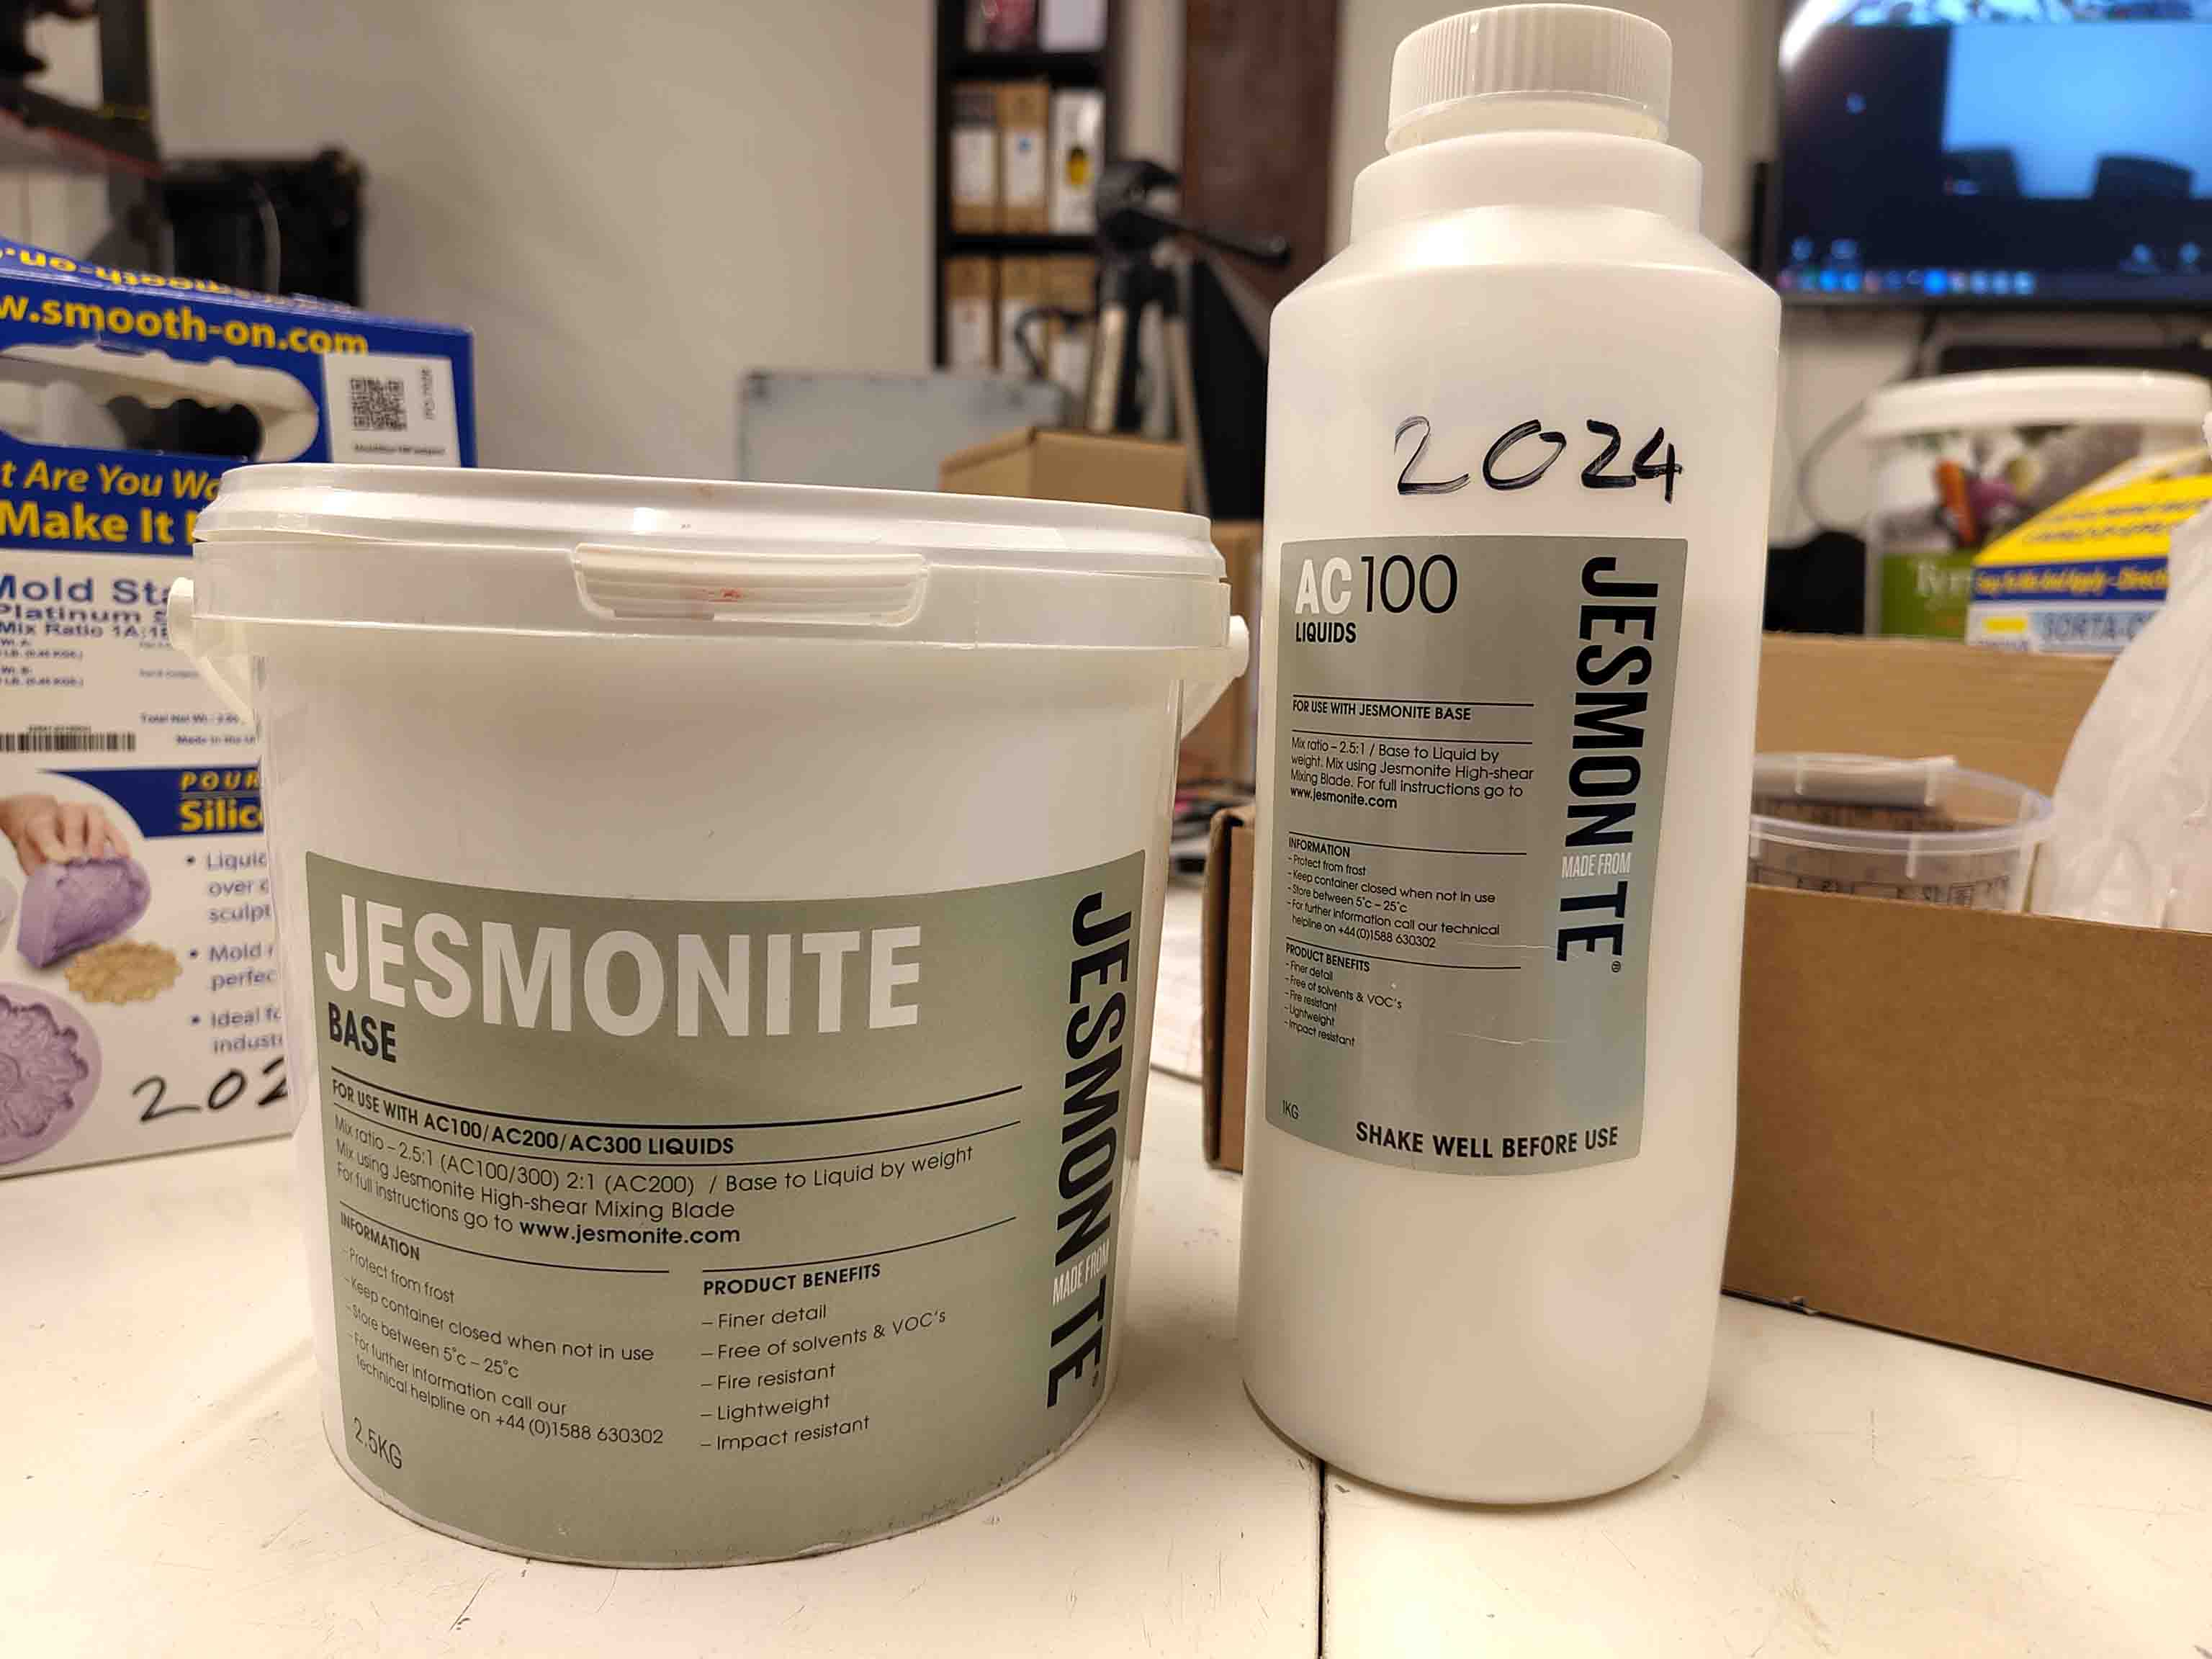
Jesomite AC100
Website: general Composite manual User guide product leaflet Starter kit guide Technical data sheet
When reading this datasheet I came across a funny sentence "good for internal use only". Made me laugh.
Jesmonite is a water based eco-resin. On their website they say it is water based and therefore environmentally friendly compared to other traditional materials. It's probably not good either, but maybe better.
When working with jesmonite only gloves are needed, no mask.
Mix: 2.5 powder : 1 liquid based on weight
Pot time: 5-10 minutes dependent on amount
Initial set: 15-20 minutes
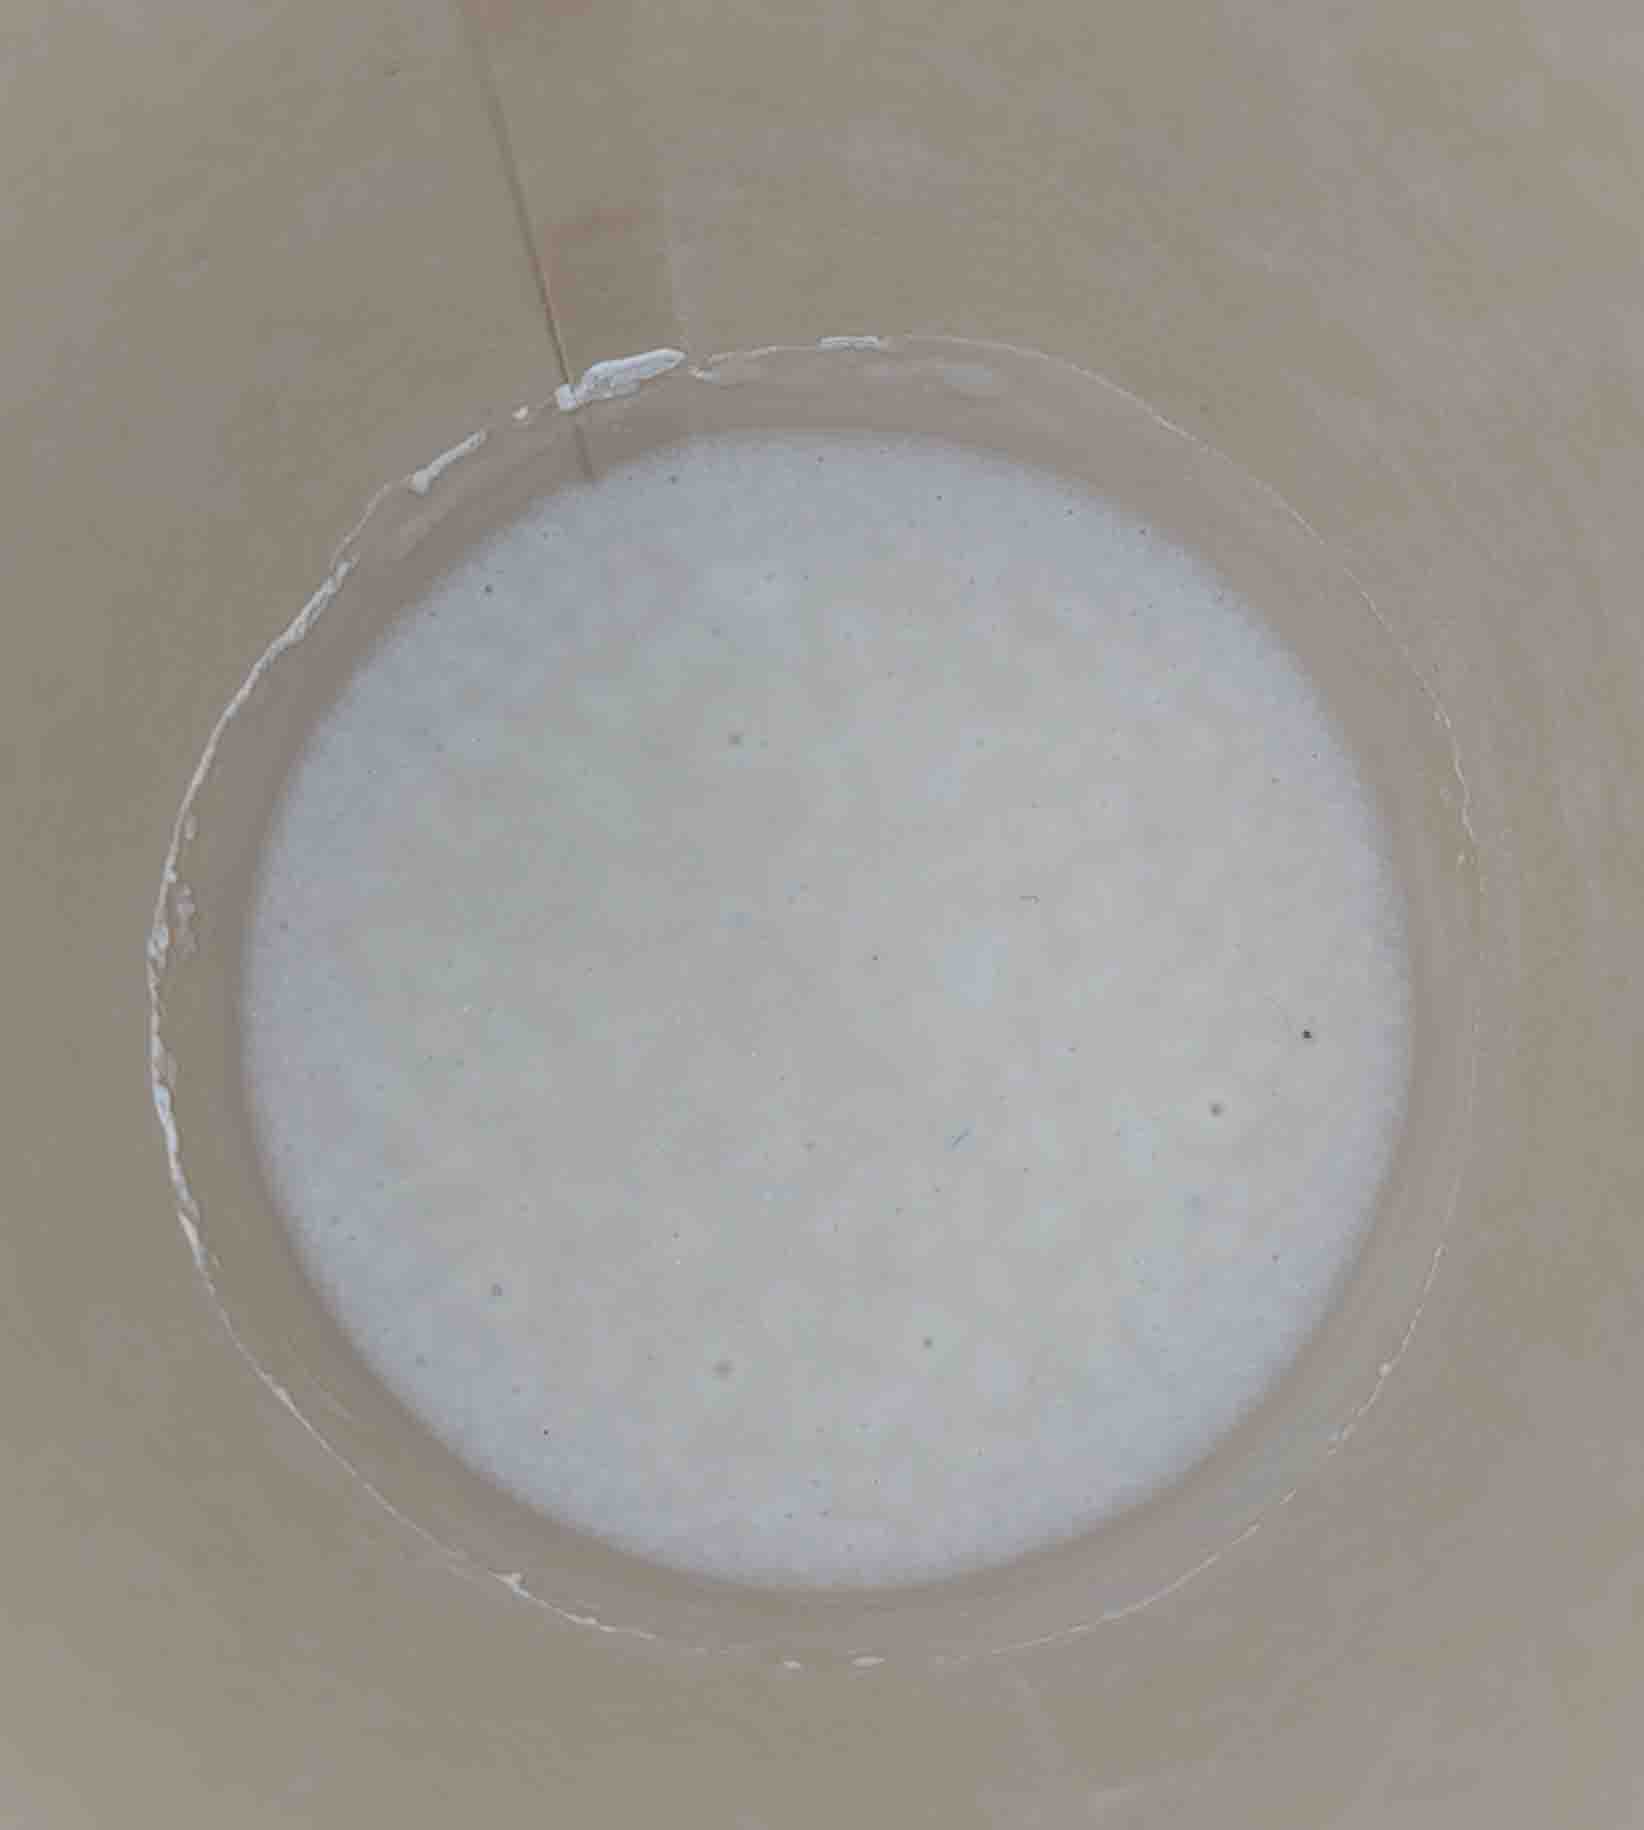
The Jesmonite 100AC Hardened quickly. It had a few air bubbles. Feels a bit like something in between plaster and plastic. THe color is a light gray, it can almost look as though it has a light pink hue to it. It was easy to remove from the paper cup.
Smooth cast 300

When working with Smooth-Cast 300 work in a well ventilated area and wear glasses, long sleeves and gloves.
Mix weight: 100A:90B Mix volume: 1A:1B Hardness: 70 Pot time: 3 minutes Initial set: 10 minutes
In my first try I didn't mix it well enough and the two parts separated. I got a bit stressed from the 3 minutes count down.
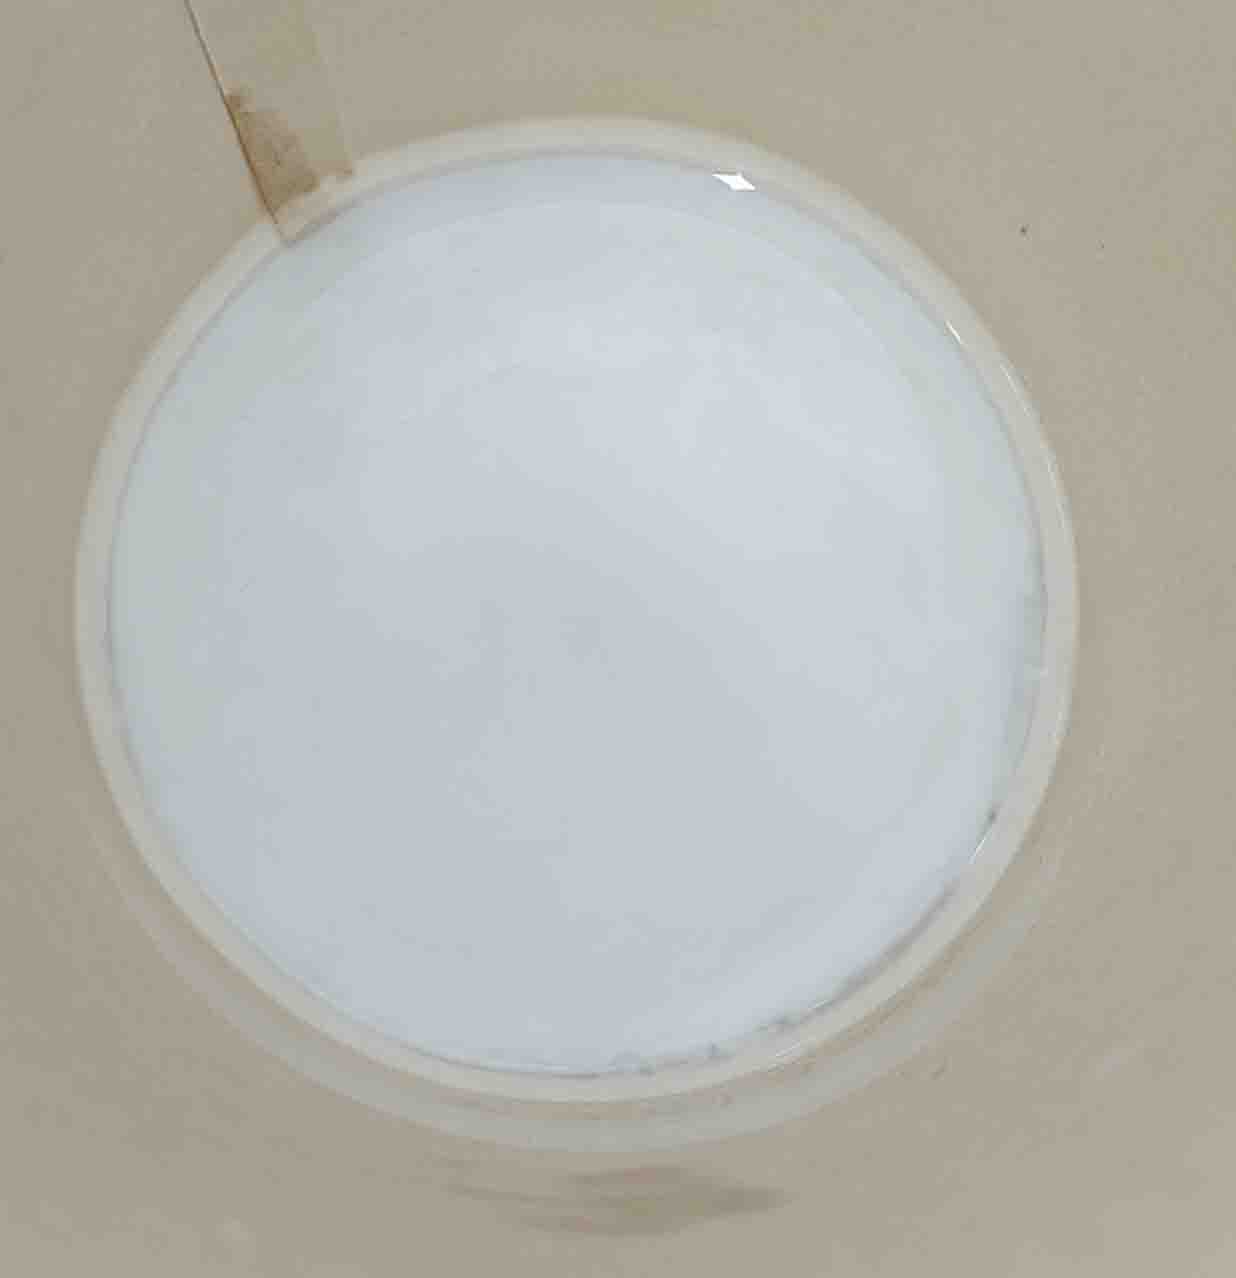
On the 2nd try I took the time to mix better and it turned out good. The 10 minutes pot time is true. It tuned out to be a lightweight, quickdrying material.
Smooth cast 305
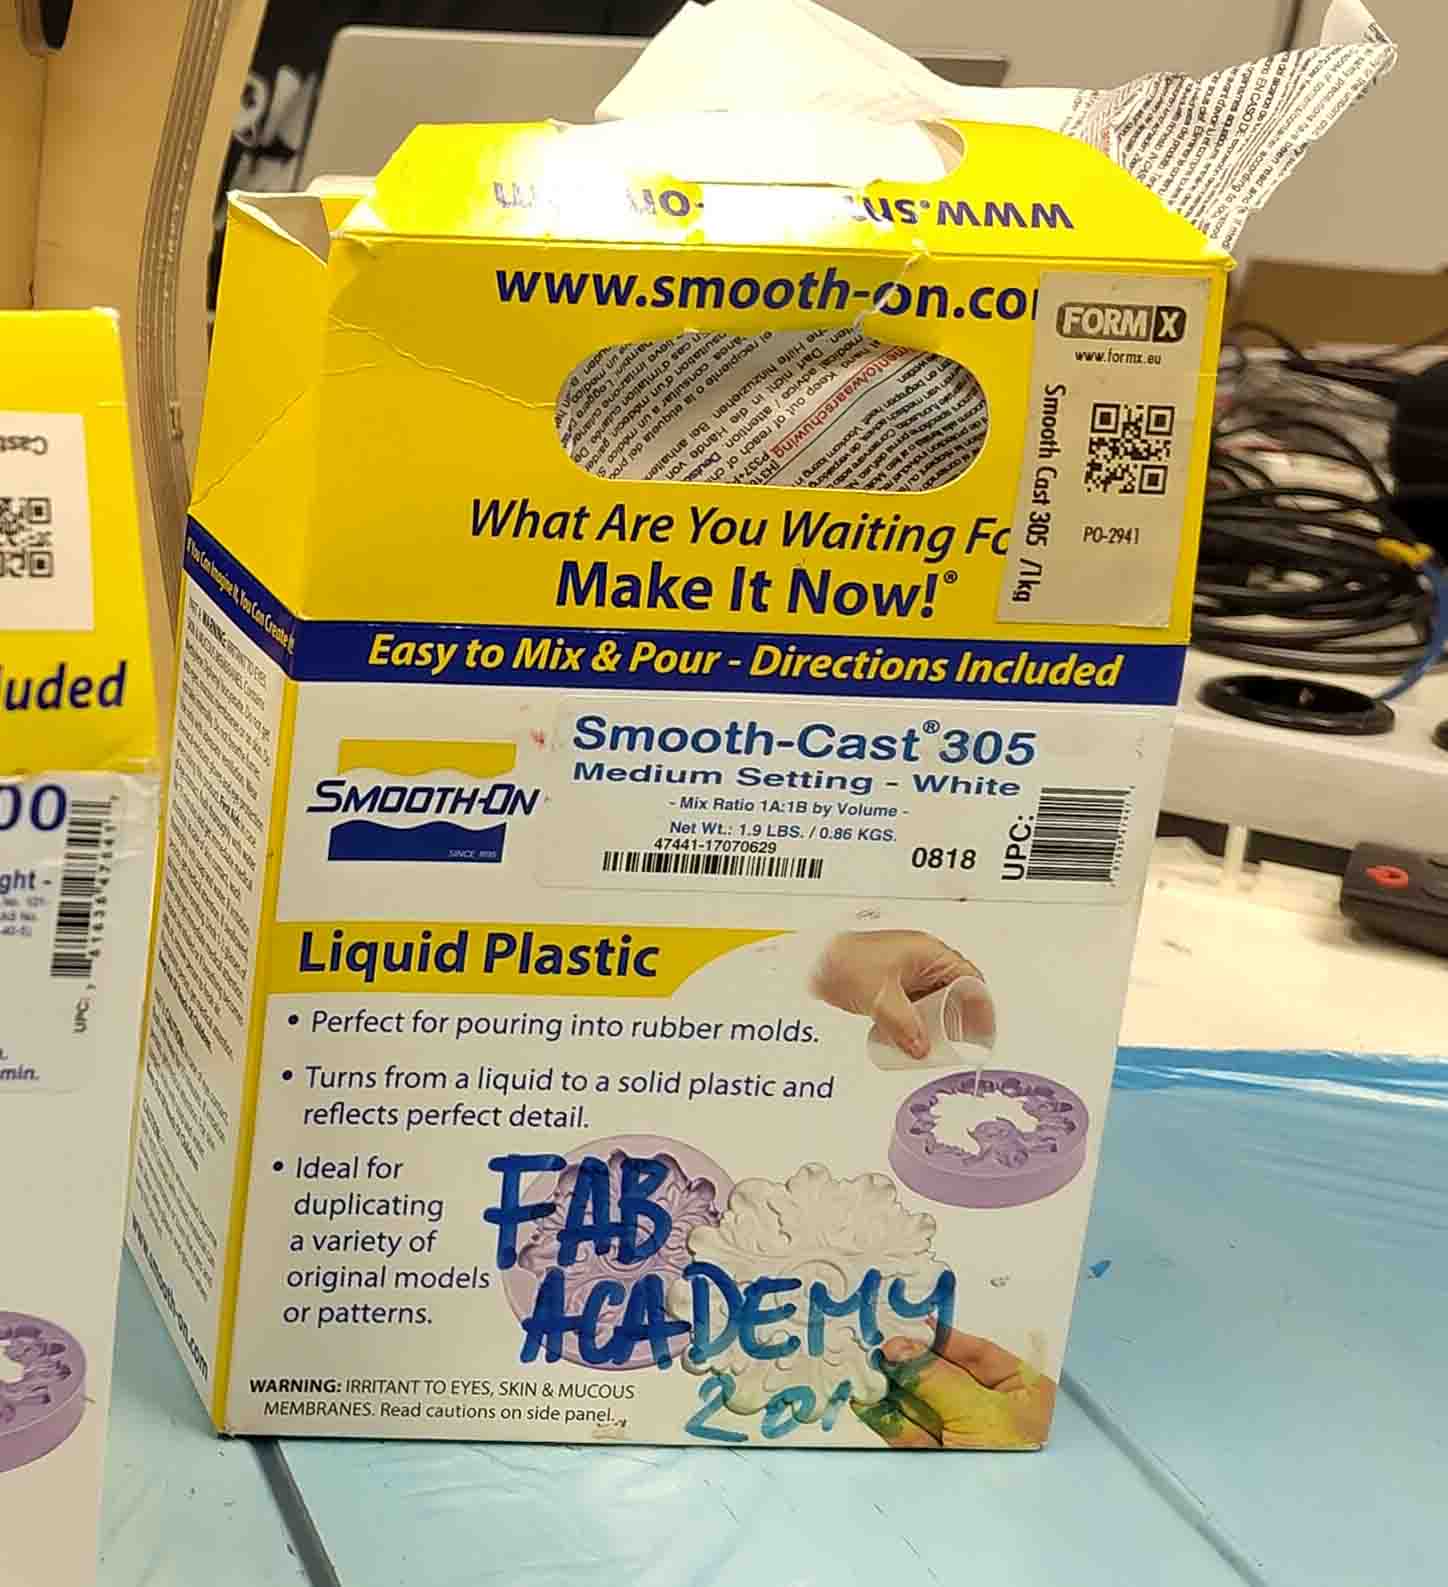
When working with Smooth-Cast 305 work in a well ventilated area and wear glasses, long sleeves and gloves.
Mix weight: 100A:90B Mix volume: 1A:1B Hardness: 70 Pot time: 7 minutes Initial set: 30 minutes
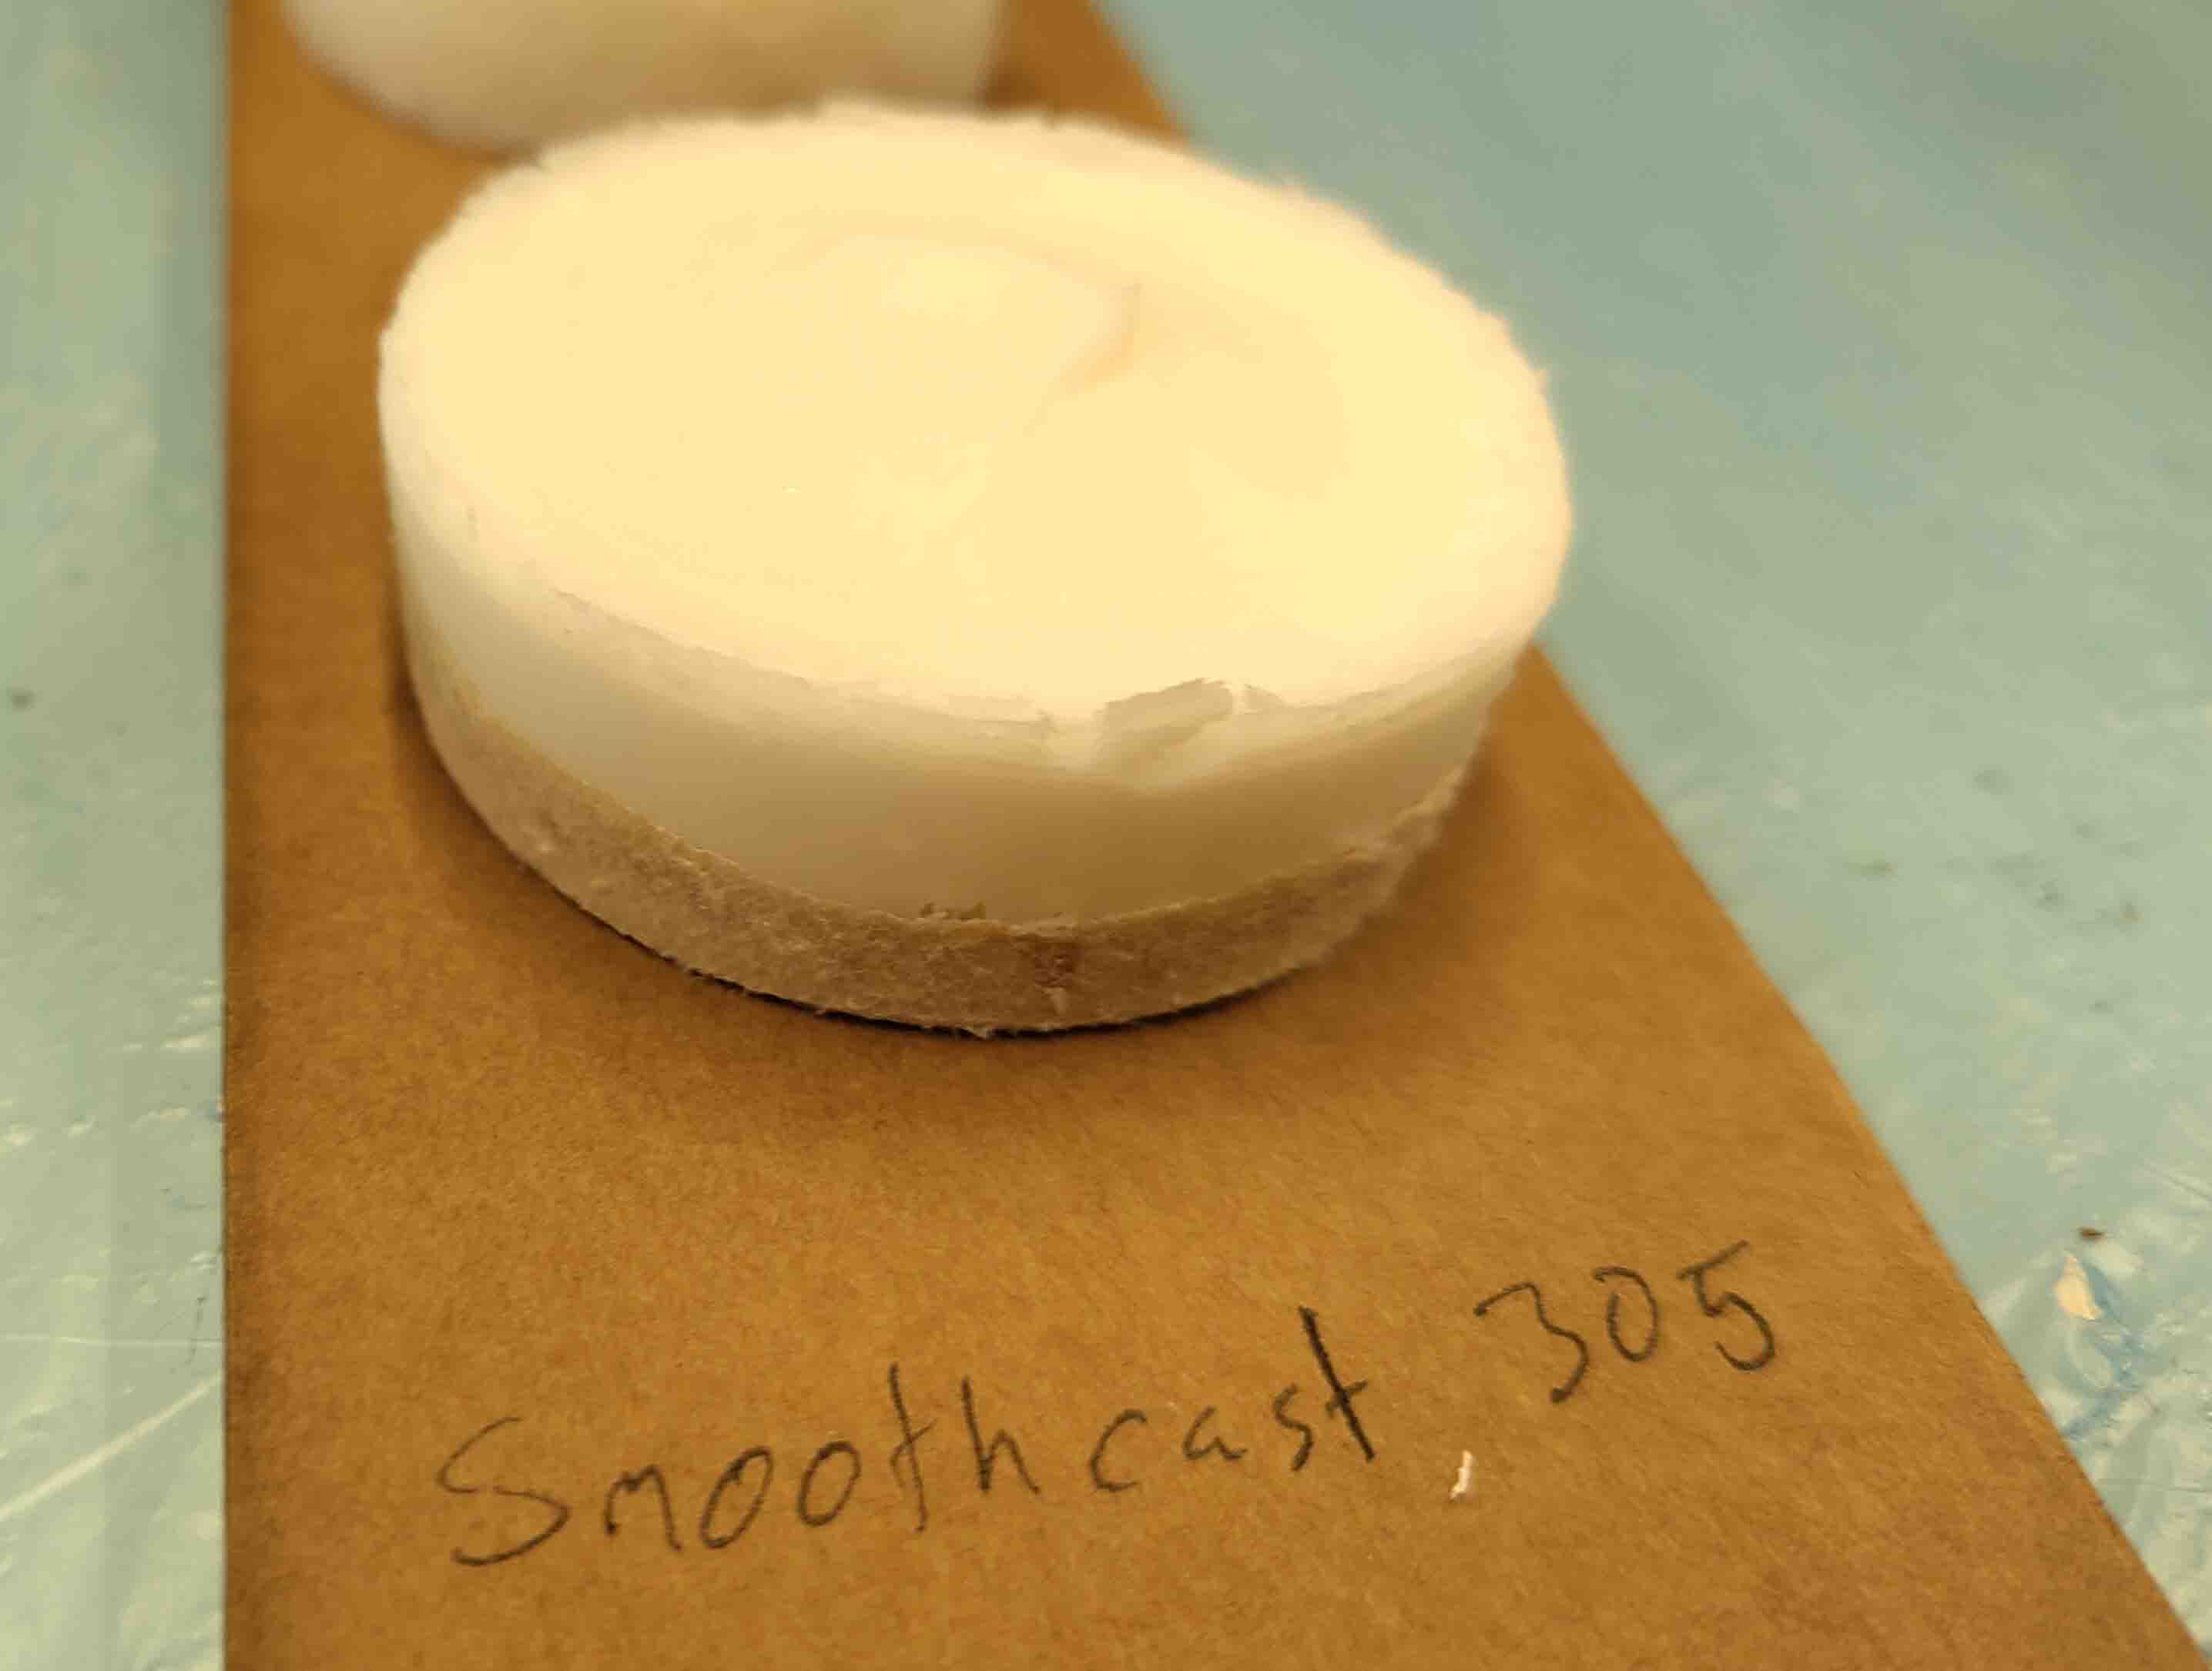
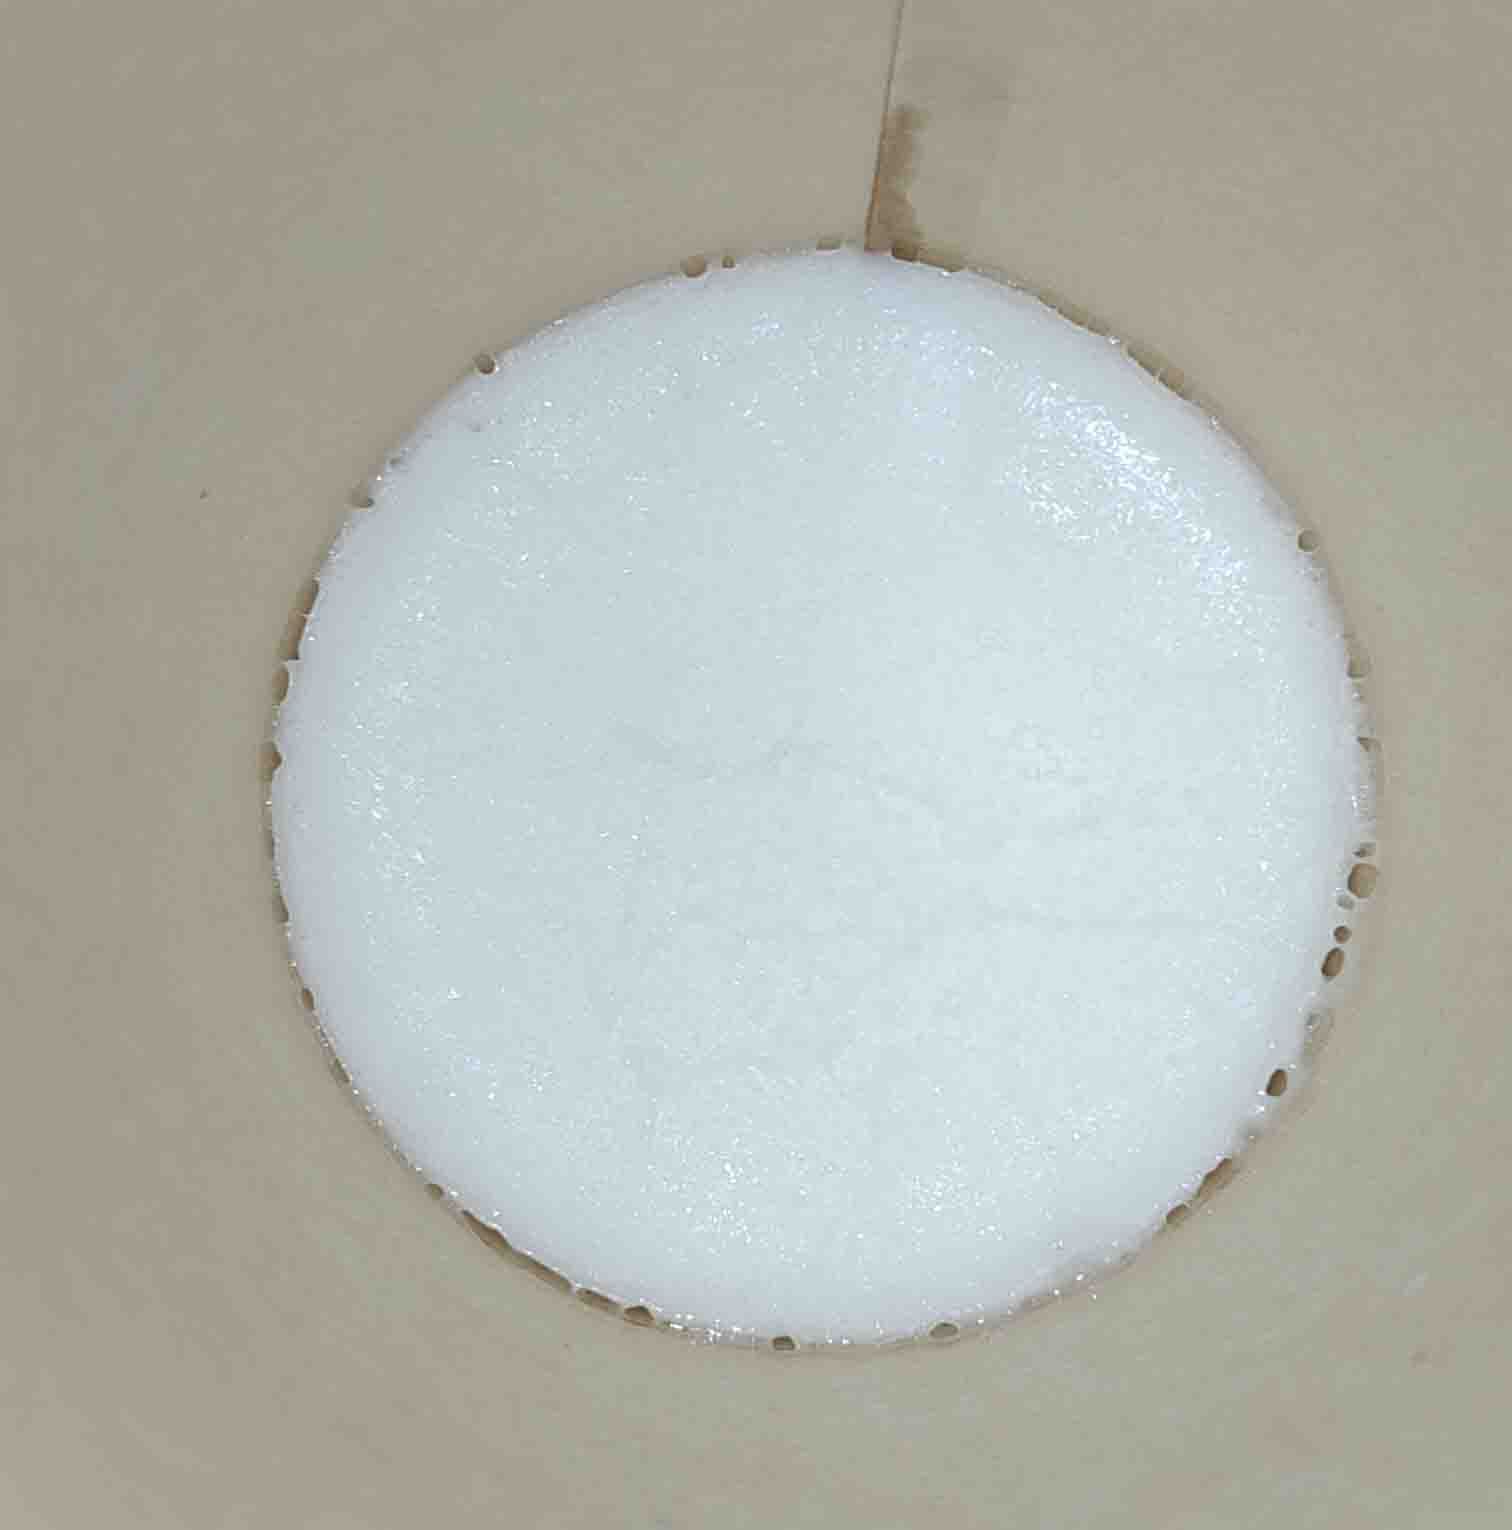
The Smooth-Cast 305 we have in the lab is from 2018. The shelf life on these products are not very long after opening. It ended up being cracked at the top. I wonder if this has to do with my mixing. I could not get it off the paper bottom. Using a release agent might be necessary when casting in silicone. The resulting shape is very light weight.
Comparason:
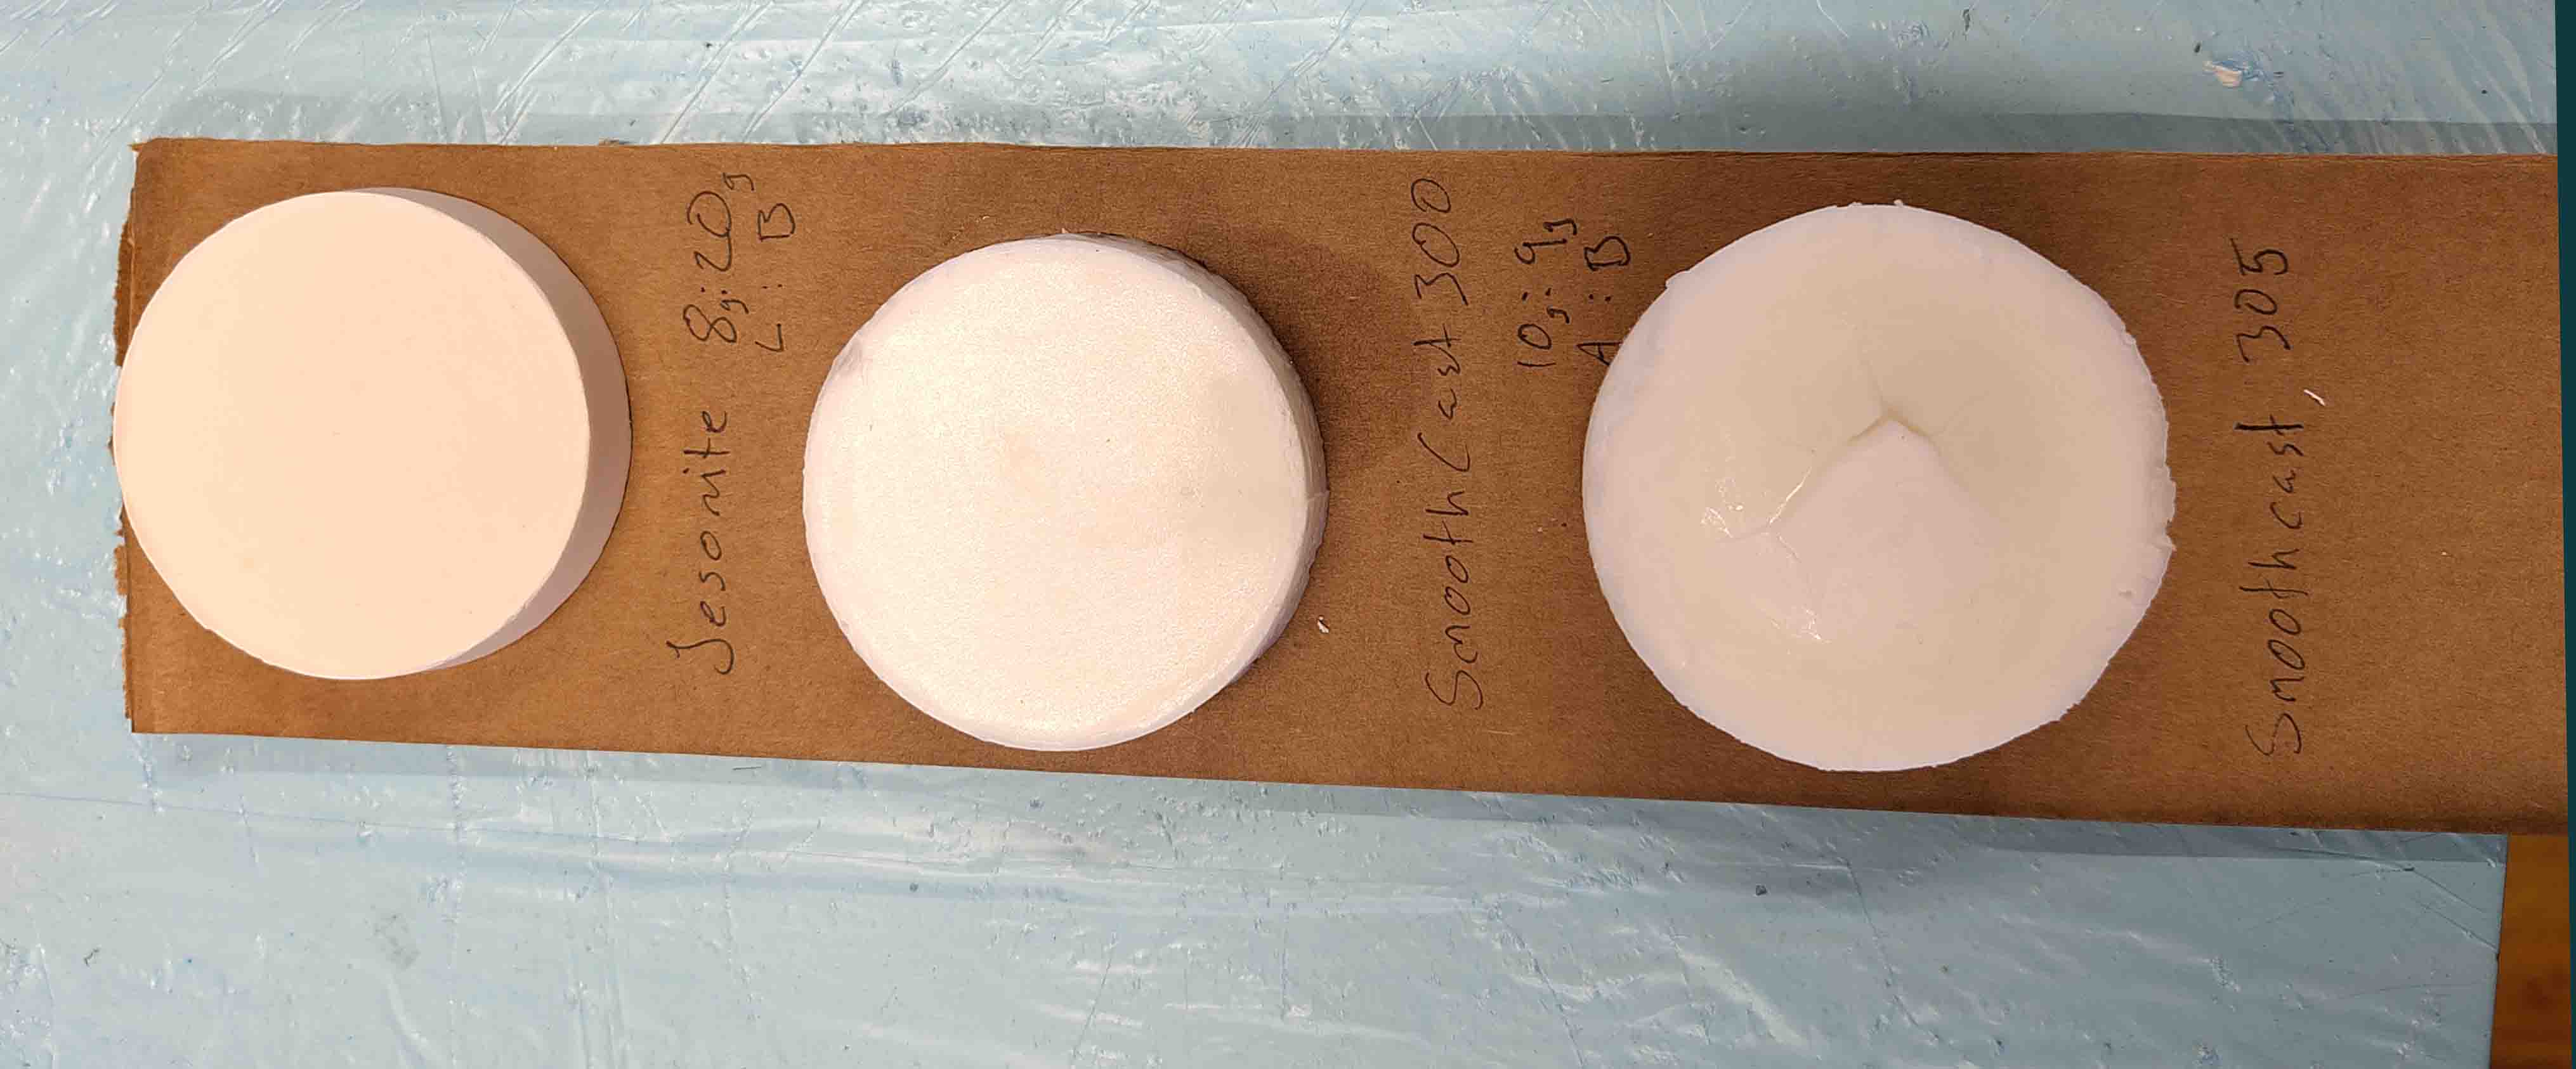
When comparing them I would say that the Jesmonite AC100 is the heaviest. It has more of a stone-like finish and a light grey / almost very light pink tinge to it. I like the look of this one the most.
The lightest one is the Smoothcast 305. However it was a bit cracked. The box is form 2018 so that might be why. It really needs to be mixed well, and will take longer then the 30 minutes the box said to cure.
The fastest one was the Smoothcast 300. Curing in only 10 minutes. I find 3 minutes pot time to be very short though I think it is nice that the curing time is low since this makes it possible to make a lot of pieces form 1 mold in 1 day.
Making a new wax mold
We are going to be milling positive molds (with the print going outwards) in wax blocks using the Shopbot. We are 3 students, but only had 2 blacks available and needed to make 1 extra block.
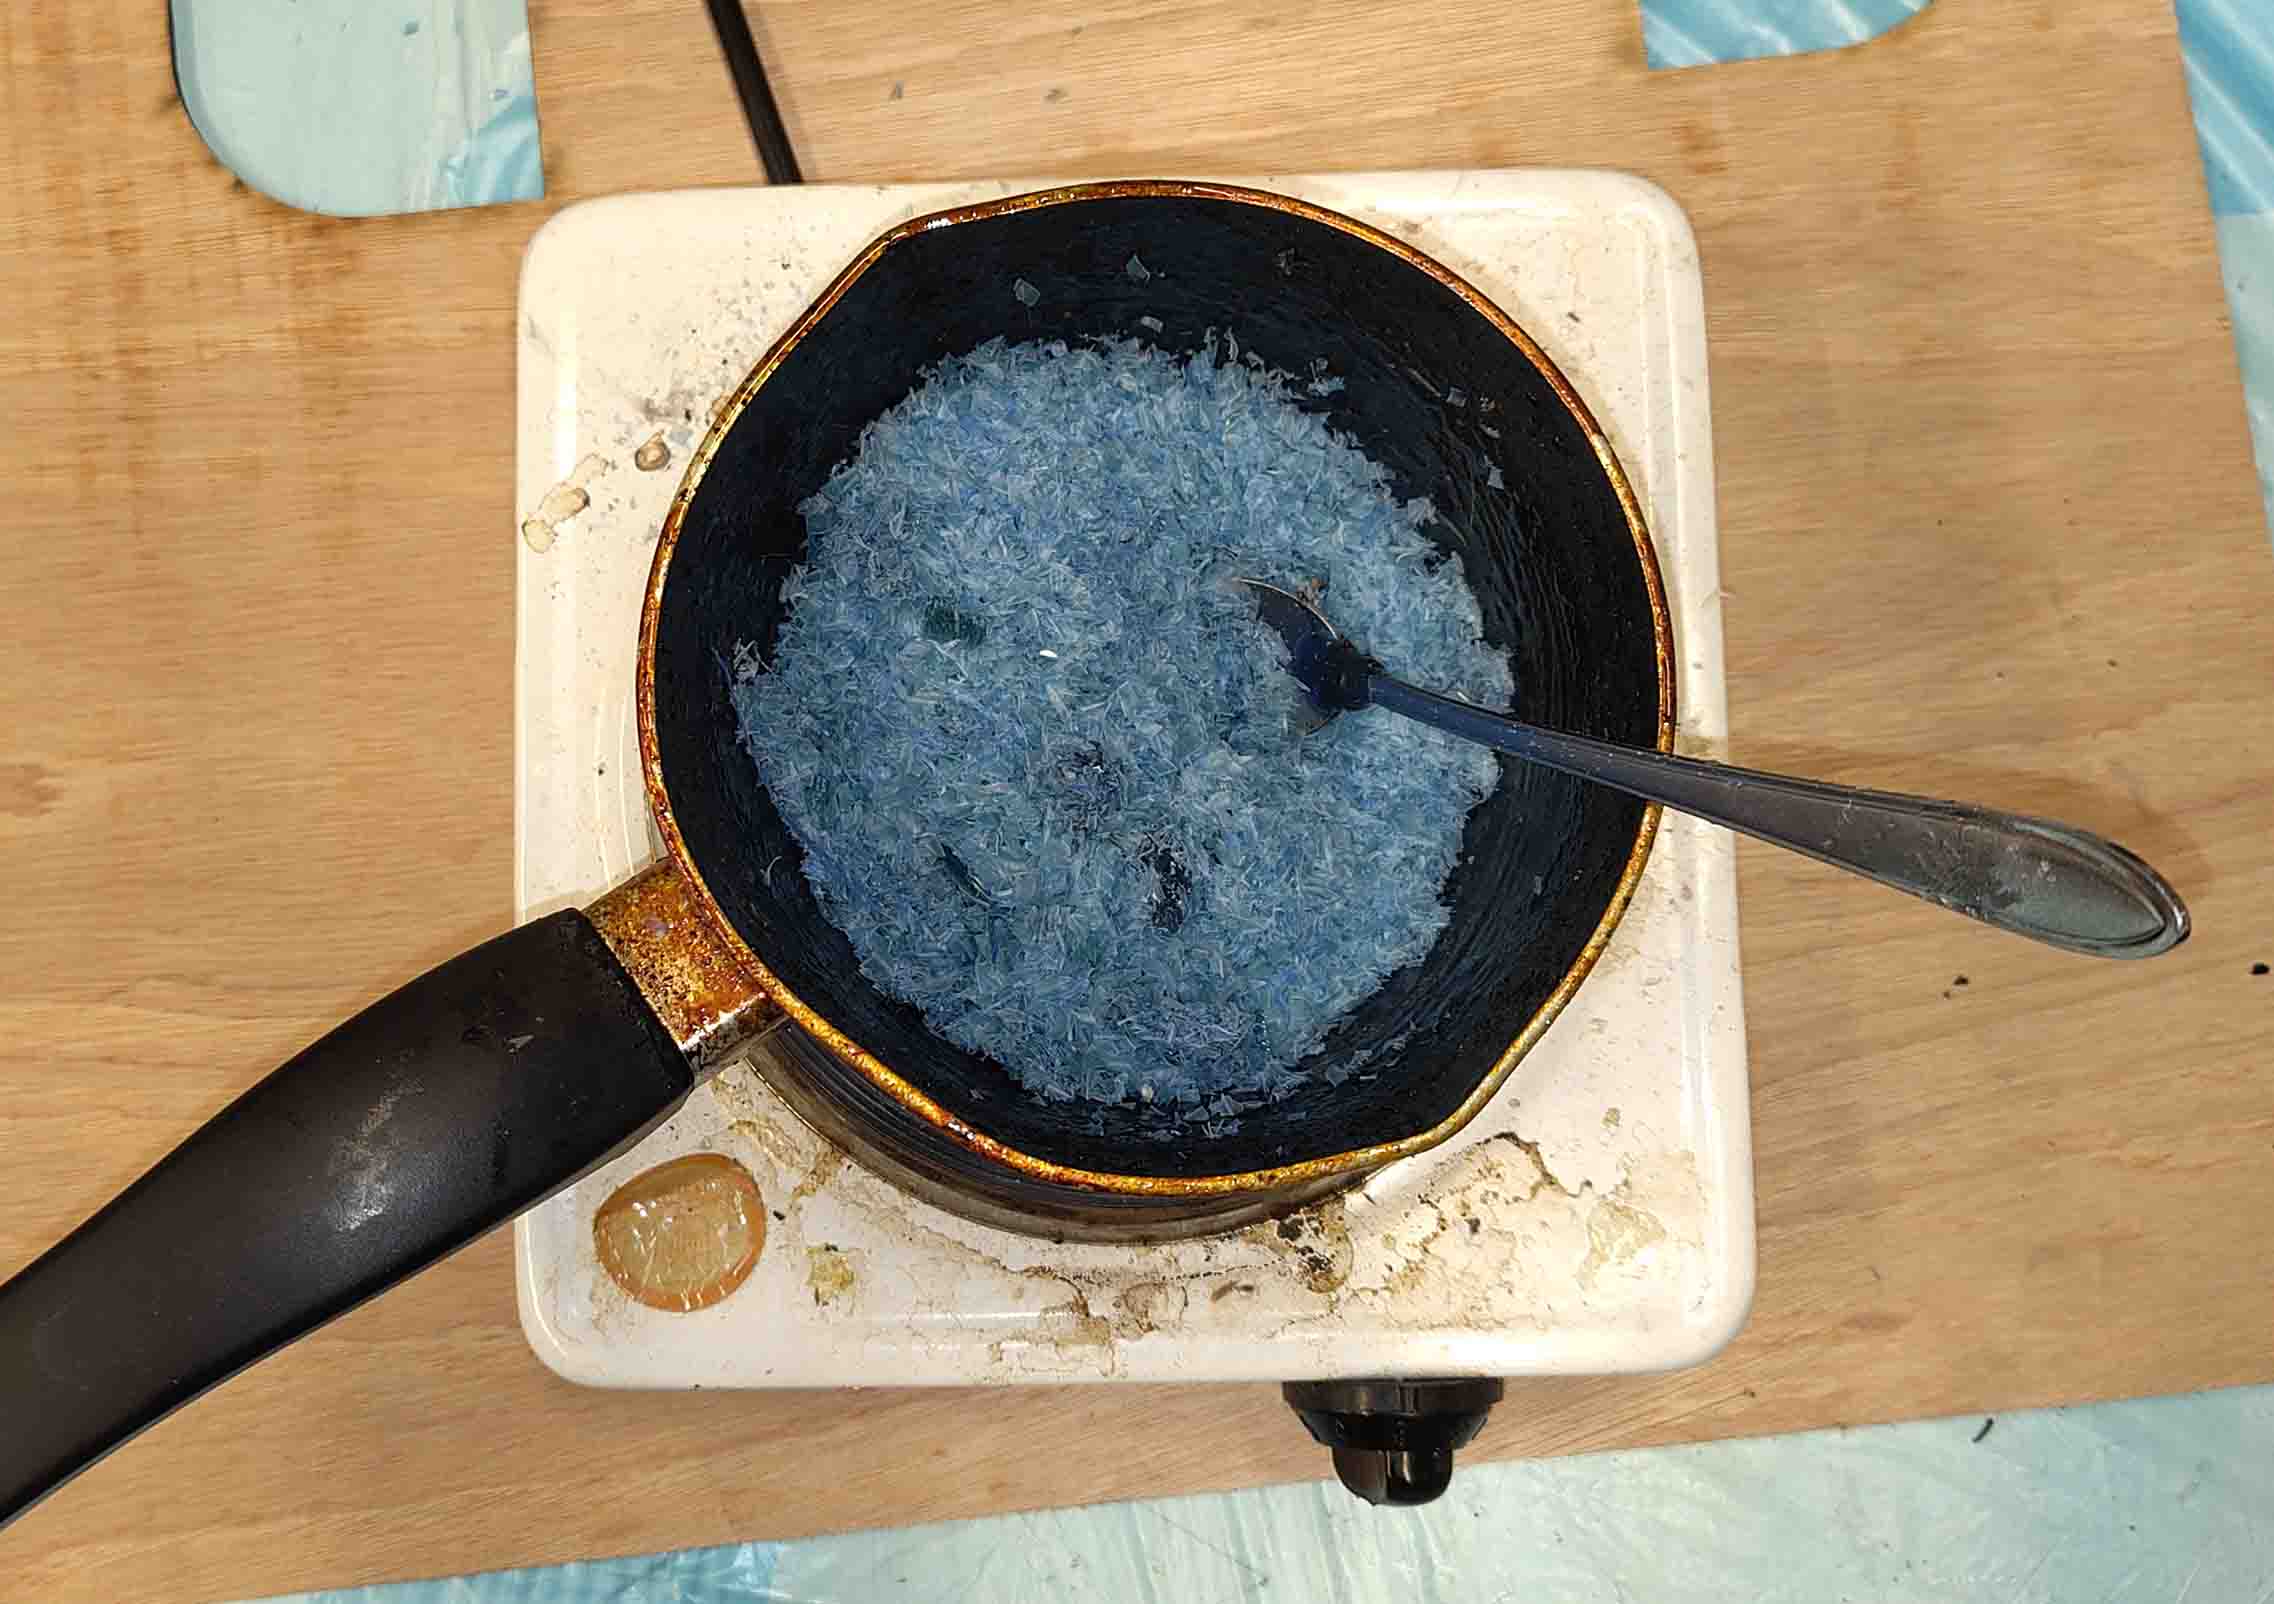
To do this we grab a heat plate, a pot, a form to pour into and leftover wax chips from previous millings.
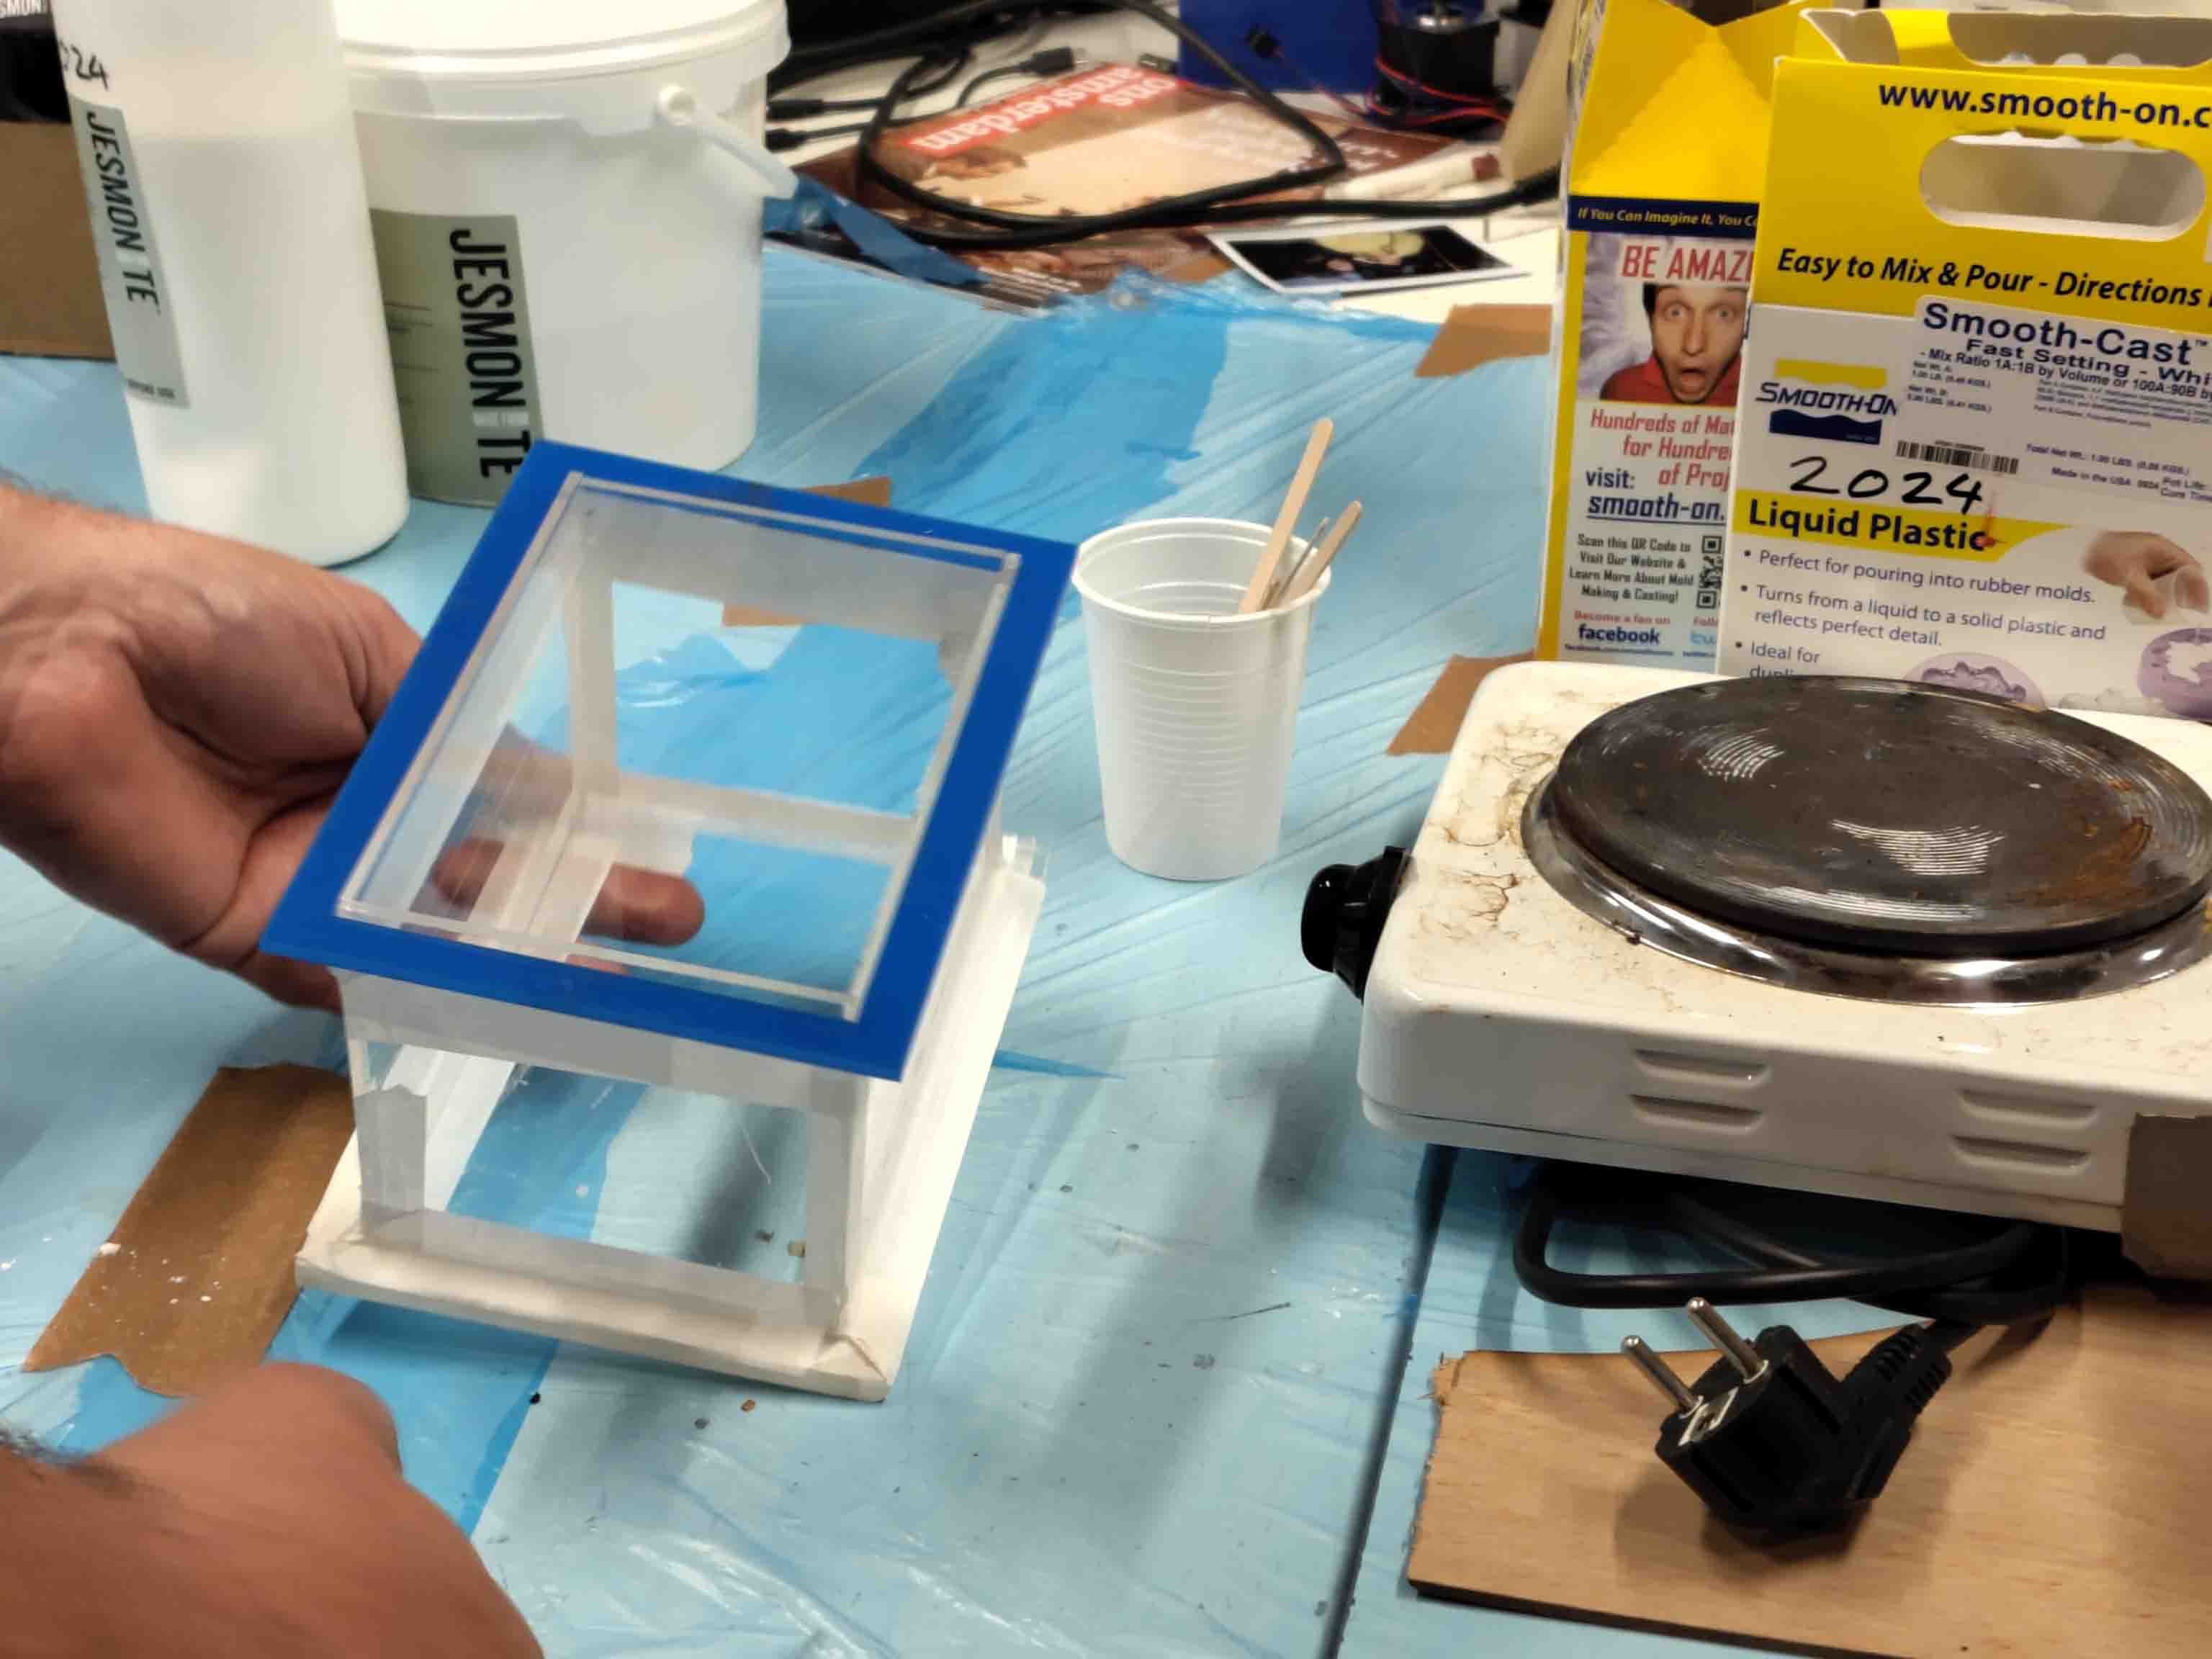
Turn on the heat and add the wax chips tot he pot while stirring to make sure nothing gets burnt. It is recomended to use small pieces. It is possible to use bigger pieces, but it will take a long time.
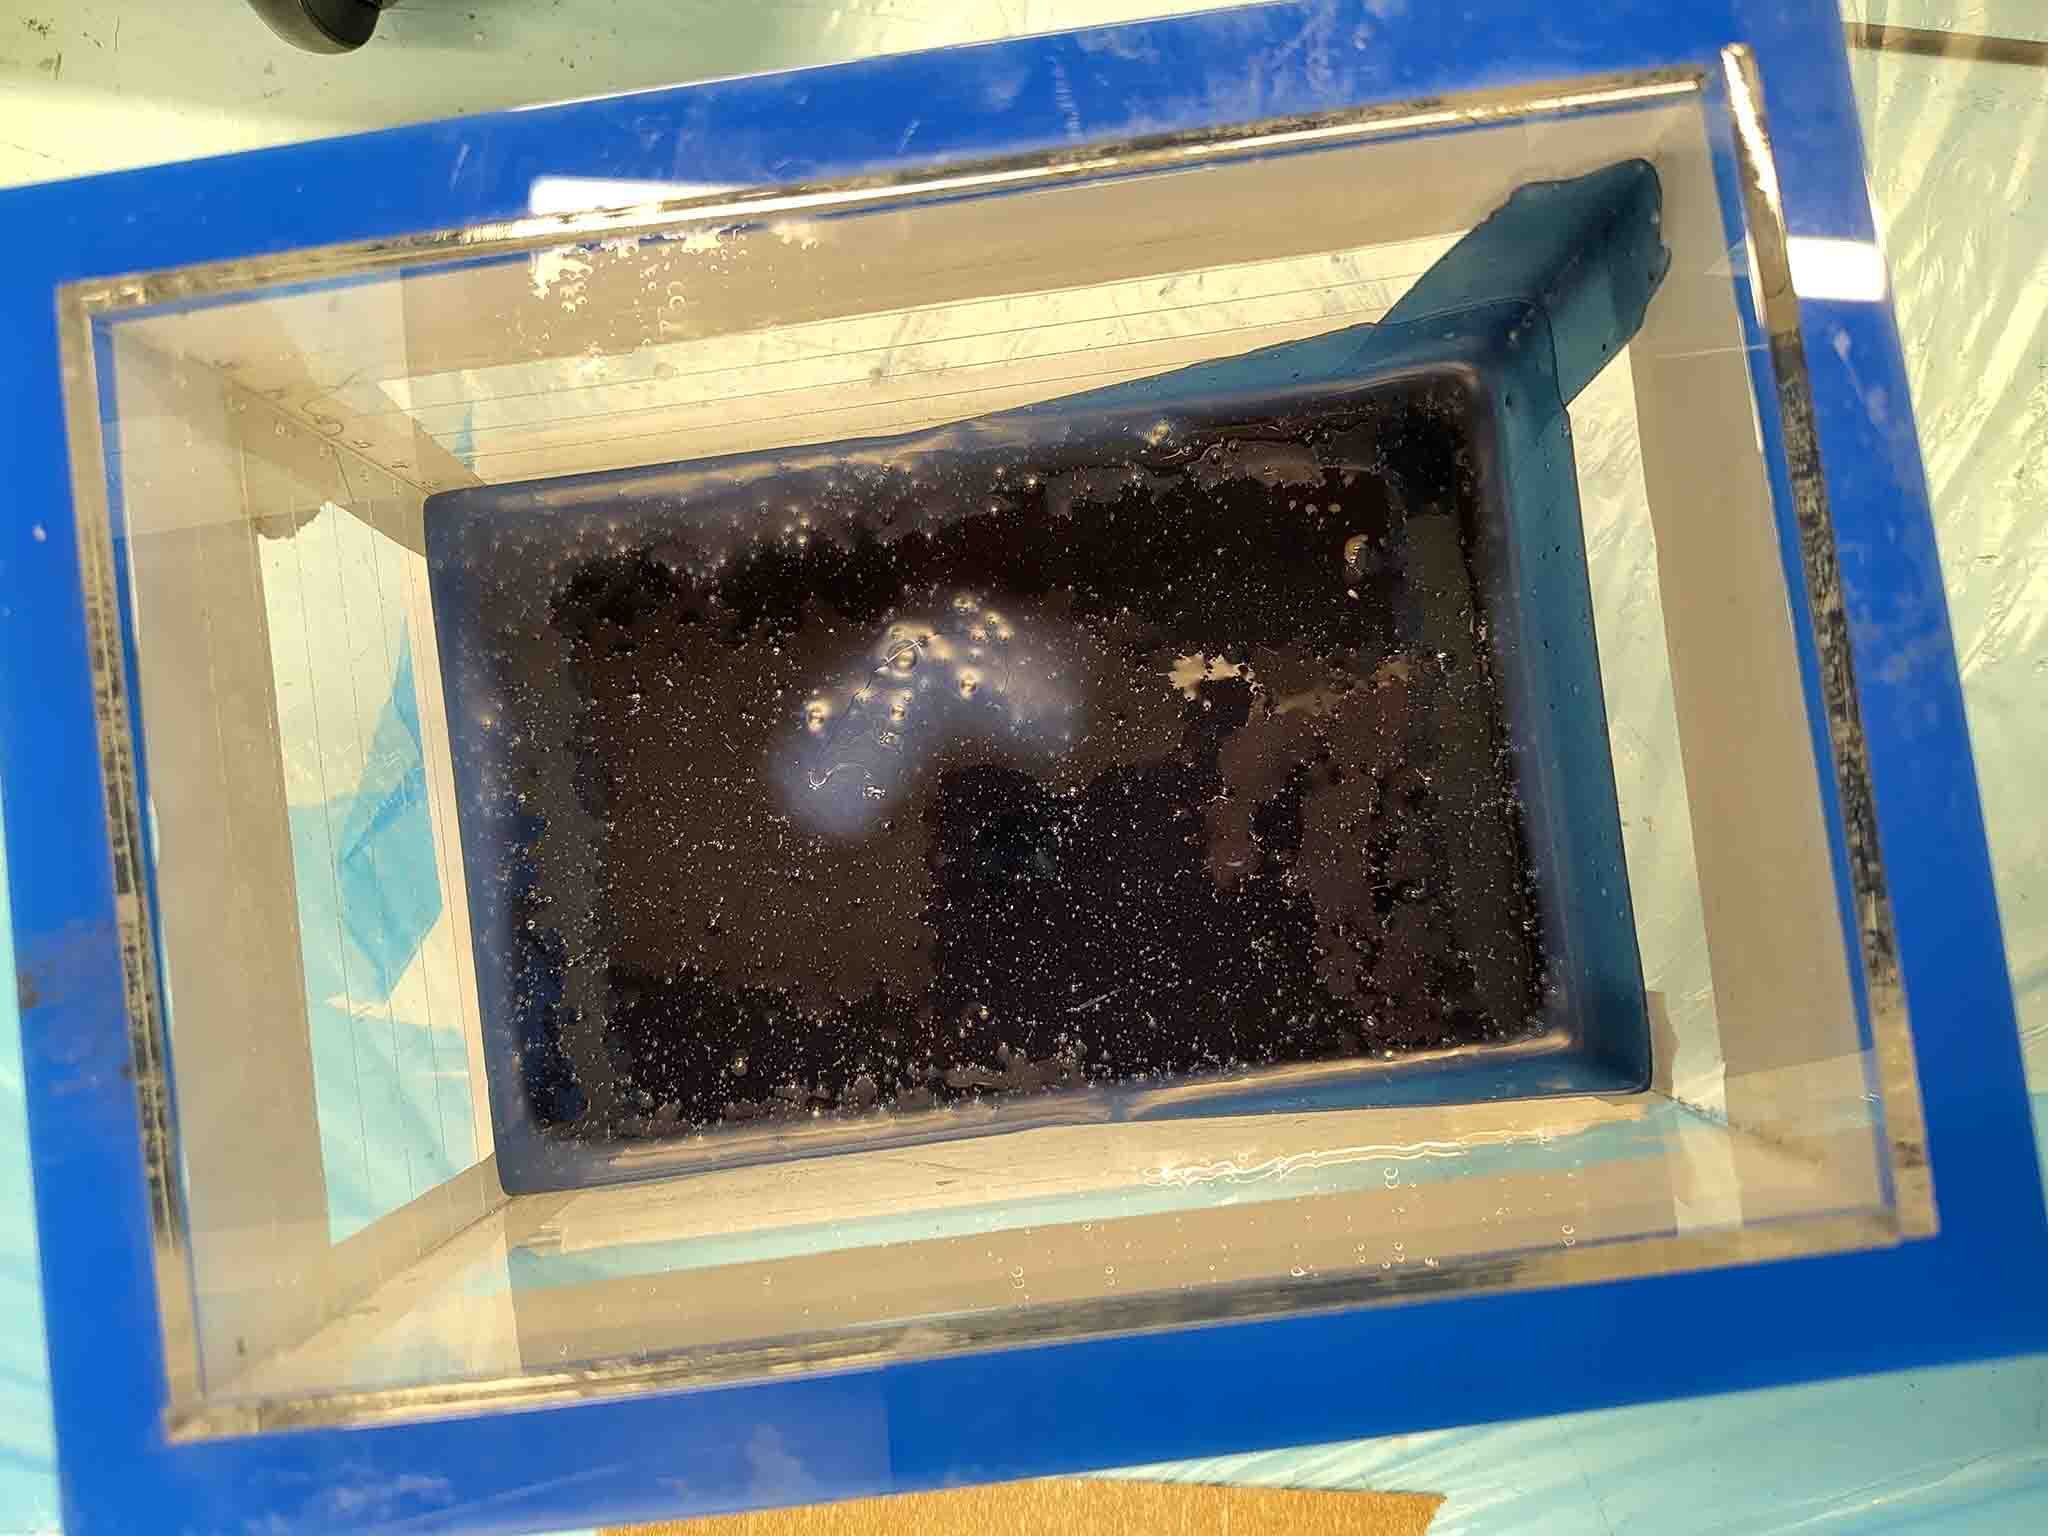
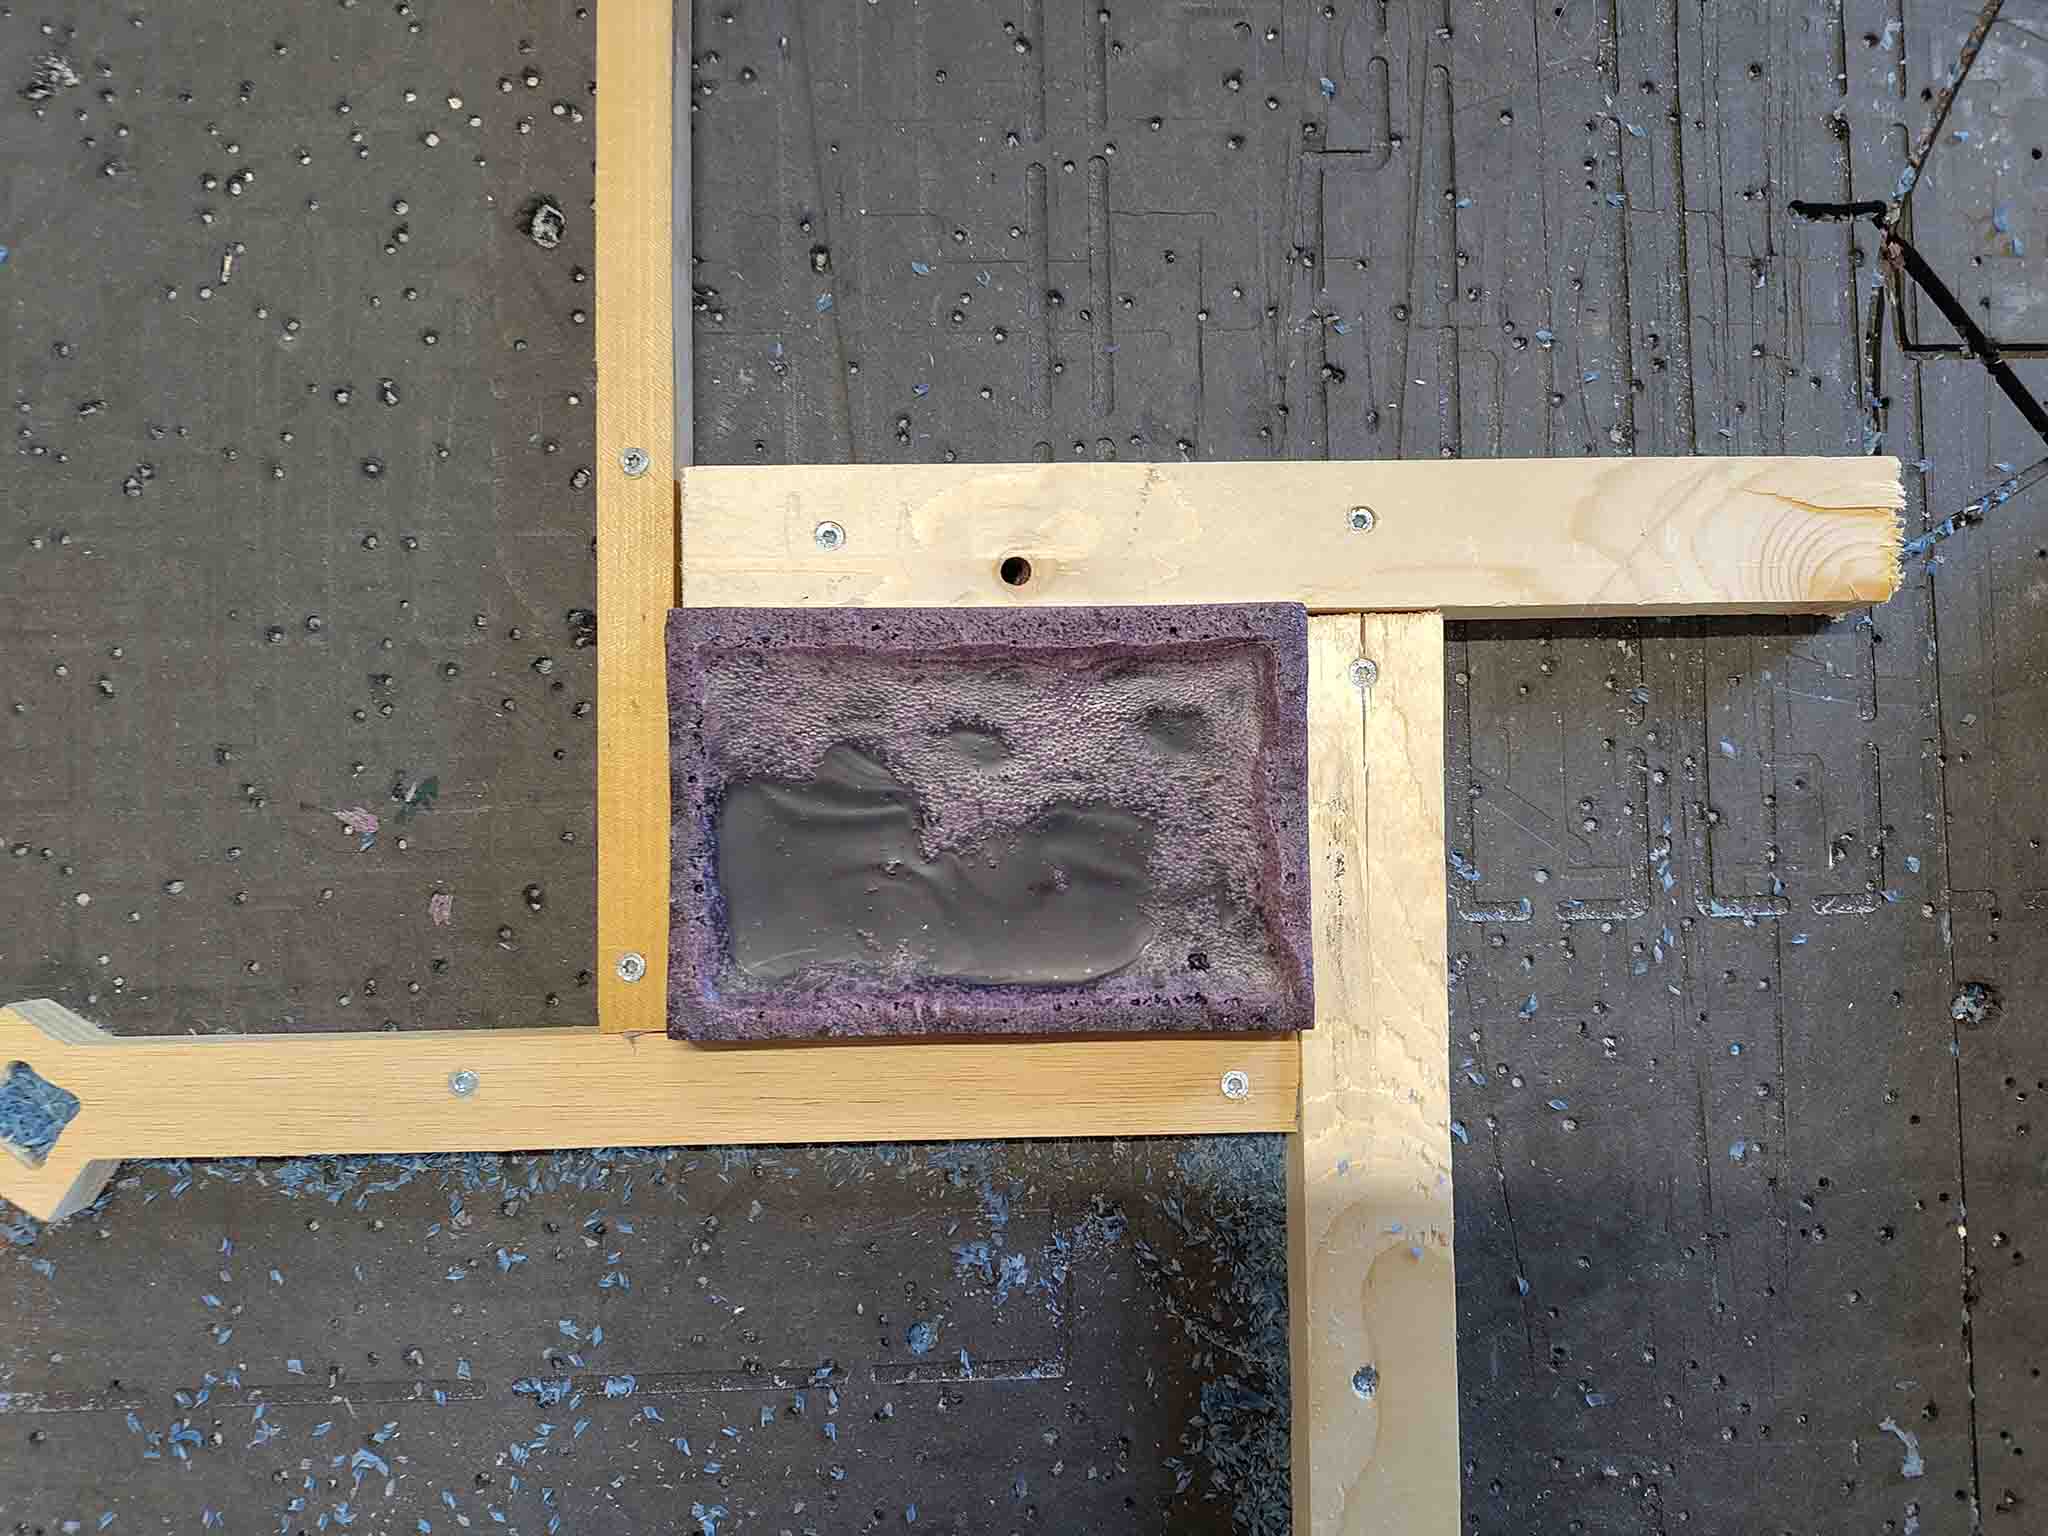
Once everything is meted, check that there are no lumps in the pot and pour the melted wax into the acrylic mold. Make sure to pour into one of the corners as showed in the picture below. This helps prevent air bubbles forming.

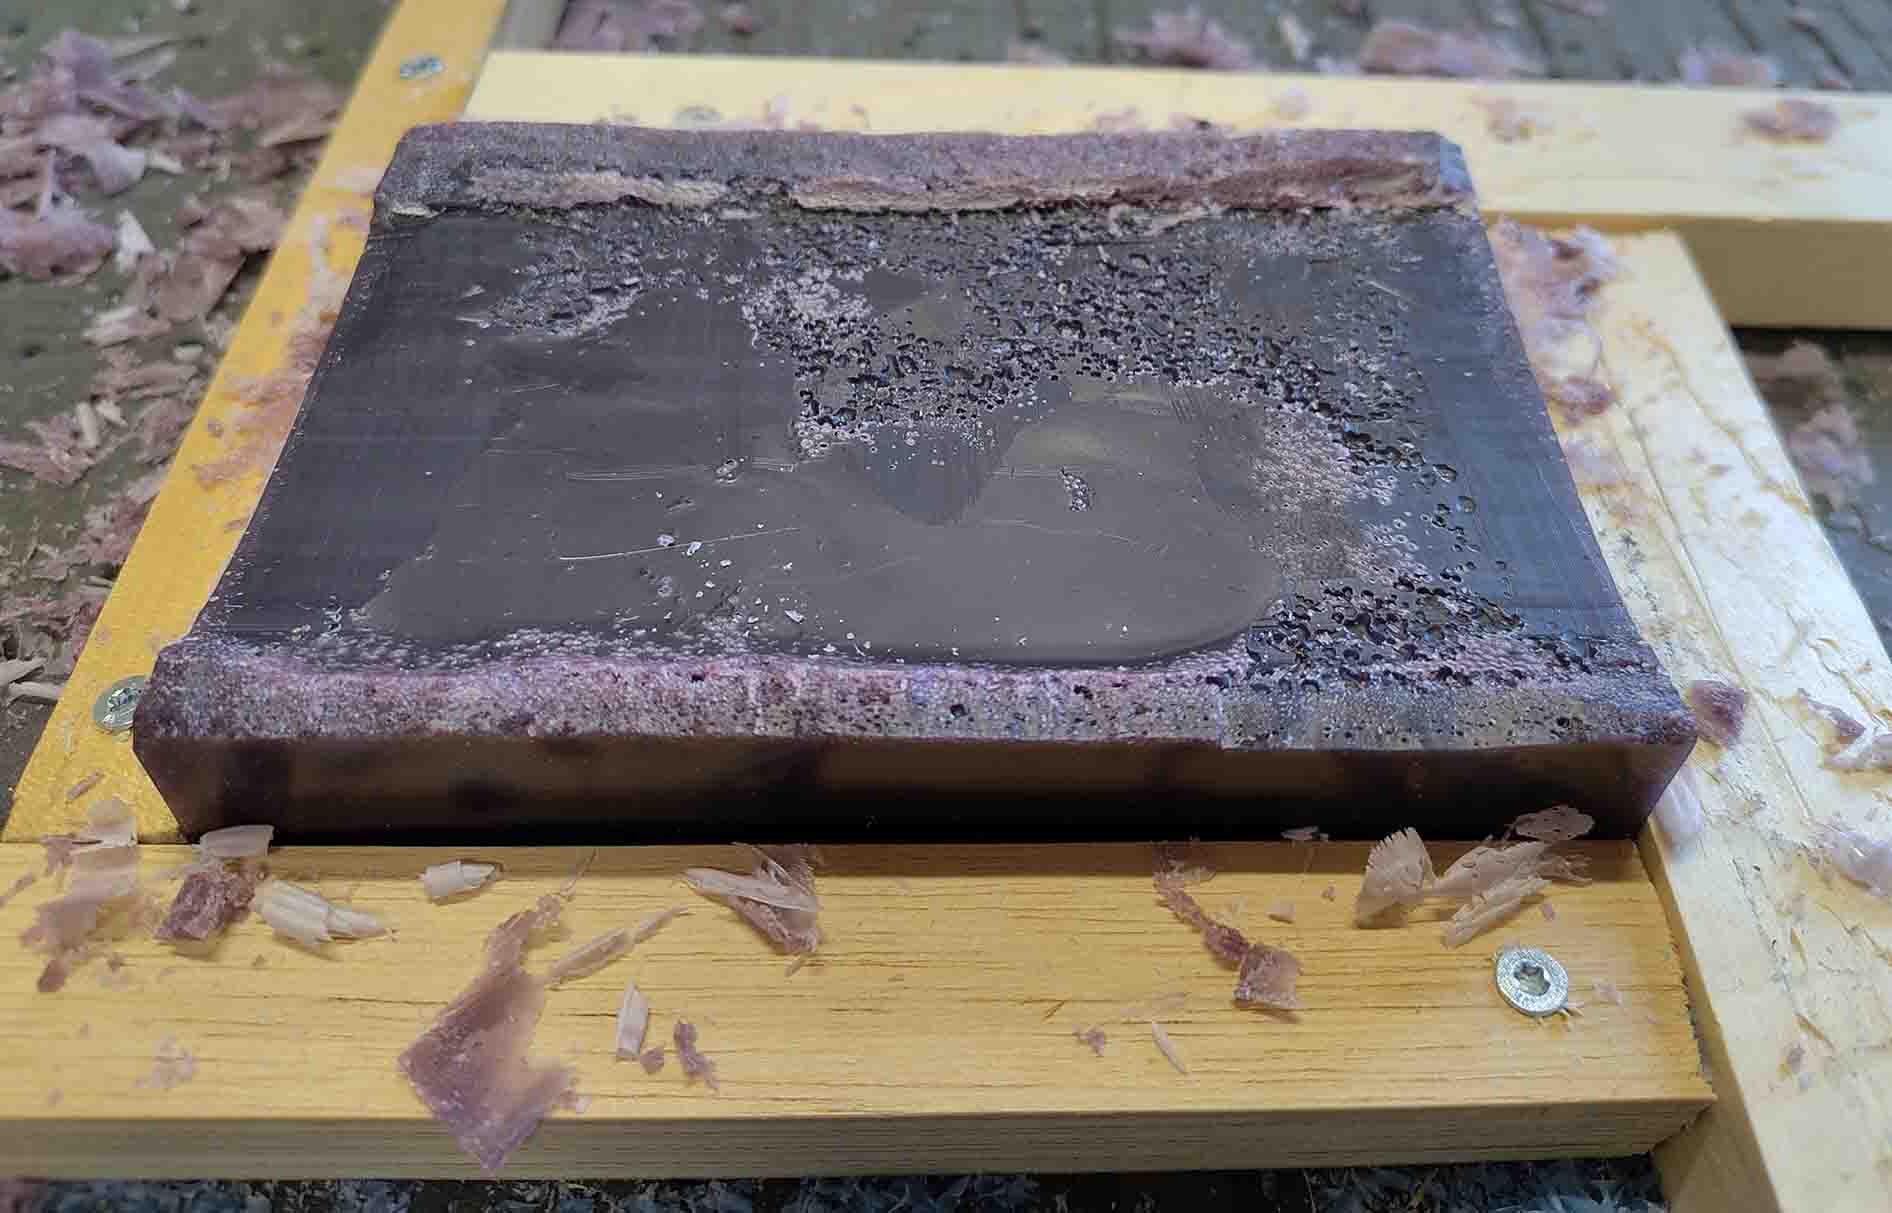
The wax block will shrink a bit as it cools down. Below you can see one part in the middle bubbling and cooling down before the rest of the block. This is because there was a large piece in the mixture that was not properly melted.
This week: Parts for a wind sculpture
I first wanted to make a sculpture for my desk using photochromatic pigment. When thinking about it a bit longer I realised that that makes no sense, since the color only activates in sunlight, and there is no direct sunlight in my apartment. I have instead decided to cast parts for a wind sculpture that can be placed on the balcony. I a taking inspiration from Lyman Whitakers sculptures.

I think that I should be able to make 1 mold and cast many of the same shape that can later be attached to a wind spinner.
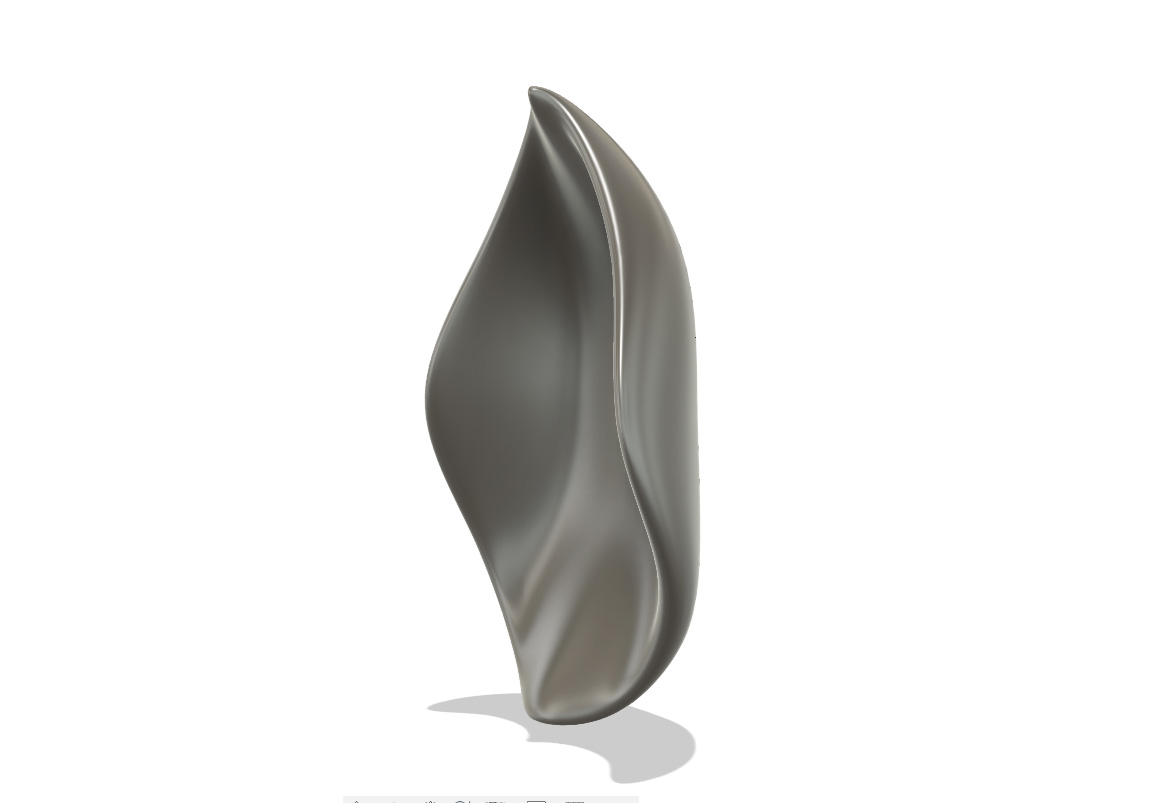
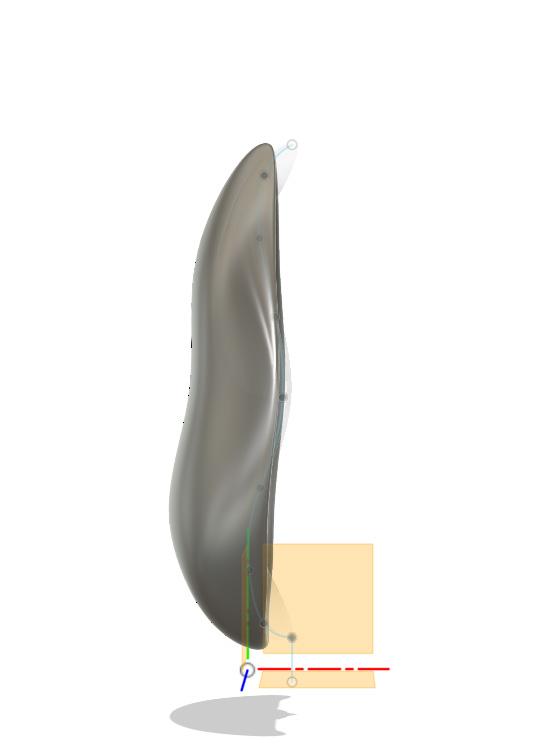
Modeling in fusion
I jused this video as a starting point for how to model my shape in Fusion.
I was very happy with the shape of my first model, until I realised that this would be trickier to make a mold for because of the way it is beant. I am not very experienced with fusion yet.
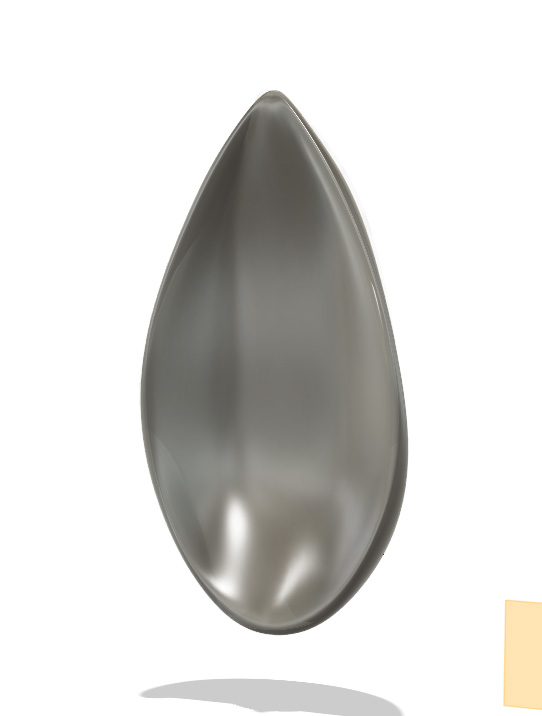
So I redesigned it to have a flatter front.
I had the same problem here with the bottom of the model not being flat.
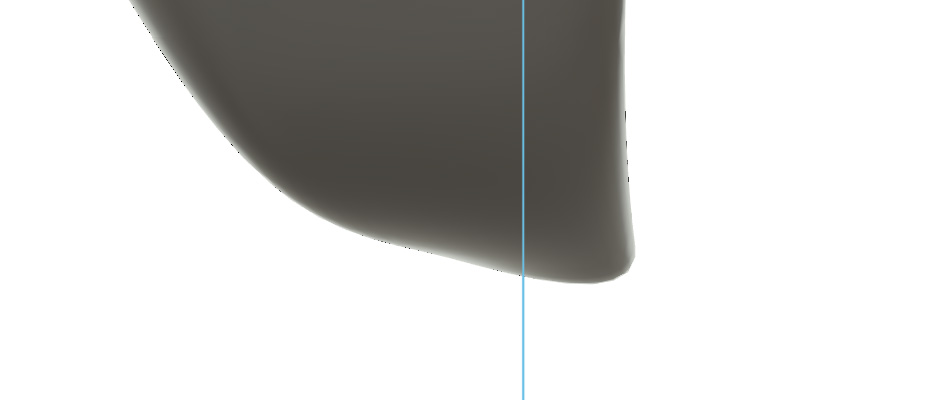
I solved this by making a cut through the front of the model. ENsuring that that part was completely flat and made a "lid" that will go invards and make the bent shape at the front. I have written it chronologically here, but it was a lot of back and forth and getting familiar with the combie tool in Fusion.
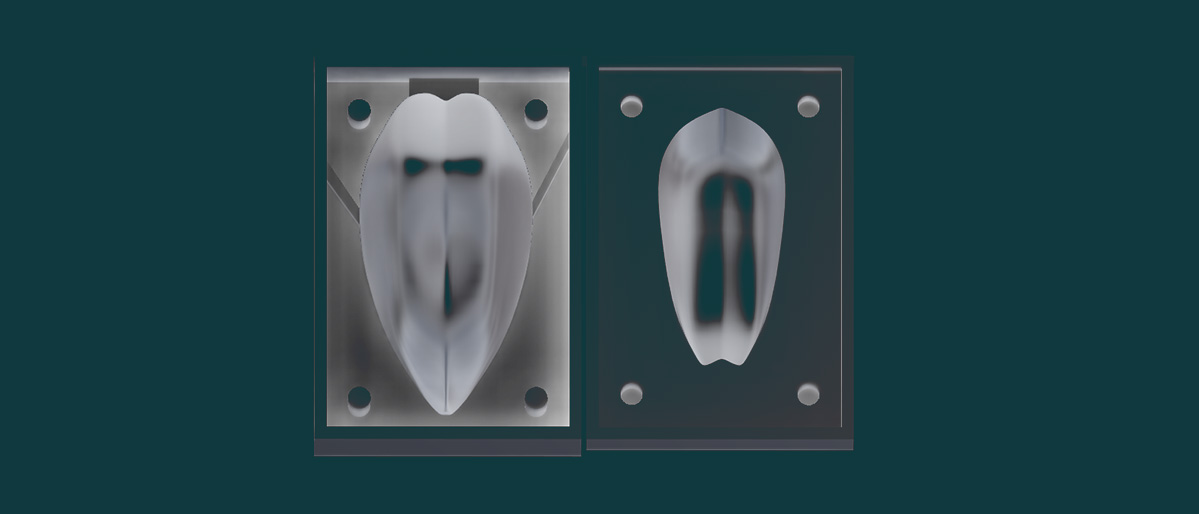
Here is my first setup:
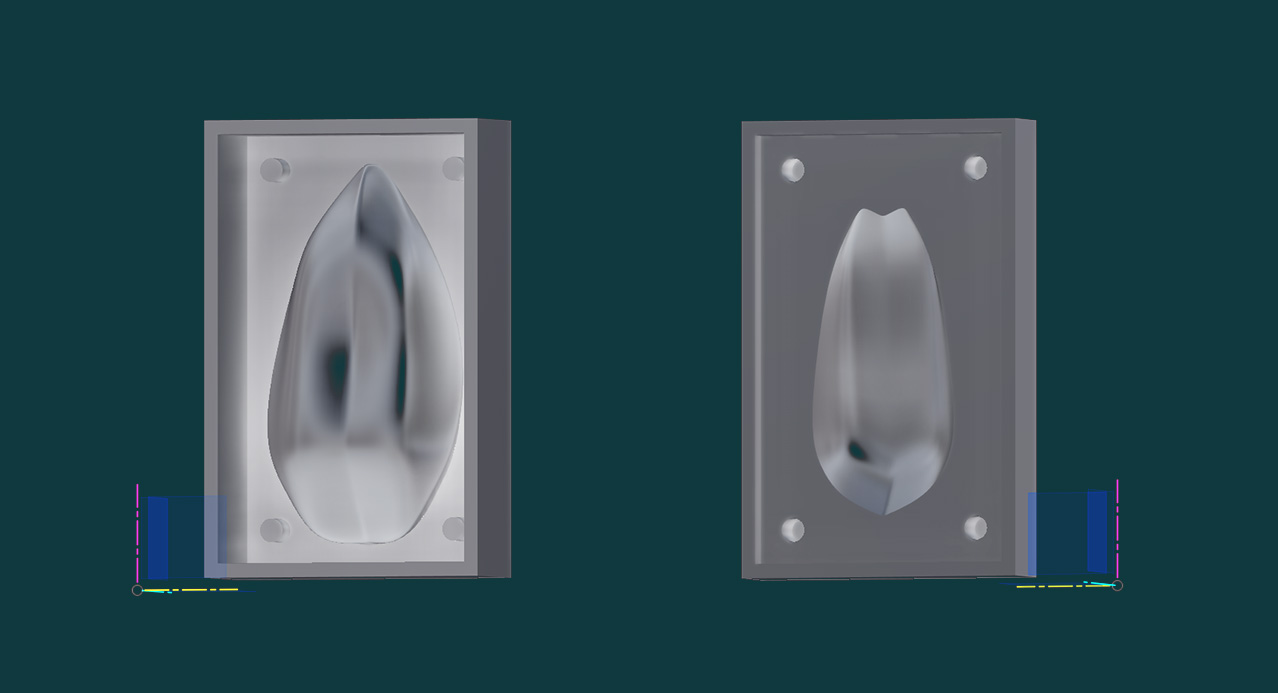
This setup is missing something important. A pouring basin and air vents.
Milling the wax block
In order to attach the block to the sacrificial layer on the Shopbot I double taped the back of the block to the table to keep it in place. Then I placed 4 pieces of wood around int. Screwing in only 1 scew on each. The one closest to the block. Then, I pushed the other side of the wood as close as i could to the bloack and screwed them in. This is very important. Make sure to wedge the block in properly.
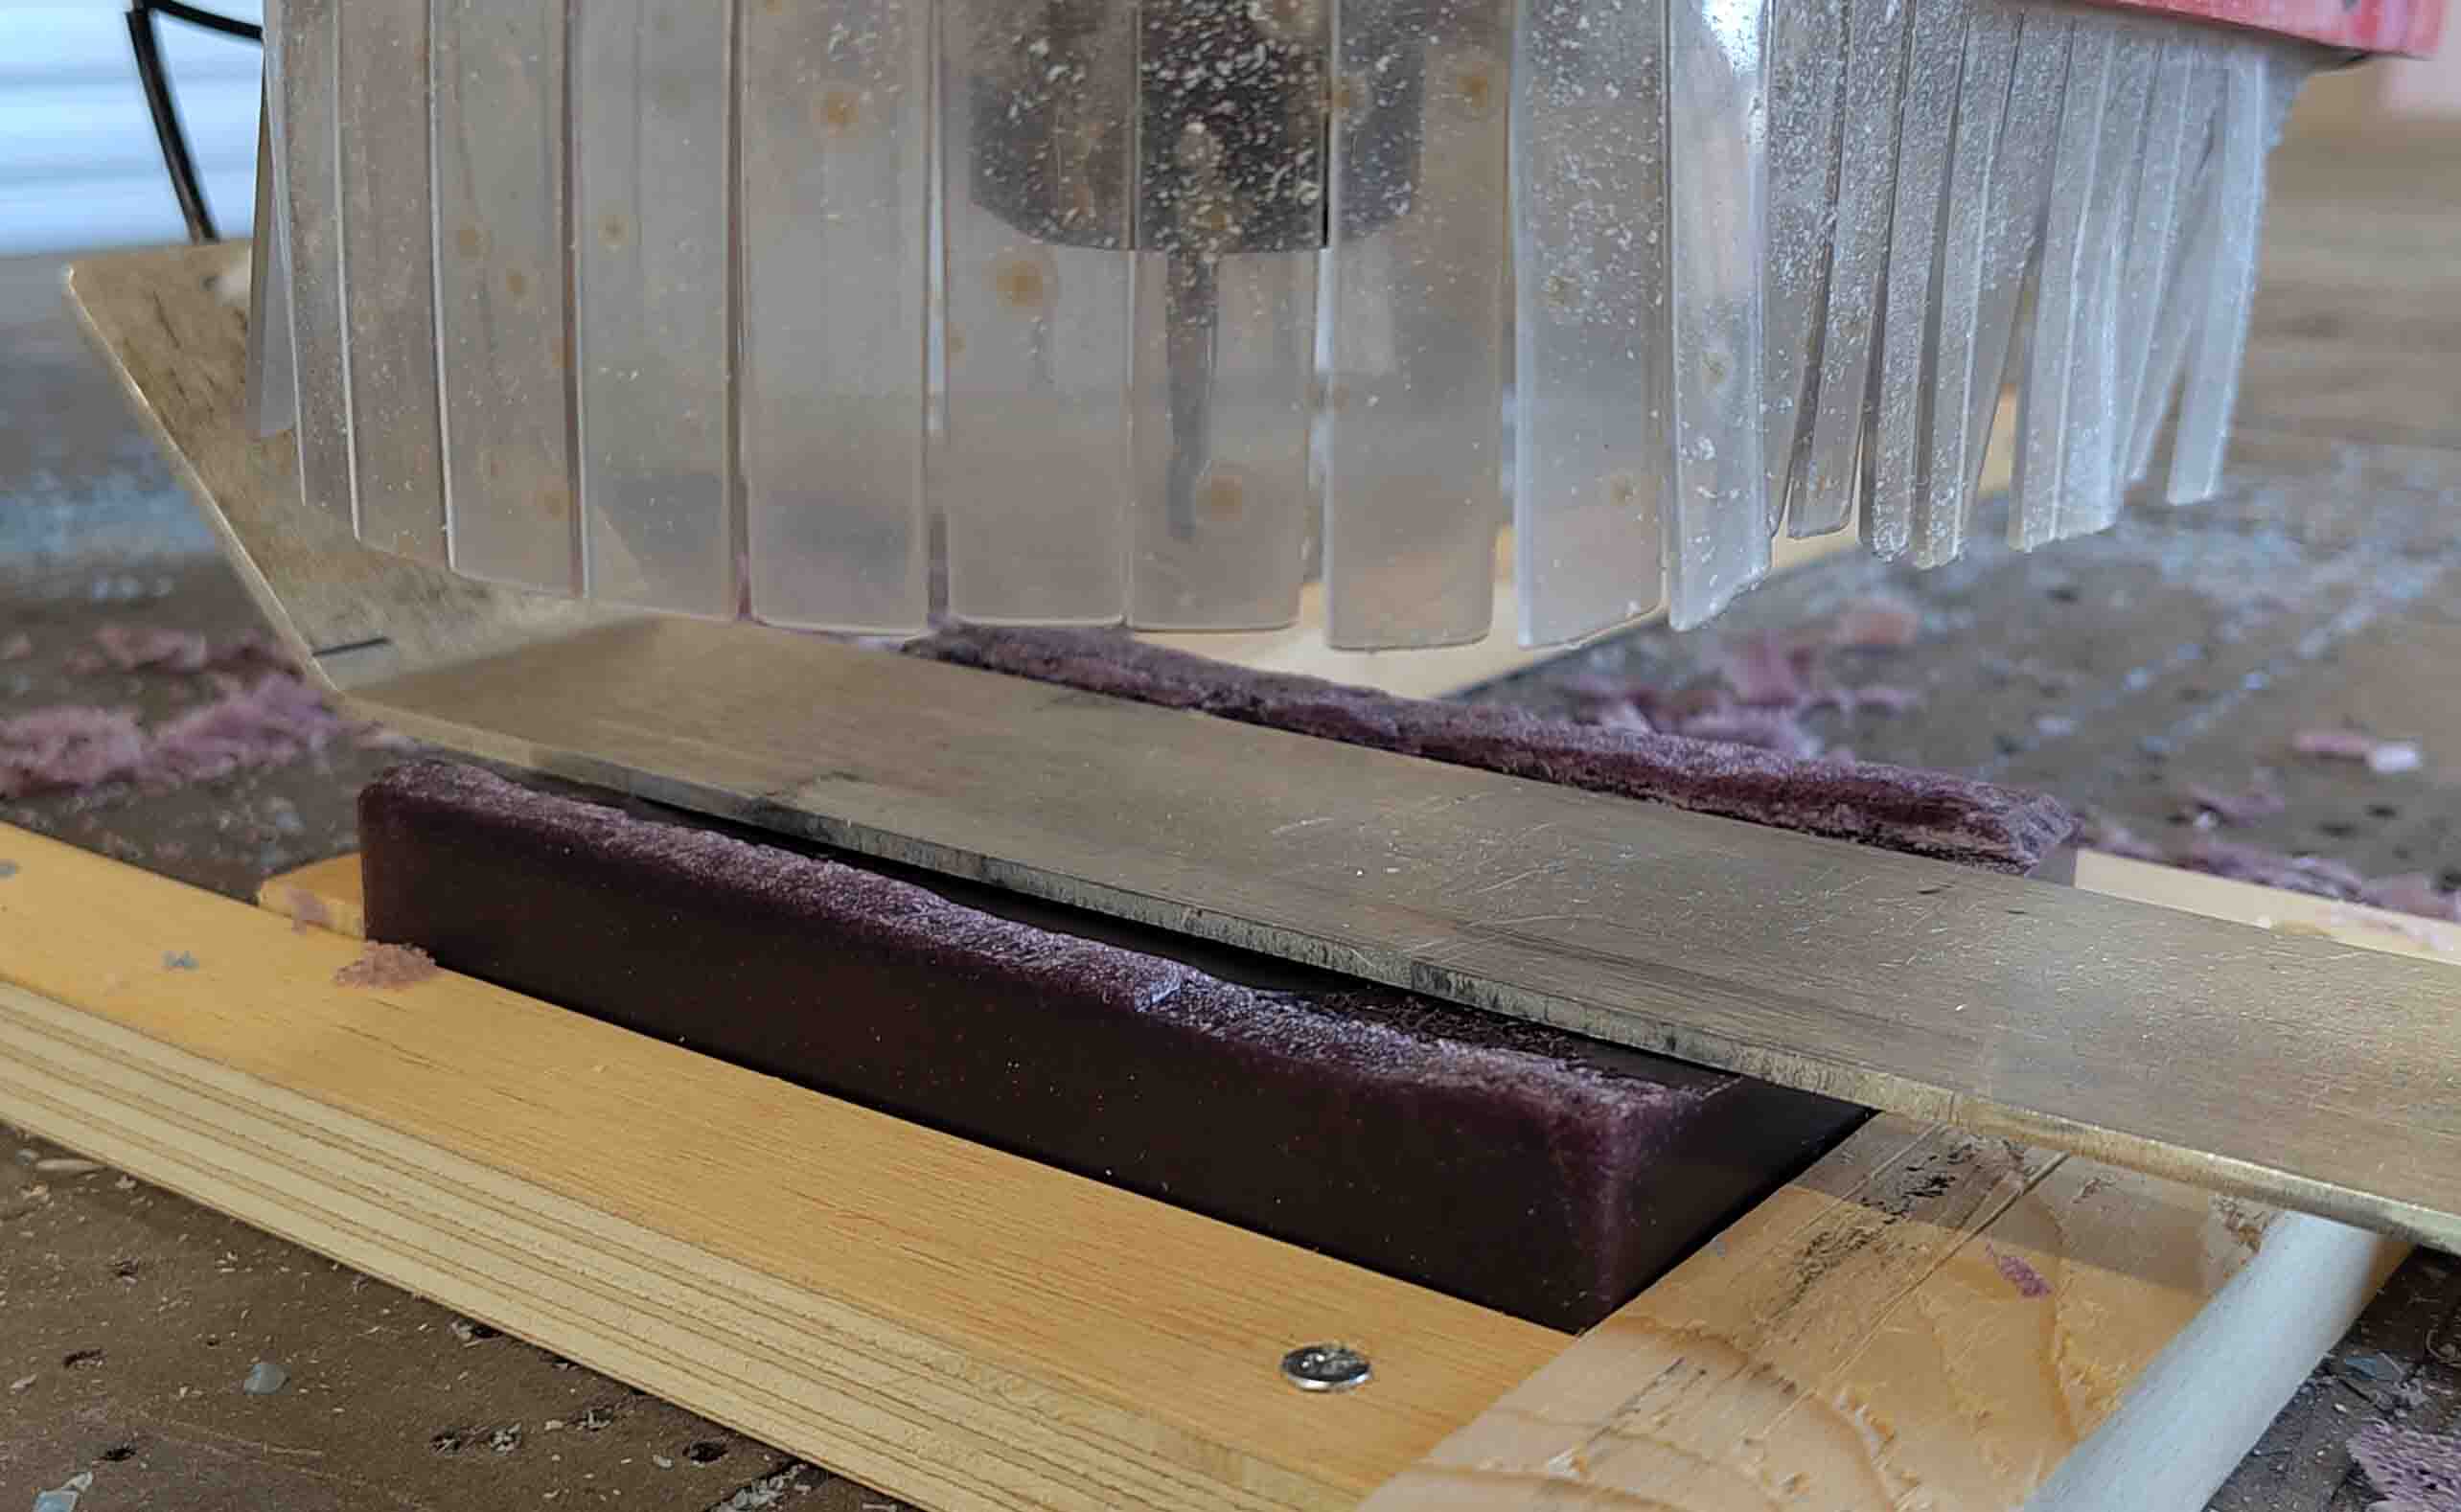
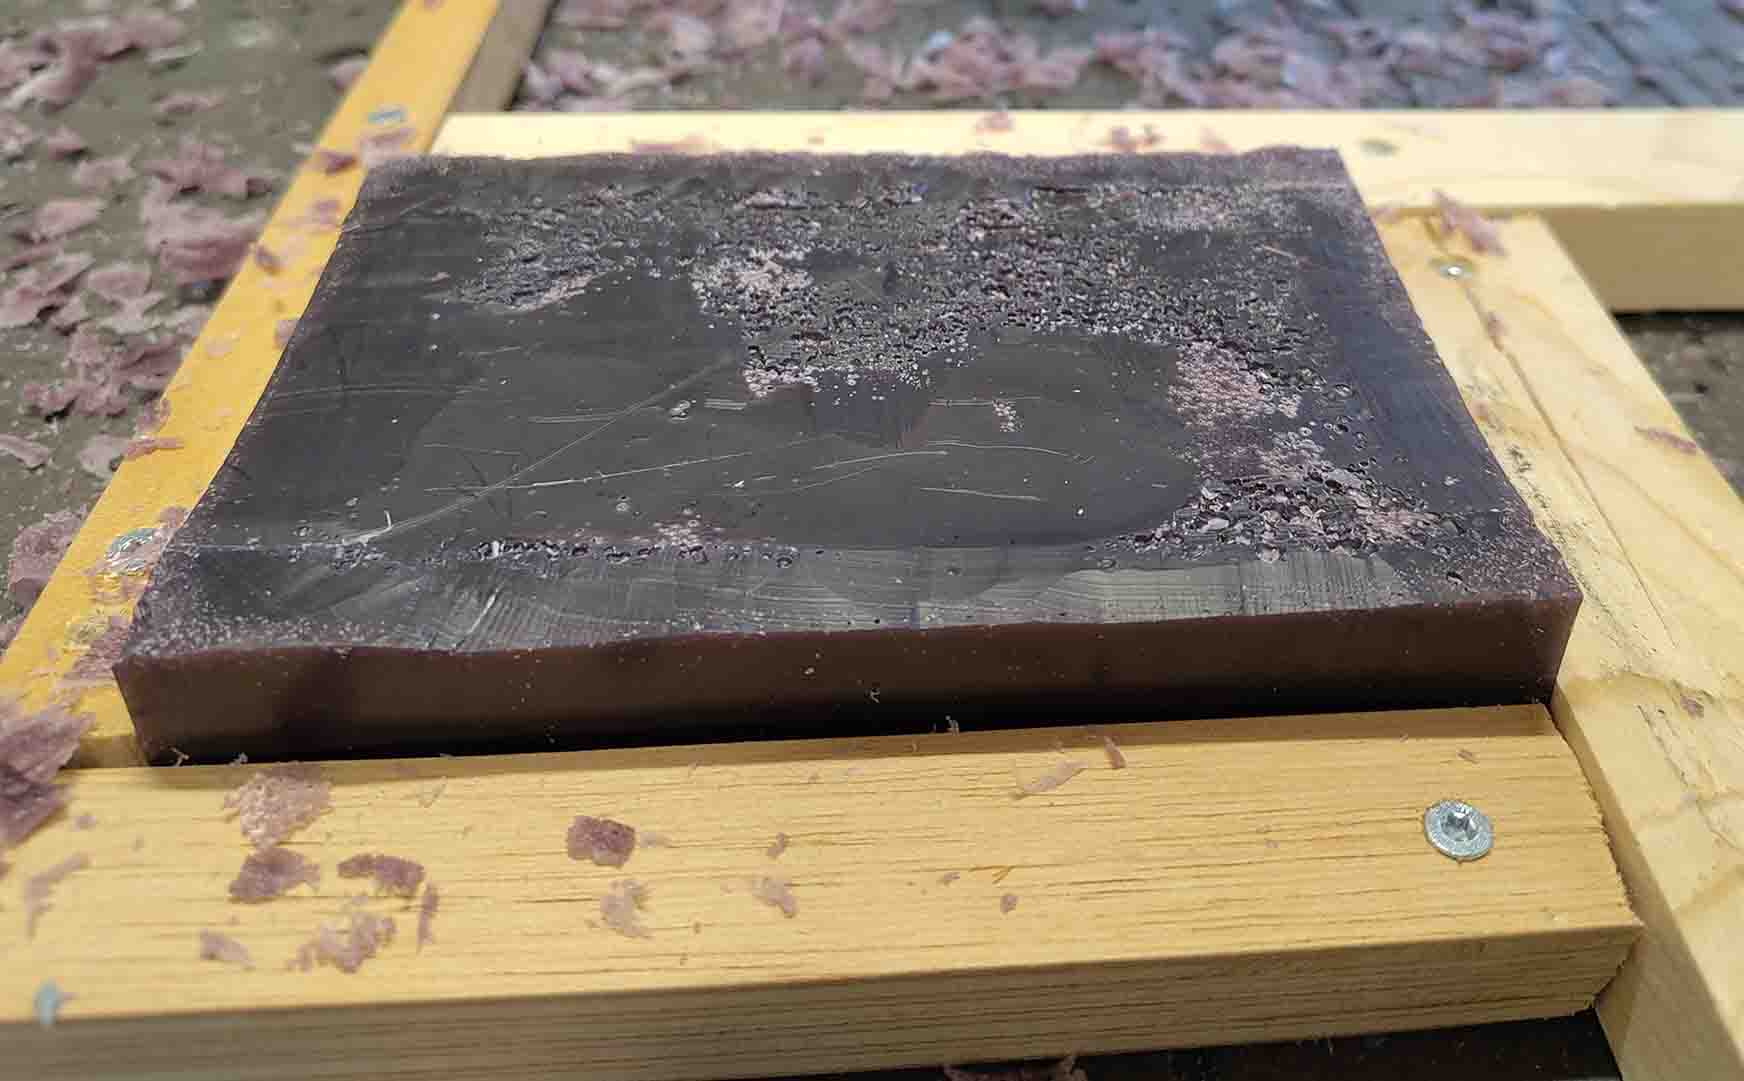
After securing the block I needed to Zlevel it. But the one I was using ahs a lot of excess wax and bubbles on the top.

I shaved off the sides.
Z-leveled the machine. THenk Henk asked if I had counted on how deep the milling bit goes and how much clearance I have with the walls when it cuts deep. I ahd not thought of this. The milling bit stuck ca 30 mm out and I would mill 19 mm down. That should be fine, except the wax was almost an extra cm tall on the sides.
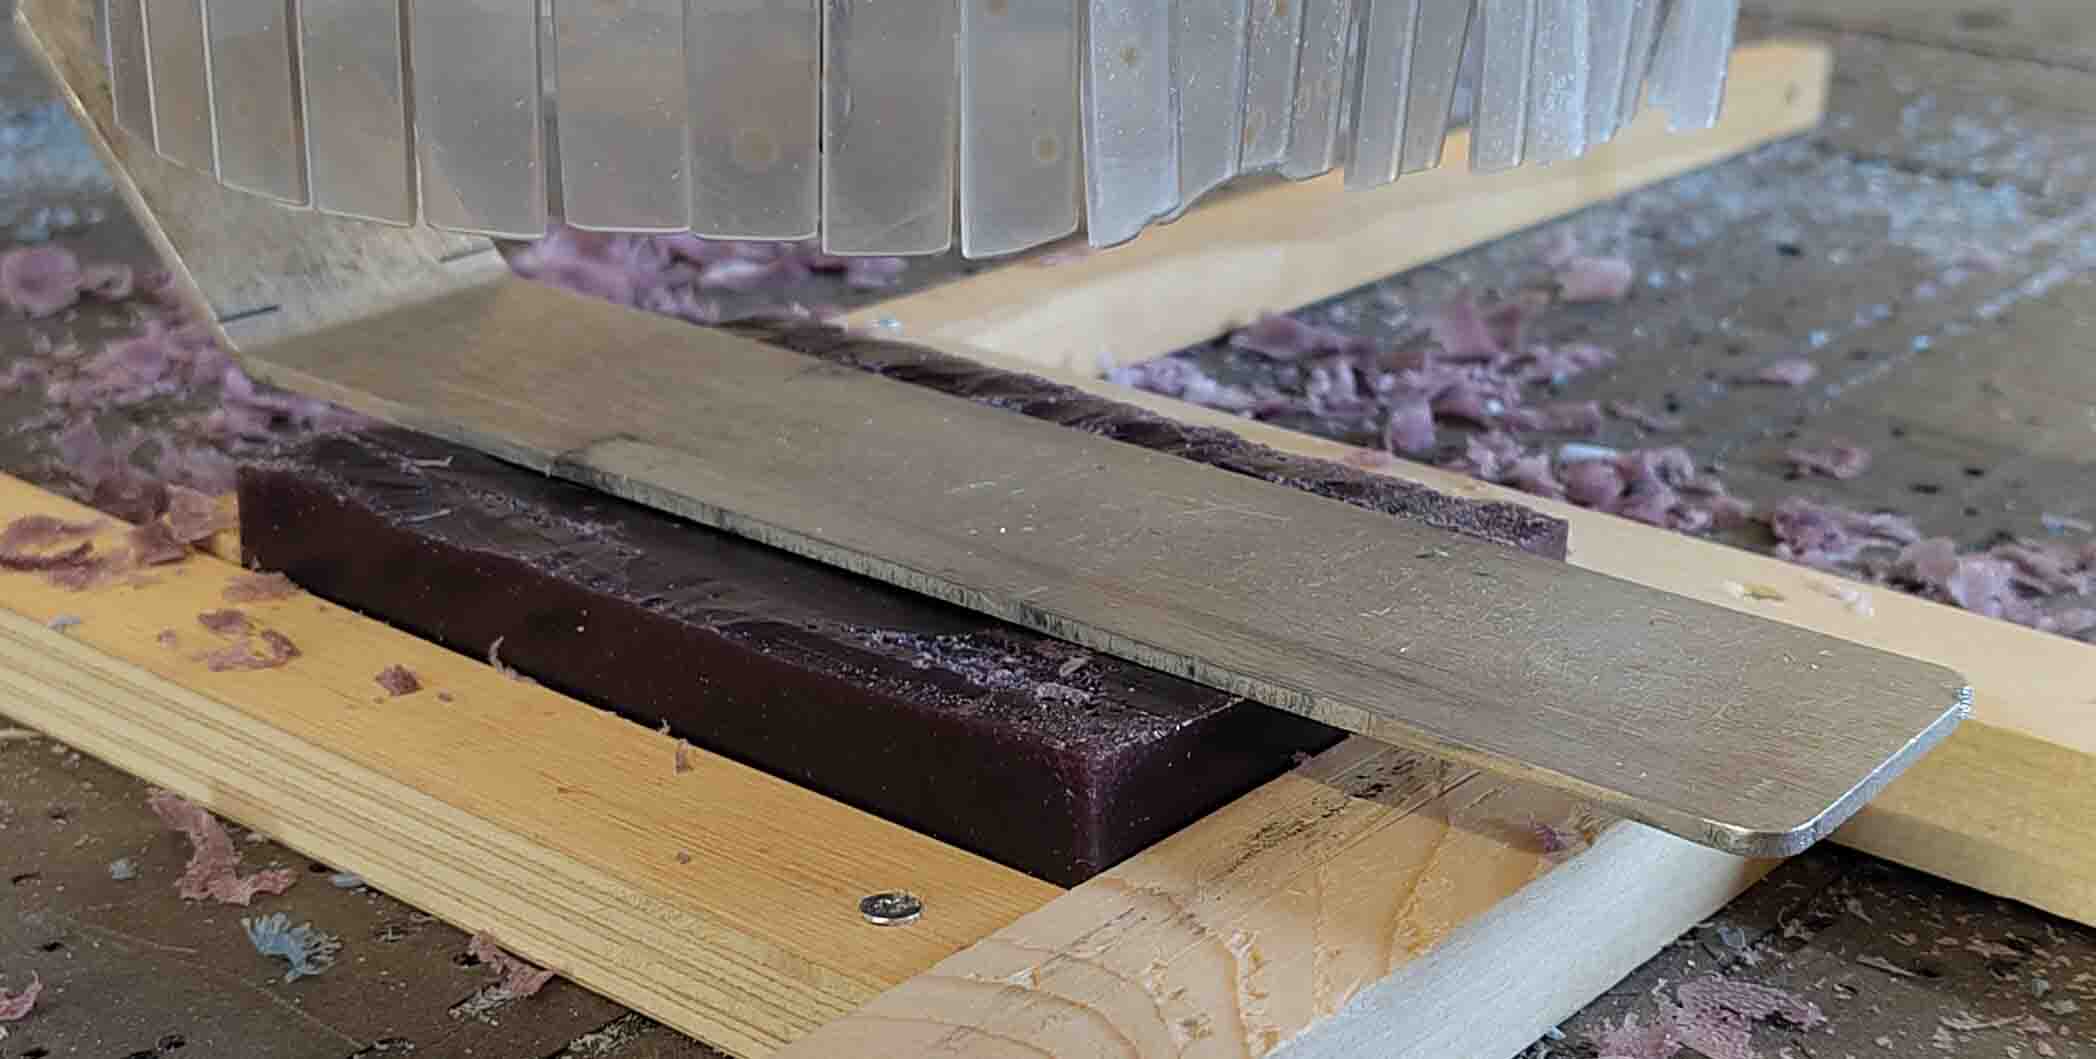
I chisteled down the rest of the block.
and Z-leveld again. When making a mold we zlevel at the top of the block instead of on the bottom like when milling out wooden pieces shapes during CNC week. This is because we are not going through the material. We are going a certain distance from the top. There should be no danger of reaching the sacrificial layer.
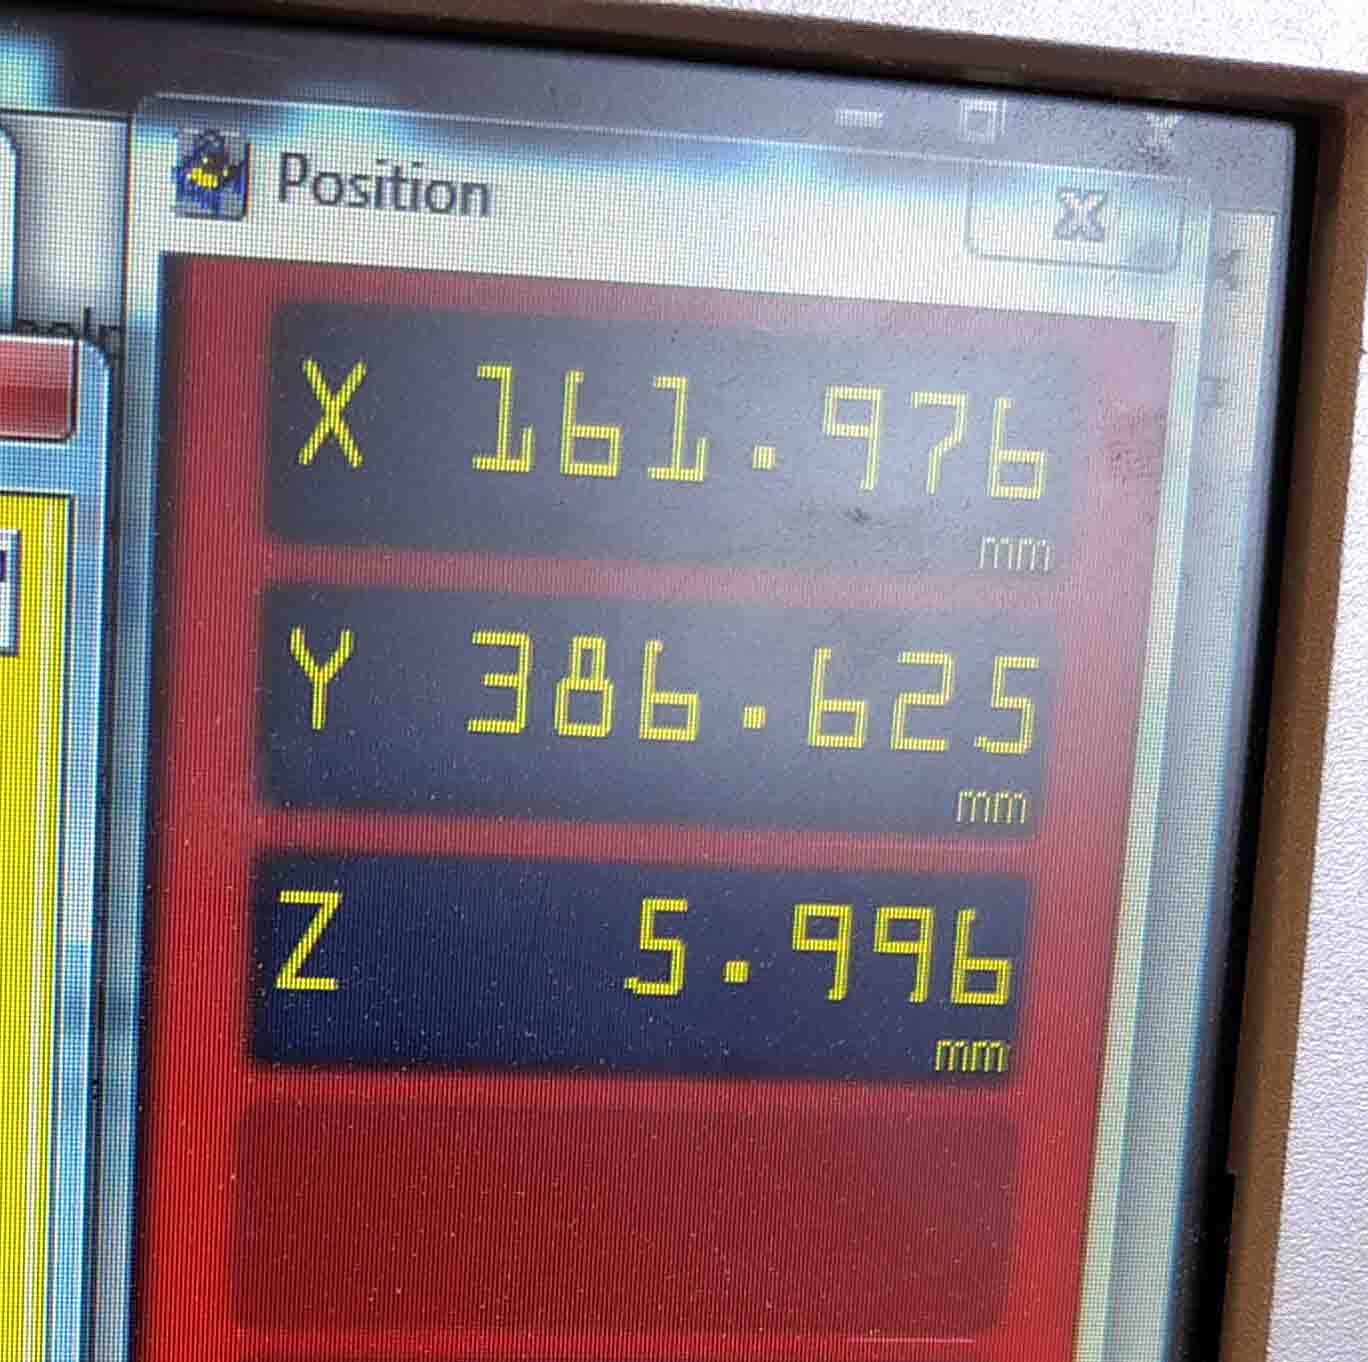
Here are my job starting position, before I zeroed the job position.
I prepared the file in Vcarve using :
3D roughing toolpath
stepover: 80%
depth: 2.5
spindle speed 6000
strategy Z-level
Material boundry
3D smoothing toolpaths
Stepover: 10%
When staarting the spindle change the speed on the machine.

The milling bit was going a bit outside the block and would hit the wooden piece. I removed it and hoped for the best.
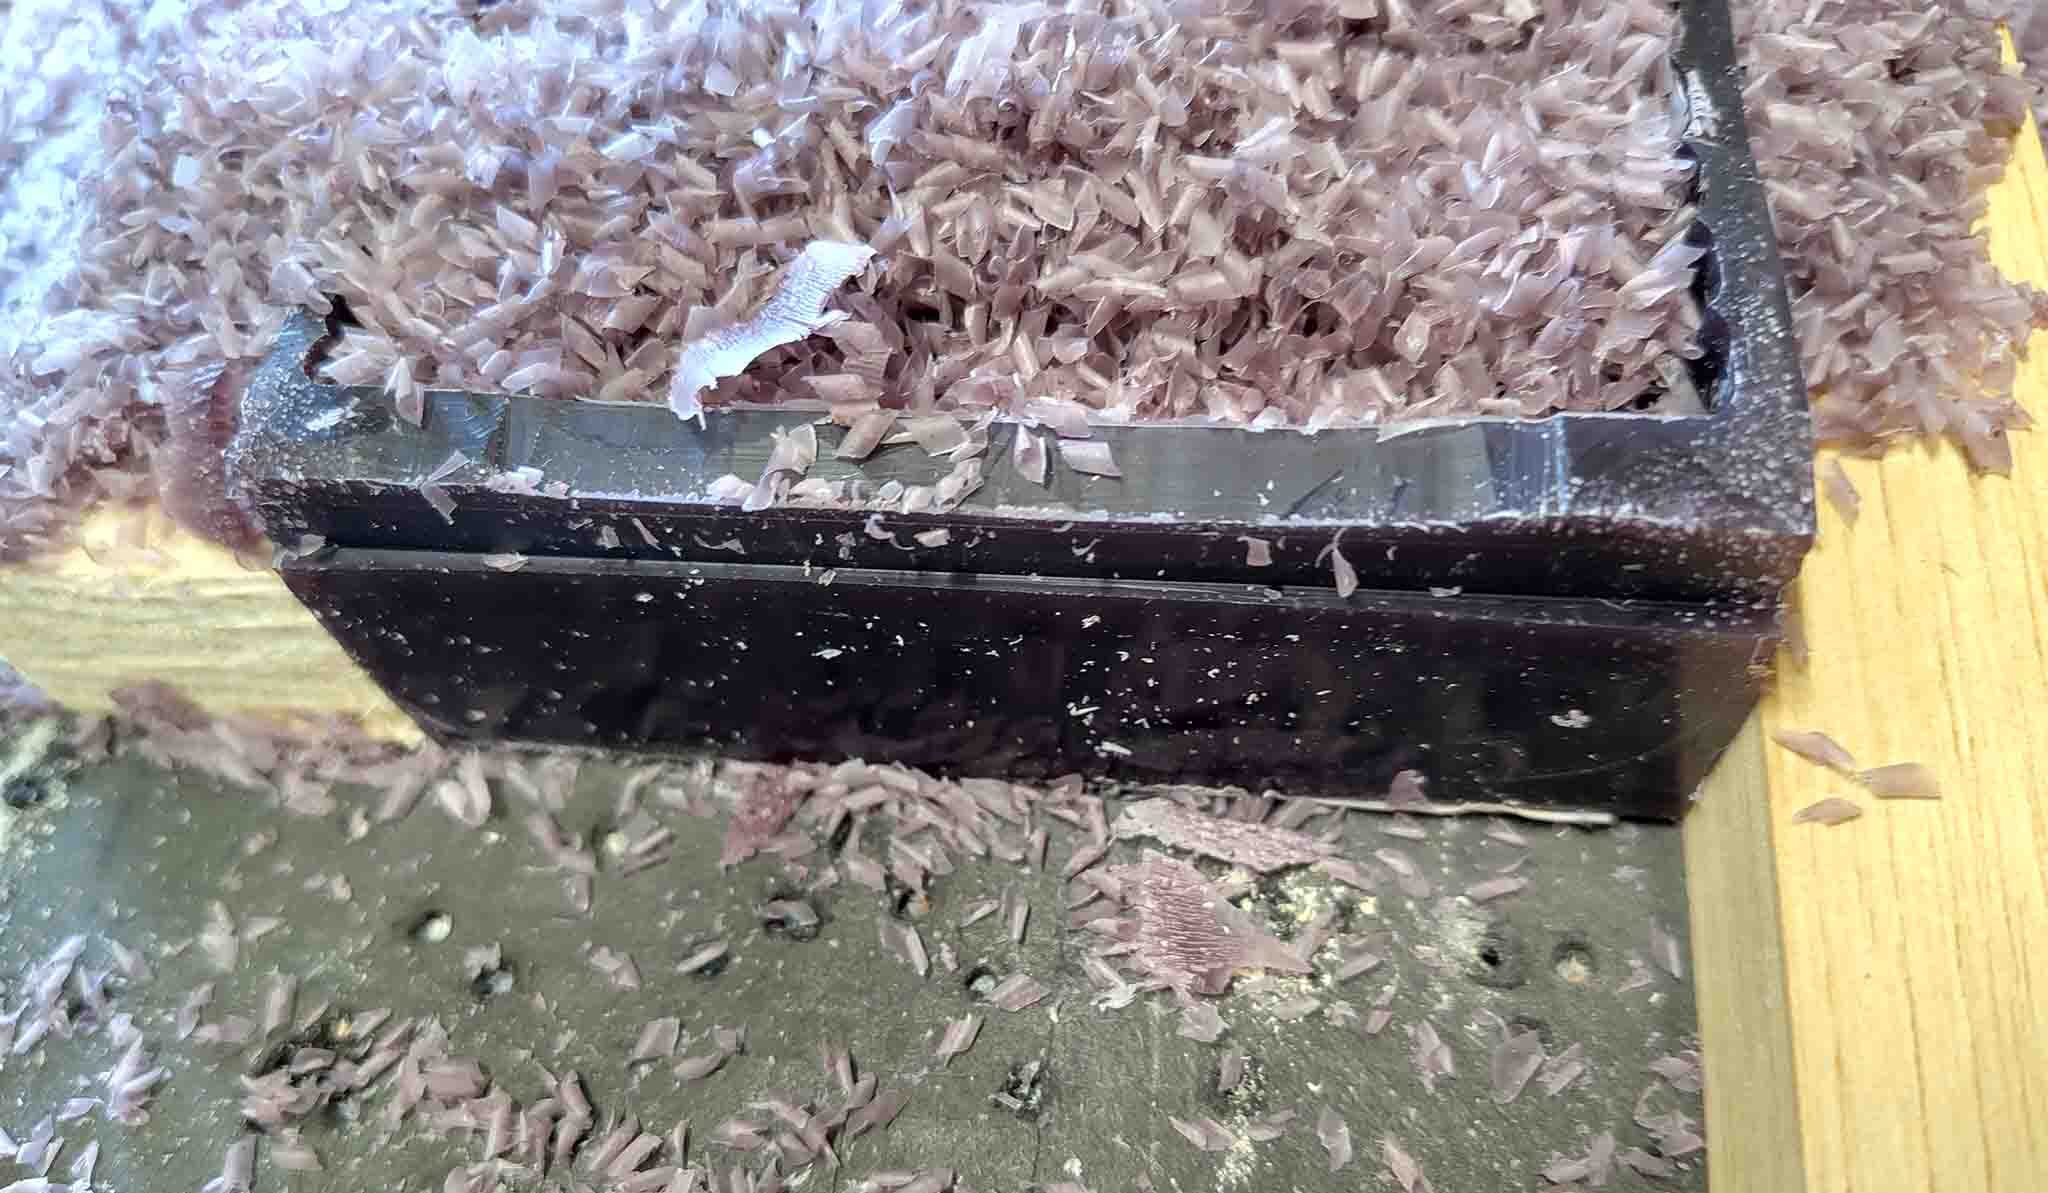
This is the block after the roughing:
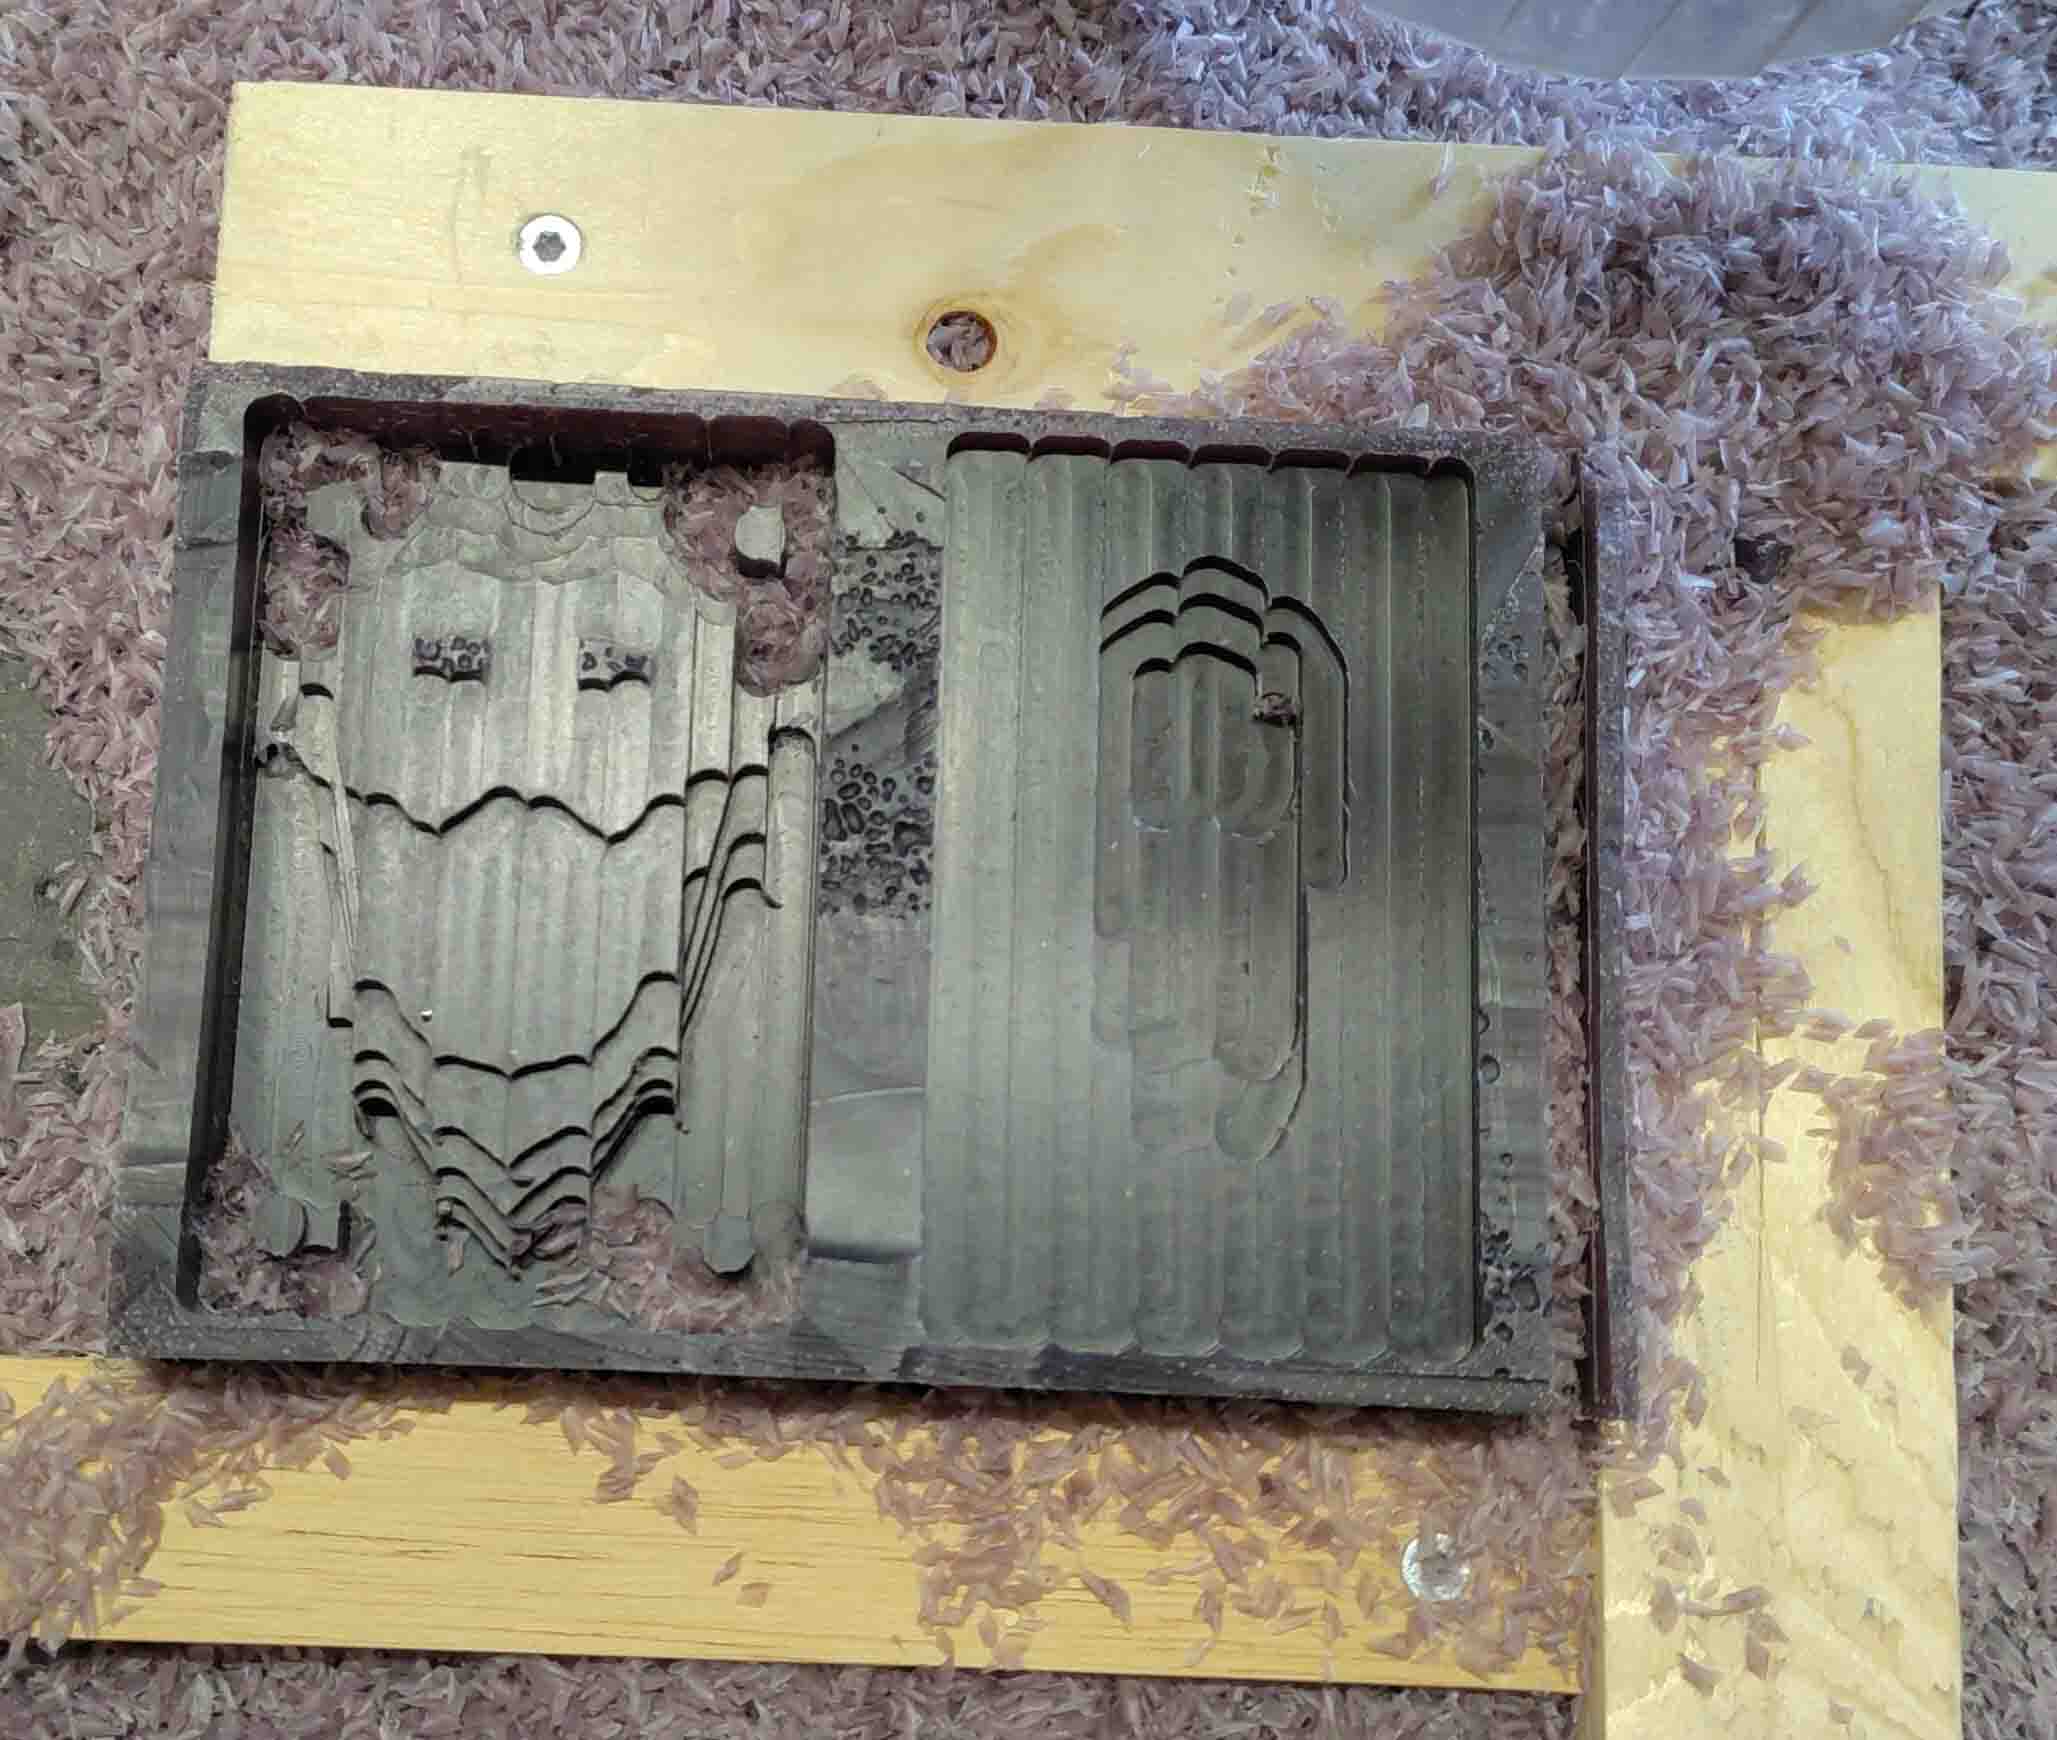
Right at the end of the finishing the block dislodged, but lickily everything was done.

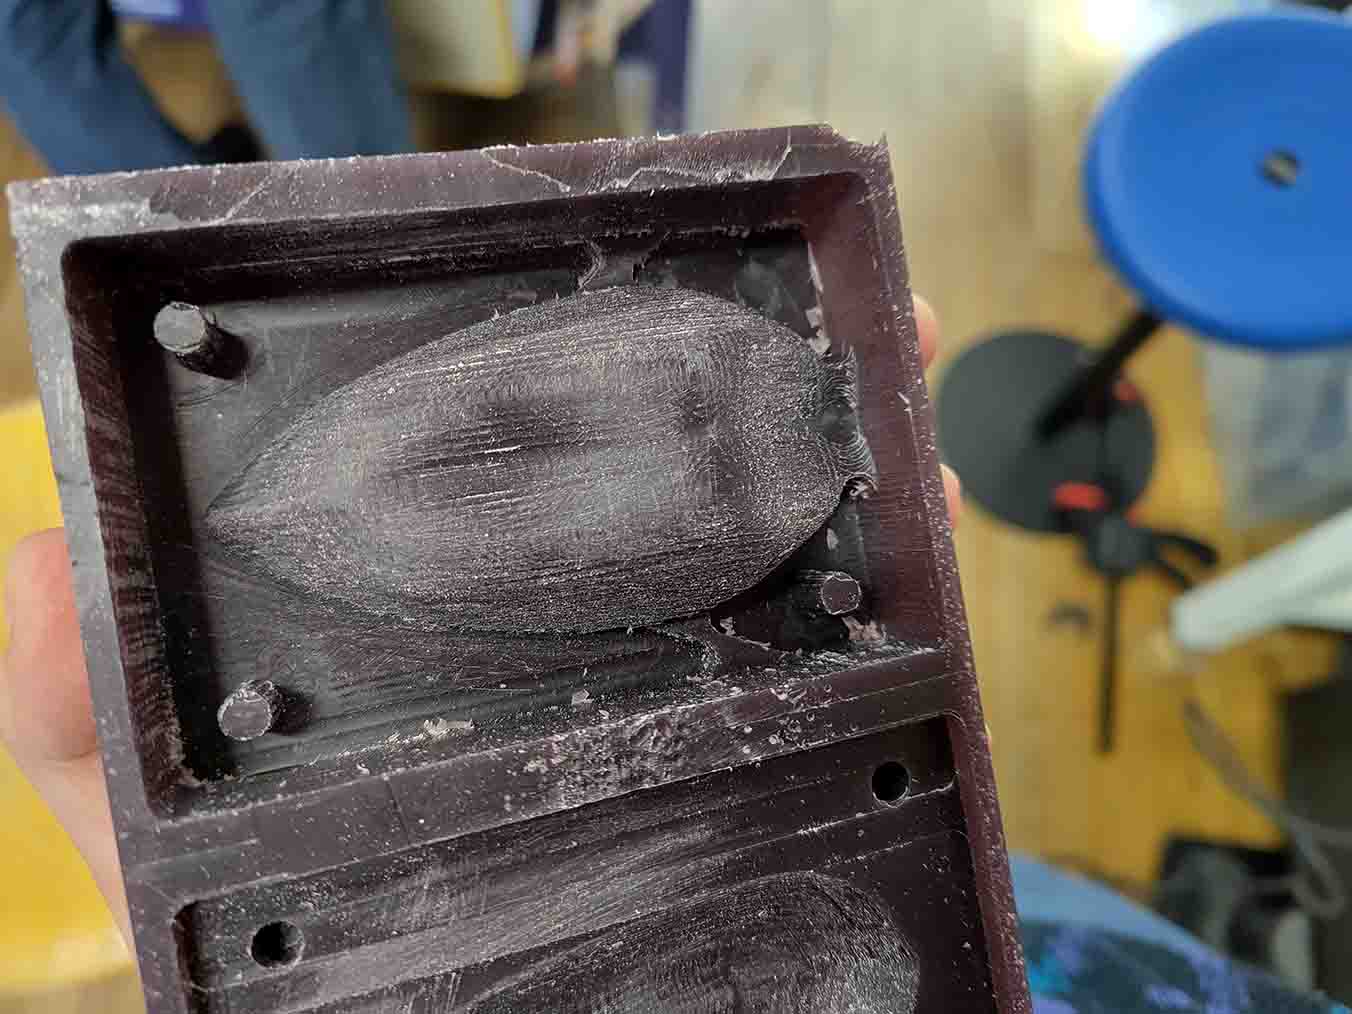
Here is the milled block.
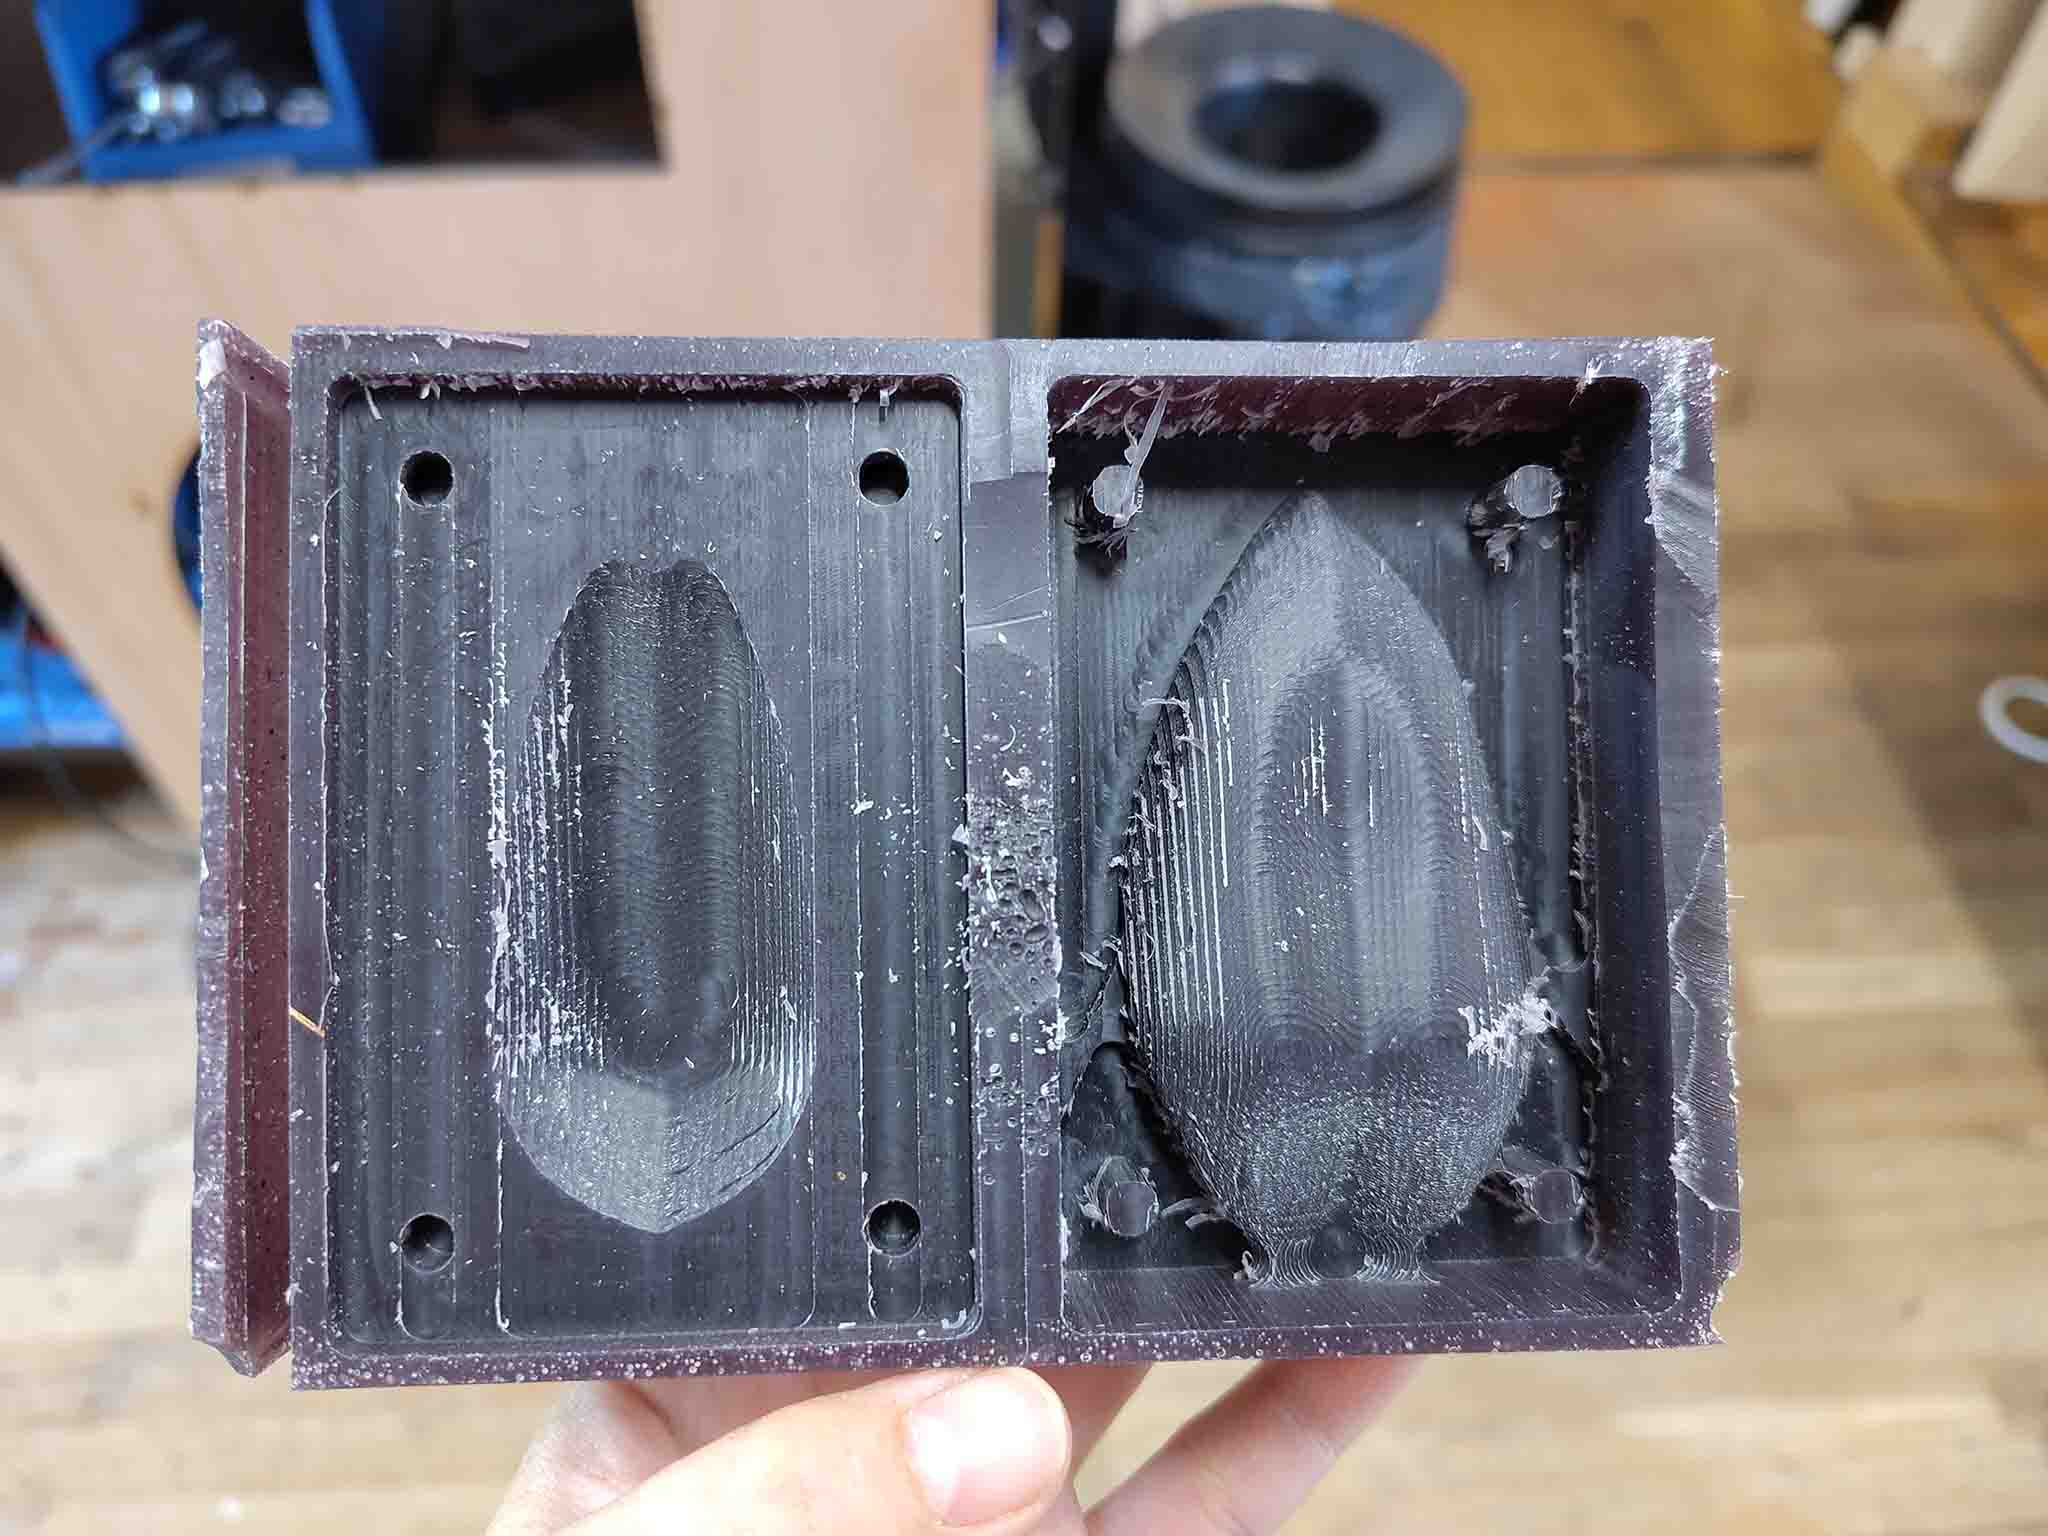
I sanded it a bit. and cleaned it with water. I probably should have sanded it more, but I wanted to save time.
There was also a bridge between the main body and ont of the pins because there had not been enough space for the milling bit to pass there. I tried to remove it, but the pin popped off. So problem solved. I'll just have 3 instead of 4 pins.
Creating a silicone mold
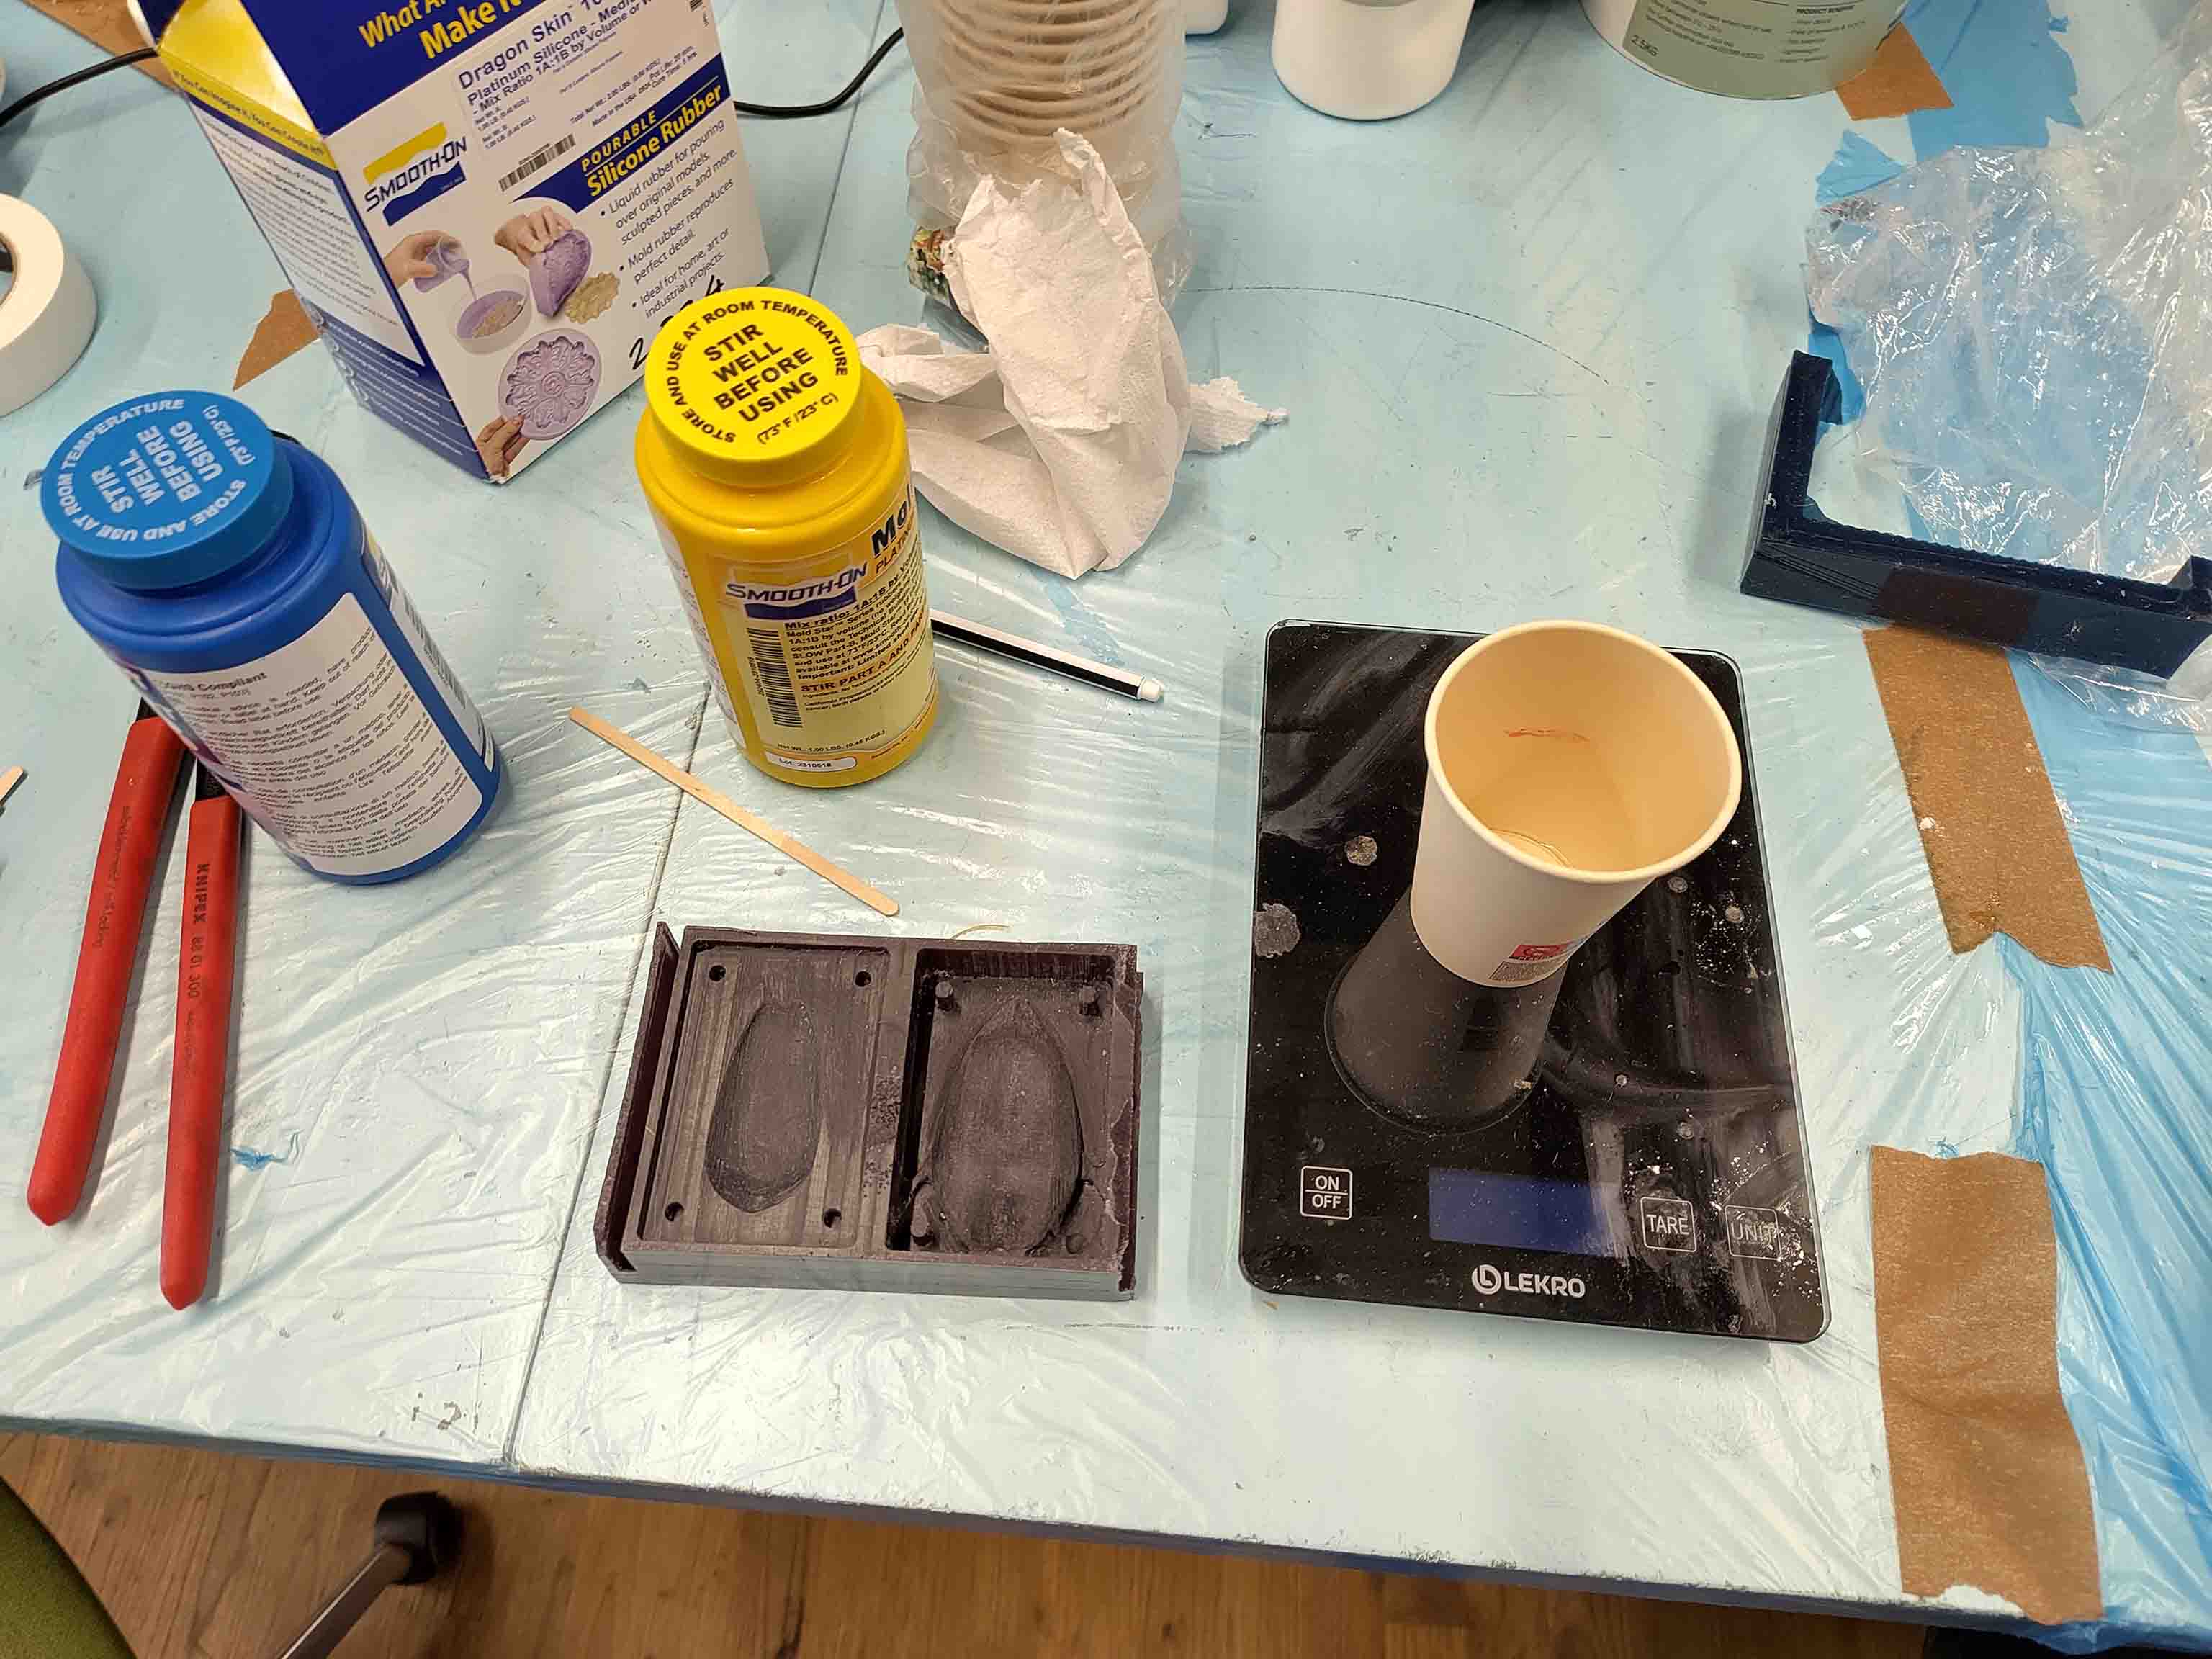
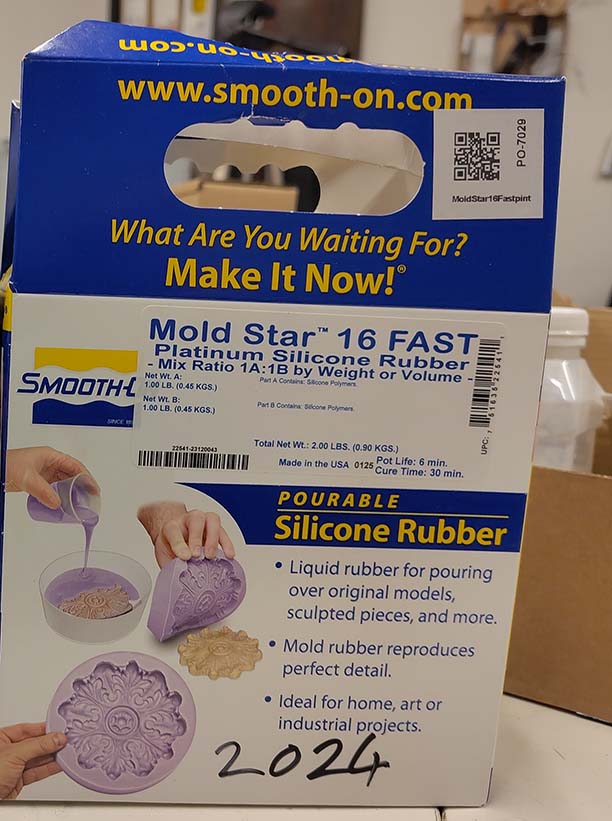
On to creating a silicone mold. I used Mold star 16 fast by Smooth-On, since this one has a short curing time of 30 minutes.
Making sure to wear gloves for this part.
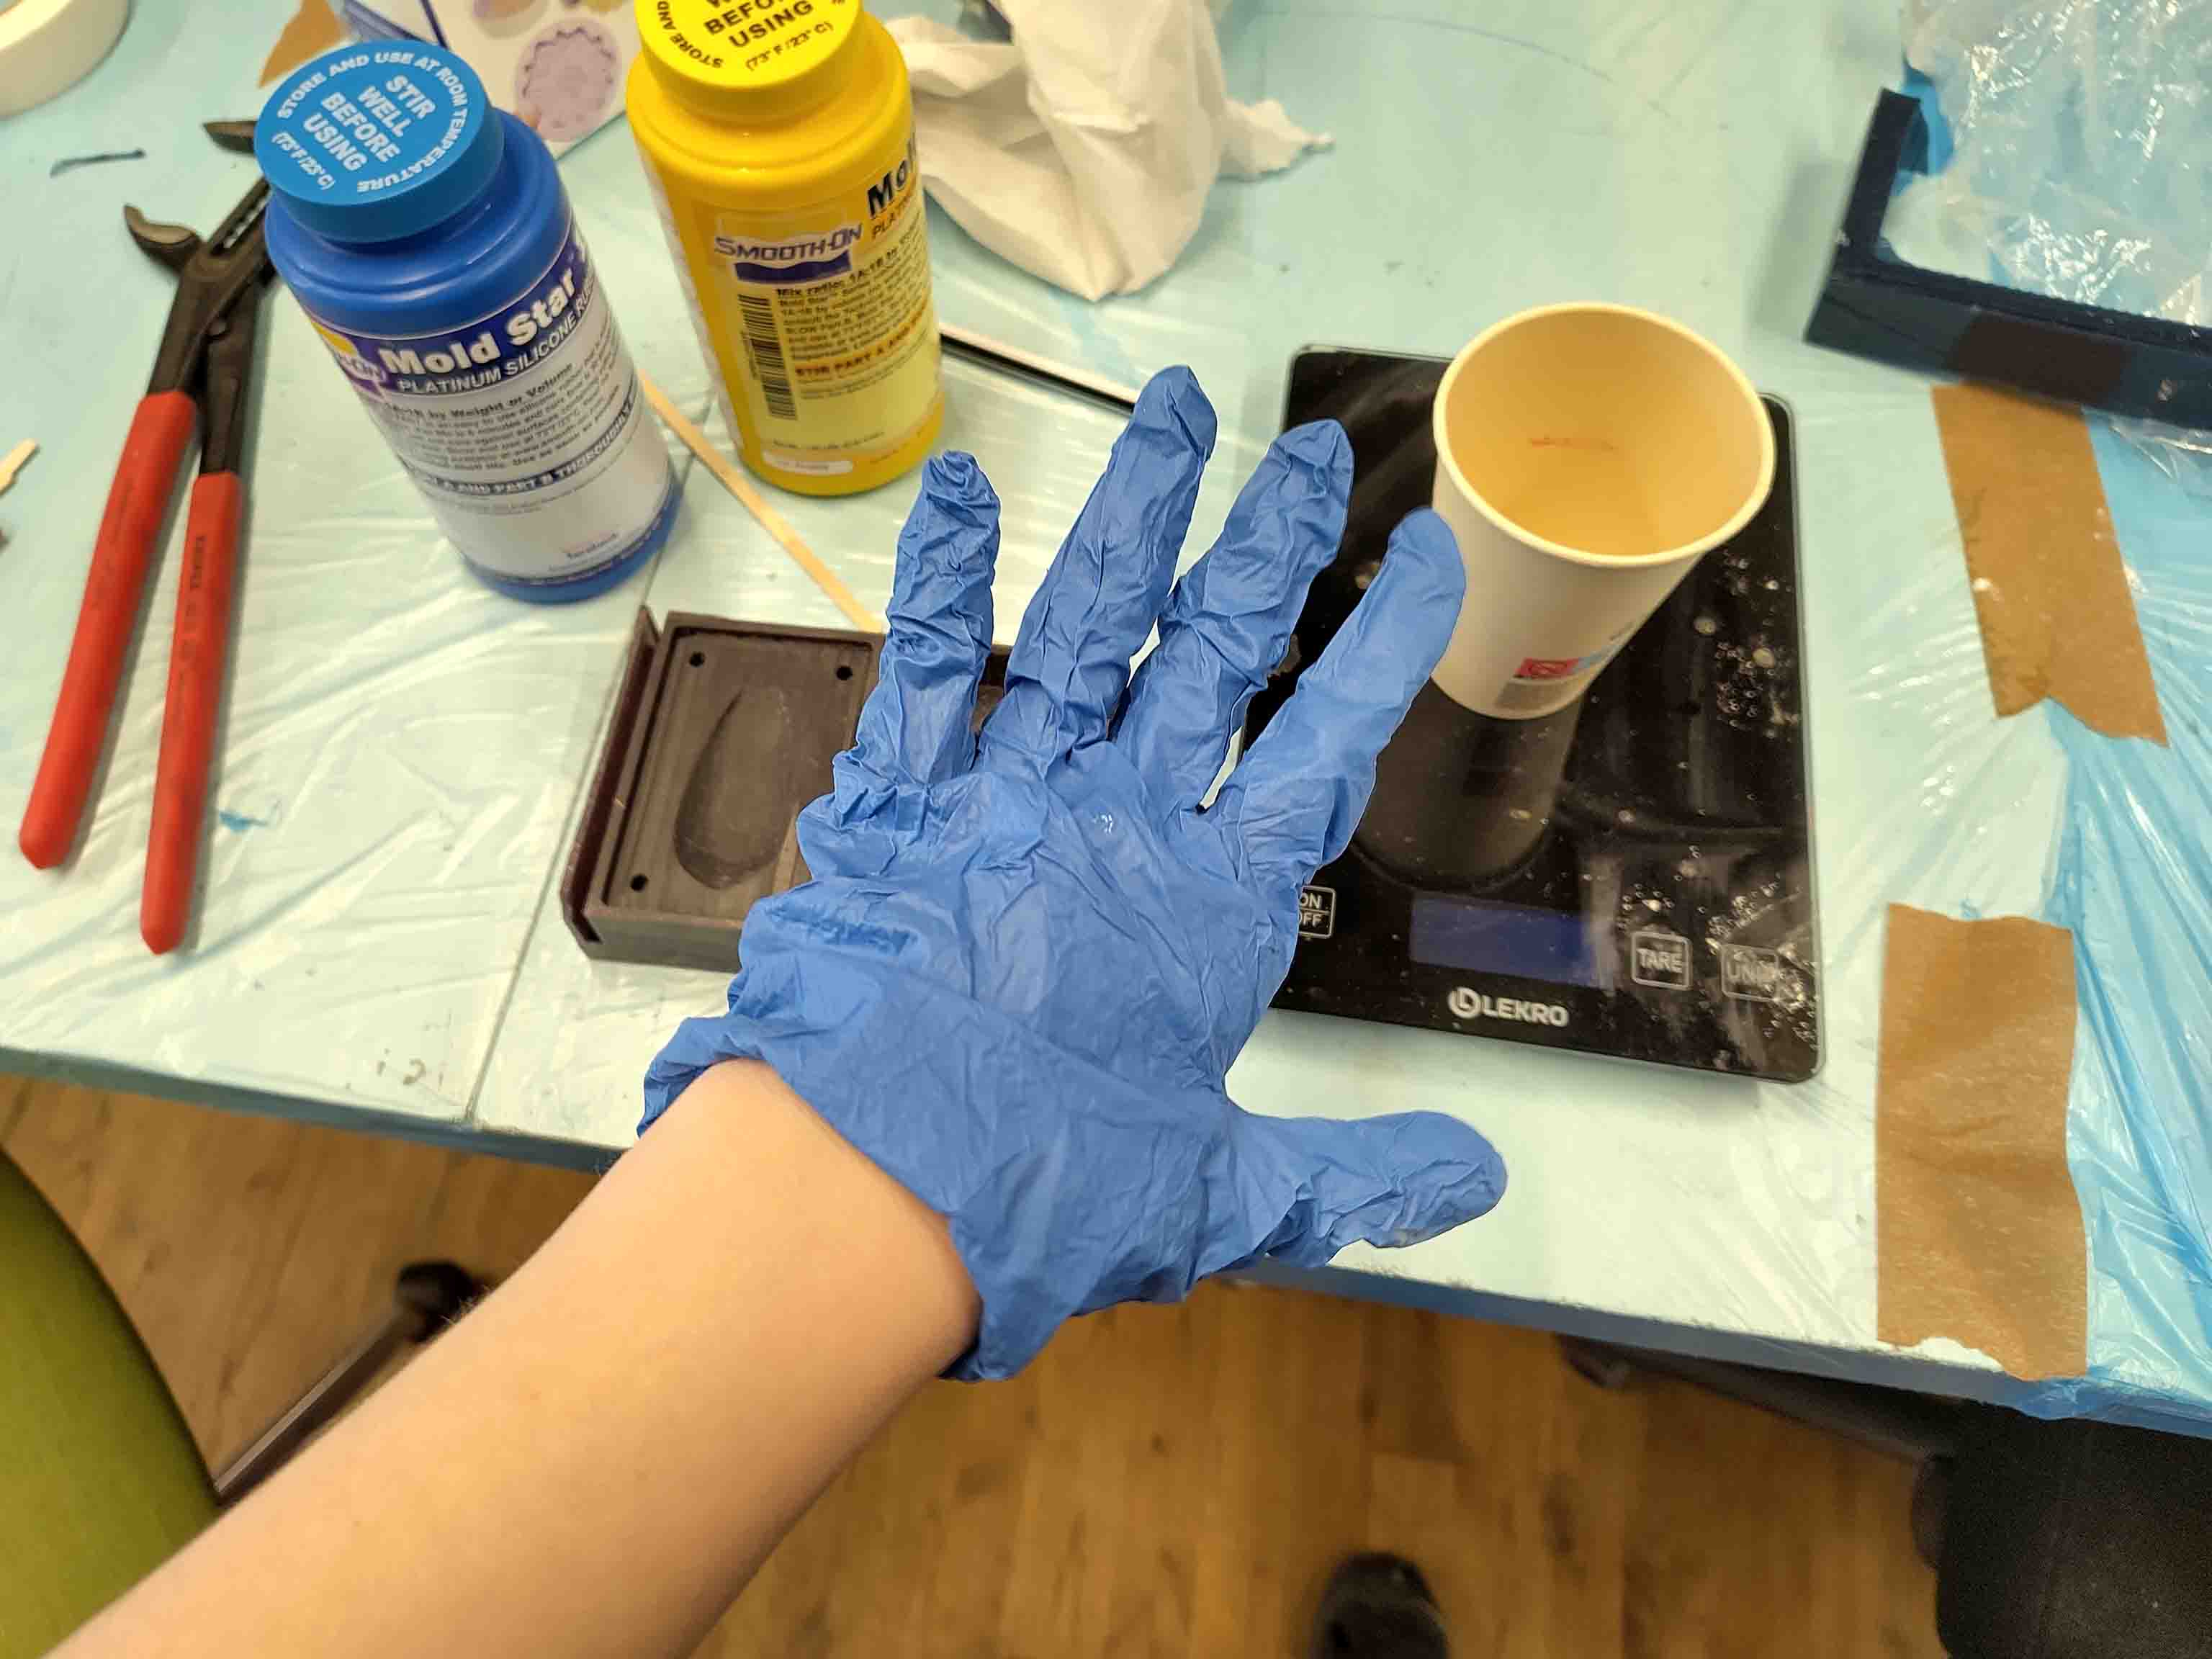
Pot Life: 6 min Cure time: 30 minutes Wear gloves Ratio 1A:1B weight/volume
I first filled by wax mold with water and poured it into a cup to see what volume I was working with. Turnes out I should have made a bit extra and also made the walls on the wx mold higher.

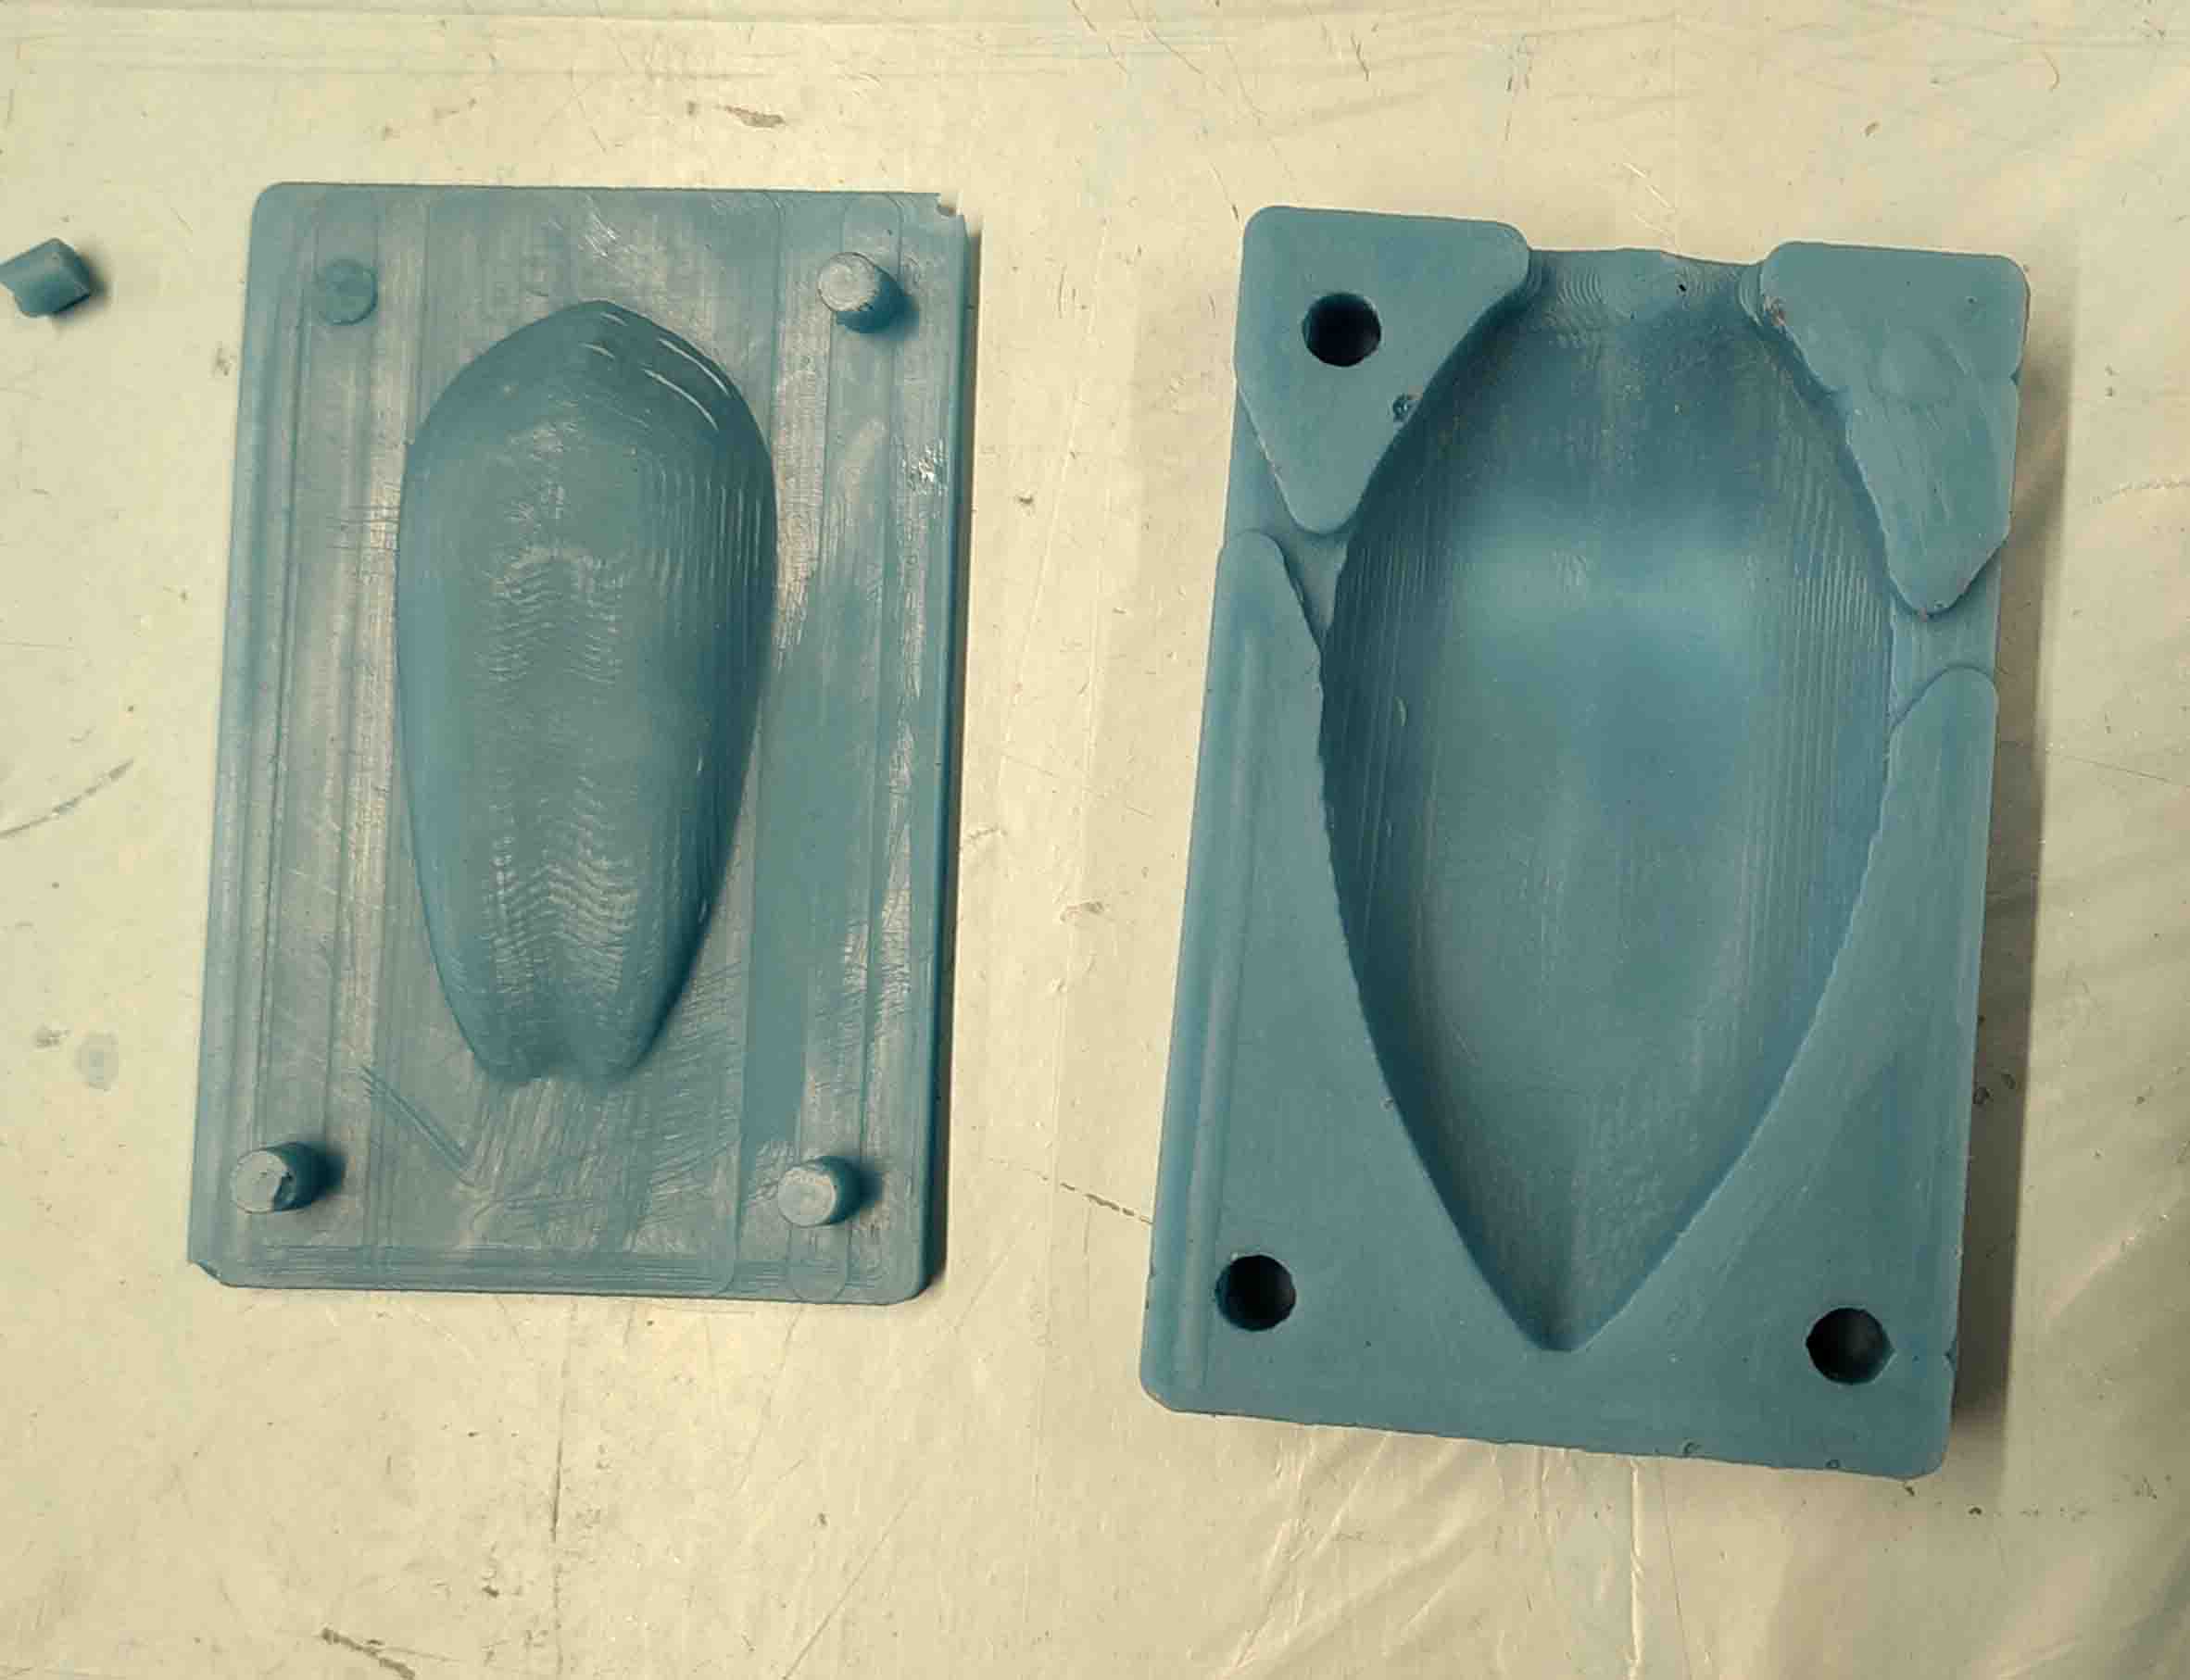
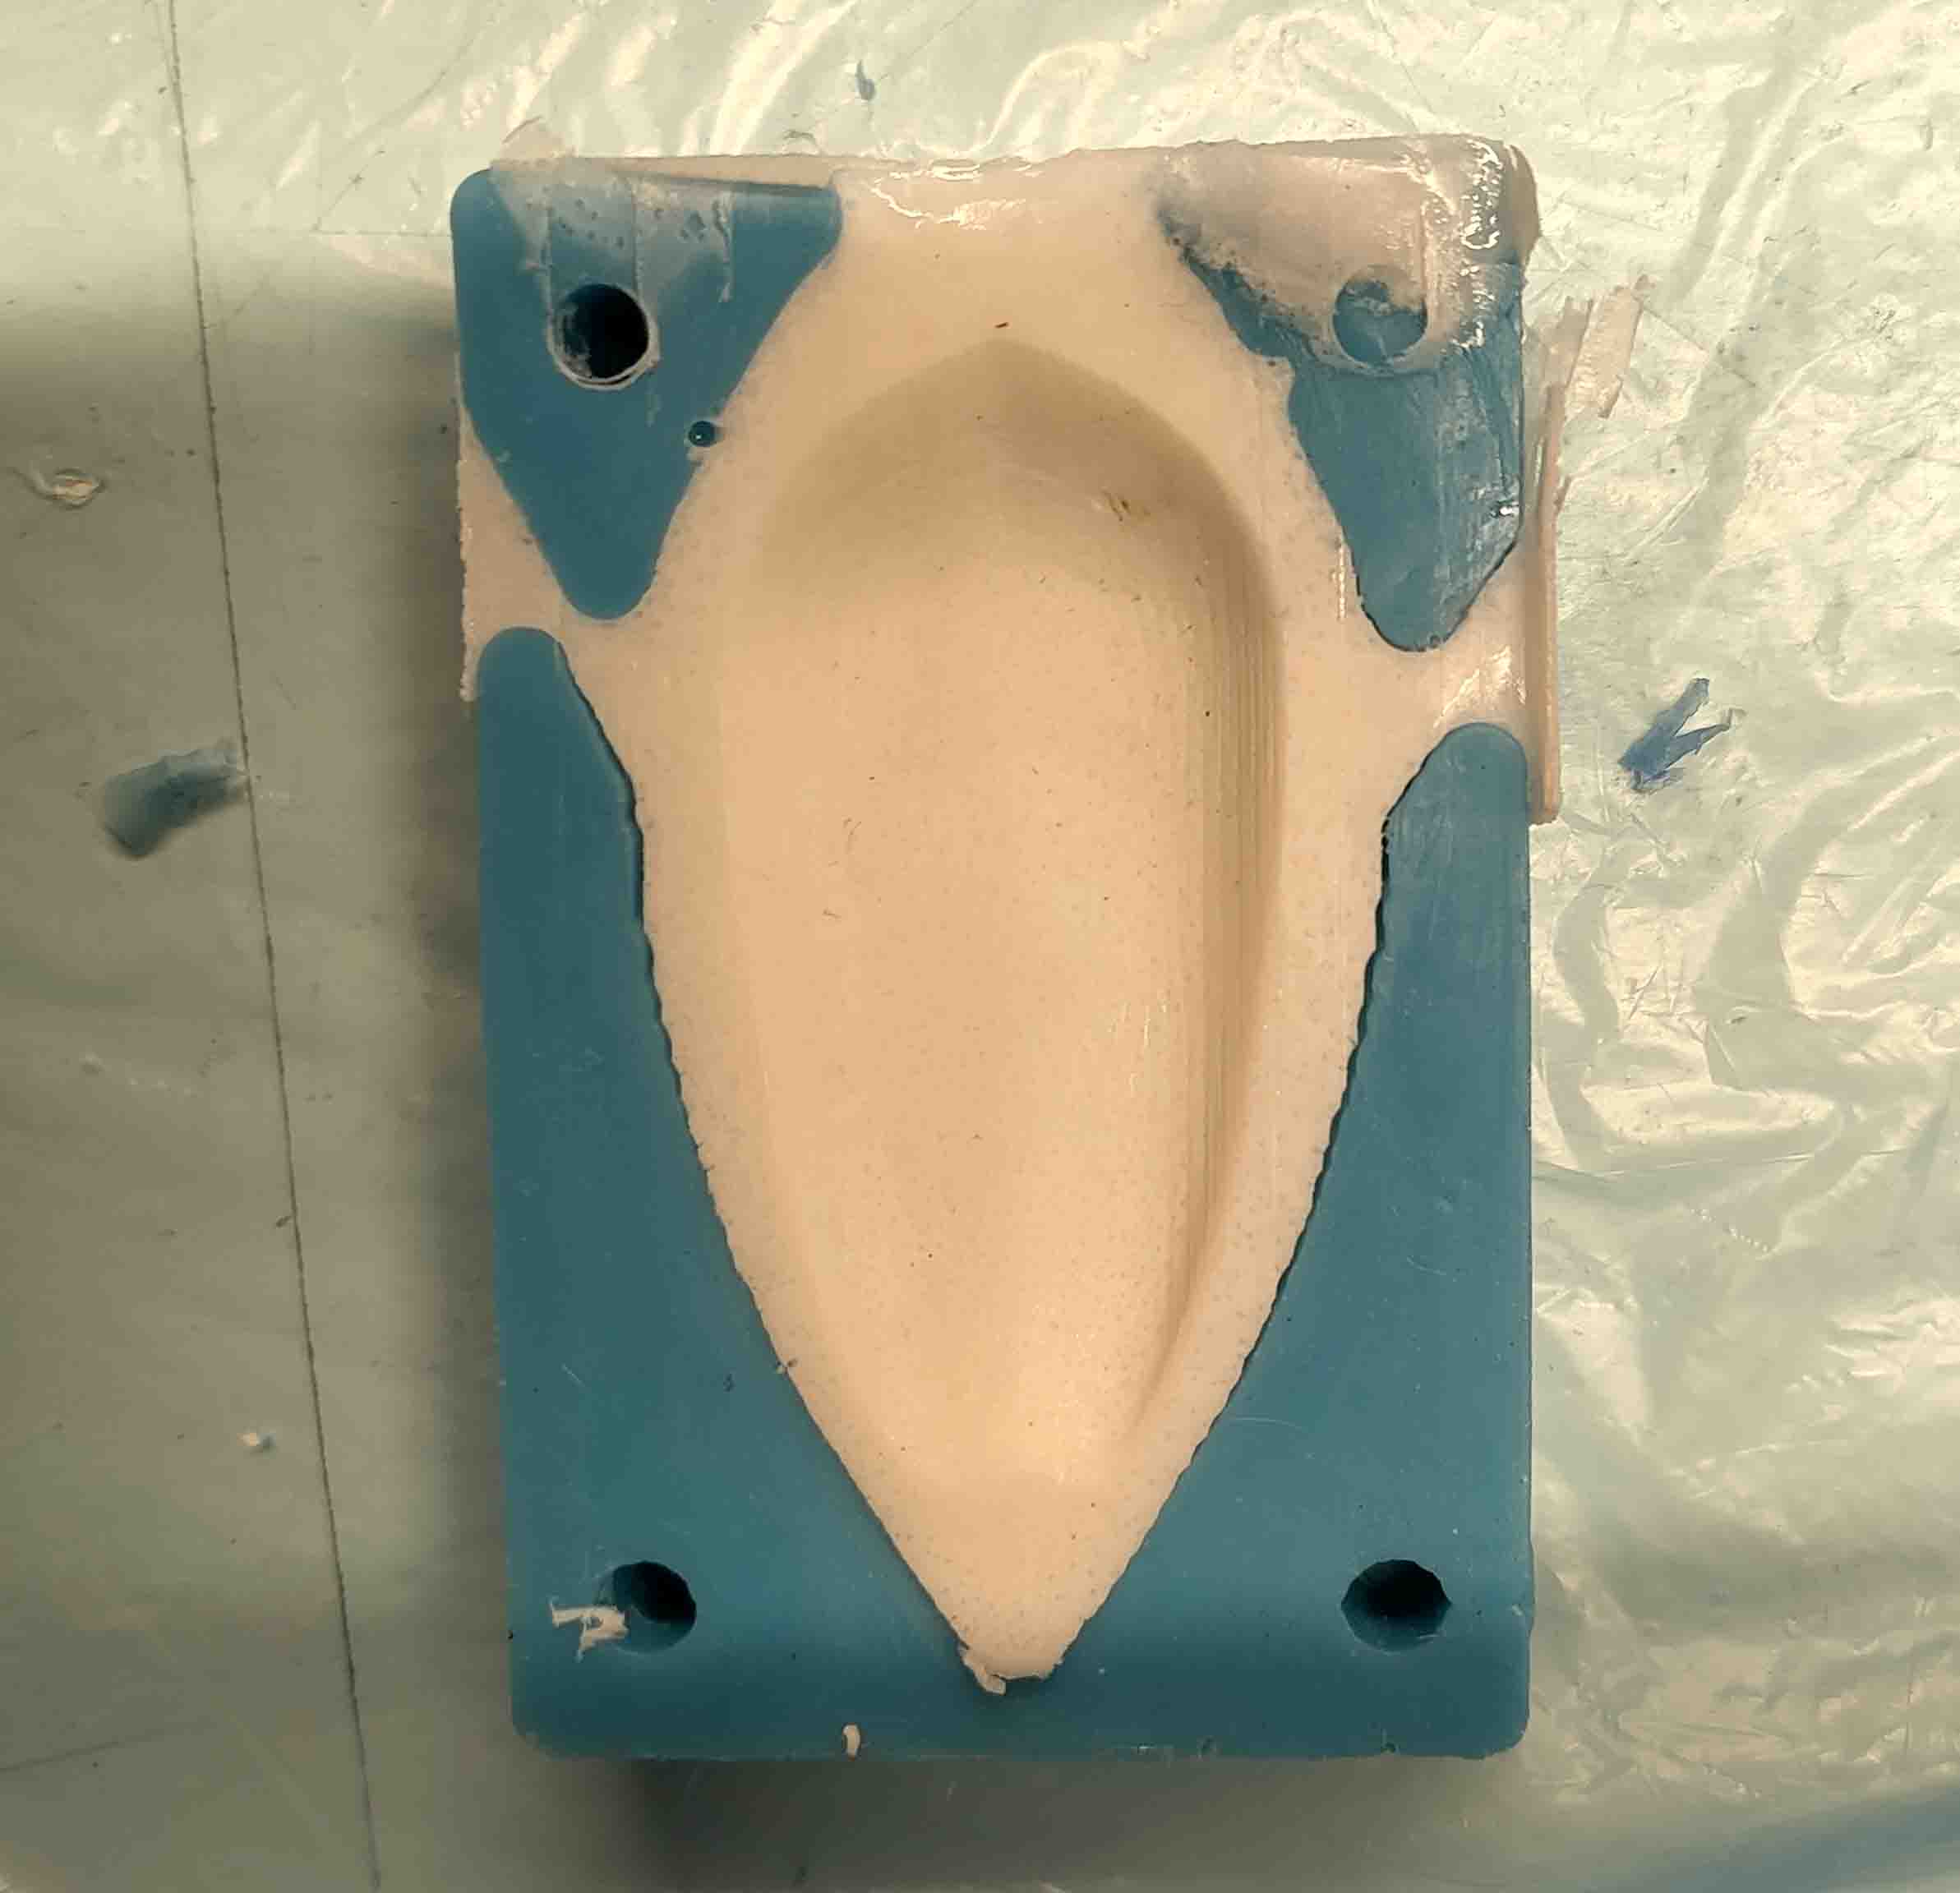
I'm not sure thin covers just how little material is keeping the back of this mold together. \
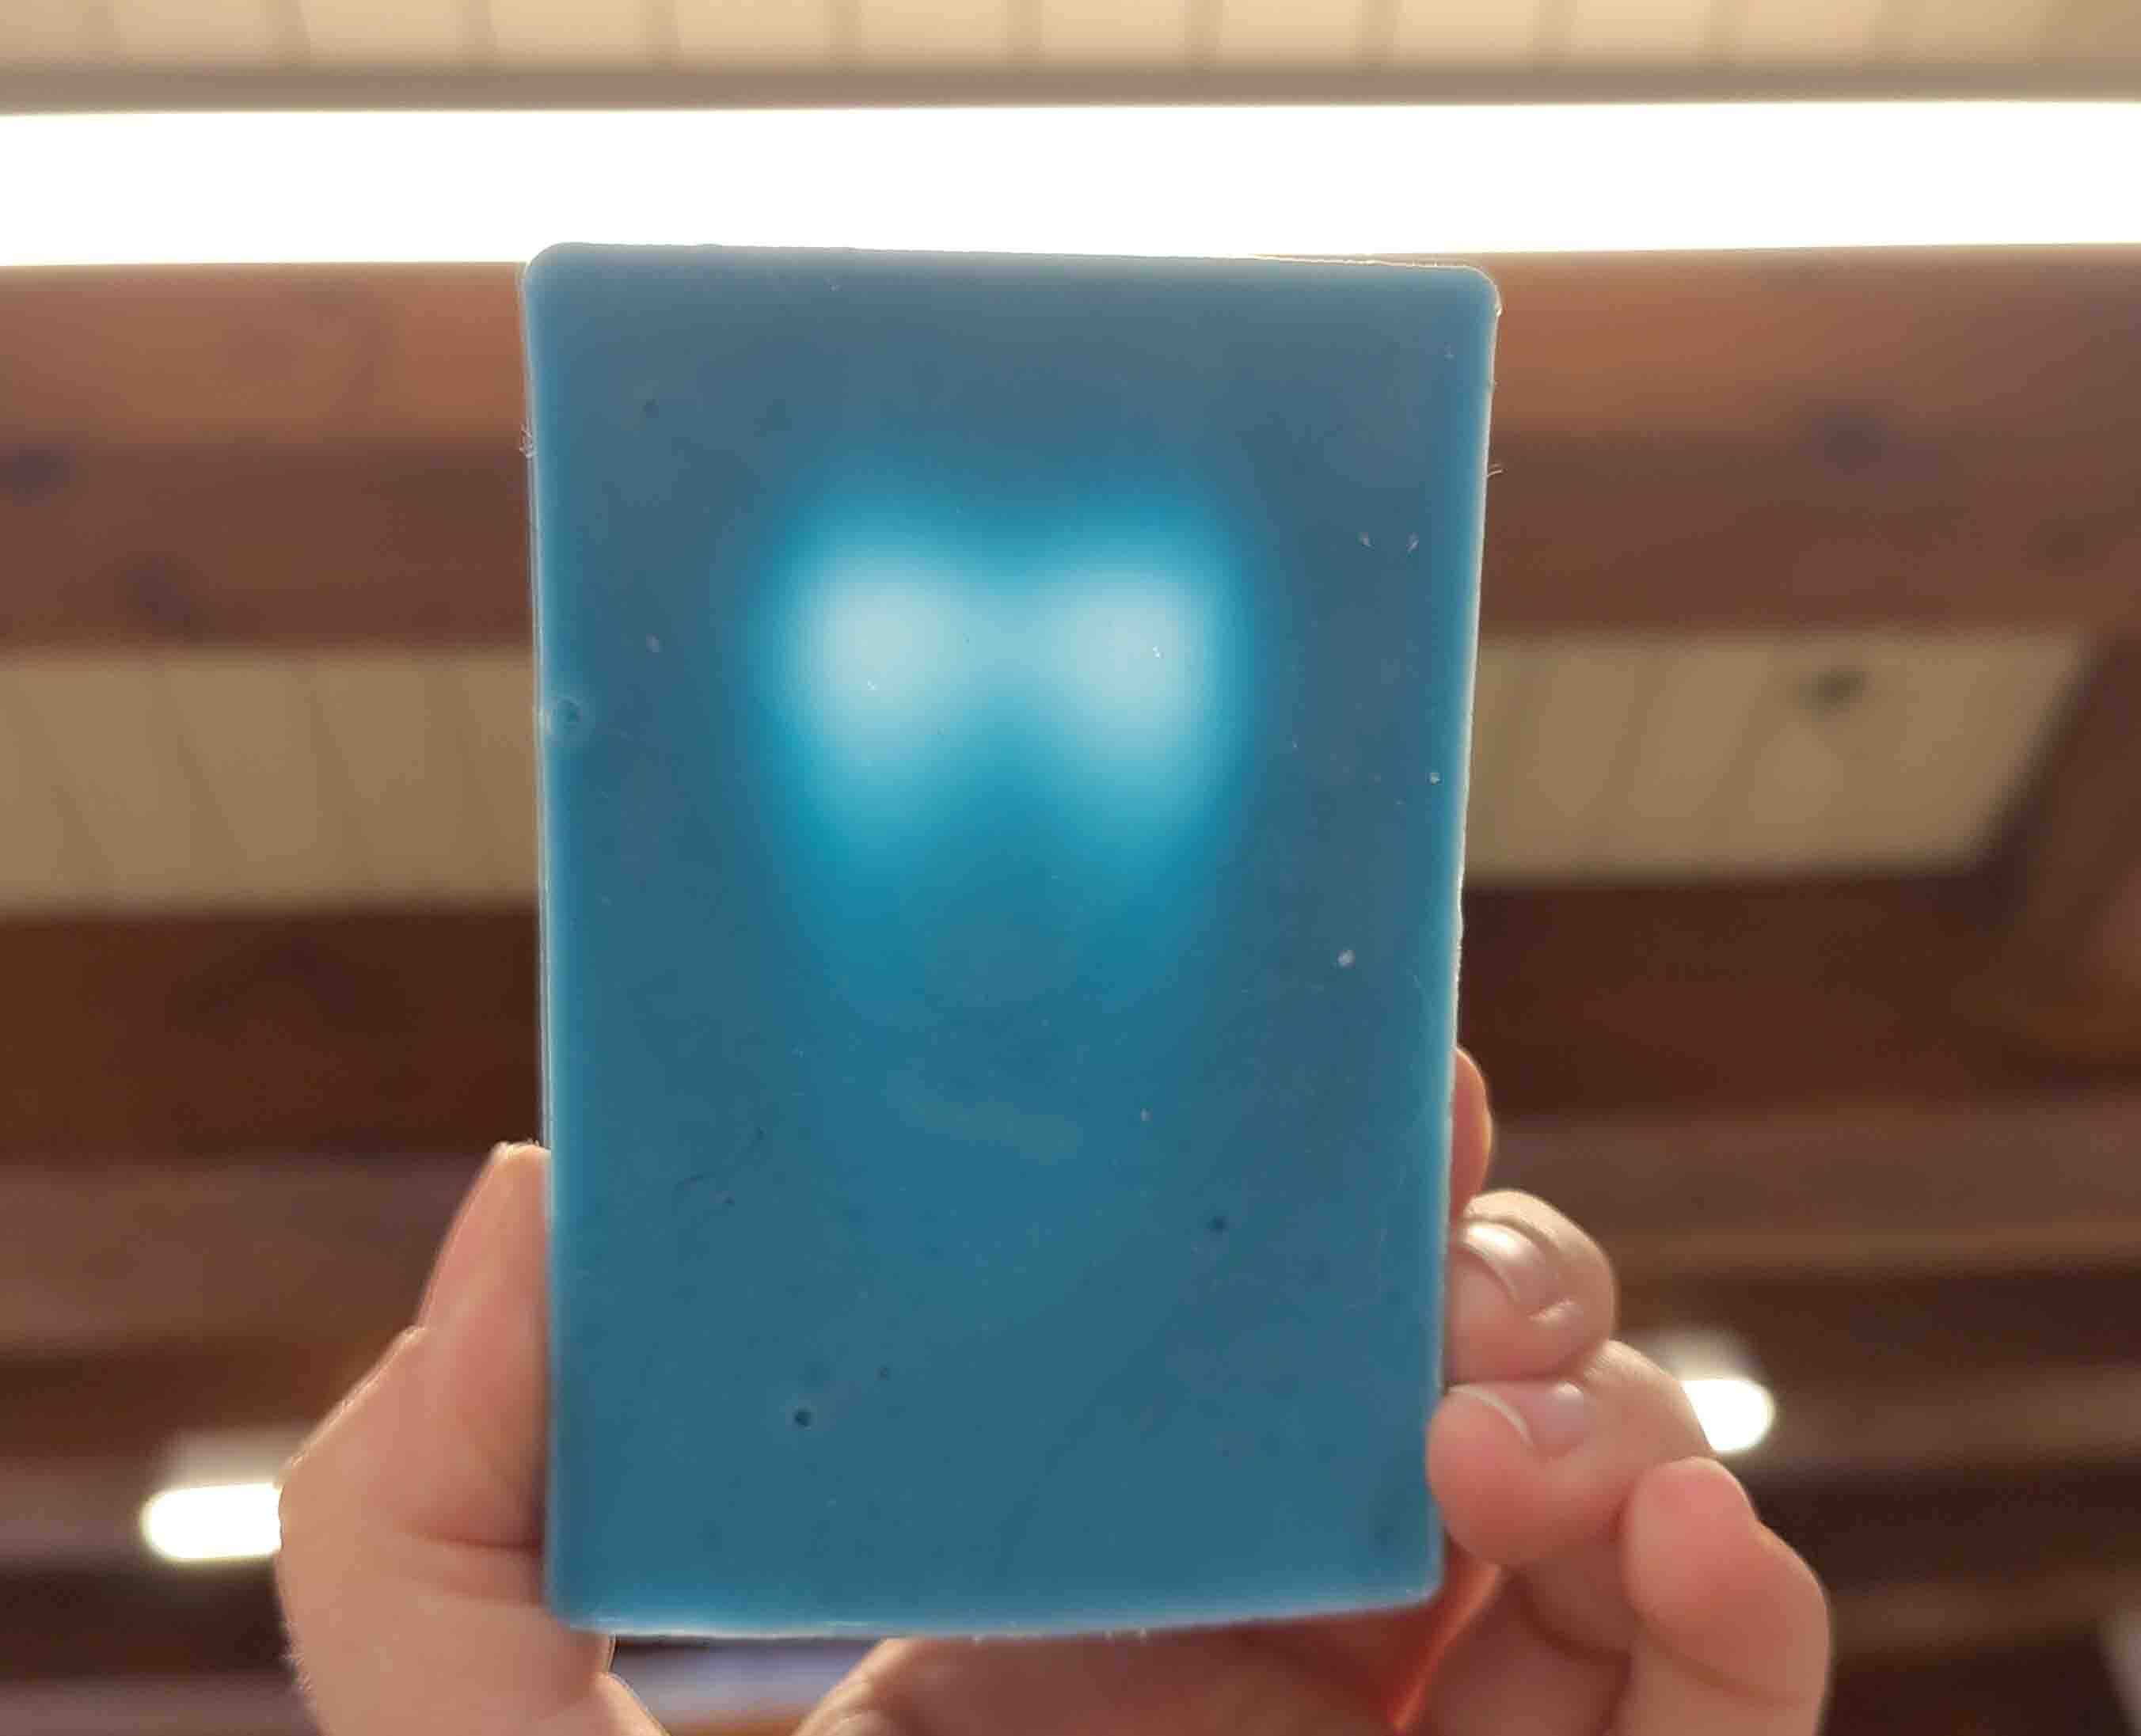
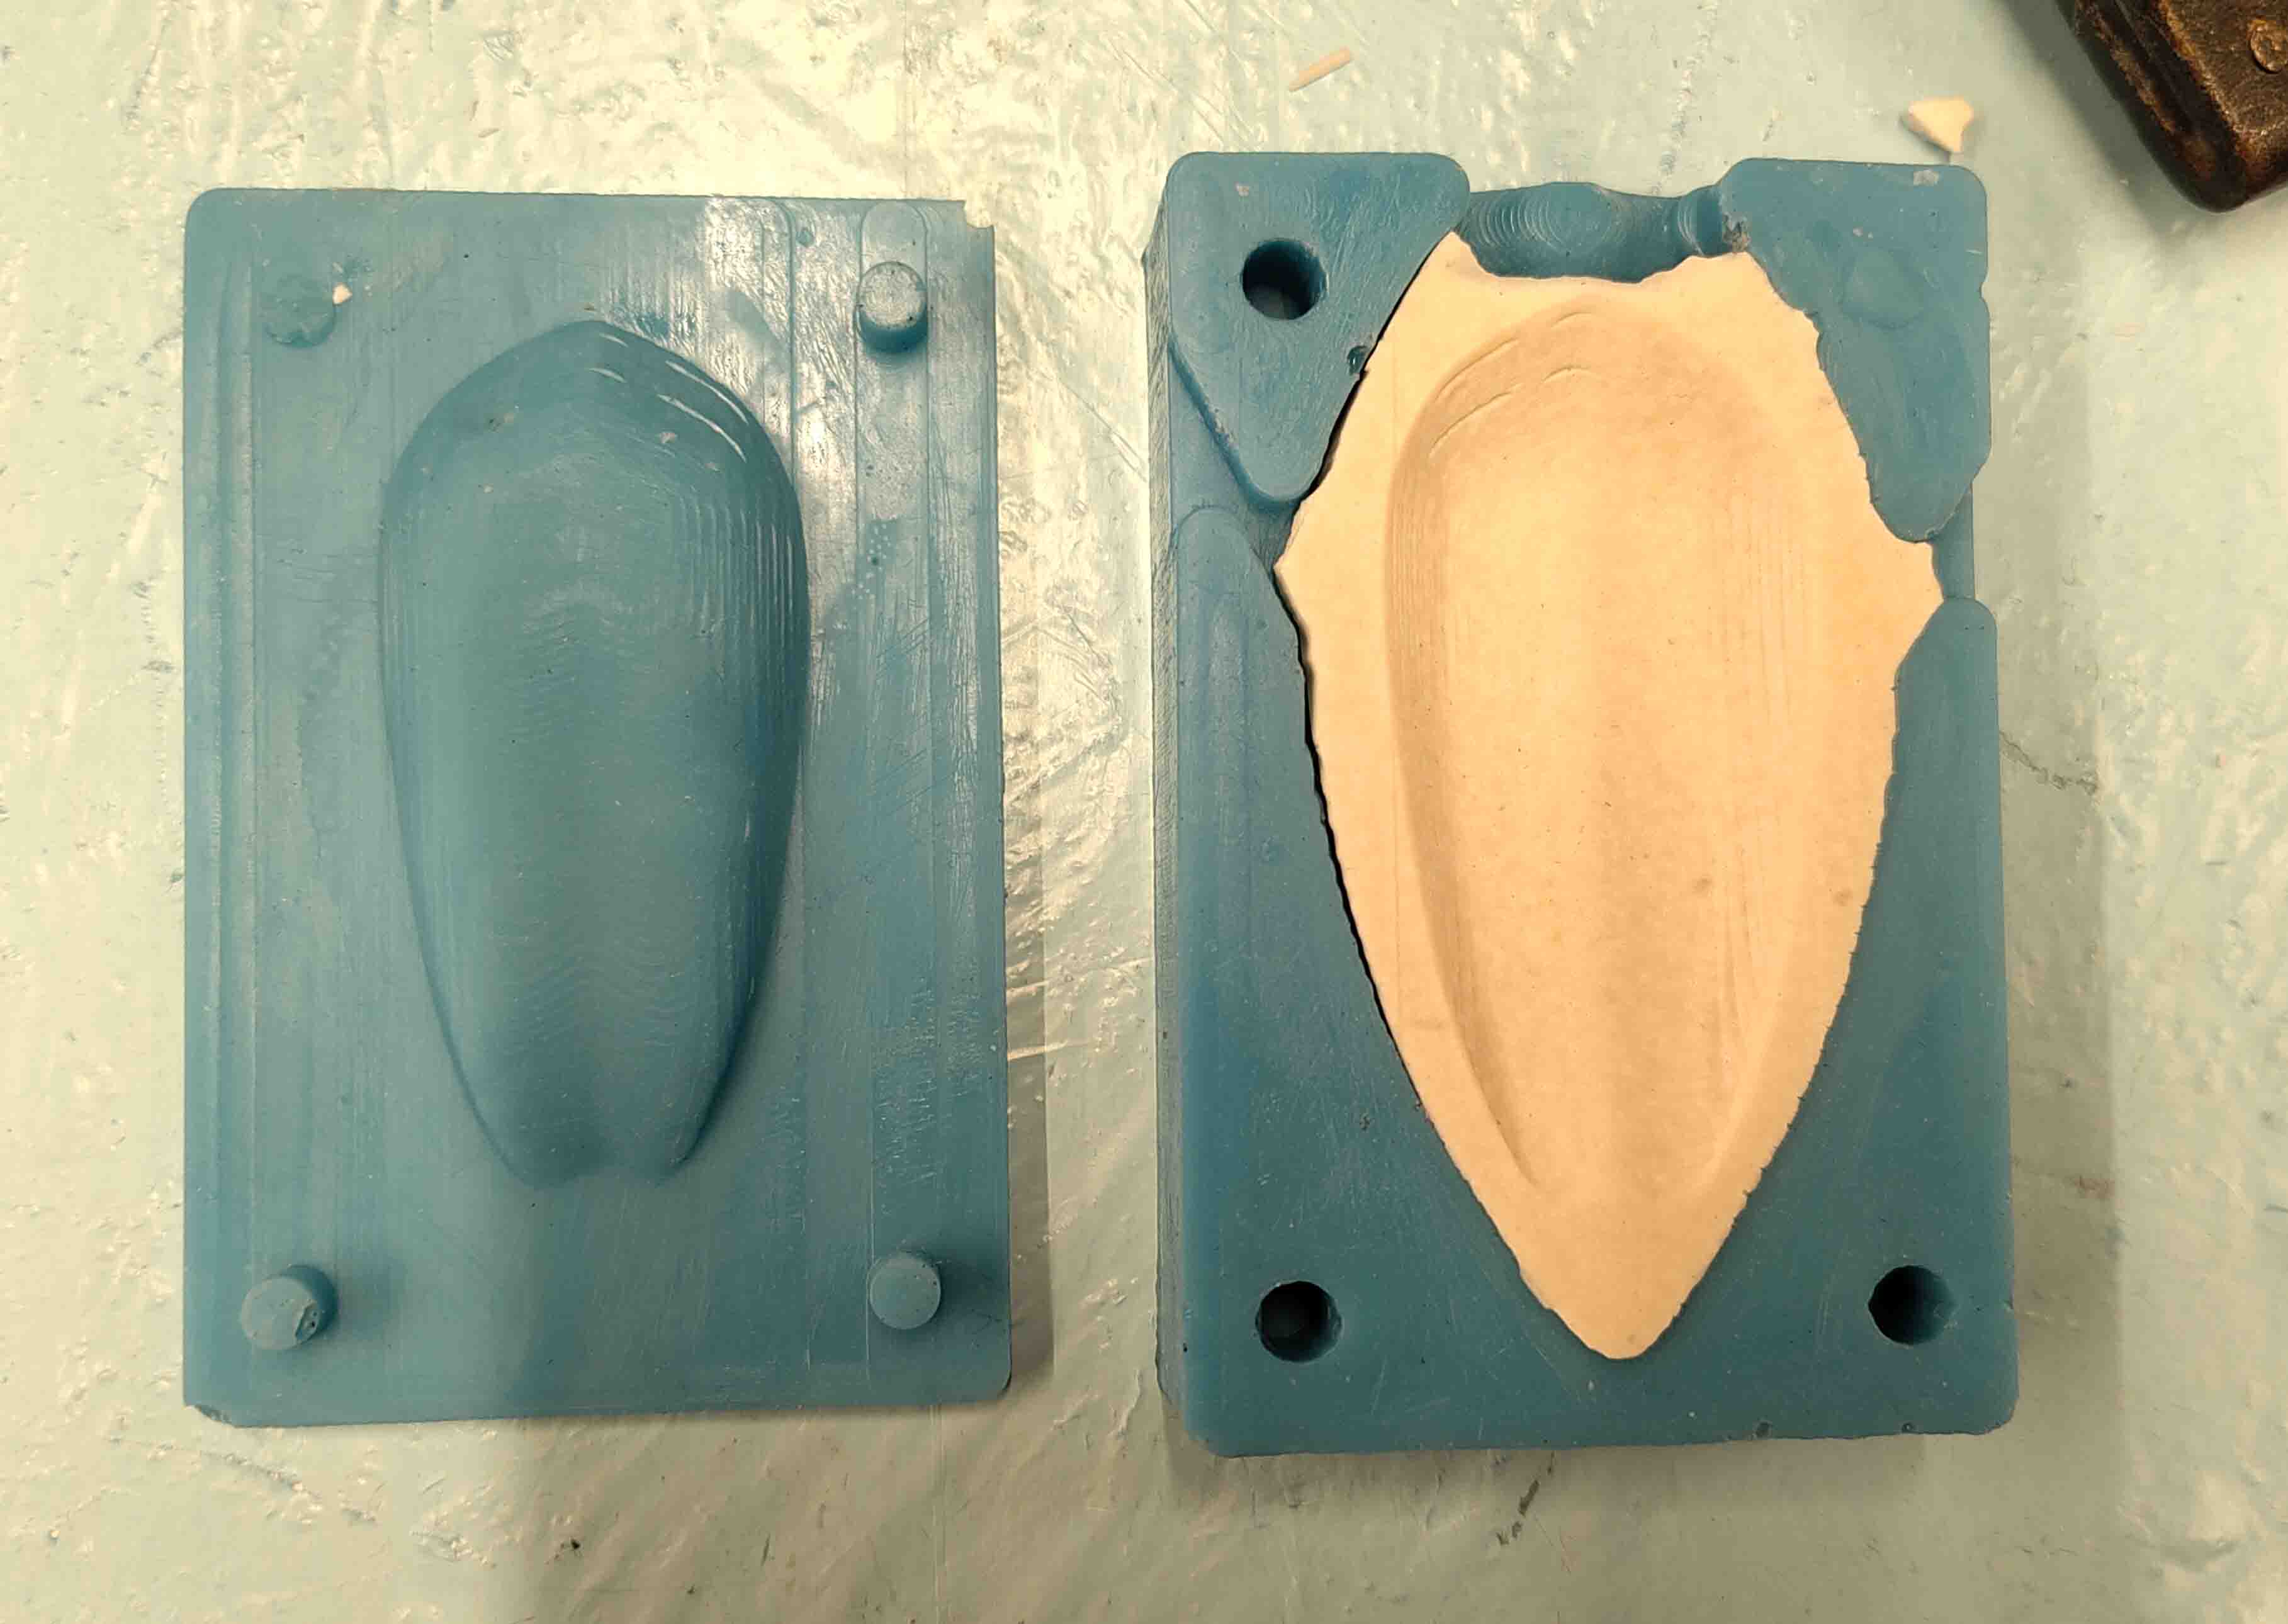
Here is the result:
Casting Jesmonite
My first test was with Jesmonite 100AC. But first I sprayed the mold with a release agent.

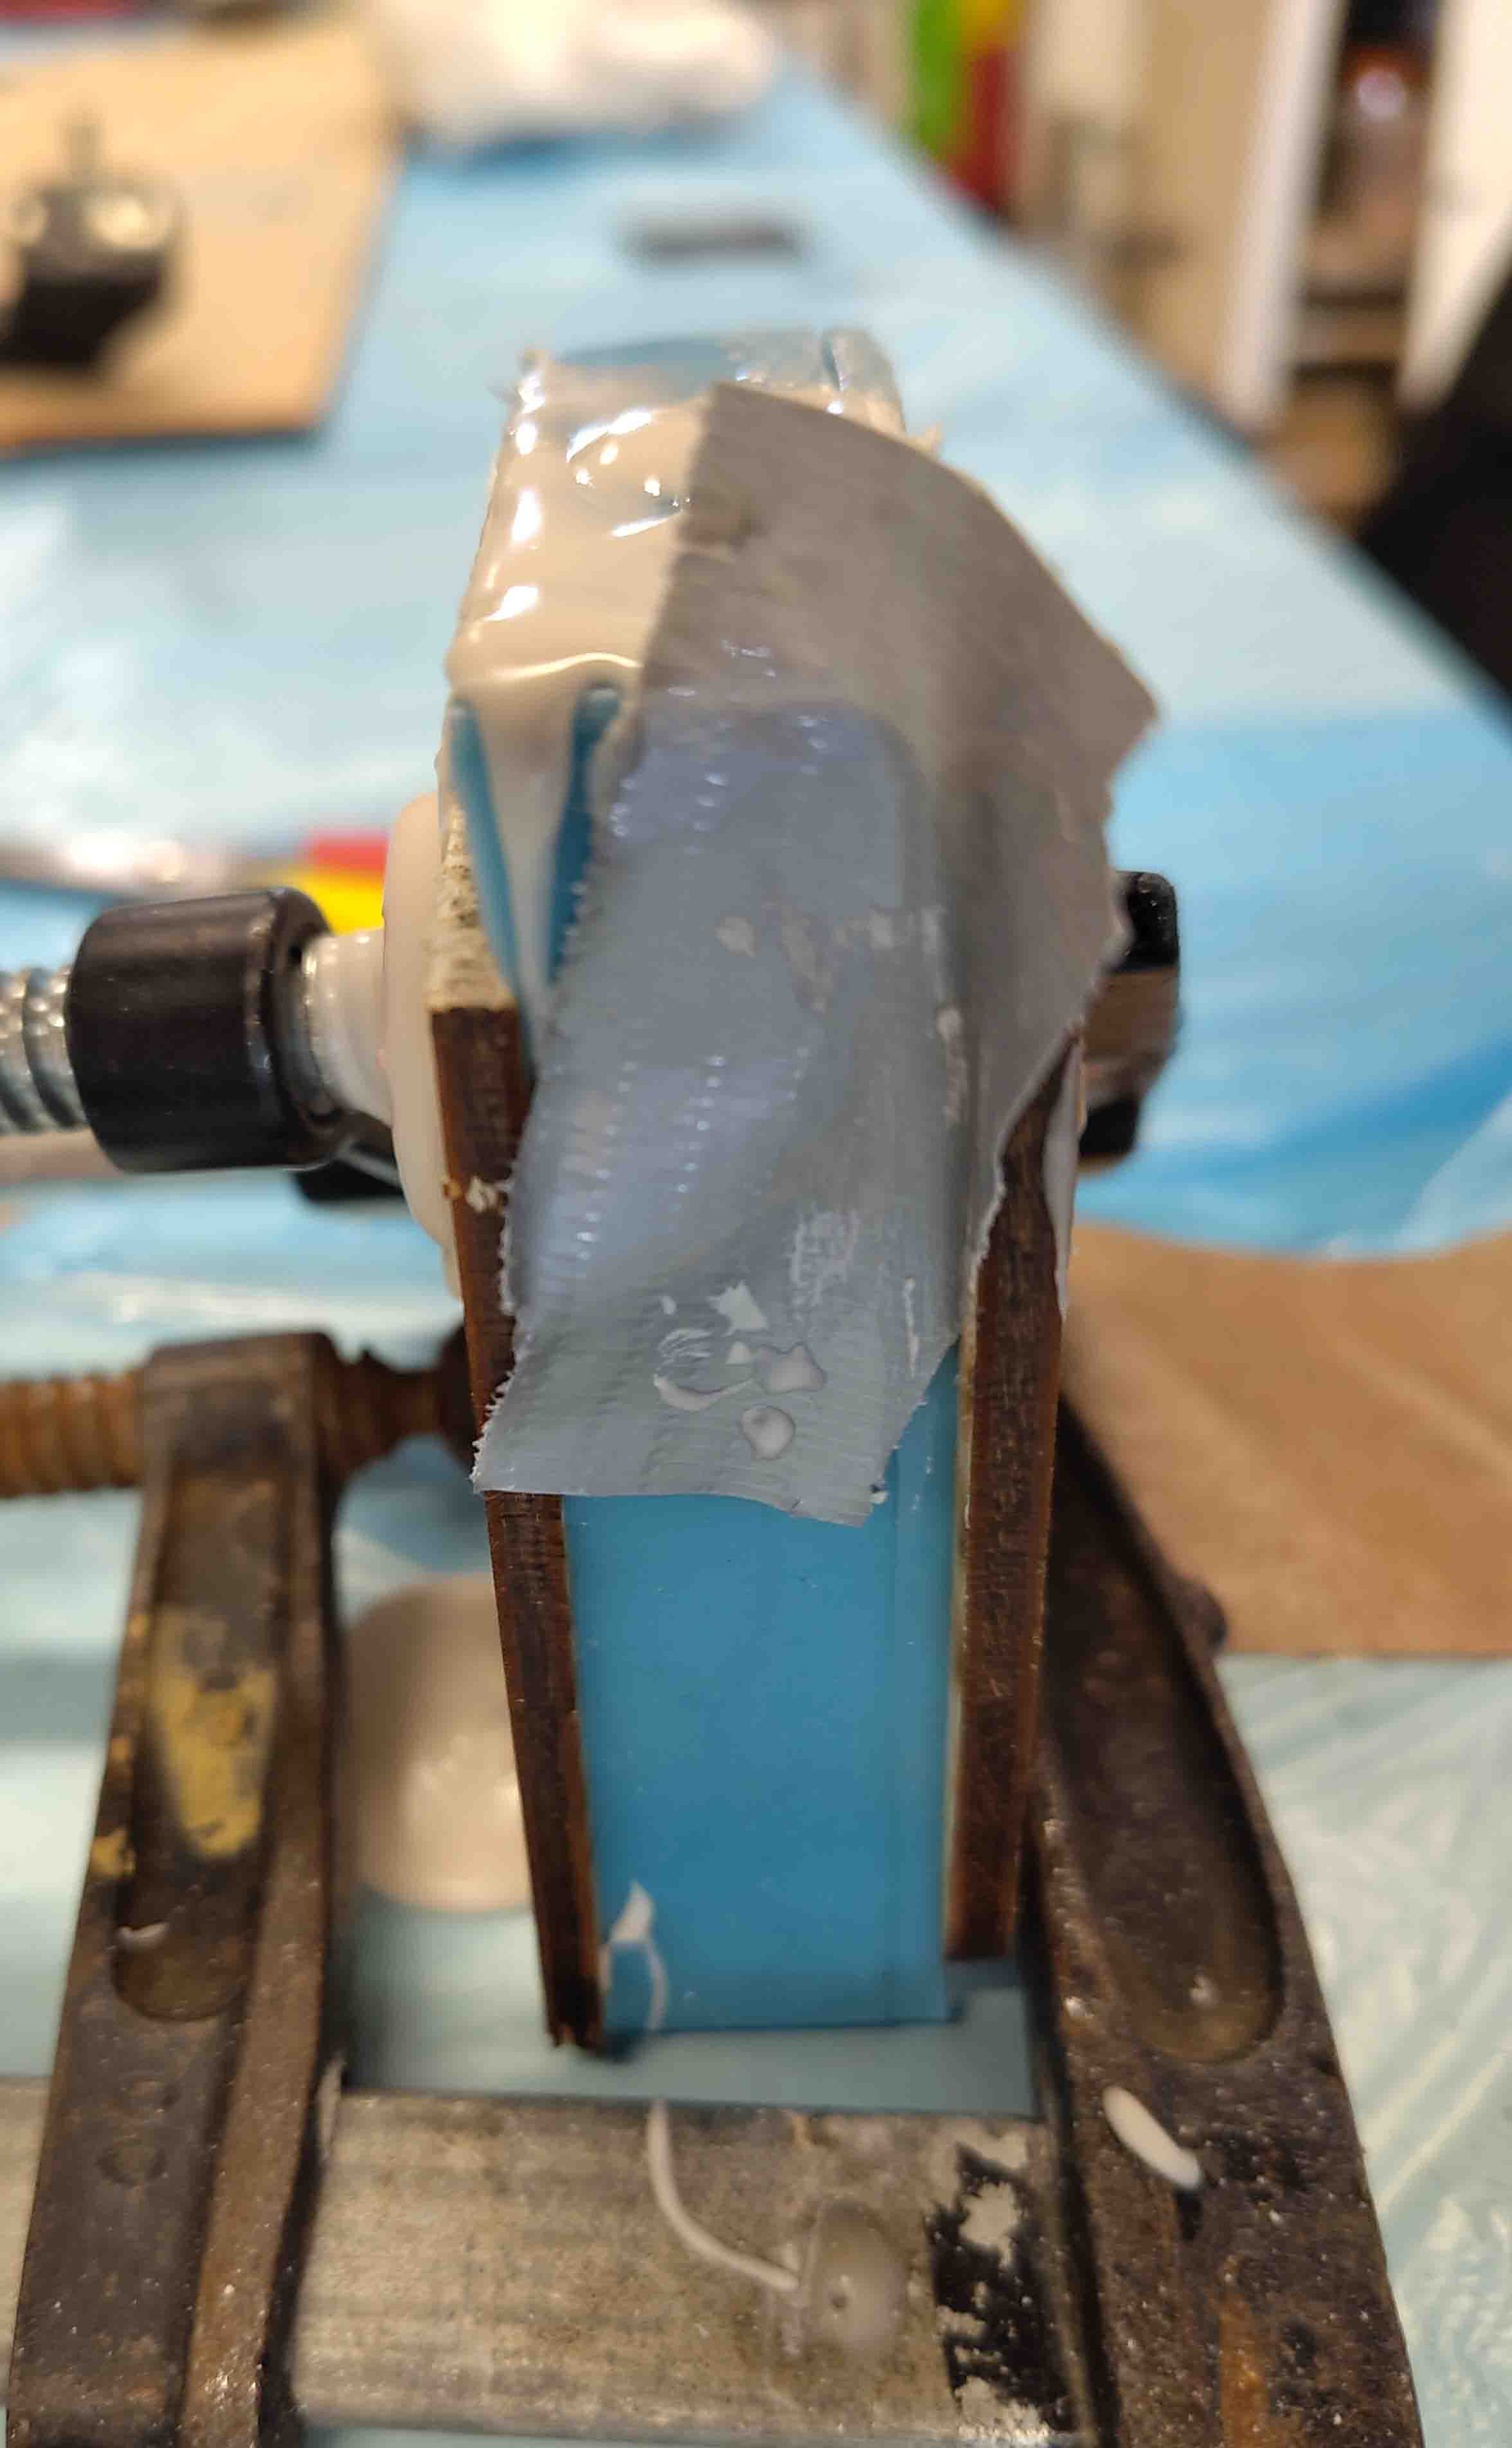
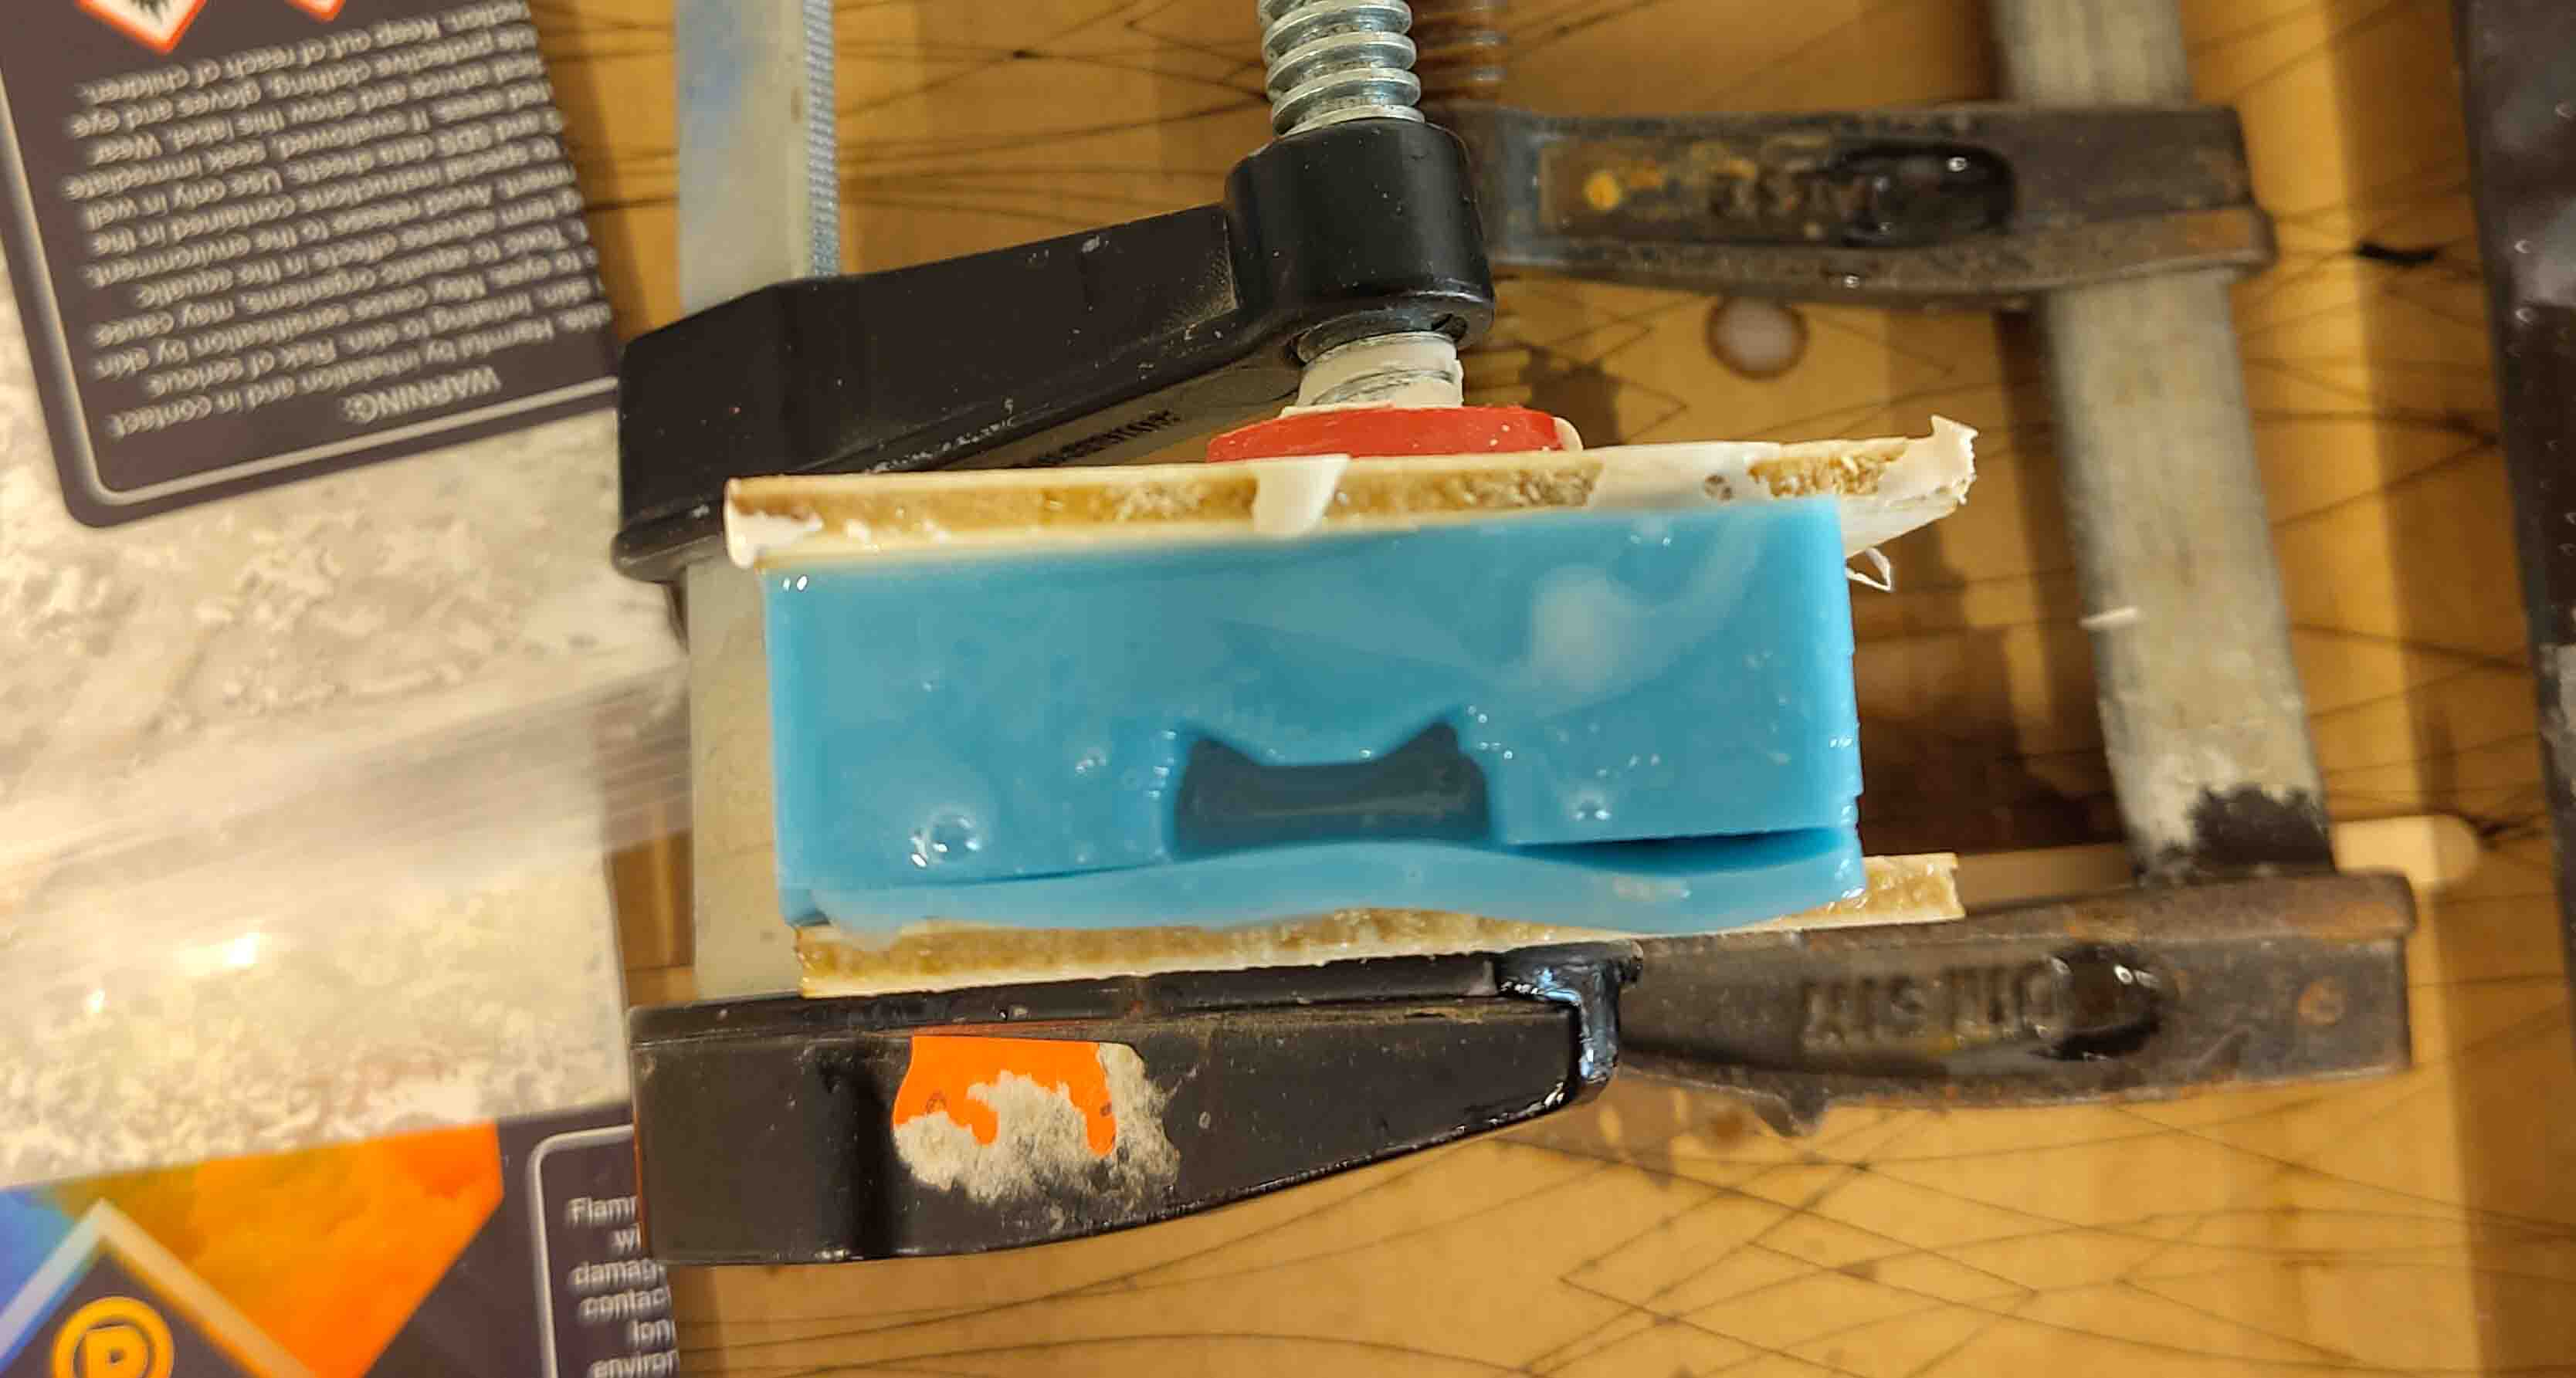
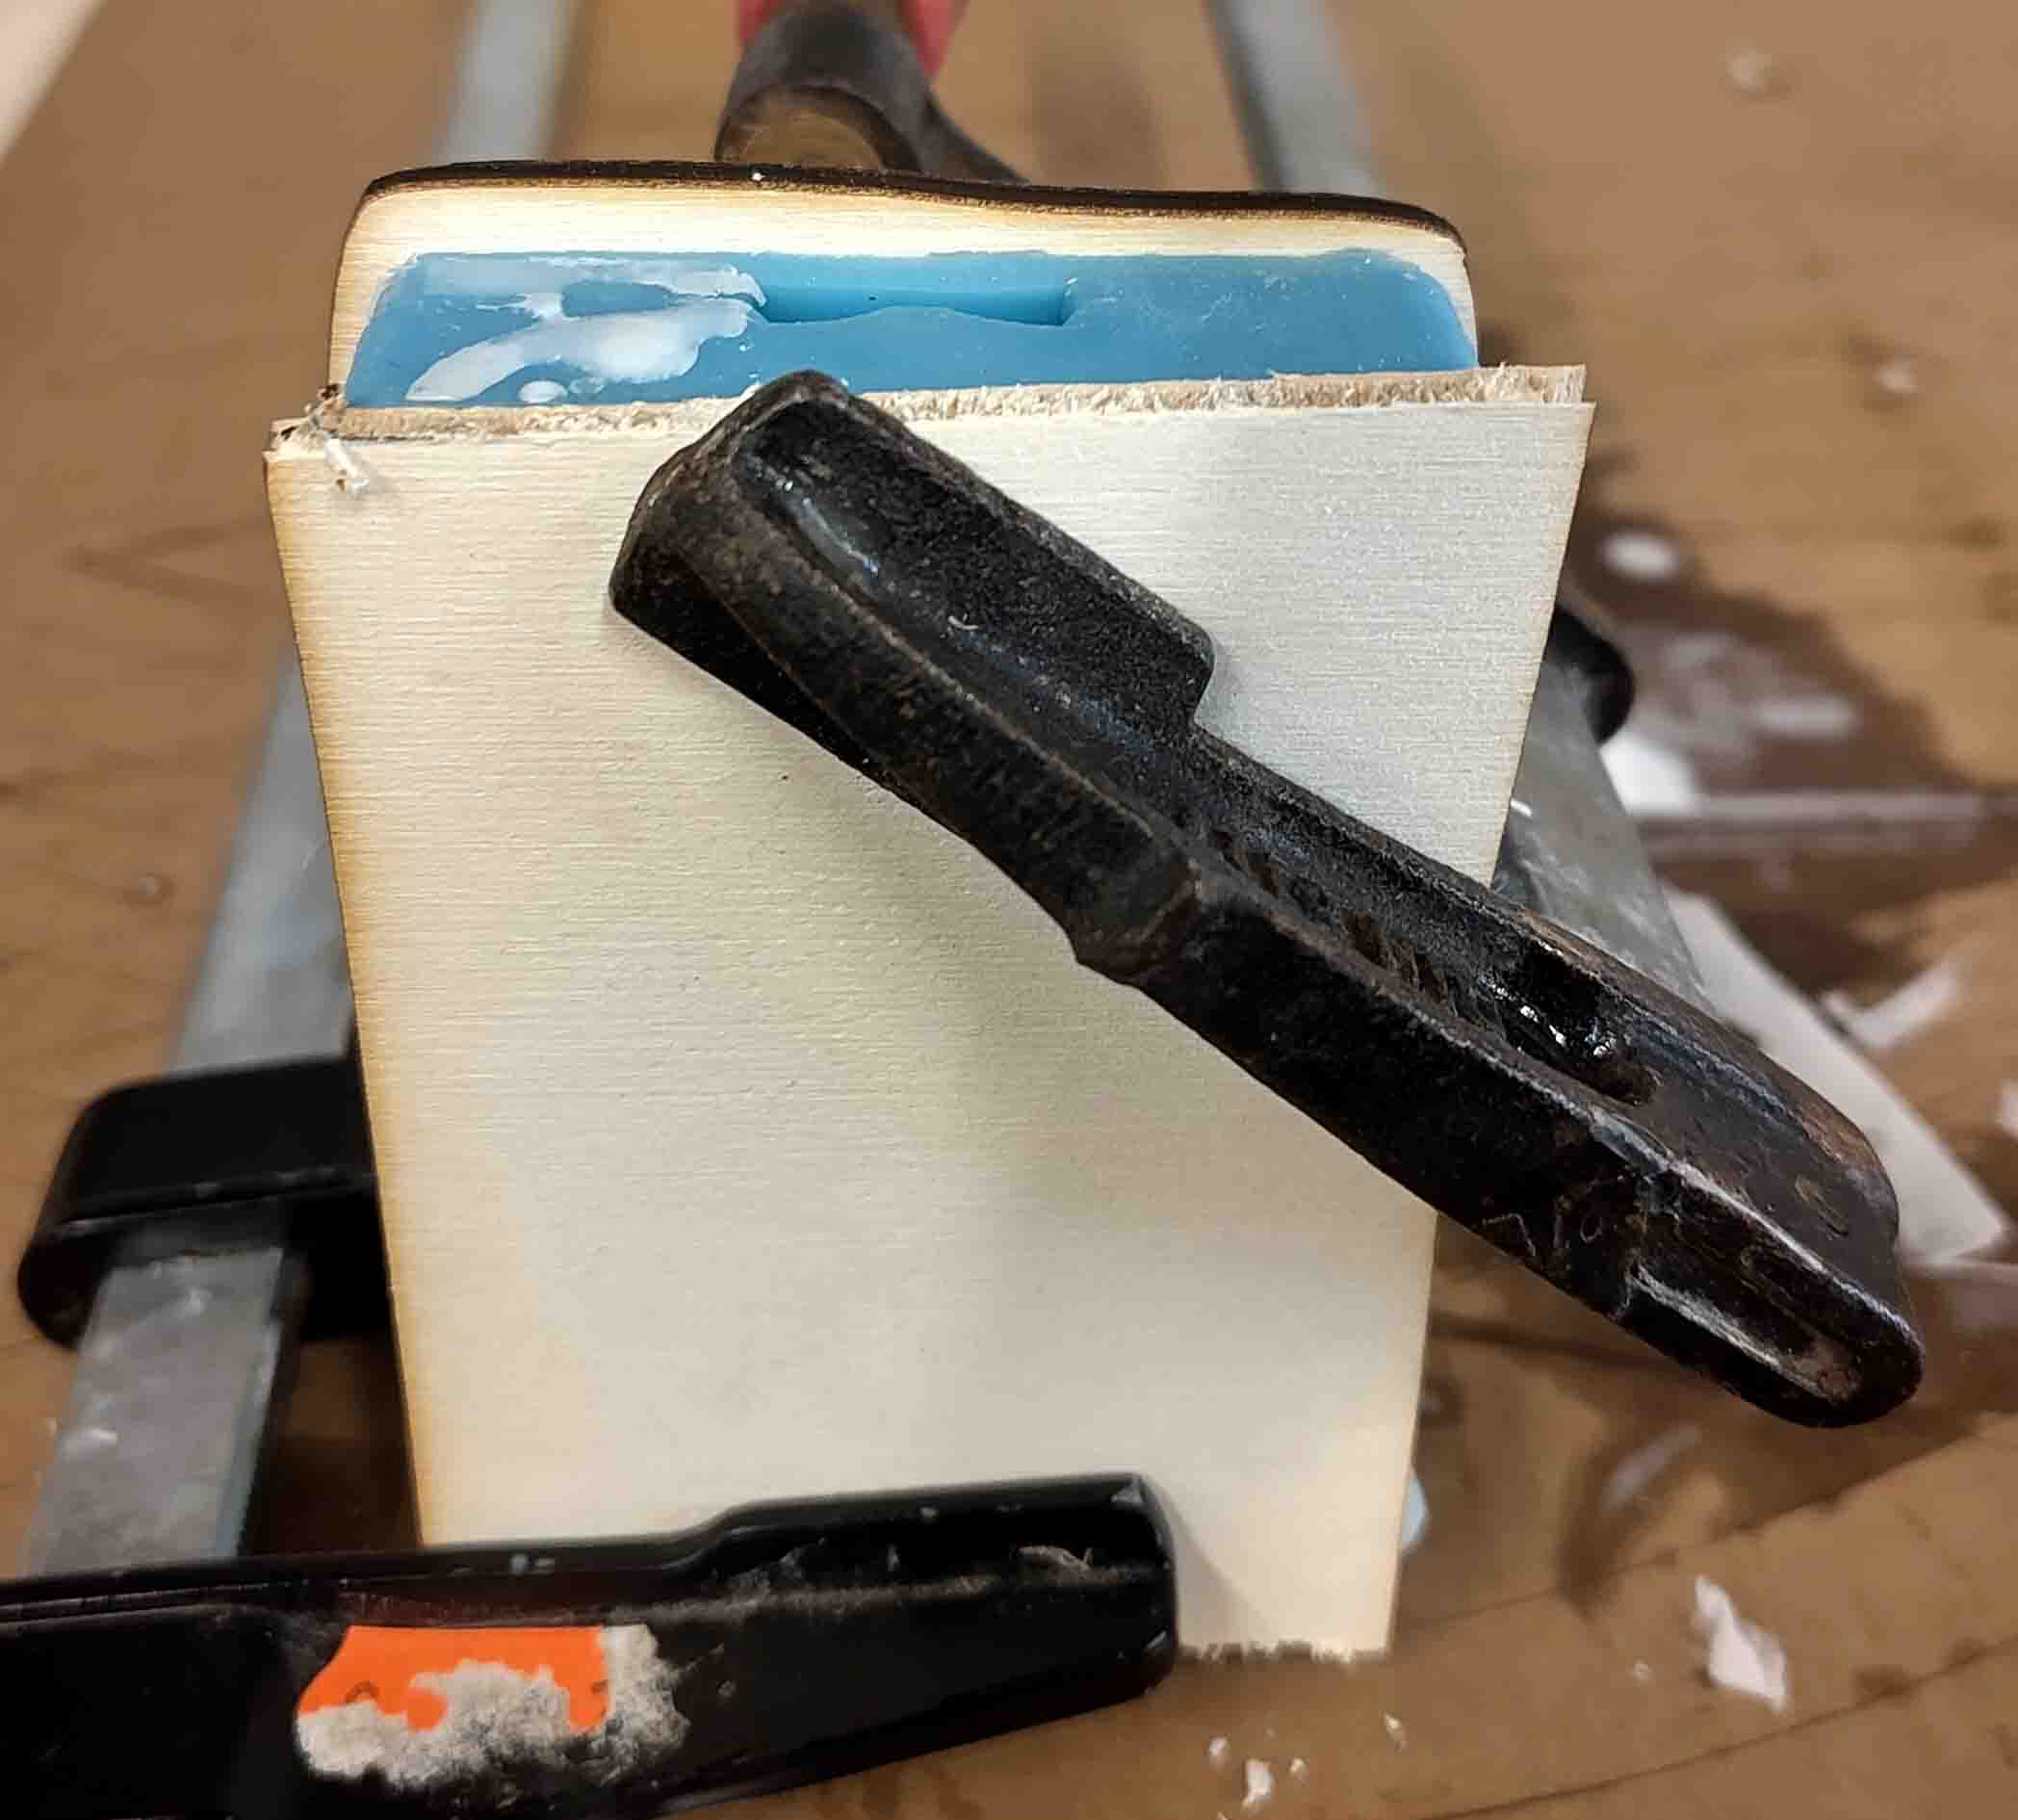
I mixed 31 g liquid : 77 g powder of Jesmonite 100AC. And clamped the mold together with pieces of wood.
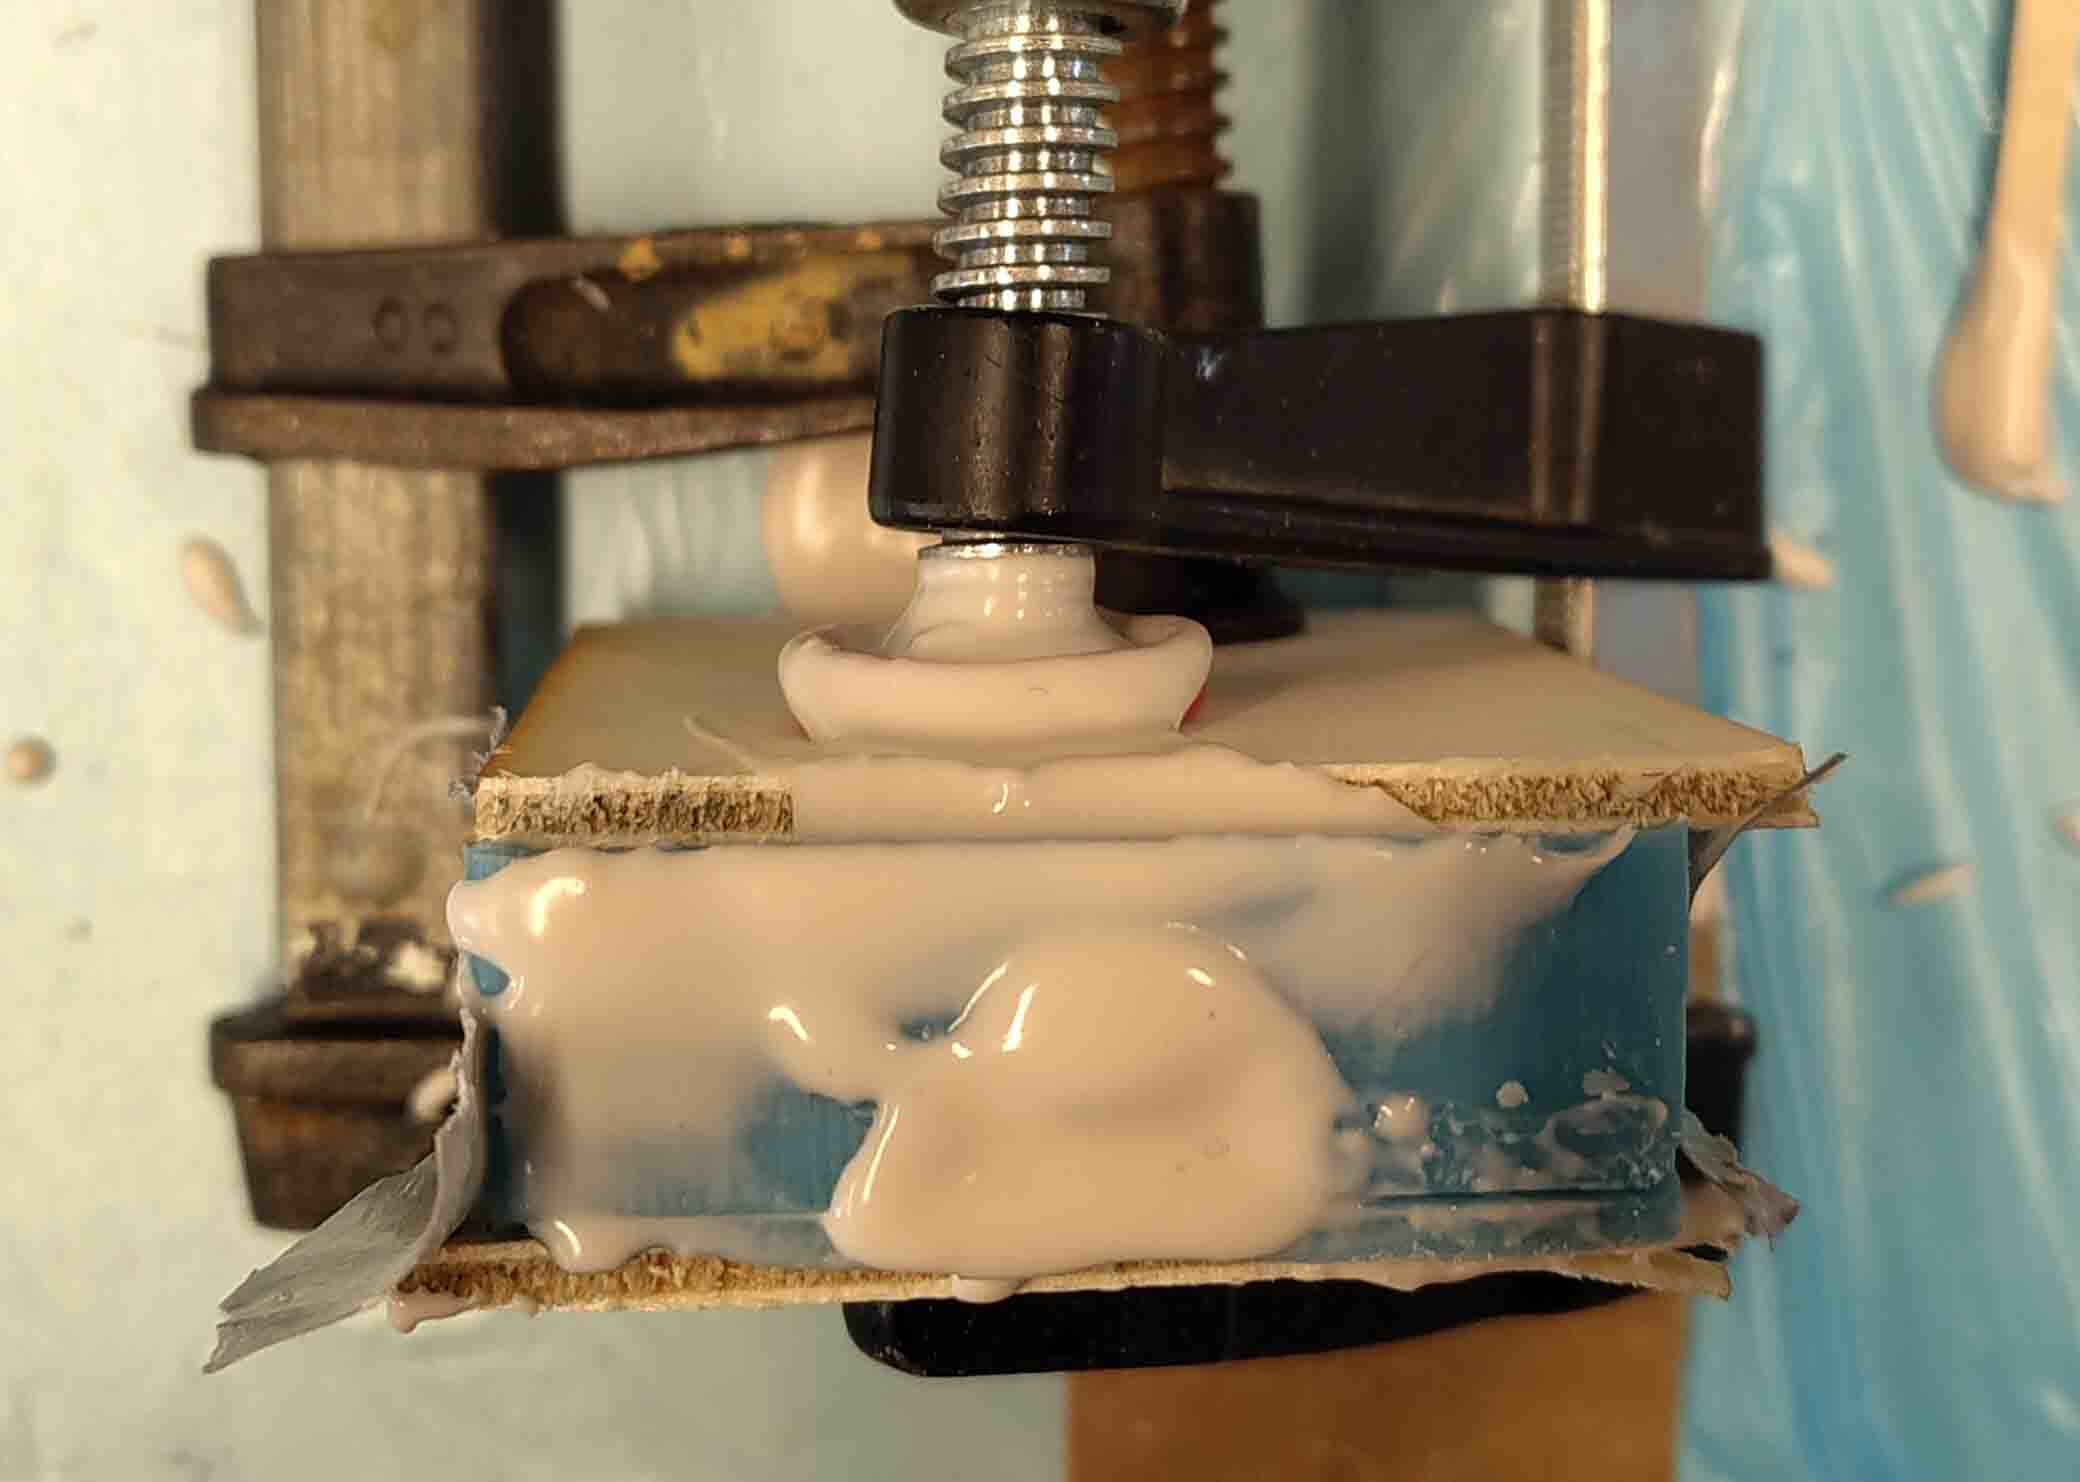
Henk warned me that my vents were too low and the material would seep out and never reach the top. He was right. I thried to ducktape it, but tape does not attach to the silicone. In the end I was holding the tape in place.
Here is the result:
Pigments
For the next mold I want to try to add pigments.
I see that Big Clive made a video using the same pigments I have. That's uplifting.
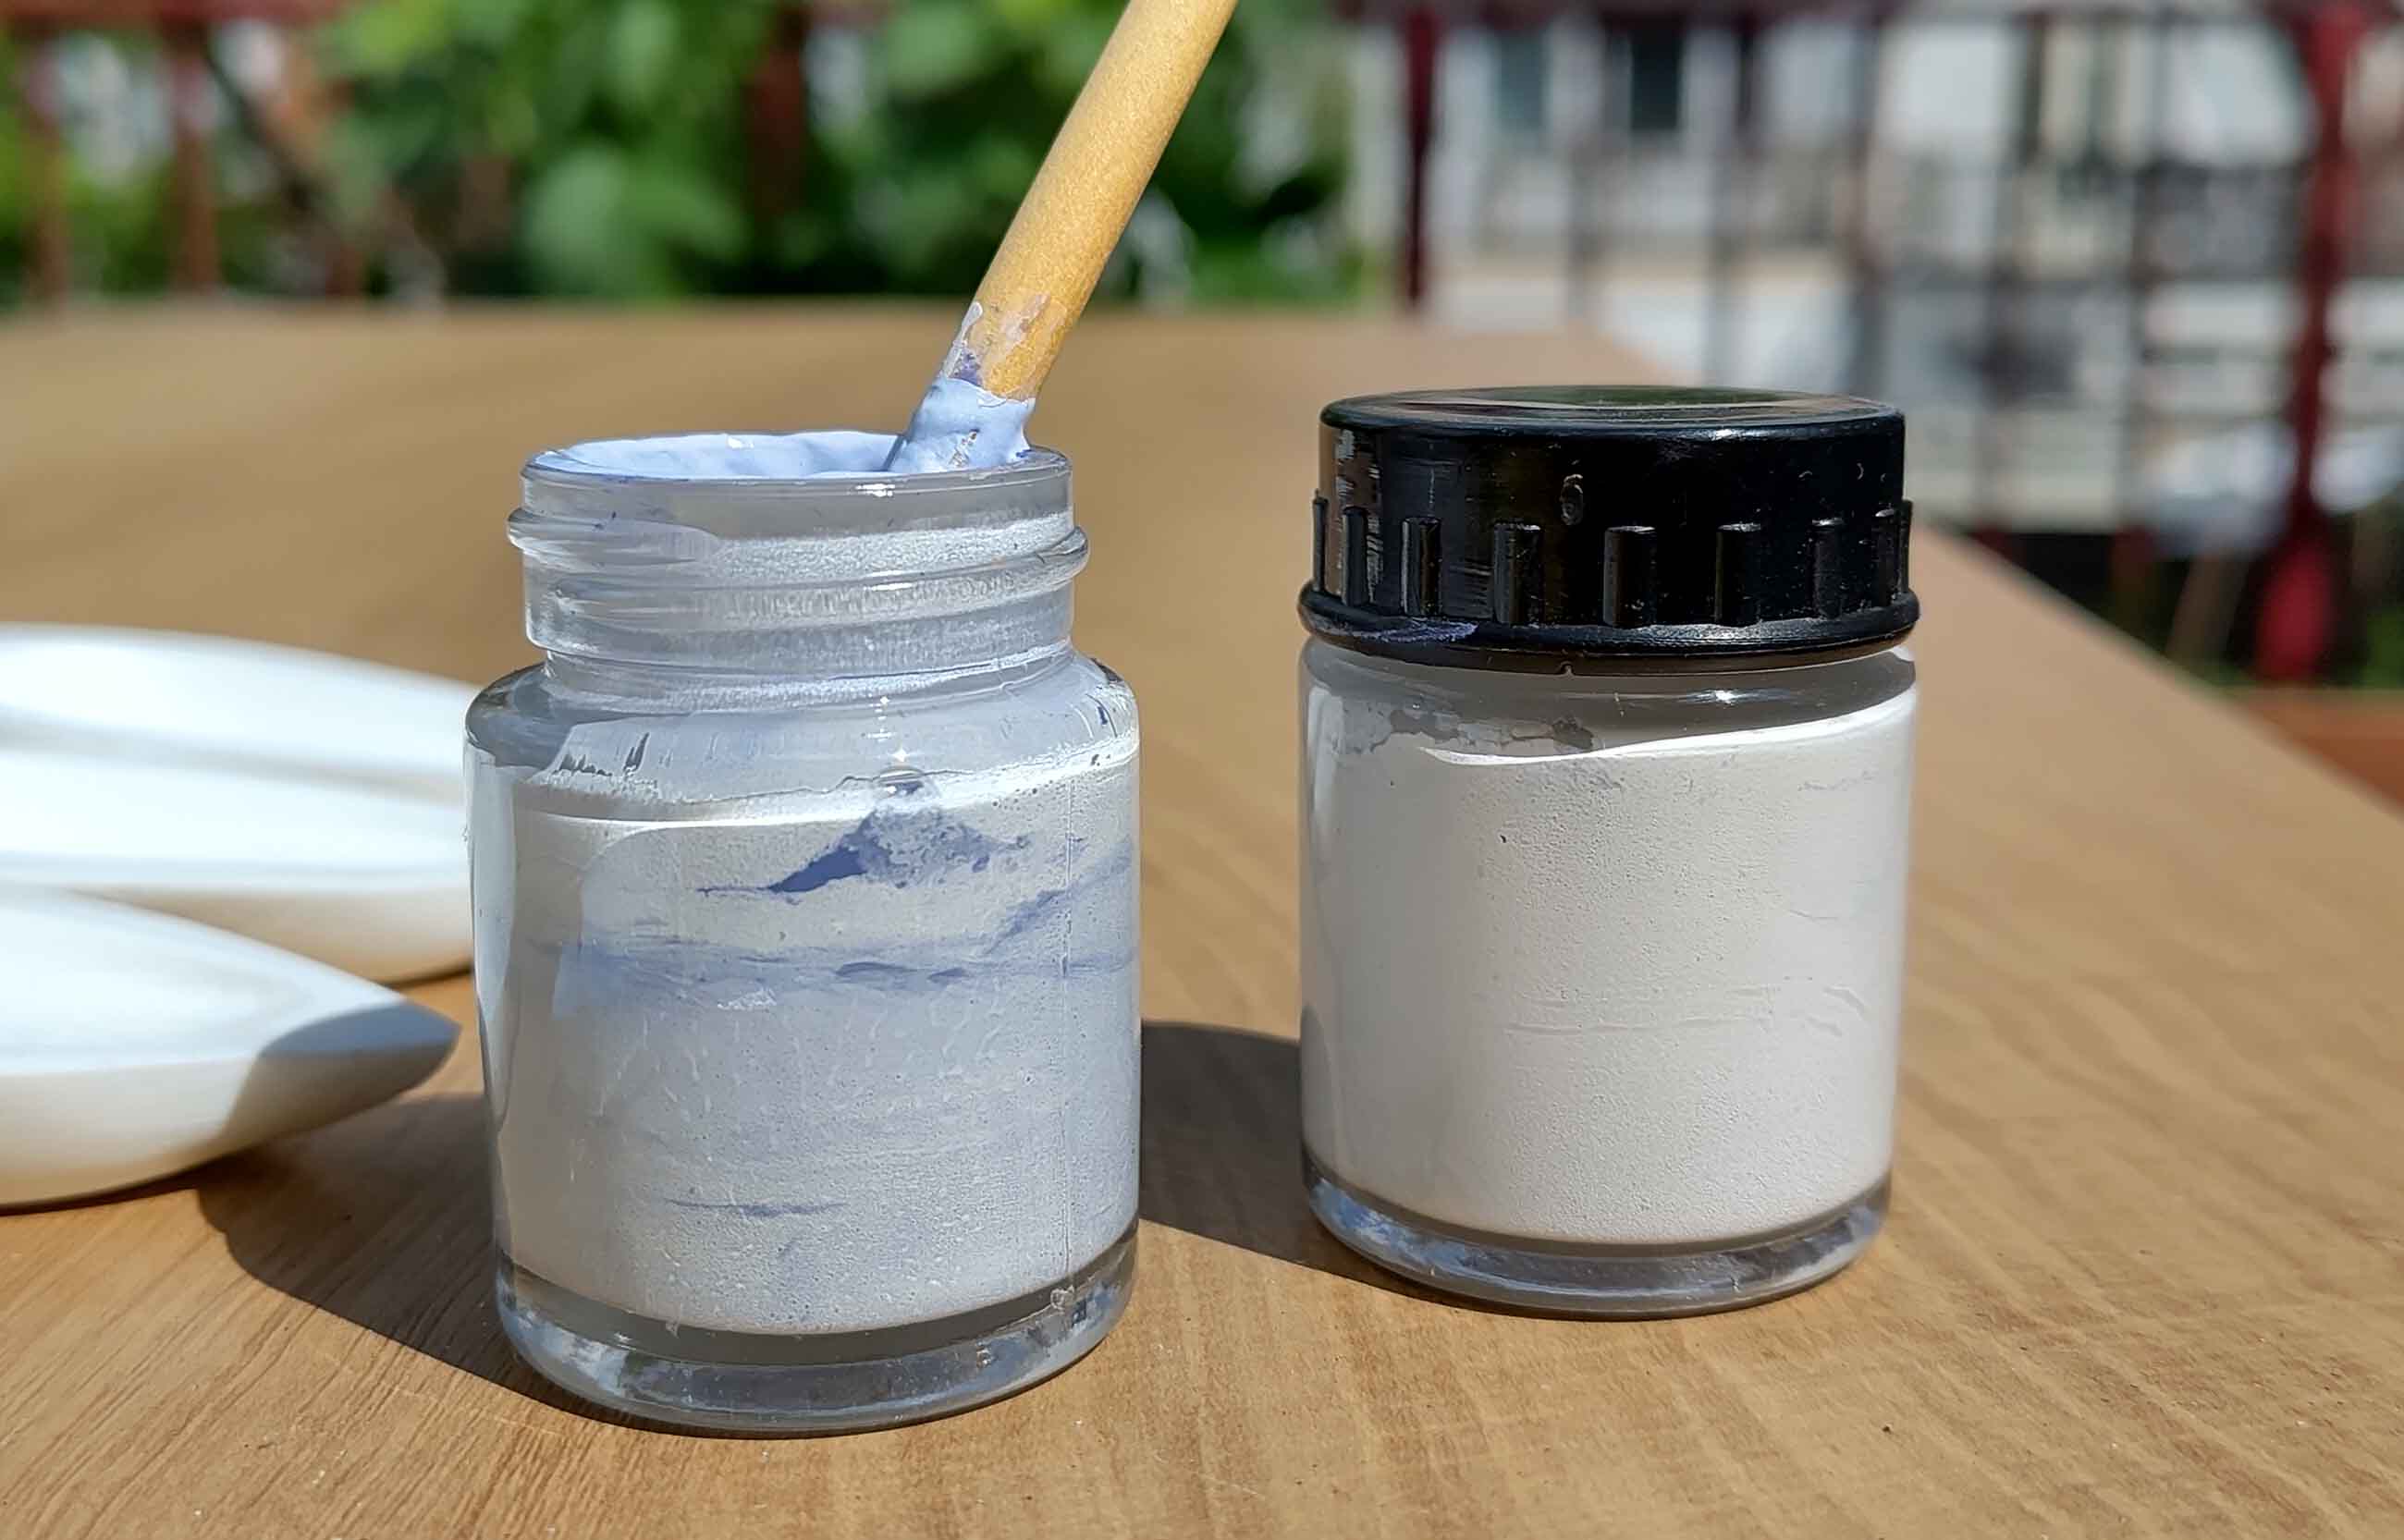
I am using Perfect Pearls and pigments: Photochromic pigment. Lets look at the label:
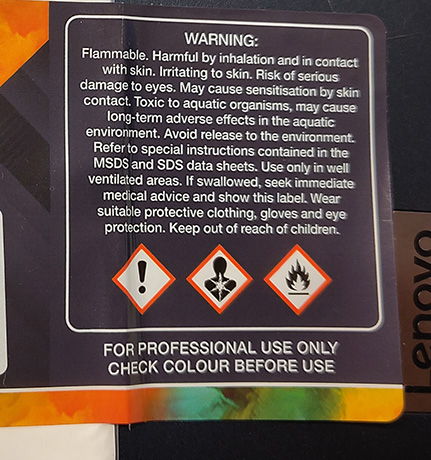
Warnings
- innhalation: harmful
- Skin: harmful and irritating
- Eyes: risk of serious damage
- Aquatic organisms: toxic, may cause long term damage
- Environment: Toxic, do not release back into the environment
- Use in ventilated area
- If swallowed: medical help, show label,
- Safety equipment: ventilation, mask, glasses, gloves, covering clothes.
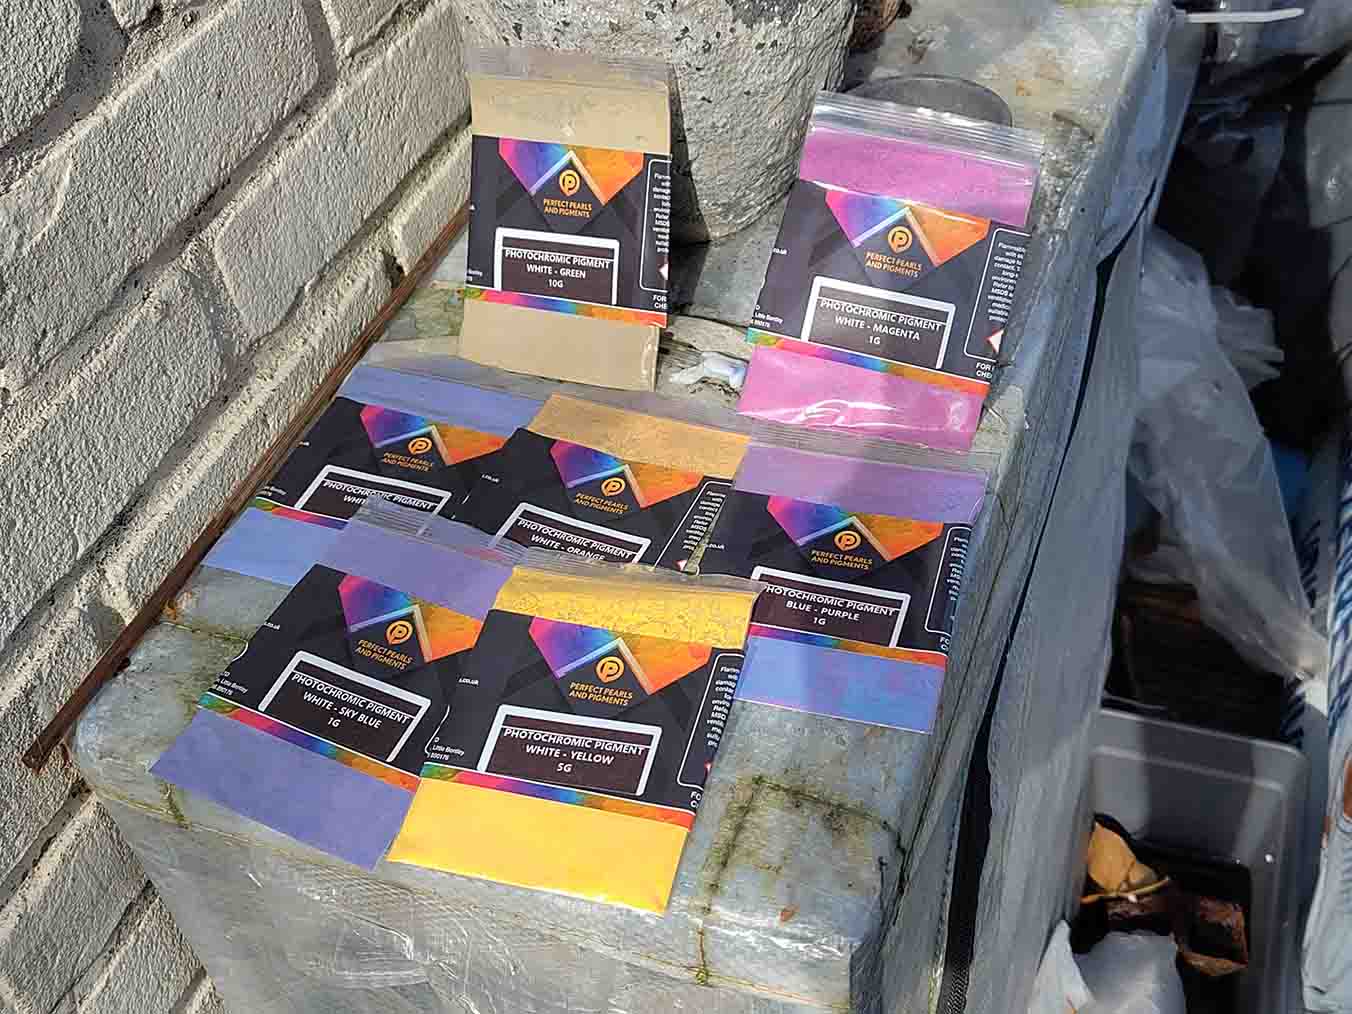
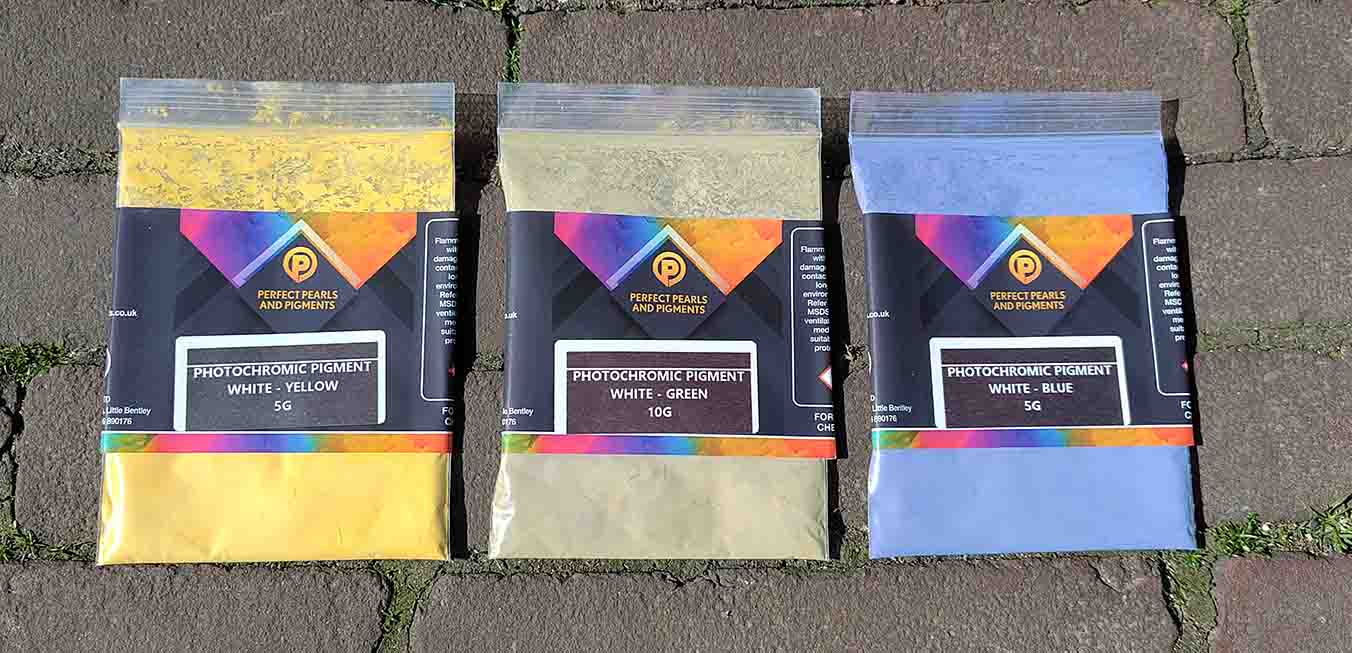
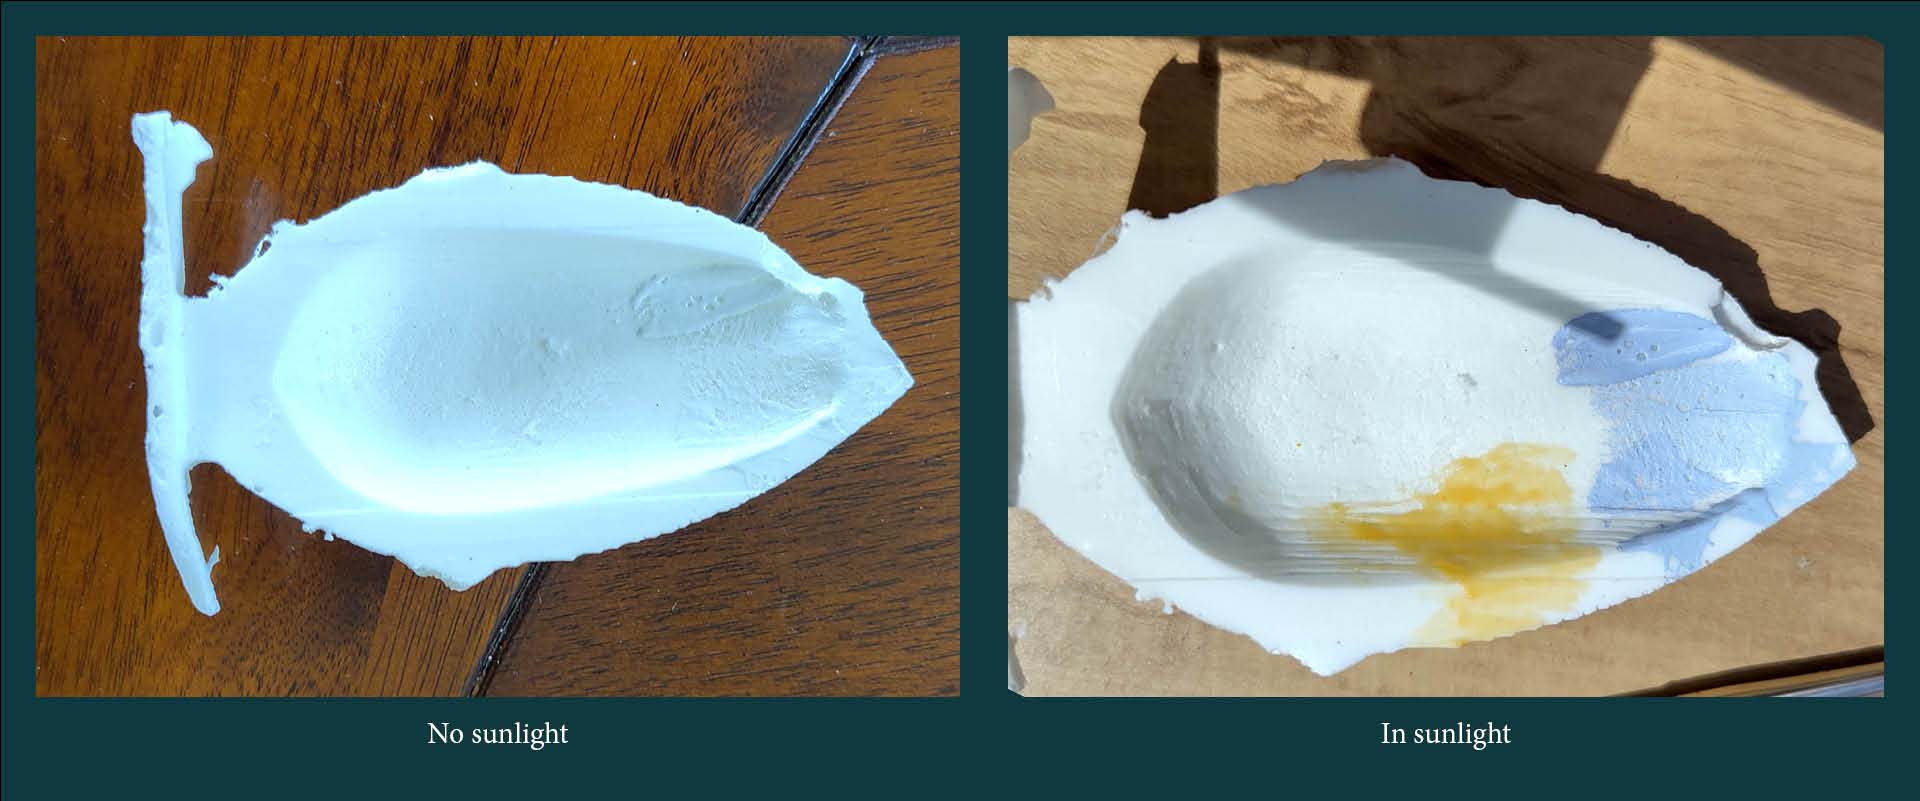
Most of the pigments I have look white when out of sun:
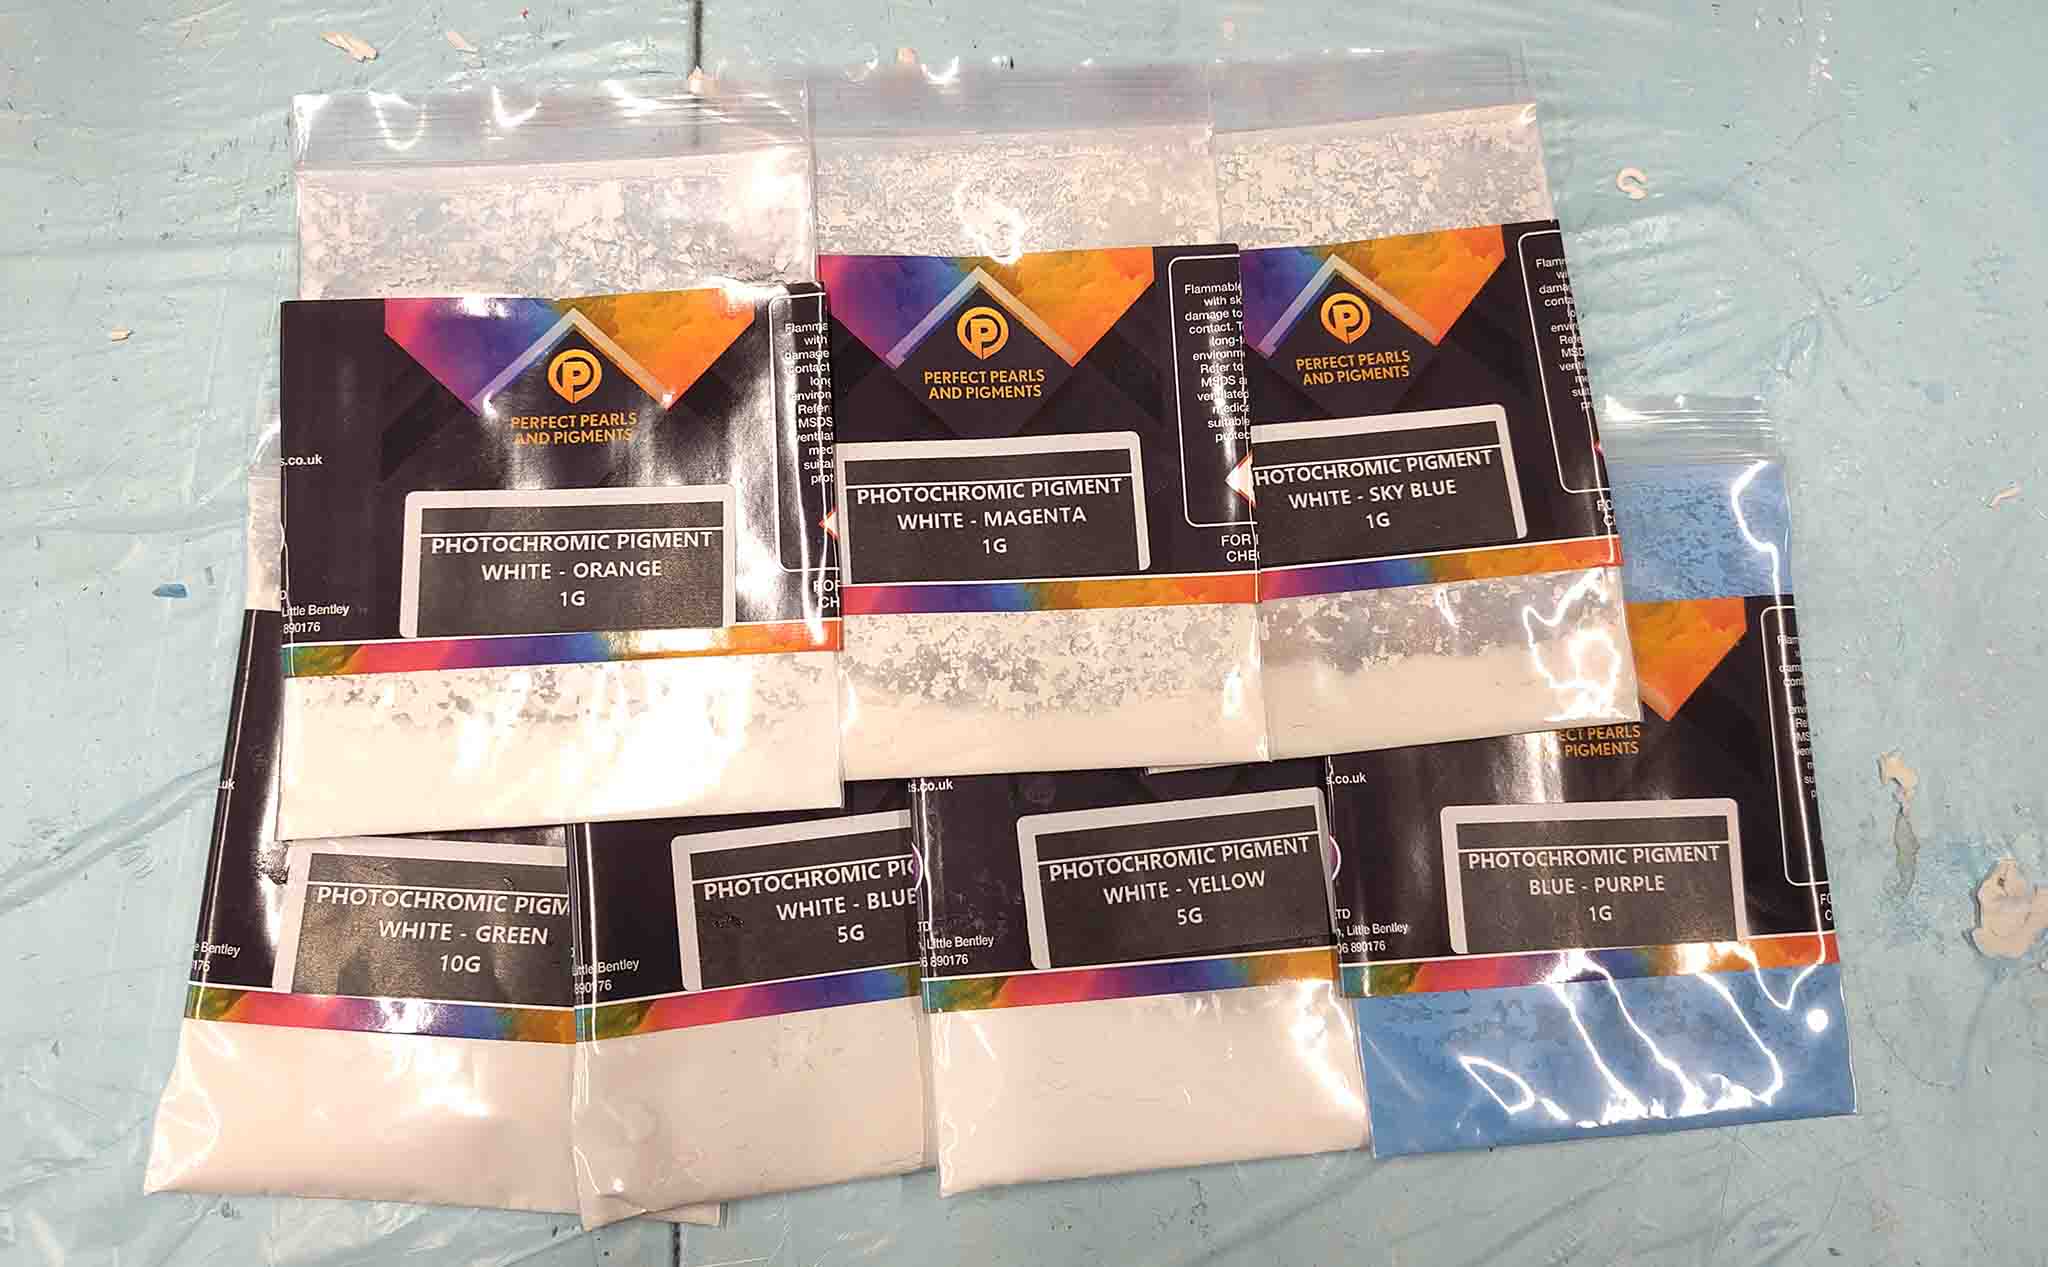
And vibrant when exposed to UV.
Most of them I only have 1 gram of. I'll therefore use only the bags containing 10g of white to (moldy)green, 5g white to yellow and 5g white to blue.
Casting Smoothcast 305
Using Smooth-cast 305 this time I have also added a small funnel I had at home.
The liquid was still pouring out of my useless air vents and even when I was holding them the level kept going down and I needed to keep refilling the top.
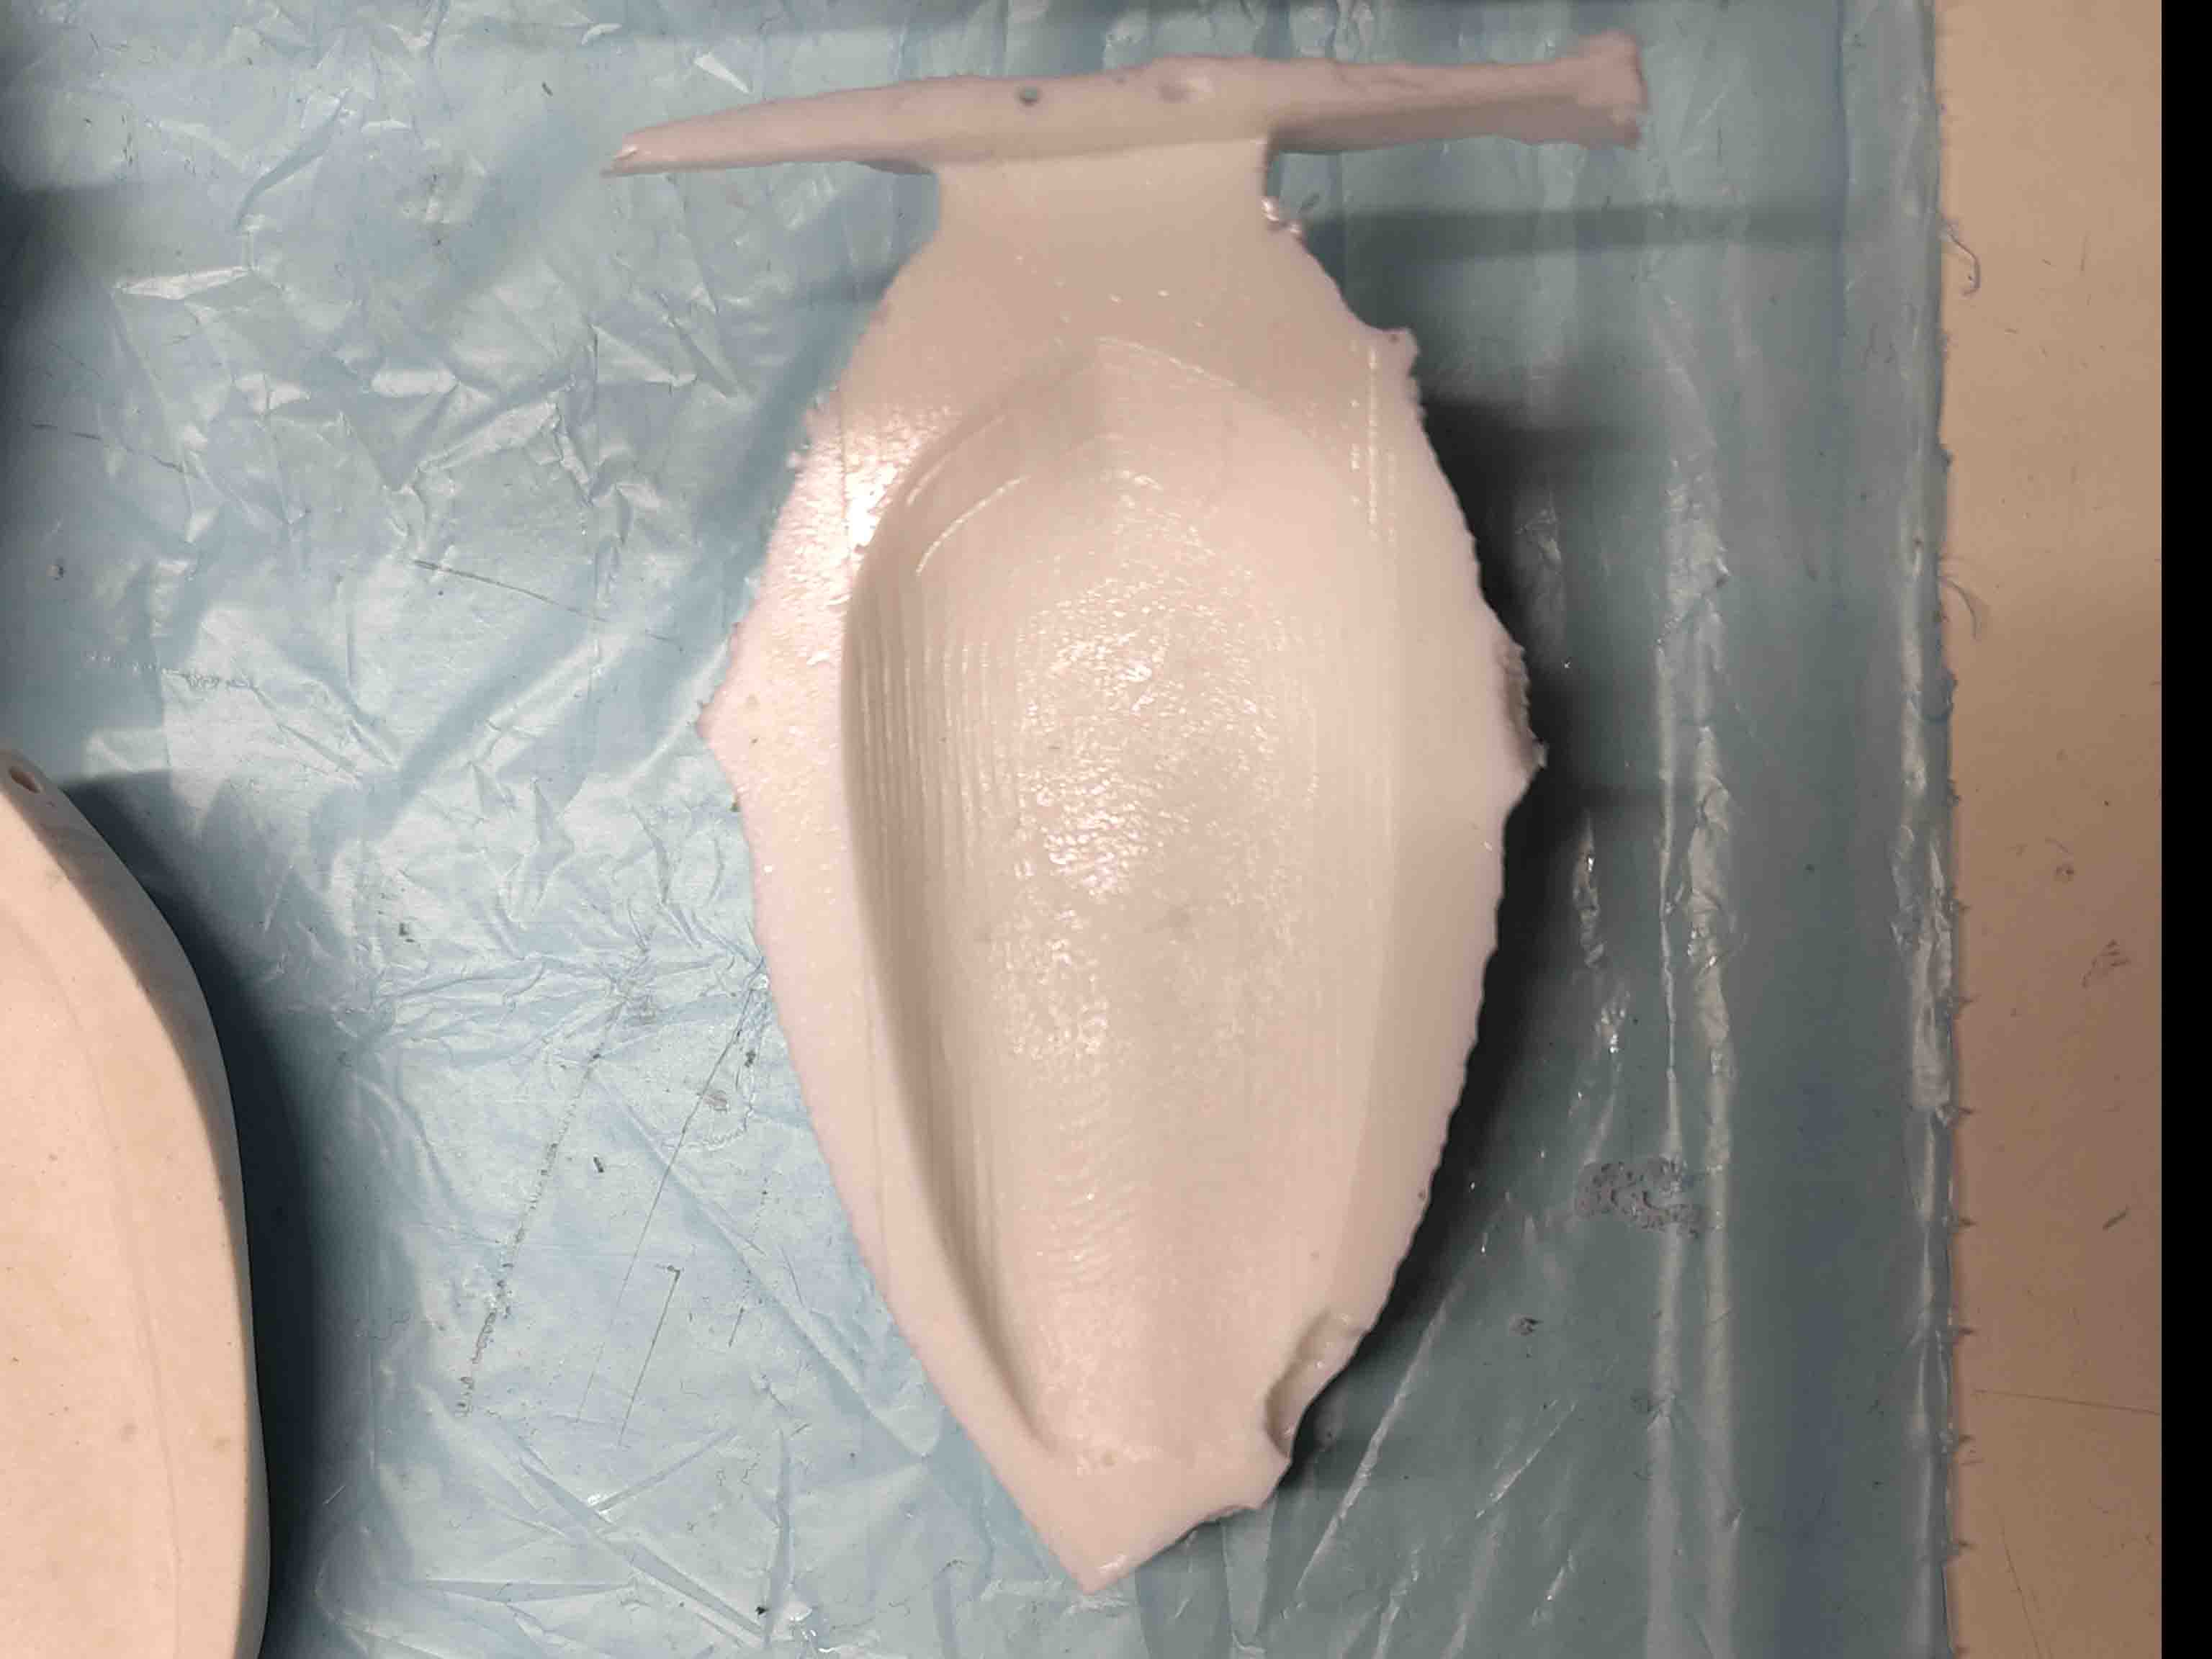
Here is the result. I ripped off the air vent parts and kept them in there for future pours.
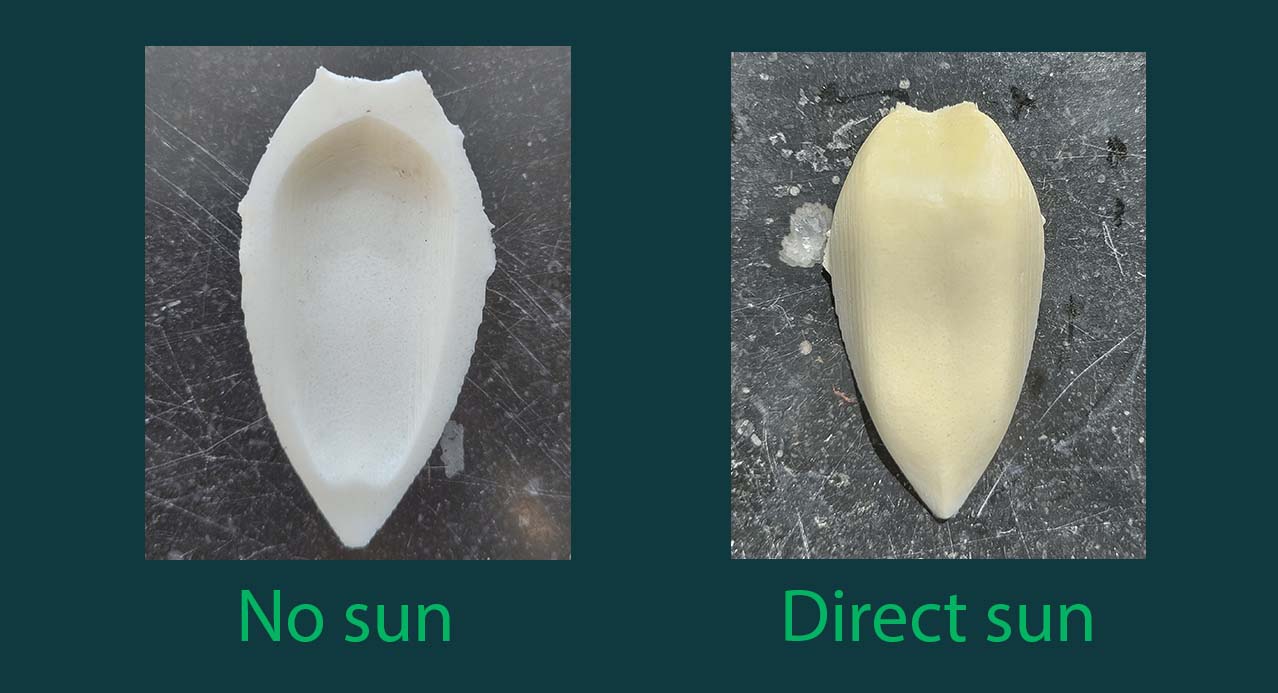
There turned out to not be much difference when the leaf was in the sun. I think I did not use enough pigment. I used 1 gram. I also don't want to waste too much of this. A lot of the pigment is now mixed into parts of the cast which is not visible, since it is a relatively thick shape. I'll try mixing the pigment with acrylic paint and painting the shape.
The result also has a lot of bubbles in it. But it is a lot lighter then the Jesmonite.
Casting Smoothcast 300
For my 3rd try I decided to use Smooth-Cast 300. I was hesitant to do this since the pot life is 3 minutes. but since I will not be mixing in the pigments it might be okay.
I also added bigger pieces of wood that covered the whole mold and was more stable.
It went well and I made quite a few. On one occation I left some water in the mold and this was the result:
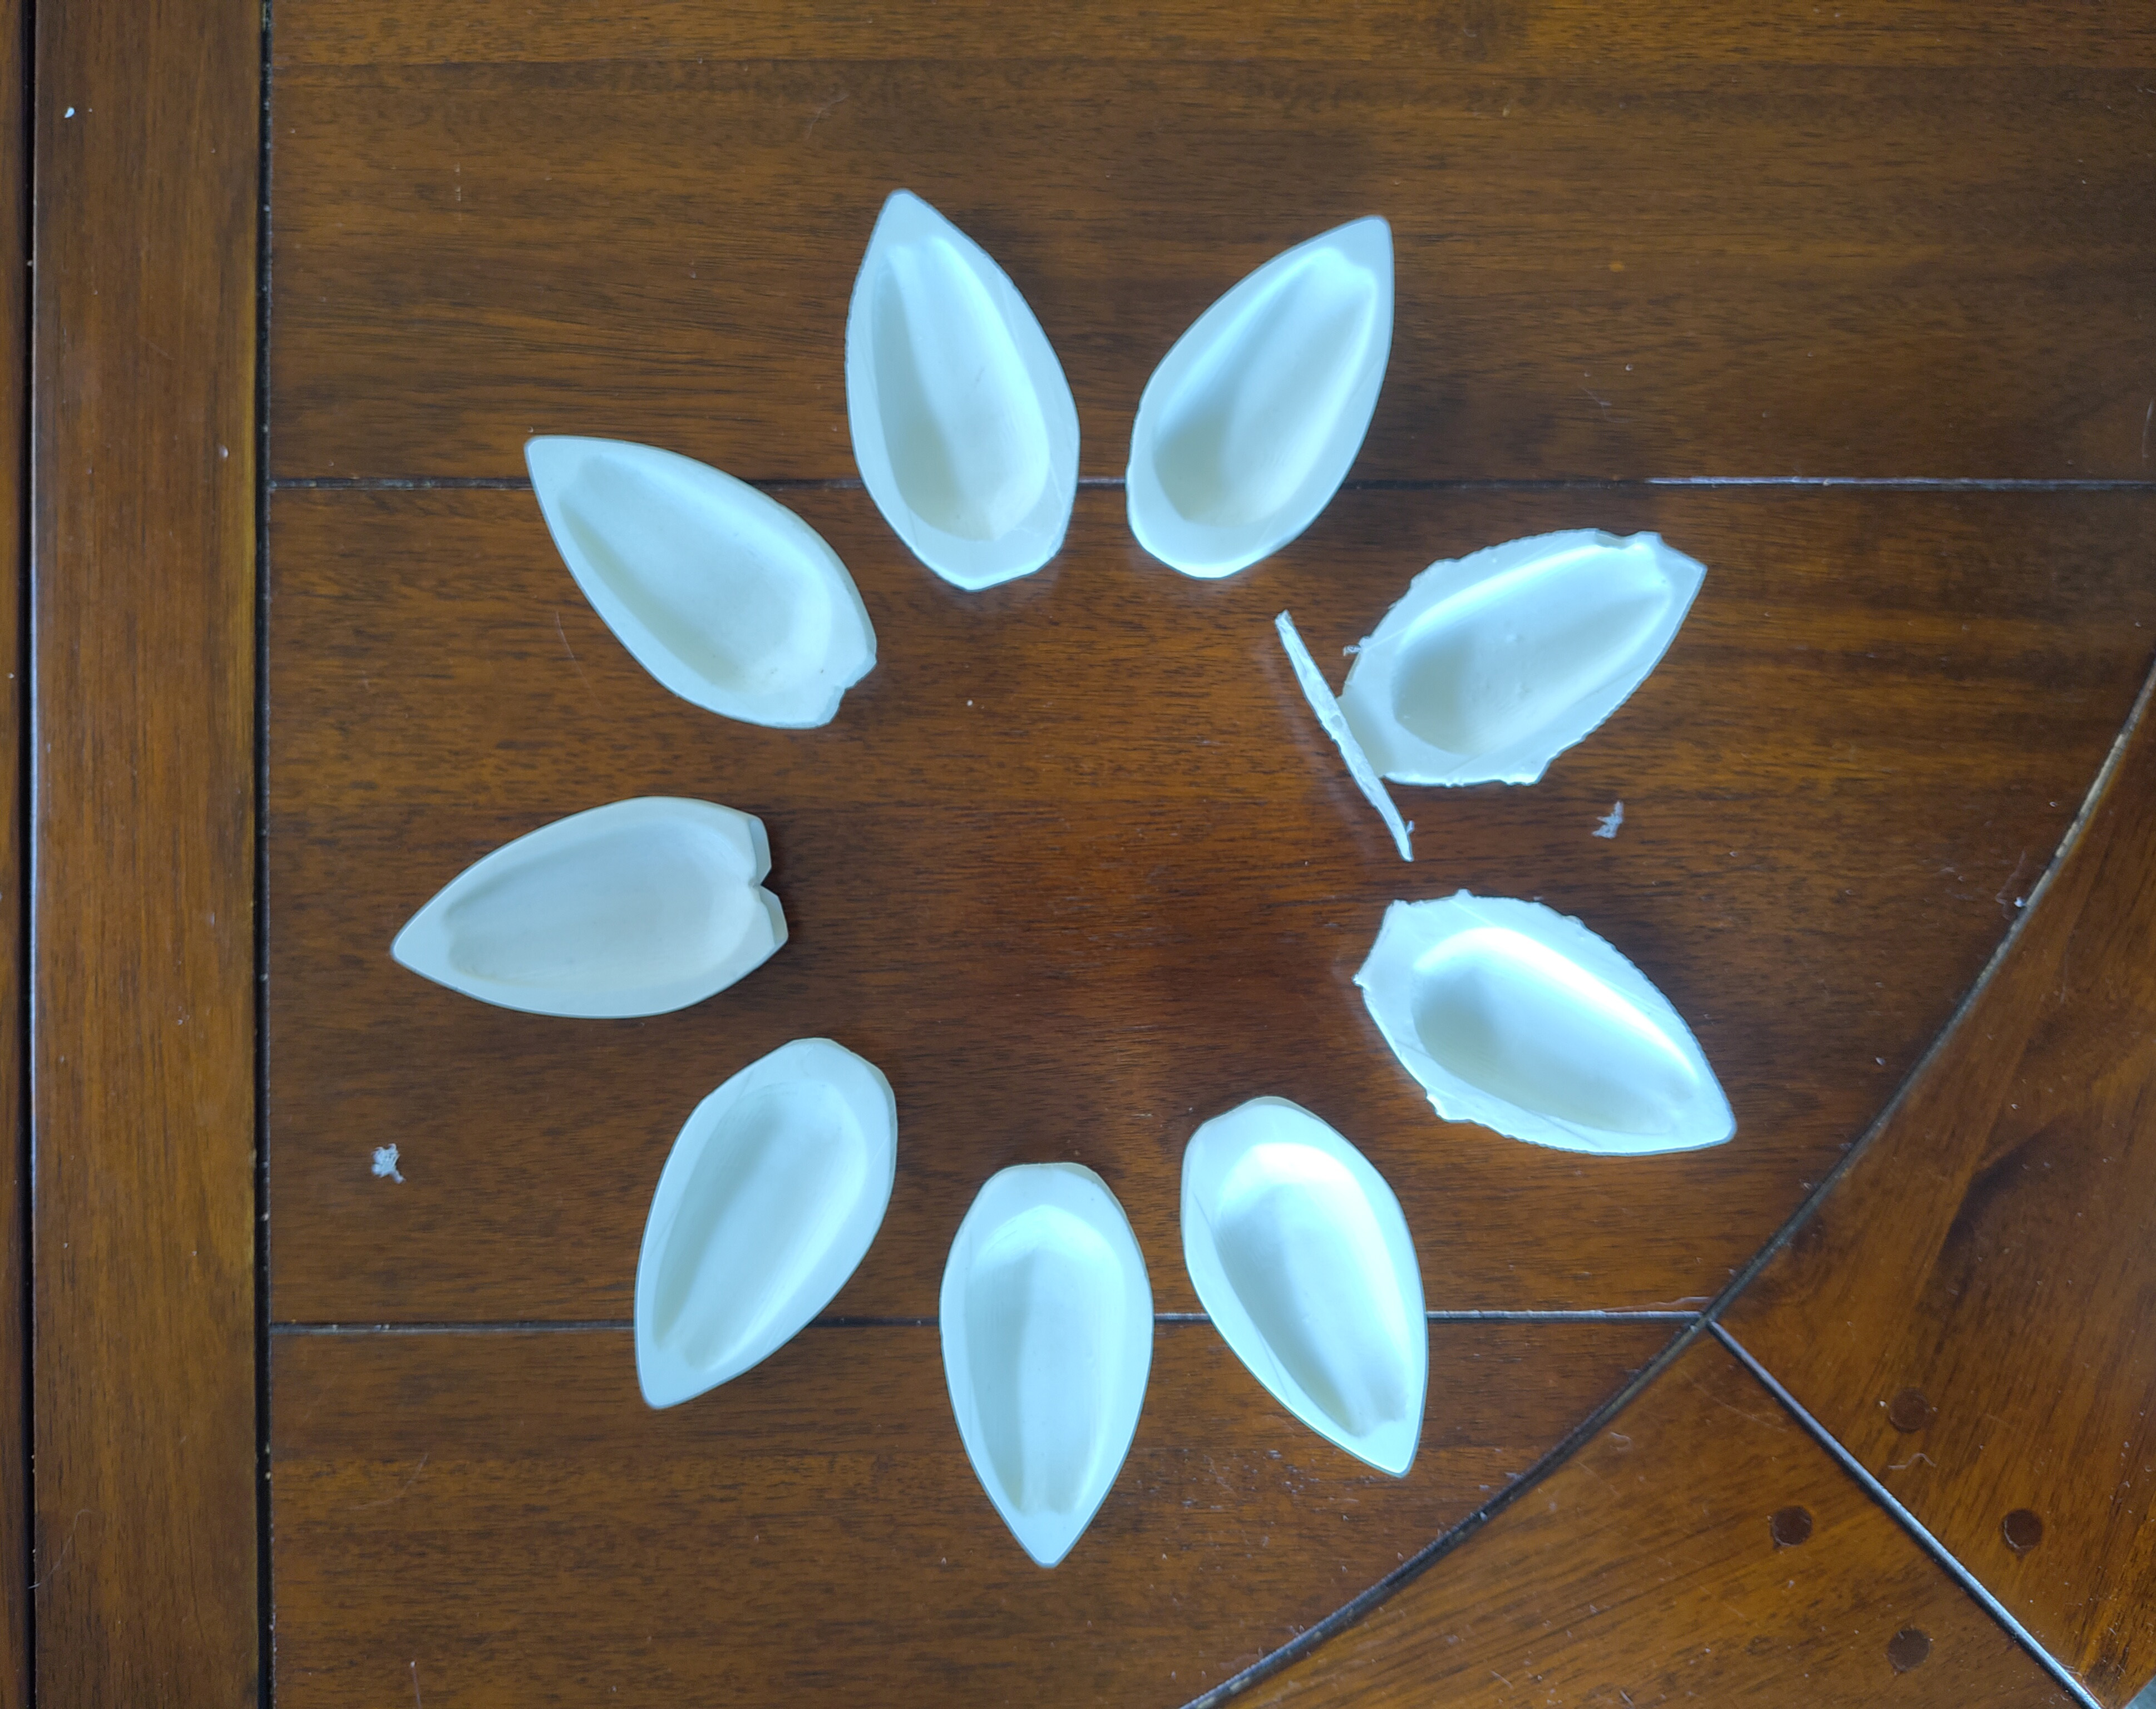
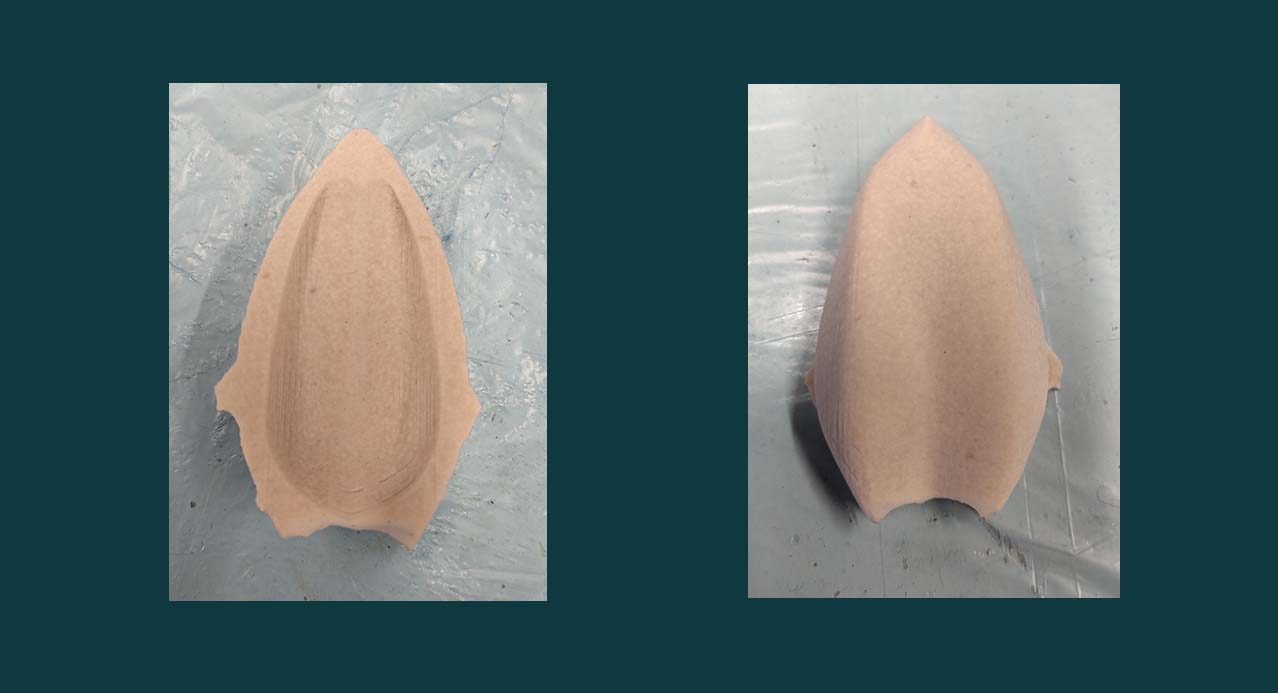
Here is a collection of all the leaves I casted this week. Some of them still needs to be sanded.
UV pigments in paint
What have I learned:
- Use the wax block as a starting point when designing the mold.
- Check what milling bit will be used and make sure your holes are the right size. I made mine .5 mm larger then the milling bit. And make sure the bit can pass around all perts without leaving "bridges".
- Sand the mold properly.
- Check how old the materials are.
- Make the walls around the mold thick enough to allow for a proper coverage on the back of the mold.
- Check the file in VCarve. If it has extra unecessary milling paths: rework the file to get rid of these.
- When melting a new wax block: use small pieces. The large ones takes a long time to melt, and make sure to pour it into the mold from the corner to avoid air bubbles.
- be careful when sanding the wax, make sure no pieces fall off.
- Use planks that cover the whole mold for support.
- use water in mold to measure how much resin is needed, always add a bit extra to be sure there is enough